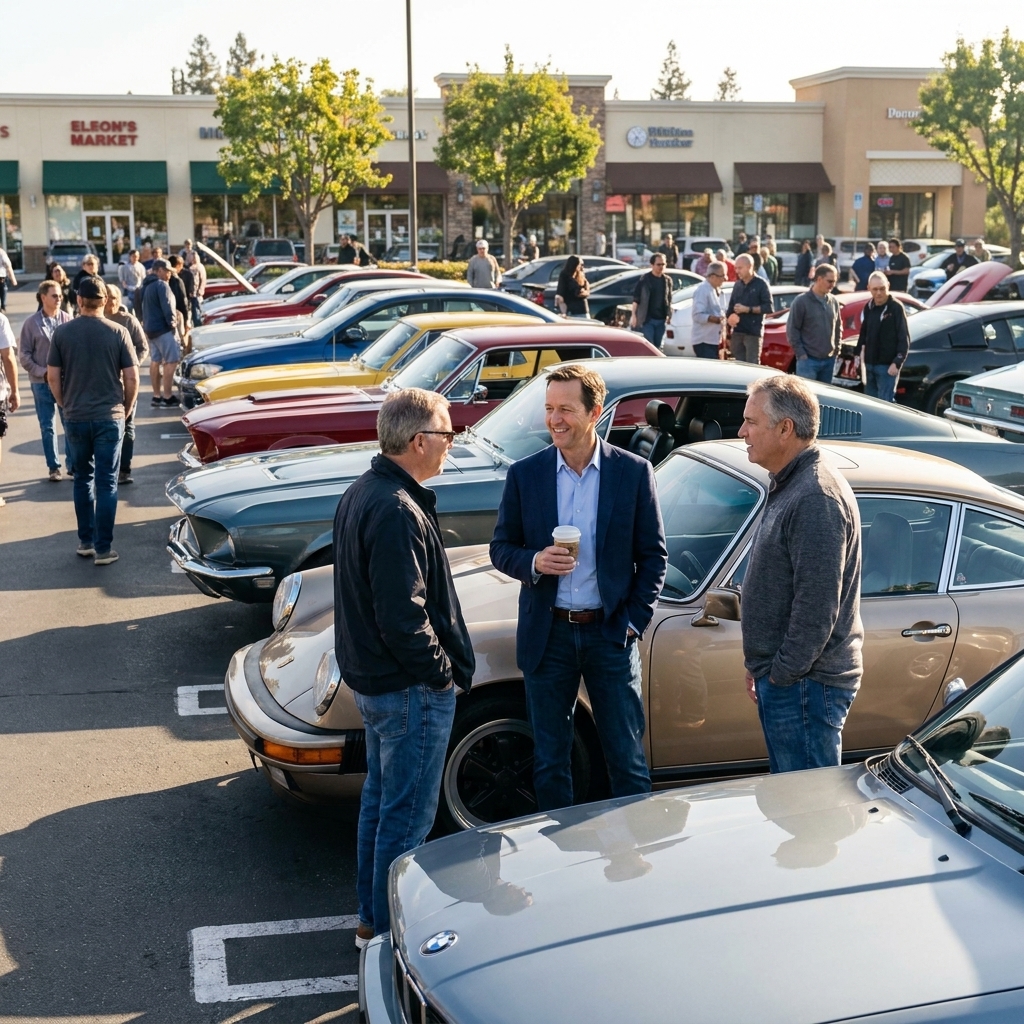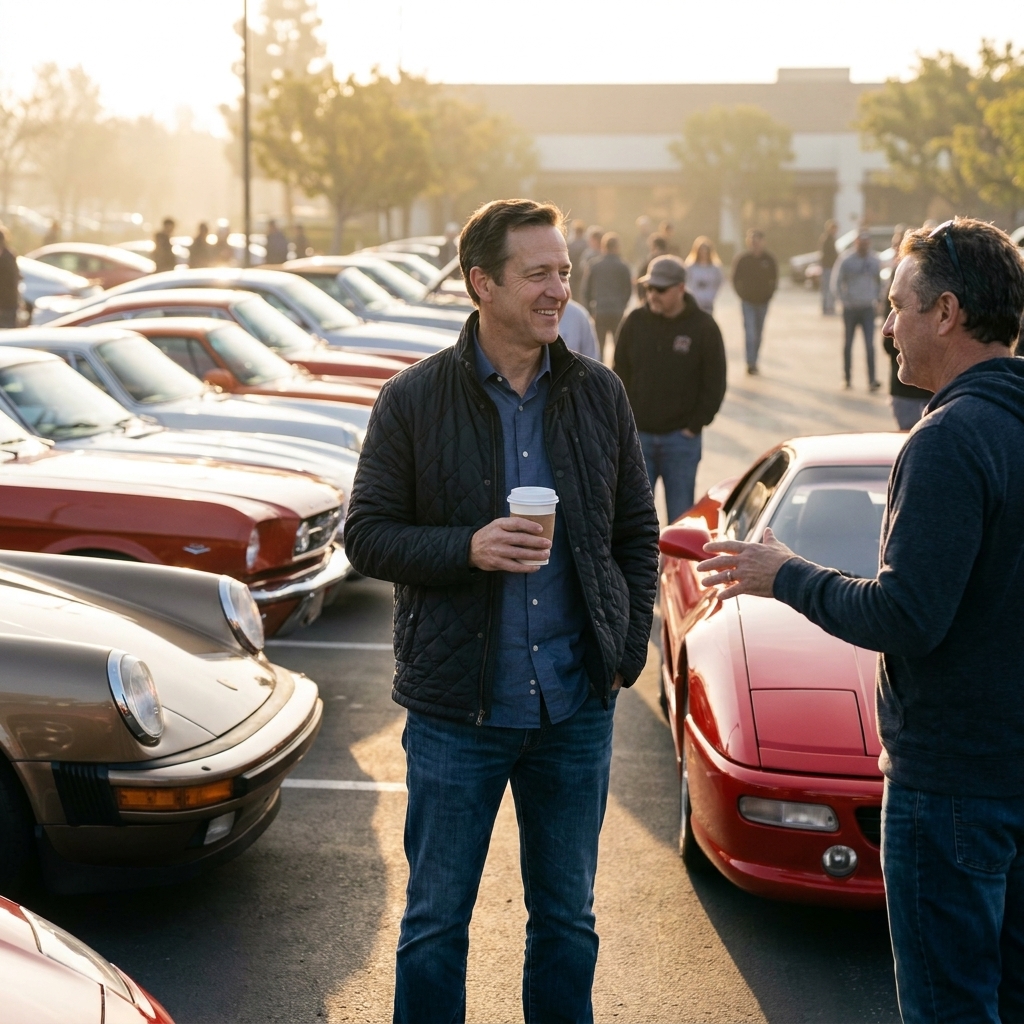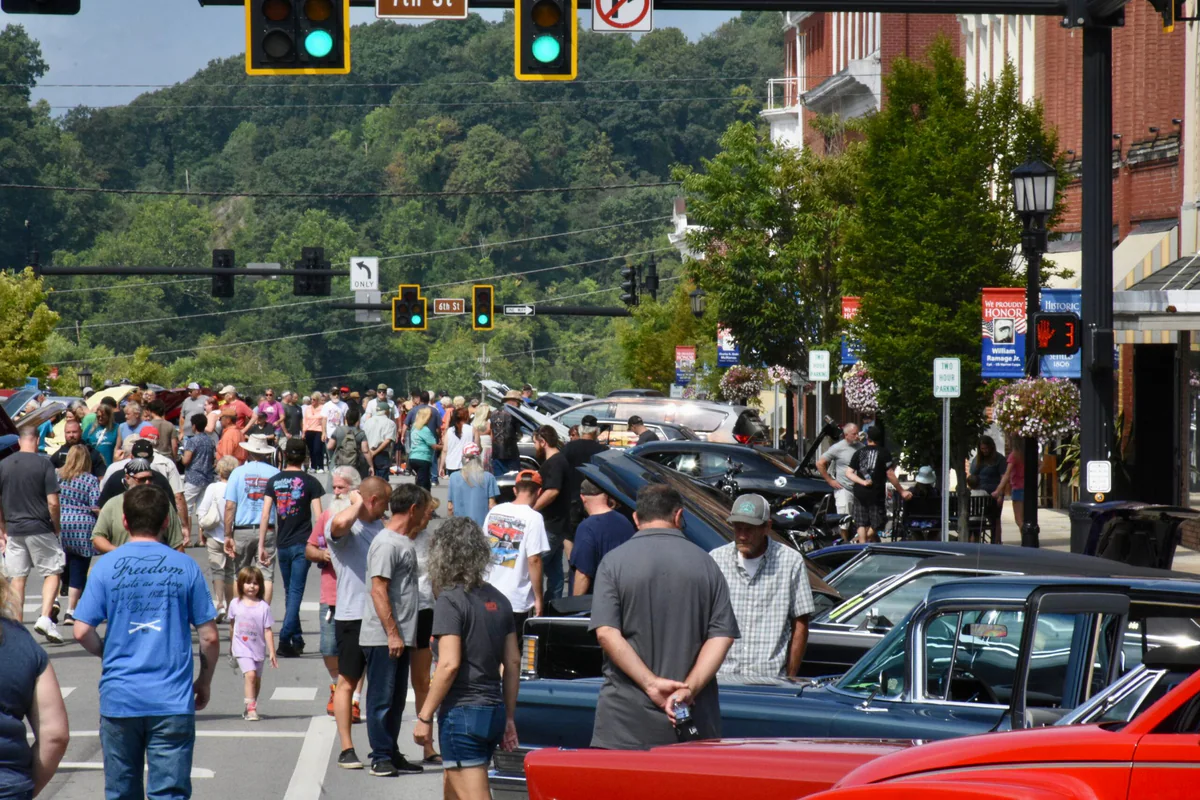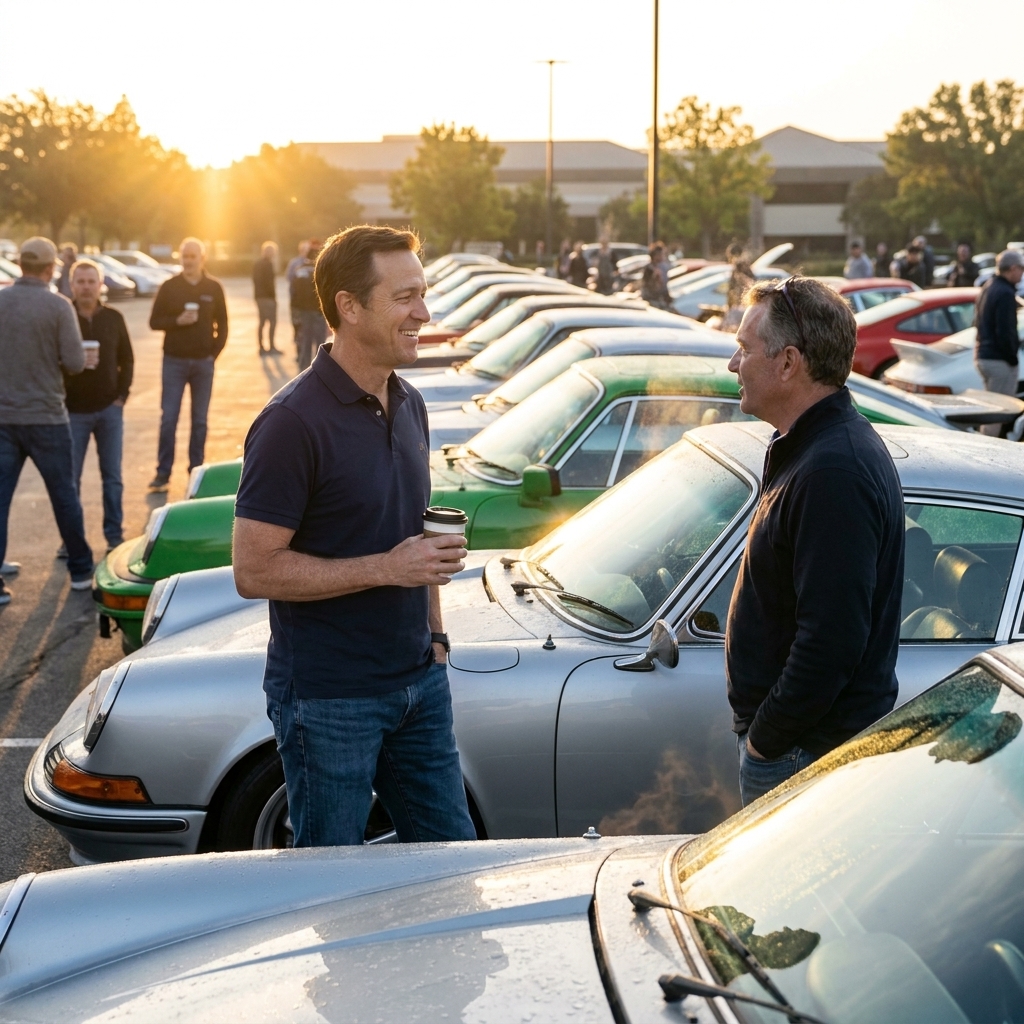
Car shows are like open-air museums, except everything is shiny, everything is reflective, and somebody is always walking into your frame at the exact wrong moment. The good news is you do not need a pro rig to come home with photos you are proud of. You just need a handful of habits that work in real, crowded conditions.
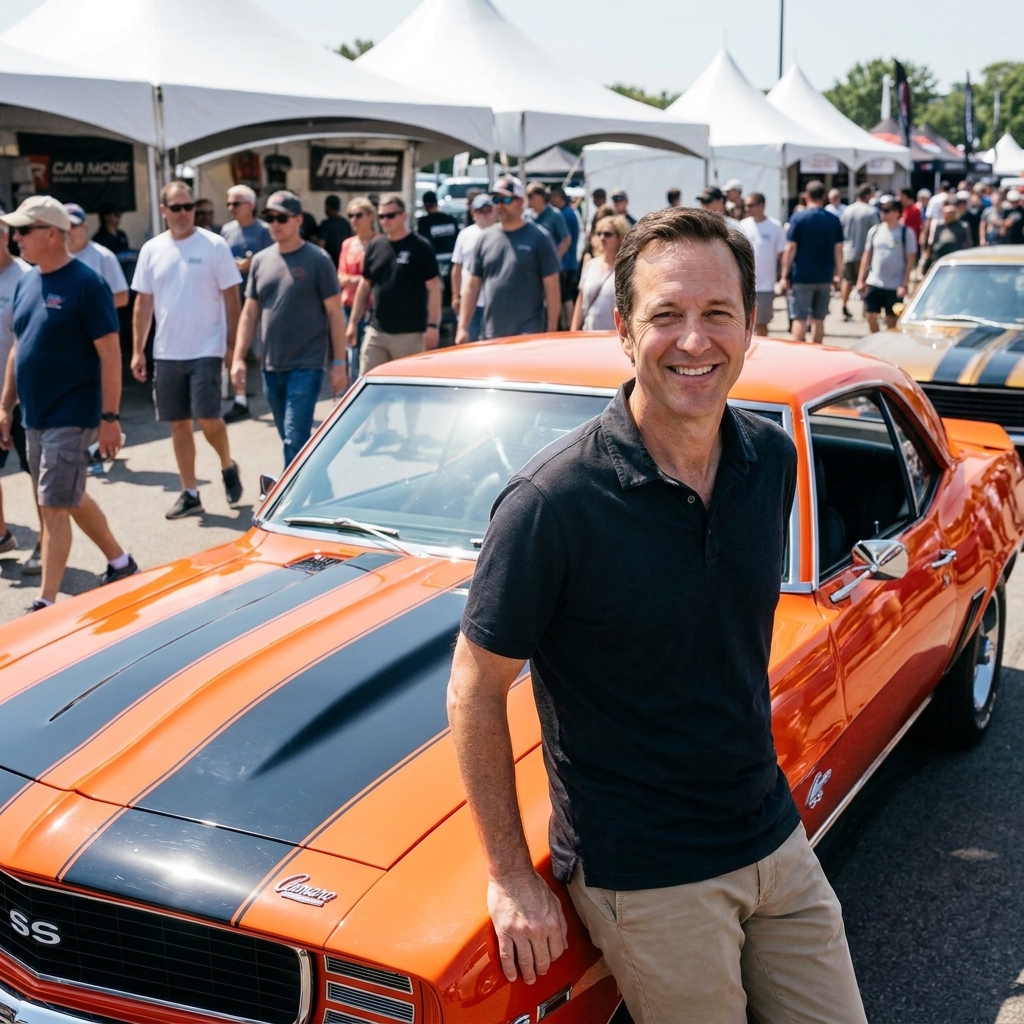
Here are my ten go-to automotive photography tips for car shows, written the same way I would explain a tricky diagnosis in the shop: simple, repeatable, and focused on what actually changes the outcome.
1) Chase soft light
Paint looks best in soft, even light. Direct sun can turn a beautiful curve into a blown-out white stripe and make metallic flake look patchy.
- Best times: early morning and late afternoon. Golden hour gives you shape without harsh glare.
- Best locations: open shade, like the shadow line of a building or under a big tree, as long as it is not dappled light.
- Quick fix at noon: position yourself so the sun is slightly behind the car and shoot the “shadow side” to keep highlights under control.
If your phone has an HDR option, this is the moment to use it, but do not rely on it to save blown highlights on chrome.
2) Move your feet
At a packed show, the background is usually the enemy: trash cans, folding chairs, vendor flags, and three other cars fighting for attention. Instead of zooming from where you stand, walk a few steps and change what is behind the car.
- Take one step left or right and watch what disappears behind the roofline.
- Crouch slightly to hide people behind the car, or raise the camera to keep the horizon clean.
- Look for simple backdrops: a line of trees, a plain wall, or open sky.
Zoom is a tool, but it does not fix the story. A longer focal length can “stack” background elements and reflections in ways that still feel busy. Changing your position is what actually cleans the frame.
3) Use three angles
If you freeze up deciding where to shoot from, run this simple three-angle routine on every car.
- Front three-quarter: stand near one headlight, aim toward the opposite taillight. This shows stance and face.
- Side profile: step back and keep the camera level so the beltline stays straight.
- Rear three-quarter: especially good for wide hips, diffusers, exhaust, and taillight design.
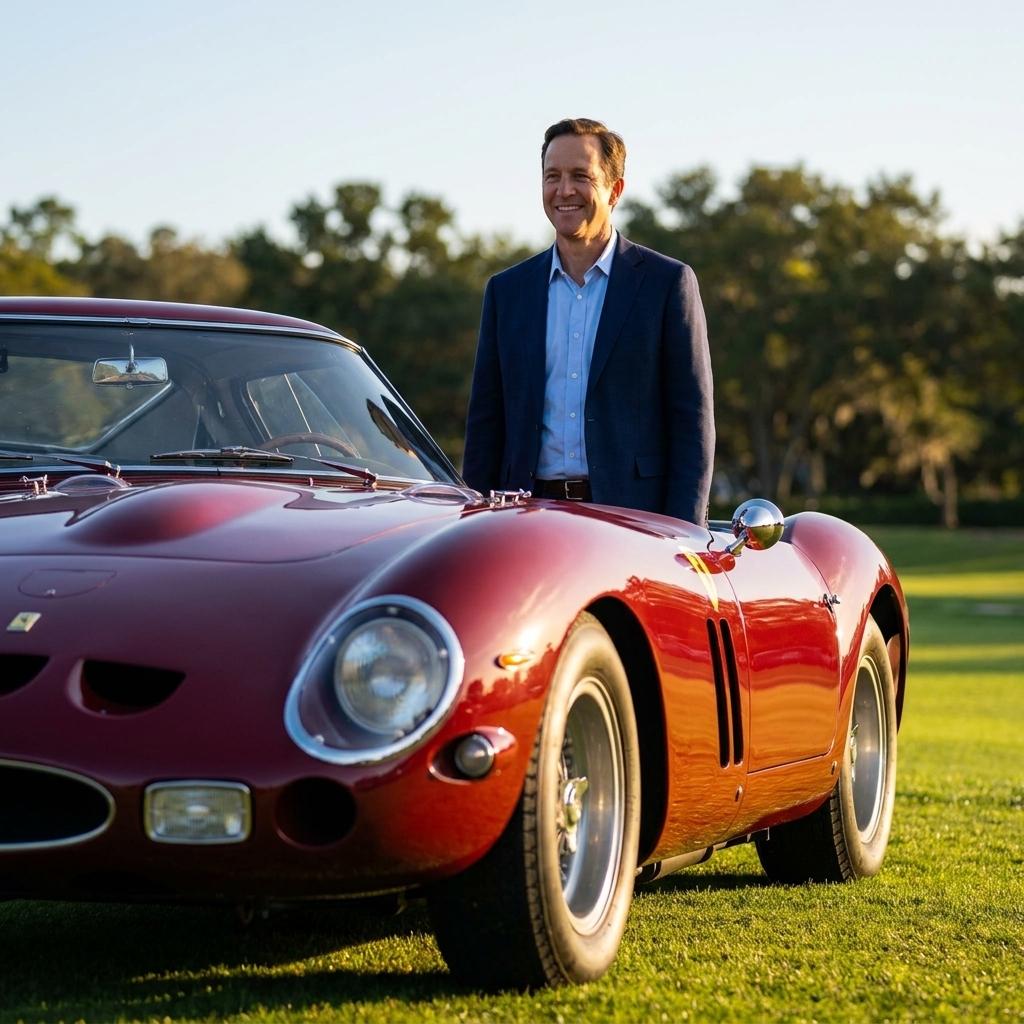
Once you have those three “insurance shots,” you can get creative without worrying you missed the basics.
4) Get low, stay level
Low angles make cars look planted and aggressive, but they also exaggerate perspective. The common mistake is tilting the camera and accidentally making the whole car look like it is sliding downhill.
- Turn on your grid lines and keep the horizon level.
- If the camera has a level indicator, use it.
- Watch vertical lines in the background. If light poles are leaning, your shot will feel off.
I like knee-height for most cars. For trucks or lifted rigs, waist-height often looks more natural.
Quick bonus check: if the front wheels are turned, see if you can wait for the owner to straighten them, or catch a moment when the front wheel is turned slightly toward the camera. It often looks more intentional than a random parking angle.
5) Use a polarizer
Reflections are part of car photography, but uncontrolled glare is not. A circular polarizer (CPL) can cut windshield shine, deepen paint color, and make clouds pop.
- DSLR or mirrorless: a CPL on a standard lens is a serious advantage at shows.
- Phone: there are clip-on polarizers that actually help, especially on glass and glossy hoods.
- Pro tip: rotate the filter while looking through the viewfinder until the glare fades. Do not overdo it, or the paint can look unnaturally flat.
Also remember a CPL costs you about 1 to 2 stops of light, so you may need a slightly higher ISO or slower shutter.
6) Use safe settings
Cars are stationary, but people are not. If you want sharp shots without a bunch of blurry legs passing through the frame, use settings that freeze motion, then adjust for the light you have.
Quick starting points
- Shutter speed: 1/250s or faster for general show shooting. Go 1/500s if the crowd is thick.
- Aperture: f/4 to f/8. f/5.6 is a great all-around choice for whole-car sharpness.
- ISO: keep it as low as you can while maintaining shutter speed. ISO 100 to 400 outside, ISO 800 to 3200 in indoor halls.
Indoor reality check: convention centers can be dim. If 1/250s forces silly ISO, drop to 1/125s, use stabilization if you have it, brace on a pillar, and shoot bursts. Timing helps too. People pause more than you think.
If you shoot on a phone, tap to focus on the car, then slightly lower exposure with the slider so highlights on paint and chrome do not blow out.
7) Protect highlights
In the shop, we say “listen to the engine, not the radio.” In car photography, it is “watch the highlights, not the shadows.” Modern sensors can recover shadows pretty well, but clipped highlights are gone forever.
- Use exposure compensation: try -0.3 to -1.0 EV in harsh light.
- Check your histogram if you have one. Avoid a hard spike on the right edge.
- Shoot RAW if your camera supports it. It gives you more room to fix exposure later.
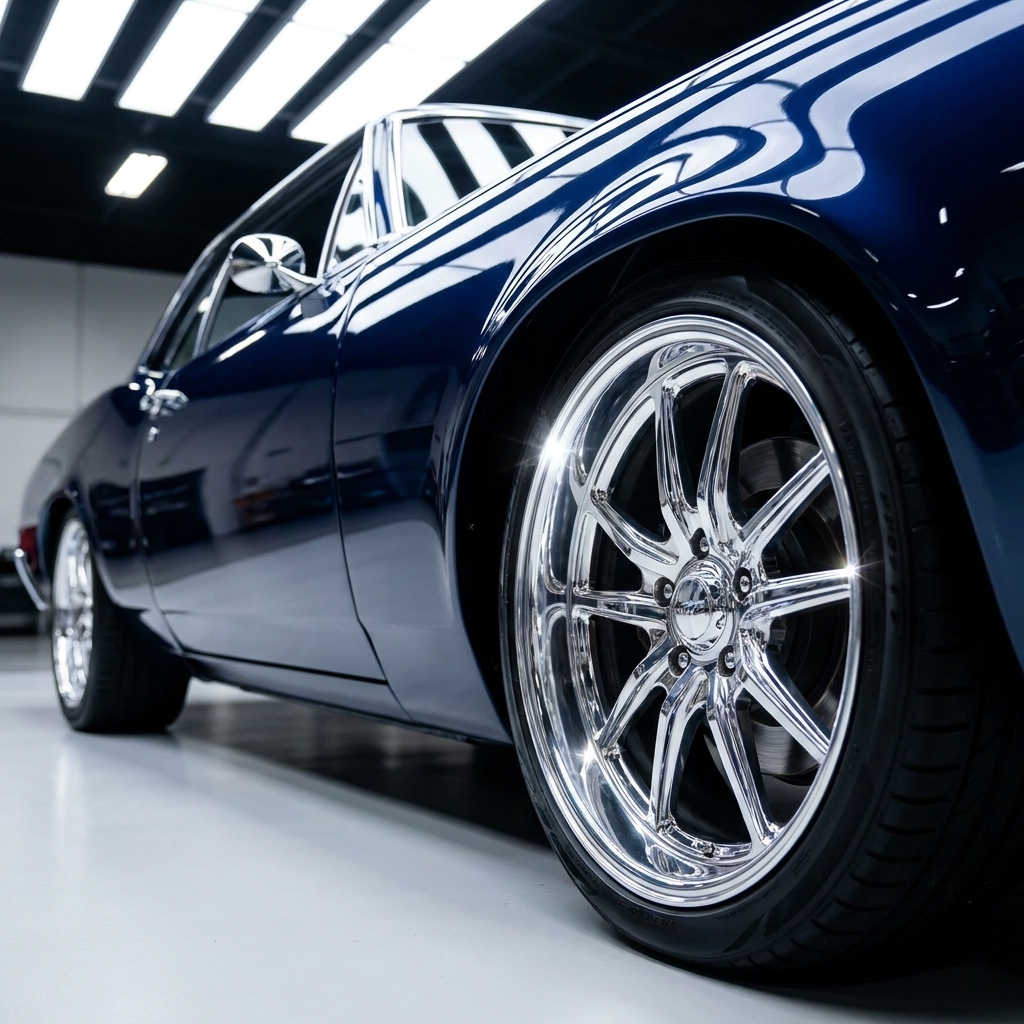
A slightly darker file that keeps highlight detail will edit into a cleaner final image than an overexposed one.
8) Shoot the details
Everyone gets the whole-car shot. The photos that feel personal are the details: the patina on a survivor, the stitching on a restomod interior, the knurling on a shifter, the bead roll in an engine bay panel.
- Use a longer focal length if you have it, like 50mm to 85mm on a full-frame body.
- Open up the aperture a bit, like f/2.8 to f/4, to blur the chaos behind the subject.
- Look for owner touches: plaque boards, trophies, hand-painted pinstripes, period-correct decals.
Details also help when the crowd will not clear. A tight shot of a taillight or wheel does not need an empty background to work.
9) Use the crowd
Sometimes you will not get a clean hero shot. Rather than fighting it, lean into the event vibe and show the car in its natural habitat.
- Frame owners talking with spectators. It adds scale and energy.
- Shoot through gaps between people to create a “peek” effect.
- Use slower shutter for intentional motion blur, like 1/30s to 1/60s, and stack the deck: use a wider lens, turn on stabilization, brace yourself, and shoot a short burst so one frame lands sharp.
The goal is not to pretend the show is empty. It is to make the scene feel alive without looking messy.
10) Edit consistently
A good edit should make the car look like it did in person, just cleaner. You do not need heavy filters. You need consistency.
My simple editing checklist
- Straighten: fix the horizon and verticals first.
- Crop with intent: avoid chopping off mirrors or spoilers unless you are going tight on purpose.
- Highlights down: protect paint and chrome.
- Shadows up slightly: reveal wheels and grille detail.
- White balance: correct weird indoor lighting so whites look neutral.
- Clarity and sharpness lightly: too much makes paint look gritty.
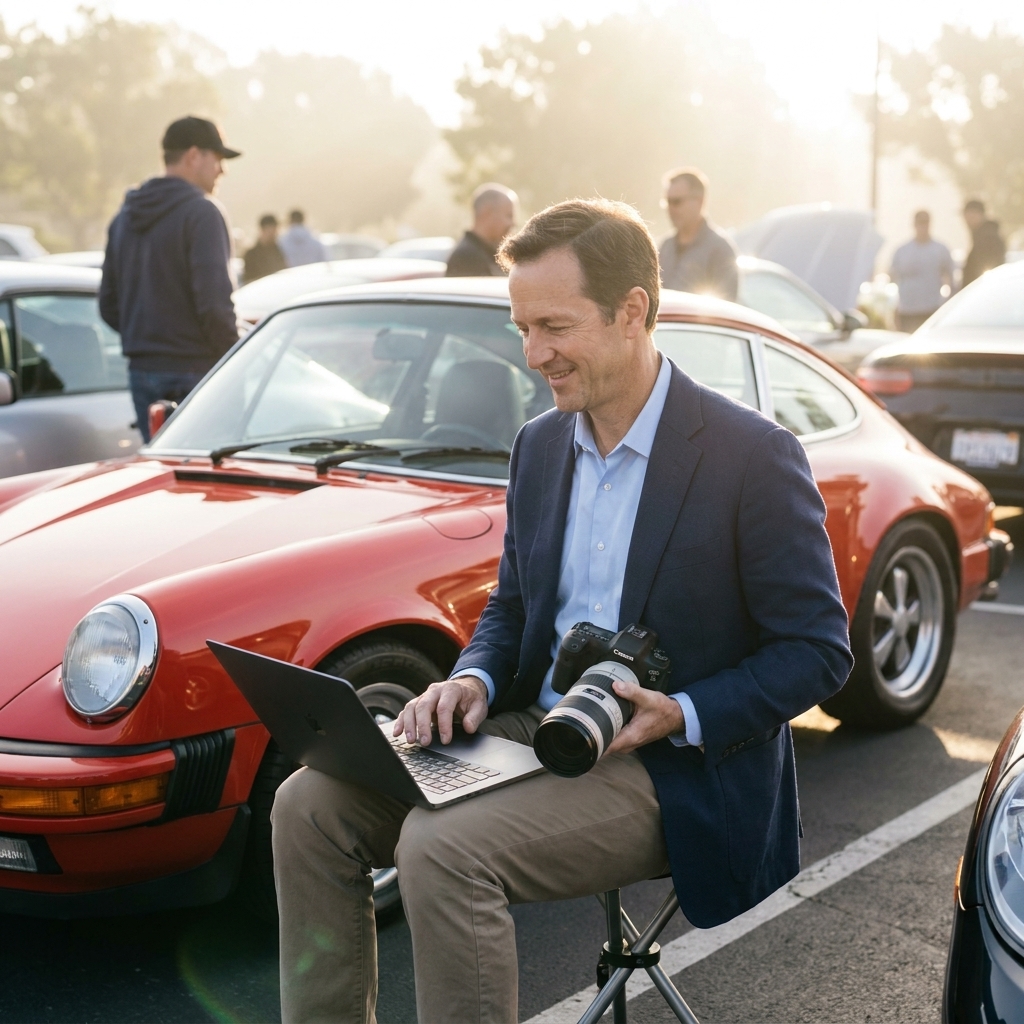
If you are shooting for social, export at a reasonable size and keep your edits consistent across the set. A cohesive album looks more professional than one perfect shot mixed with ten wildly different looks.
Quick phone tips
- Clean the lens first: a shirt sleeve works in a pinch, but a microfiber cloth is better.
- Avoid digital zoom: if your phone has a true 2x or 3x lens, use that instead.
- Tap to focus, then pull exposure down: shiny paint lies to your meter.
- Use burst mode: it is the easiest way to catch a clean frame between pedestrians.
- Enable RAW/ProRAW if you have it: it helps a lot with highlight recovery and mixed indoor light.
Quick gear checklist
- Phone shooters: microfiber cloth, clip-on CPL, small power bank.
- Camera shooters: standard zoom (24-70mm or equivalent), optional 50mm prime, CPL, extra battery, lens cloth.
- Nice to have: a small step stool for higher angles, especially in tight rows.
The cloth is non-negotiable. Smudges and dust kill contrast faster than bad settings.
Common mistakes
- Shooting too wide up close: it makes cars look stretched. Step back if you can.
- Ignoring reflections: check doors and fenders for you, trash cans, and bright shirts.
- Cutting off the wheels: unless it is a deliberate crop, keep the wheels in the frame.
- Forgetting badges and plates: a quick shot of the model badge or event plate helps tell the story later.
If you only remember one thing: move your feet, watch your highlights, and shoot a clean three-quarter angle before you do anything fancy.
Etiquette
- Ask before you lean in: especially for interior shots, engine bays, or anything that looks like you might touch the car.
- Do not open doors: unless the owner invites you. Simple rule, zero drama.
- Be mindful when posting: if a plate, kid, or personal info is prominent, consider cropping or blurring before you publish.
FAQ
What is the best lens for car shows?
A standard zoom is the easiest: 24-70mm on full-frame, or 18-55mm on APS-C. If you want cleaner detail shots, add a 50mm prime.
How do I avoid people in the background?
Change your position, shoot tighter details, and use a wider aperture to blur the background. Also, be patient. Crowds ebb and flow in waves. Burst mode helps you catch the gap.
What focus mode should I use?
Single point AF is the simplest for whole-car shots: put it on the headlight or badge and reframe. If people keep crossing your shot, switch to continuous AF and shoot a burst so the camera can keep up.
What settings should I use indoors?
Start at 1/125s, f/4, and ISO 1600 to 3200, then adjust. If the crowd is moving fast and you need to freeze it, push toward 1/250s and accept higher ISO. Indoor lighting is often mixed, so shoot RAW if possible and correct white balance in editing.