Rust is one of those problems that starts as a tiny orange freckle and turns into a serious money pit if you ignore it. I have watched it eat perfectly good rocker panels, seize brake lines , and turn “just a little bubbling” into a failed inspection. The good news is that corrosion is predictable. If you understand what you are looking at and you use the right products in the right order, you can slow it down hard and sometimes halt it in that area for a long time.
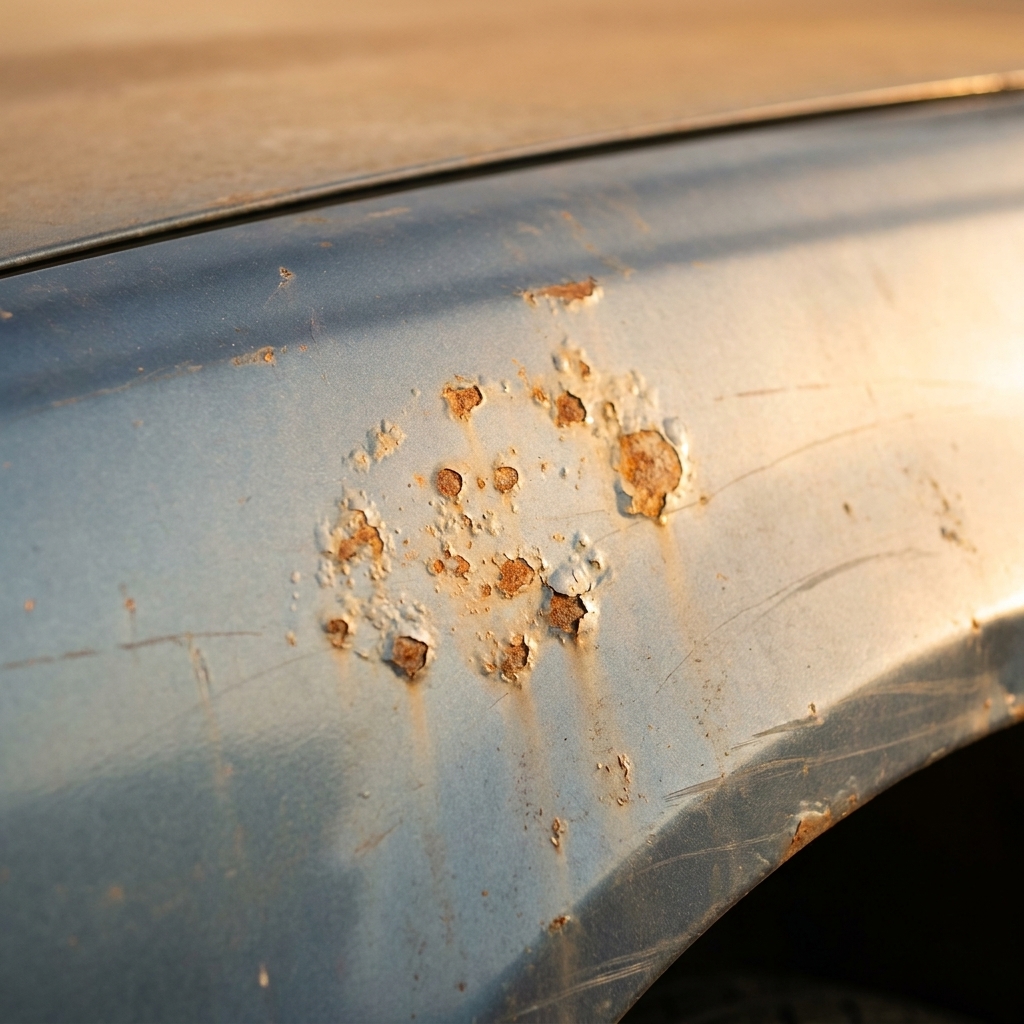
This guide breaks rust down into three buckets: prevention, treatment (chemical and mechanical), and true panel repair when metal is gone. I will also call out common mistakes I made early in my shop days so you do not have to learn the hard way.
Why cars rust in the first place
Steel wants to return to its natural state. When bare metal meets oxygen and moisture, you get iron oxide. Add road salt or coastal air and the reaction speeds up because salt makes water more conductive.
The usual rust starters
- Chips and scratches: Exposed metal under paint is an open invitation.
- Trapped moisture: Rocker panels, wheel arches, door bottoms, and trunk gutters hold dirt and water.
- Salt exposure: Winter brine and sea spray creep into seams and spot welds.
- Wrong repairs: Body filler over rust, paint over dust, or patches that leave moisture behind.
Modern cars have galvanization and coatings that help, but once a seam sealer cracks or a chip breaks through, the clock starts.
Surface rust vs scale vs rot
Before you buy chemicals or start sanding, figure out what kind of rust you are dealing with. This determines whether you can treat it, or whether you need to cut metal out.
Surface rust
What it looks like: Orange or brown discoloration on otherwise solid metal. Paint may be chipped or thin, but the steel is still smooth and strong.
What it means: You can usually sand it to clean metal and refinish.
Scale rust
What it looks like: Flaky, layered rust that sheds in chips. Often found on frames, suspension parts, brackets, and underbodies.
What it means: The metal is still there but has lost thickness. You need aggressive removal and a coating system designed for undercarriage use.
Structural rot and perforation
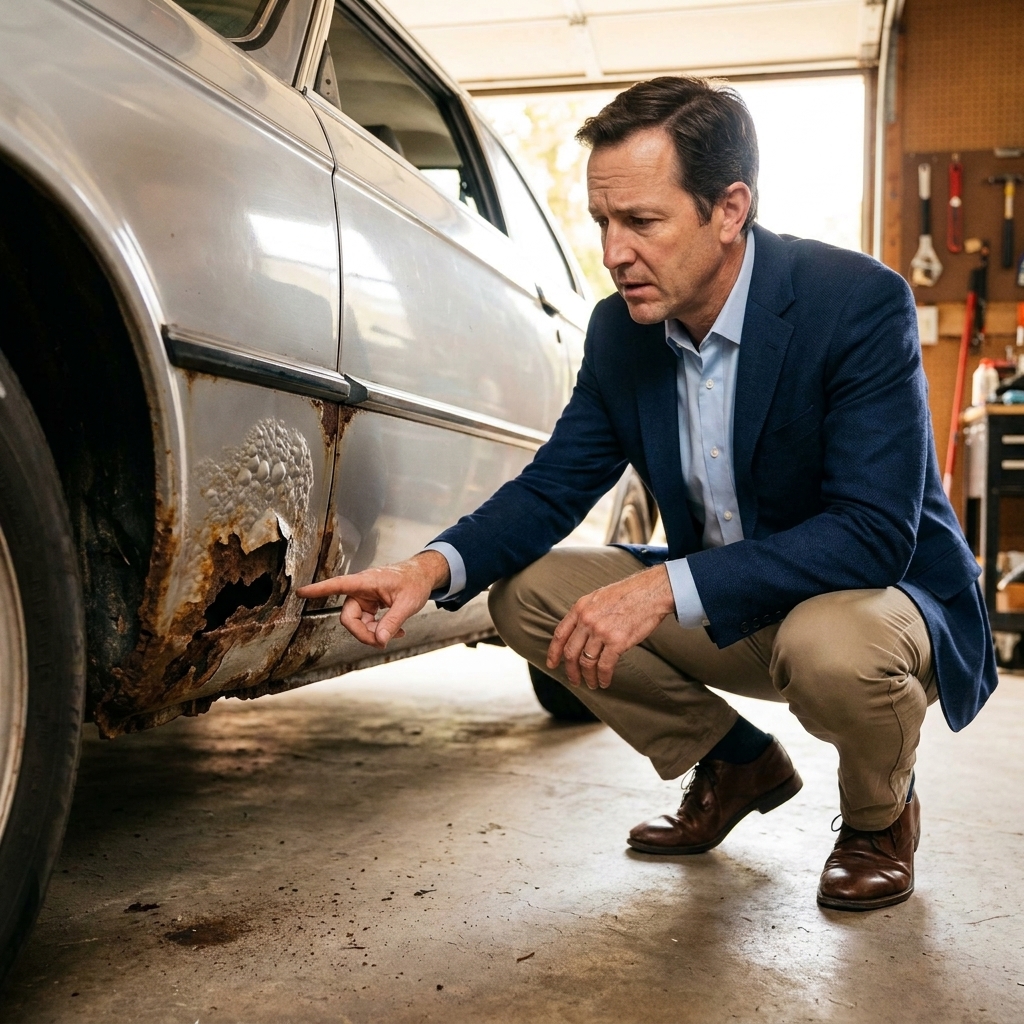
What it looks like: Bubbling paint, swollen seams, soft spots, holes, or metal that tears when you poke it. Common on rocker panels, floor pans, strut towers, and subframes.
What it means: Treatment alone will not restore strength. If it is part of the structure or a suspension mounting area, you need proper cut-and-weld repair or replacement.
Fast checks I trust
- Tap test: Use the handle of a screwdriver. Solid metal rings. Rot sounds dull.
- Pick test: Gently poke with a pick or awl. If it punctures easily, you are beyond “sand and paint.”
- Backside check: Rust often starts on the inside of panels. Look behind wheel liners, inside door bottoms, and under carpets if you suspect leaks.
Rust triage
Here is the decision tree I use in the driveway.
- Orange haze on solid metal? Sand to bare metal, prime, paint, protect.
- Flaking underbody rust but no holes? Knock off scale, treat, then encapsulate or coat.
- Bubbling at seams or a soft spot? Expect rust behind it. Plan for cutting and patching.
- Frame, subframe, strut tower, or suspension mount corrosion? Treat this as safety-critical. If you are not comfortable assessing strength, have a reputable shop inspect it.
Tools and supplies
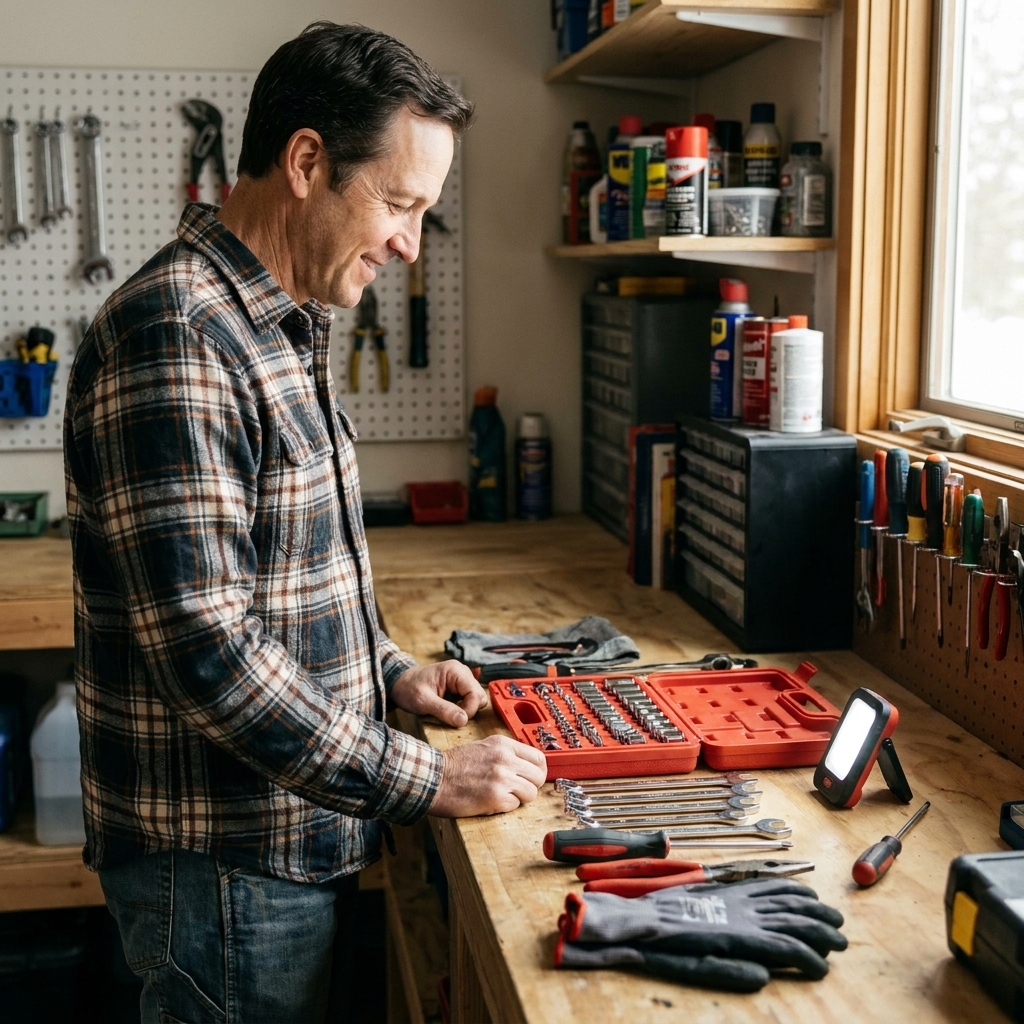
You do not need a full body shop to handle most rust, but you do need the right prep tools. Rust products are only as good as the surface you apply them to.
Prep and removal
- Wire wheels and cup brushes (drill or angle grinder)
- Flap discs (60 to 120 grit) for smoothing after wire brushing
- Sandpaper (80, 120, 220, 400 grit)
- Scrapers and pick tools for seams
- Vacuum and compressed air or a blower
Chemicals
- Wax and grease remover (or a proper panel wipe)
- Rust remover (chelation) or phosphoric acid prep, depending on approach
- Rust converter (turns remaining rust into a more stable layer)
- Rust encapsulator (seals and isolates rust from oxygen and moisture)
- Epoxy primer for bare metal in paint areas
- Seam sealer for joints
- Cavity wax or corrosion inhibitor for inside panels
Safety
- Nitrile gloves and eye protection
- Respirator rated for particulates and paint vapors when spraying
- Hearing protection for grinding
- Good ventilation, especially with solvents, aerosols, and acids
Grinding dust, old undercoats, and chemical vapors are not the kind of “tough it out” problem you want. Suit up.
If you take one thing from the list, take this: cleaning and prep are the job. The coating is the reward.
Prevention
The cheapest rust repair is the one you never have to do. This is the routine I recommend to friends who drive through winter salt or park near the ocean.
Wash smarter
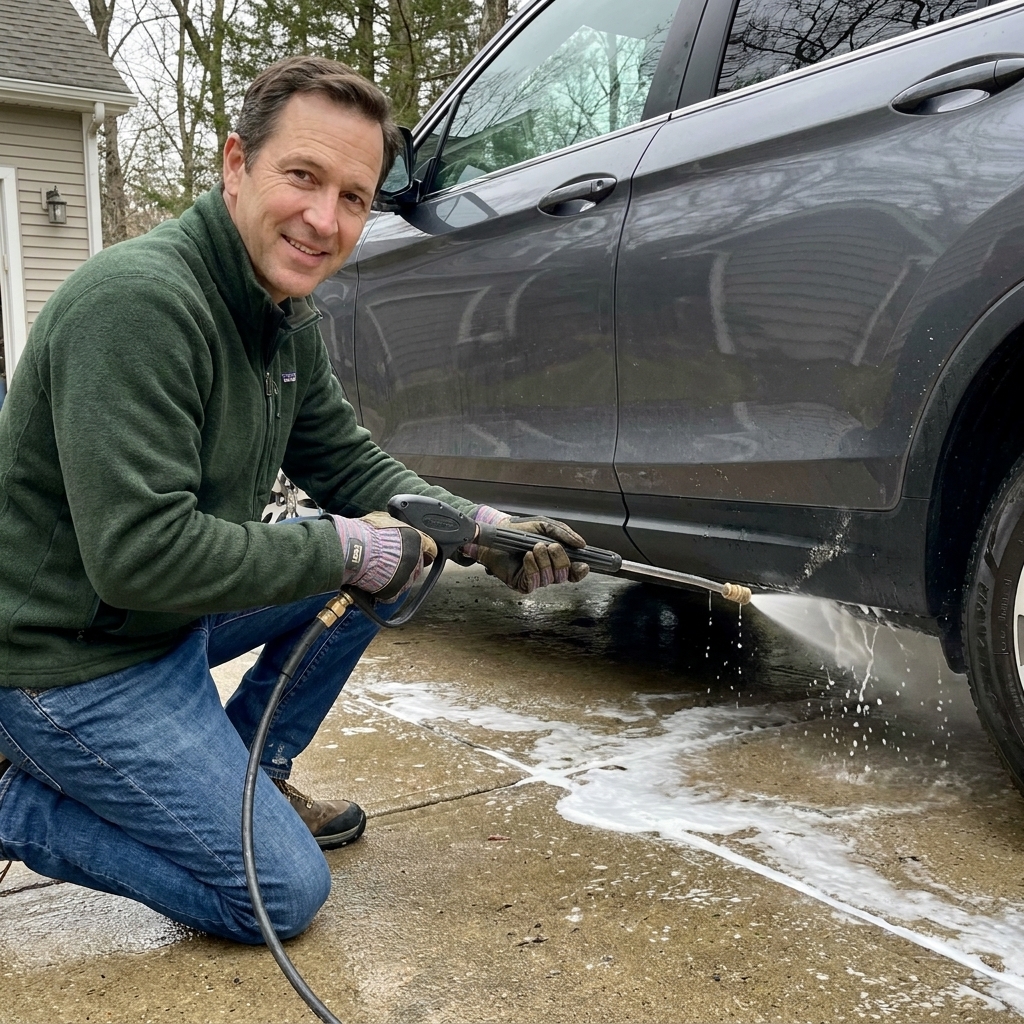
- Rinse the underbody regularly: Especially after storms and when salt is fresh.
- Hit the traps: Wheel arches, behind mud flaps, rocker pinch seams, and the lip of the trunk.
- Clear drains: Sunroof drains, door drains, and cowl drains. Clogged drains create wet carpets and hidden floor rust.
Add protection
- Cavity wax inside doors, rockers, and quarter panels: This creeps into seams and stays flexible.
- Rubberized undercoating: Use carefully. It can trap moisture if applied over active rust or over dirty metal.
- Paint protection film or touch-up: Fix chips early, especially on the hood and leading edge of fenders.
If you only do one prevention step, do cavity wax. Rust loves seams, and seams live inside panels.
Treatment
There are two broad strategies: remove rust to clean metal, or stabilize what you cannot fully remove. The best results usually combine both.
Step 1: Strip to the truth
Start by removing loose paint, loose rust, and anything that is flaking. You want a firm base. For surface rust on body panels, sanding to bright metal is ideal. For underbody scale rust, remove everything that is loose and then feather the edges.
Step 2: Clean like you mean it
After grinding and sanding, blow off dust and wipe with wax and grease remover. Do not skip this. Dust and oily fingerprints can cause adhesion failure, which is a fancy way of saying your new coating will peel and rust will come right back.
Step 3: Choose the correct chemistry
This is where people get burned. Rust products are not interchangeable, and “close enough” is how you end up doing it twice.
- Rust removers (chelation baths or gels): Great for parts you can remove like brackets, hardware, and small components. They typically dissolve rust without aggressively attacking good metal when used as directed, but dwell time matters. Rinse or wipe per the instructions and dry thoroughly.
- Phosphoric acid preps: Often used to etch and convert light rust, leaving a phosphate layer. Excellent as a prep step, but follow the product directions closely. Some systems are rinse and dry, others are wipe on and let dry. Do not assume you must neutralize or rinse unless the label says so.
- Rust converters: These react with remaining rust and turn it darker, creating a more stable surface. Best used when you cannot get 100 percent to clean shiny metal, like pits or seams.
- Rust encapsulators: These are barrier coatings designed to seal in rust and block moisture and oxygen. They need solid adhesion, so remove all loose scale first.
Converter vs encapsulator
Use a converter when you have light to moderate rust remaining in pits after sanding, and you plan to topcoat with primer and paint. Use an encapsulator when you are coating underbody areas, frames, or places you will not be blending body color, and your main goal is sealing and durability.
Compatibility matters
Most rust failures I see are not because someone picked a “bad” product. They happen because someone mixed systems.
- Do not assume a converter is a primer: Many need a specific topcoat, a scuff step, or a recoat window.
- Epoxy primer is great on clean bare steel: It is not always happy over every converter. If the converter manufacturer calls for their own primer, follow that.
- Respect recoat windows: Some coatings want the next layer while tacky, others want a full cure and a scuff. Read the TDS if you can find it.
- When in doubt, stay in one product family: Converter, primer, topcoat, and seam sealer from a compatible system saves headaches.
Body panel surface rust workflow
- Sand surrounding paint back to a stable edge (80 to 180 grit).
- Sand rust to bright metal. If pits remain, use a rust converter per instructions.
- Apply epoxy primer over bare metal once the surface is clean and dry.
- Use a high-build primer if you need to level minor sanding marks.
- Color coat and clear coat if it is an exterior panel.
- After cure, protect with wax or sealant.
Underbody scale rust workflow
- Knock off loose scale with a wire wheel or scraper.
- Degrease thoroughly and let it dry.
- Apply converter if the product system calls for it, then let it cure fully.
- Apply an encapsulator or chassis paint in the recommended number of coats.
- Finish with cavity wax in seams and inside boxed sections.
Temperature and cure times
Most coatings and converters have a minimum temperature and specific cure times. If you paint a cold, damp underbody and call it done, you are gambling. Work in the recommended conditions for the product, or wait for a better day.
Seams and cavities
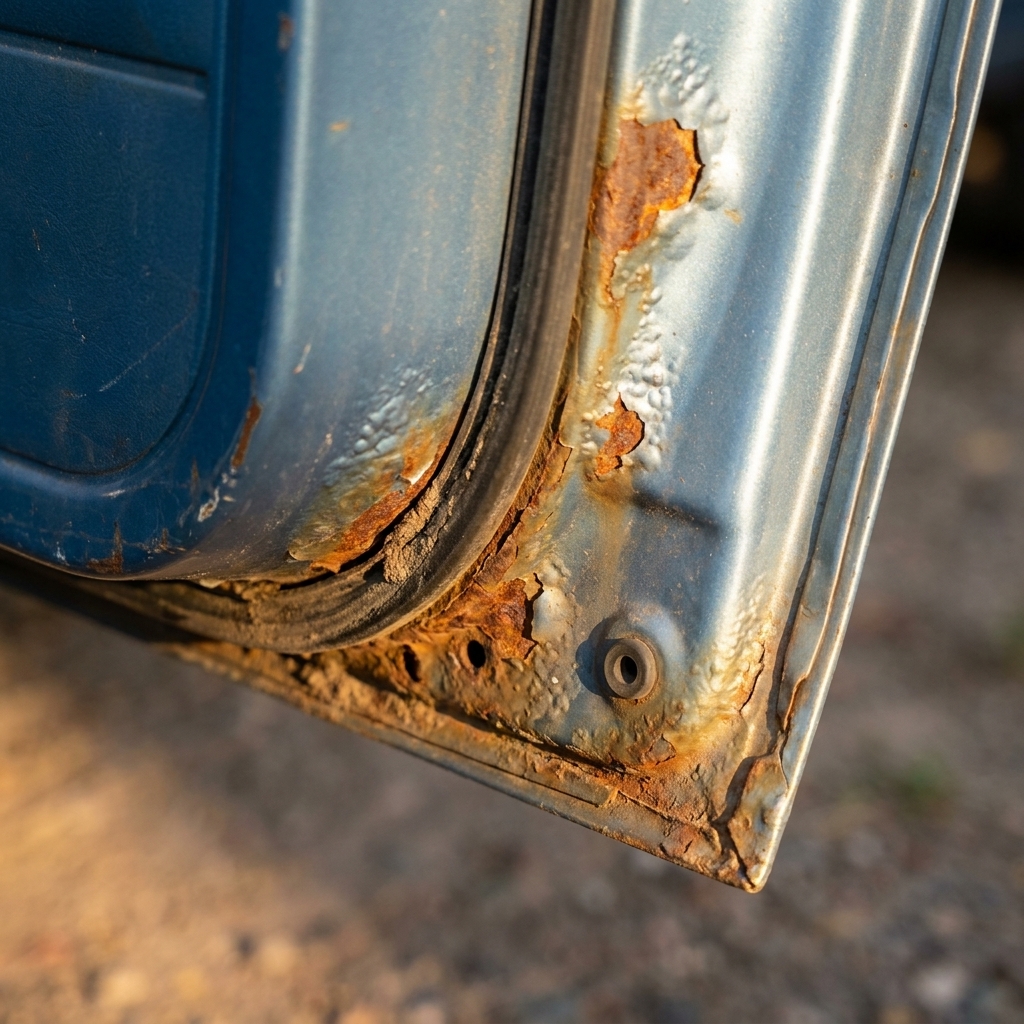
Rust rarely starts where you can see it. Door bottoms, rocker panels, quarter panels, and hatch seams rust from the inside out because condensation and debris get trapped.
How to slow seam rust
- Clean drains: Make sure door and hatch drains are open.
- Flush debris: Carefully rinse out rocker and fender pockets, then let them dry.
- Use cavity wax: Spray inside the panel with a wand so it creeps into spot-weld seams.
- Reseal seams: If you have a repaired seam, apply seam sealer over primed metal, then topcoat.
If a seam is bubbling, assume there is more rust behind it than you can see. That is not pessimism, that is experience.
Aluminum panels
Not every panel on a modern car is steel. Many hoods, some doors, and a lot of suspension parts can be aluminum.
- Aluminum does not rust like steel: It oxidizes and pits, and the white powdery corrosion is its own problem.
- Steel rust products are not automatic wins: Many converters and “rust” chemicals are meant for iron oxide. Use products and primers approved for aluminum, and follow the prep steps.
- Watch for mixed-metal corrosion: When steel fasteners meet aluminum, corrosion can start at the contact point, especially with salt.
If you are not sure what you are sanding, check a magnet. It is a simple test that prevents expensive mistakes.
Panel repair
Once rust has perforated a panel, you are not “treating” anymore. You are rebuilding missing metal. The right method depends on where the rust is and what the panel does.
Non-structural panels
For cosmetic areas that are not structural, a patch can be acceptable if you remove all rust and protect the backside. That said, replacing a bolt-on fender is often cheaper long-term than sculpting a patch with filler.
Structural areas
These are safety-critical. If the rust affects seat mounts, suspension mounts, jacking points, or the unibody rails, the repair should be cut-and-weld with proper steel thickness and corrosion protection. If you are not set up to weld, this is where a trustworthy body shop earns its keep.
Also, be realistic about modern structures. High-strength steel, crumple zones, and nearby wiring, fuel lines, and sensors can turn a “simple patch” into a bigger risk than people think. If you are unsure, look up OEM repair guidance or have a shop assess it.
DIY welded patch basics
If you are comfortable welding and you have safe access, here is the general approach that works.
- Expose the full damage: Strip paint back beyond the rust. Rust loves to hide under paint edges.
- Cut to clean metal: Cut out all thin metal until you hit solid steel all around.
- Make a patch panel: Match thickness and contour. Cardboard templates help.
- Weld properly: Tack welds spaced out to control heat, then stitch to close gaps.
- Grind and seal: Grind welds, apply epoxy primer, then seam sealer where appropriate.
- Protect the backside: This is huge. Use weld-through primer where needed during fabrication, then cavity wax after paint.
Why filler over holes fails
Body filler is not a rust repair. If you bridge a hole without removing rust and sealing the backside, moisture keeps working and the “repair” bubbles again, sometimes within a season. Filler has a place for smoothing over solid metal, not replacing it.
Best practices
Focus on the backside
Paint on the outside looks great, but rust often returns because the inside surface is still raw. Whenever you can, coat both sides of the repair. After the paint cures, fog the inside with cavity wax.
Use epoxy primer on bare steel
For exterior refinishing, epoxy primer is a strong foundation because it seals well and bonds to metal. Many failures I have seen start with the wrong primer or poor surface prep.
Respect cure times
Converters, encapsulators, primers, and topcoats all have temperature and cure-time requirements. Rushing steps traps solvents and moisture, which hurts adhesion.
Do not trap moisture
Rubberized undercoating can be fine on clean, dry, properly prepped surfaces. Spraying it over active rust or damp metal can create a rust incubator.
Rust hotspots
- Wheel arches and fender lips
- Rocker panels and pinch welds
- Bottoms of doors and hatch or trunk seams
- Fuel filler door area
- Rear subframe mounts and front control arm mounts
- Brake lines, especially where clips hold them to the body
- Spare tire well and trunk gutters
If you catch rust early in these areas, you will save yourself the kind of repair that takes a weekend and turns into a month.
FAQ
Can I just use a rust converter and paint over it?
Sometimes, yes, but only if the converter is designed to be topcoated and the surface is properly prepped. Many systems want a compatible primer over the converter, and some require scuffing or a specific recoat window. Follow the product instructions, not generic advice from a forum post.
What is the difference between rust converter and rust remover?
Removers dissolve and lift rust off the metal. Converters chemically change remaining rust into a more stable compound so you can coat it.
Is undercoating worth it?
It can be, but the prep matters more than the product. A clean, dry surface plus cavity wax inside panels is often a better long-term play than spraying thick coating over questionable rust.
When is rust a safety issue?
If it involves the frame or unibody rails, strut towers, suspension mounts, seat belt anchors, seat mounts, or brake and fuel lines, treat it as safety-critical. If you are not sure, get it inspected.
How do I stop rust from coming back after a repair?
Remove all loose rust, seal bare metal with epoxy primer or a quality coating, reseal seams, and protect the backside with cavity wax. Rust returns when oxygen and moisture find a path back to steel.
Closing note
Rust can feel intimidating because it is messy and it never sleeps. But once you break it down into a process, it becomes manageable. Start with honest inspection, remove what you can, stabilize what you cannot, and always protect the hidden side of panels. Your future self will thank you the next time you put the car on jack stands and everything still looks solid.