Bleeding your brakes sounds intimidating until you understand what you’re actually doing: pushing old brake fluid and trapped air out of the hydraulic system so the pedal feels firm again. Air compresses, brake fluid doesn’t, and that is why even a small bubble can turn a confident stop into a squishy pedal.
I’ll walk you through a safe, repeatable DIY method that works for most cars and light trucks. We’ll cover what to buy, how to lift the car safely, the typical wheel order, and what to do if the pedal still feels off when you’re done.
Before you start: is bleeding the right fix?
Bleeding removes air and replaces old fluid. It’s the right move if you have:
- A soft or spongy brake pedal
- Brake work done recently (caliper, hose, master cylinder, pads, etc.)
- Dark or dirty brake fluid (brown instead of light amber)
- Fluid that is older than the service interval (commonly every 2 to 3 years, check your manual)
Bleeding will not fix:
- Bad pads or rotors
- A leaking brake line, caliper, wheel cylinder, or master cylinder
- A failing brake booster (hard pedal)
- ABS or stability control faults that are triggering warning lights
Safety rule: If you see any wetness at a brake hose, line fitting, caliper, or behind a wheel, stop and repair the leak first. You cannot “bleed away” a leak.
Tools and supplies
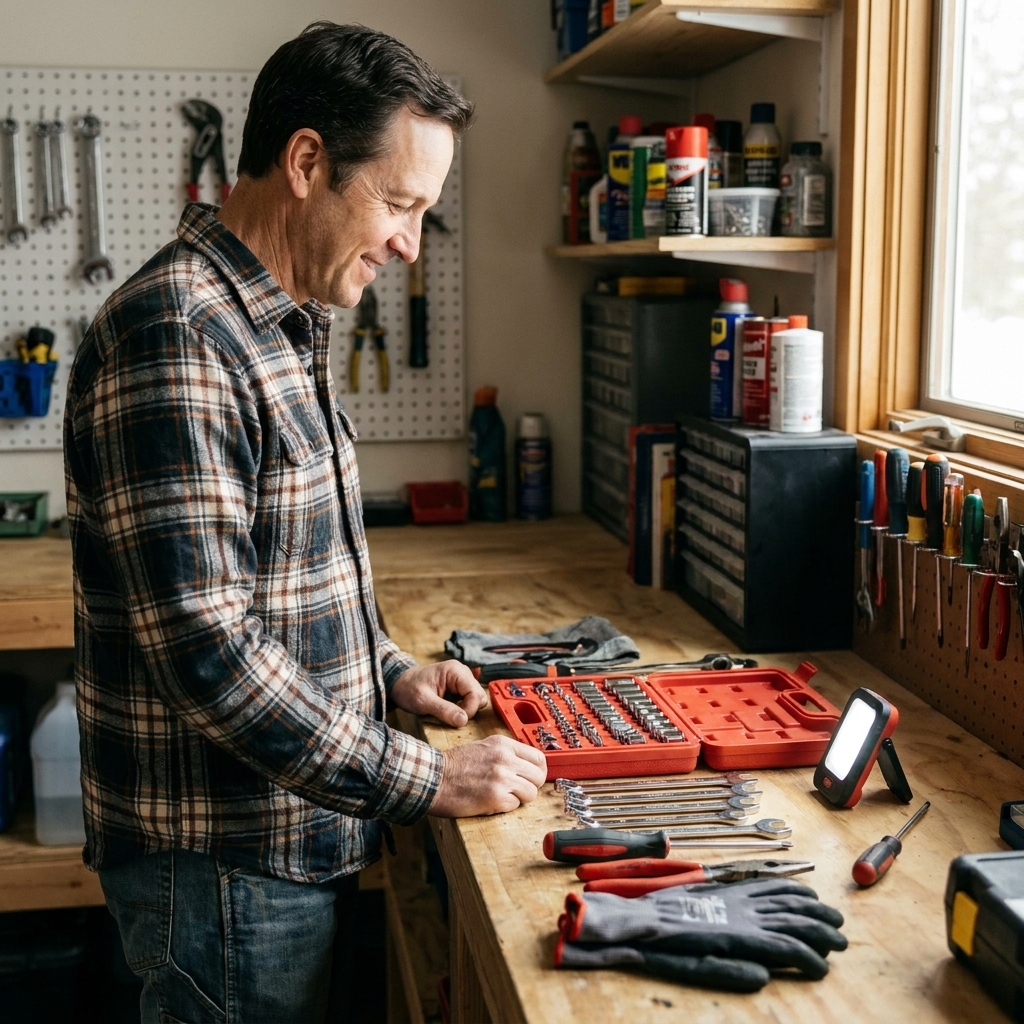
What you’ll need
- Brake fluid (check the cap or owner’s manual for DOT 3, DOT 4, DOT 5.1, etc.)
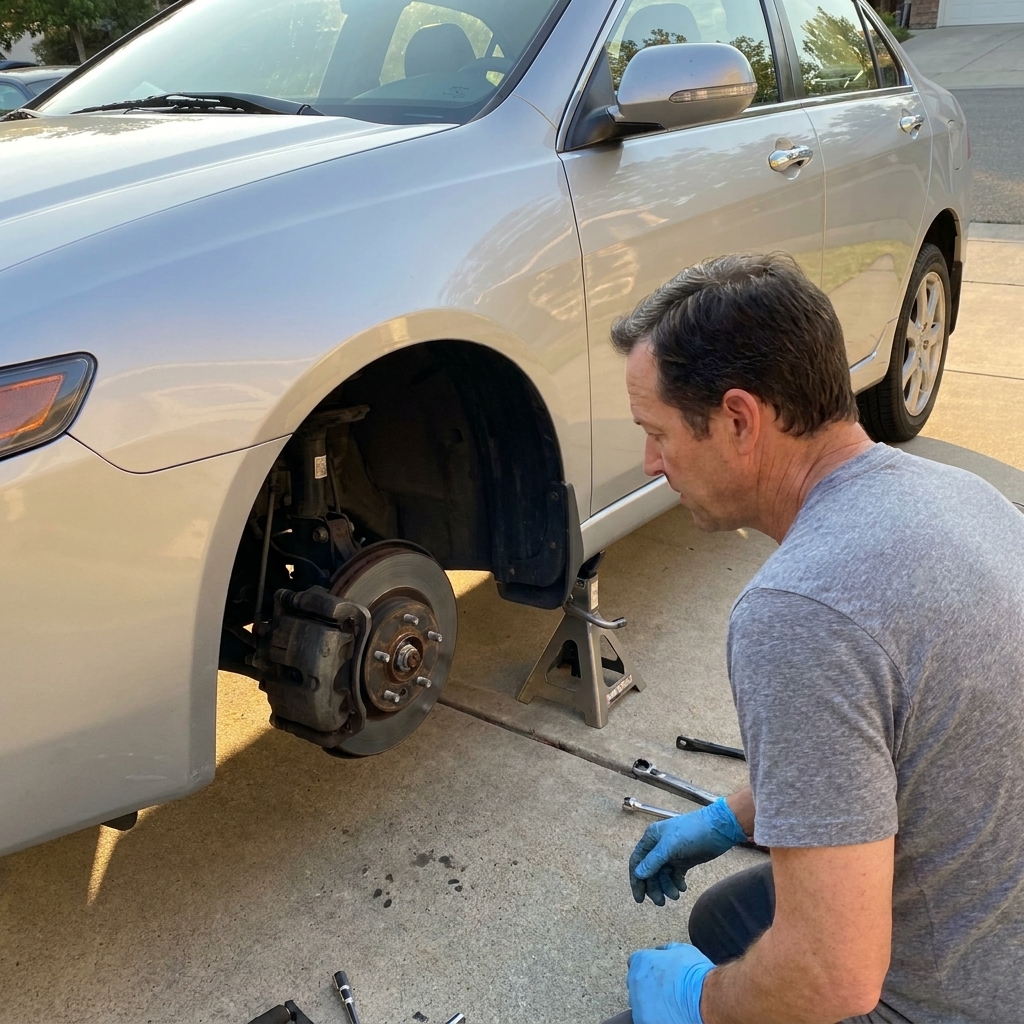
- Jack and jack stands (never rely on a jack alone)
- Wheel chocks
- Lug wrench or impact with correct socket
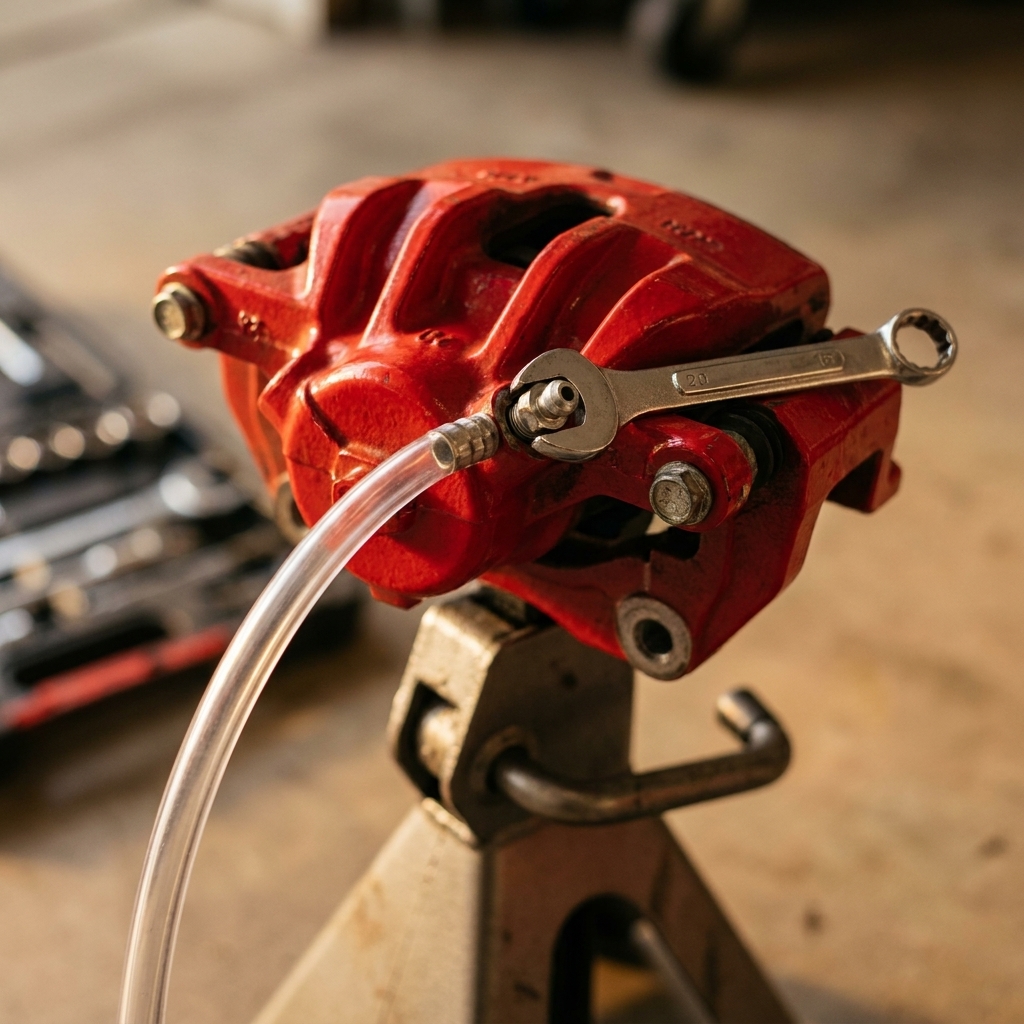
- Box-end wrench for bleeder screws (commonly 8mm, 10mm, or 11mm)
- Clear vinyl hose that fits snugly over the bleeder nipple
- Catch bottle (a clean jar or bottle works)
- Brake cleaner and shop rags
- Gloves and safety glasses
Helpful upgrades
- One-person bleeder bottle with a check valve
- Hand vacuum pump for vacuum bleeding
- Pressure bleeder for the cleanest, most consistent flush
- Torque wrench for lug nuts
- Turkey baster or fluid syringe to remove old fluid from the reservoir (optional, but helpful)
Brake fluid basics (read this)
Use the DOT rating your vehicle specifies. DOT 3, DOT 4, and DOT 5.1 are glycol-based. In many cases DOT 4 can be used where DOT 3 is specified, but do not “downgrade” to DOT 3 if your vehicle requires DOT 4 or DOT 5.1. When in doubt, follow the cap and the manual.
- Do not use DOT 5 (silicone-based) unless the vehicle specifically calls for it. Mixing DOT 5 with DOT 3, DOT 4, or DOT 5.1 can cause serious problems.
- Use a fresh, sealed bottle. Brake fluid absorbs moisture from the air, which lowers its boiling point.
- Protect paint. Brake fluid can damage painted surfaces. Wipe spills immediately and rinse with water.
Setup: lifting the car safely
Park on level ground. Set the parking brake and put the car in Park (automatic) or in gear (manual).
Chock the wheels that stay on the ground.
Crack lug nuts loose about a quarter turn before lifting.
Lift the vehicle at the recommended jack point and set it securely on jack stands.
Remove the wheels for easier access to bleeder screws (you can sometimes do it with wheels on, but it’s usually a knuckle-buster).
Find the correct wheel order
Most vehicles bleed from the wheel farthest from the master cylinder to the closest. A common order is:
- Right rear
- Left rear
- Right front
- Left front
But some vehicles, especially those with certain ABS setups or diagonally split systems, use a different sequence. If you have access to a factory service manual or a reputable repair database, follow that order.
If you’re not sure, the “farthest to closest” approach works for many cars, but it’s not universal. When in doubt, look it up for your specific year, make, model, and brake system.
Step-by-step: two-person method
This is the classic driveway method. One person works the brake pedal inside the car, the other manages the bleeder screw at the wheel.
1) Prep the reservoir
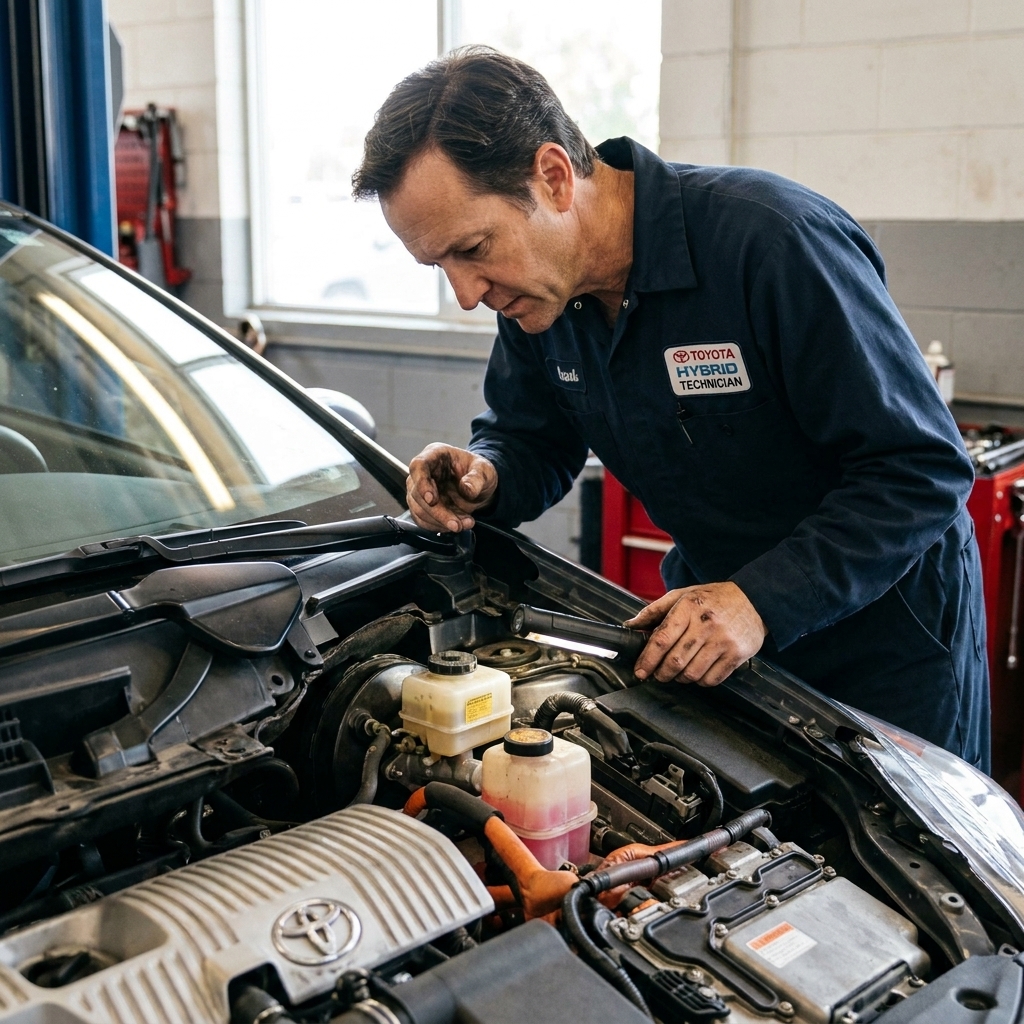
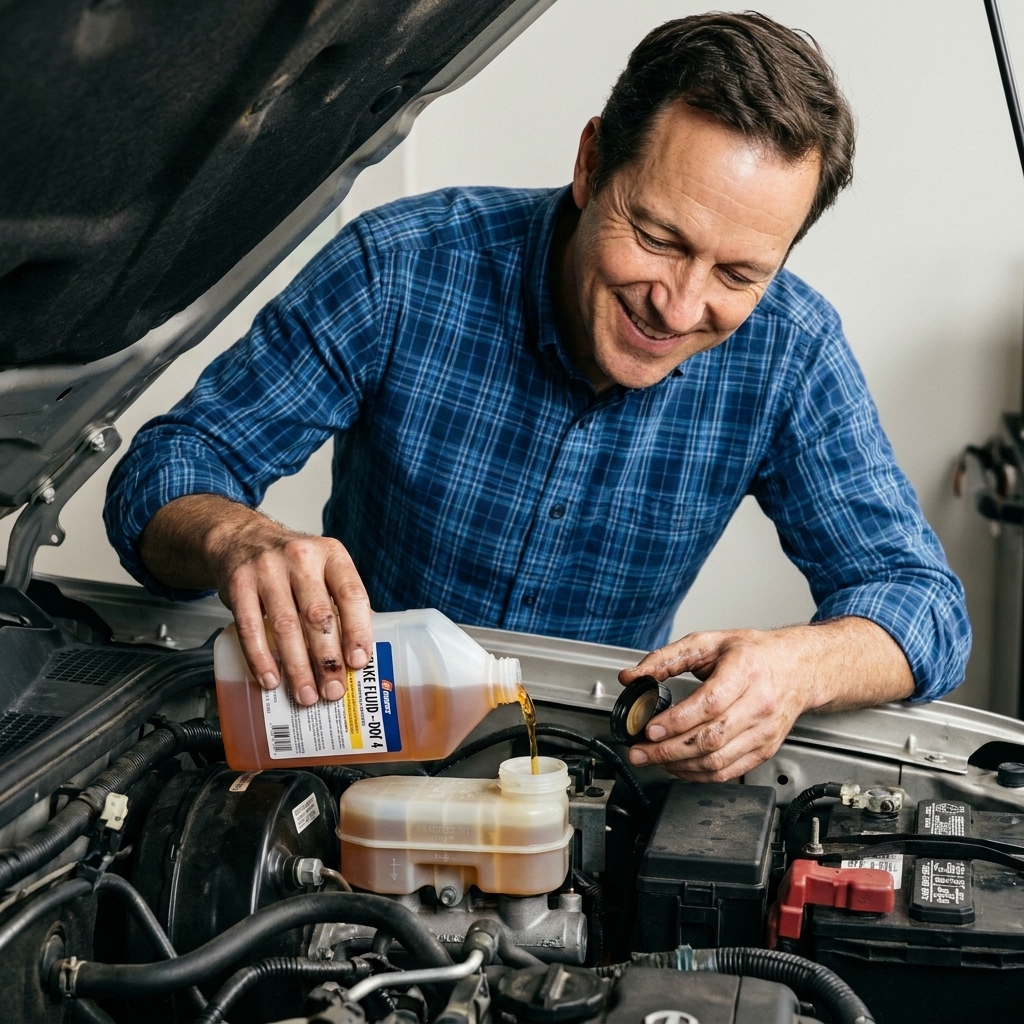
Pop the hood and locate the brake fluid reservoir on the master cylinder.
Clean dirt away from the cap so debris doesn’t fall in.
If the fluid is very dark, you can carefully suck most of it out of the reservoir with a turkey baster or syringe and refill with fresh fluid. Do not expose the ports at the bottom of the reservoir, and do not reuse the tool for anything else.
Remove the cap and top off to the MAX line with the correct fluid.
Important: Keep the reservoir above the MIN line the whole time. If it sucks air, you can introduce bubbles into the master cylinder and turn a simple job into a long afternoon.
Note: Some reservoirs have a small screen or filter insert. If yours does and it is packed with sludge, clean it gently with fresh brake fluid and reinstall it. Do not blast it with shop air.
2) Set up at the first wheel
Locate the bleeder screw on the caliper (or wheel cylinder on drum brakes).
Spray a little penetrating oil if it looks crusty, and brush off dirt.
Slip the box-end wrench over the bleeder screw.
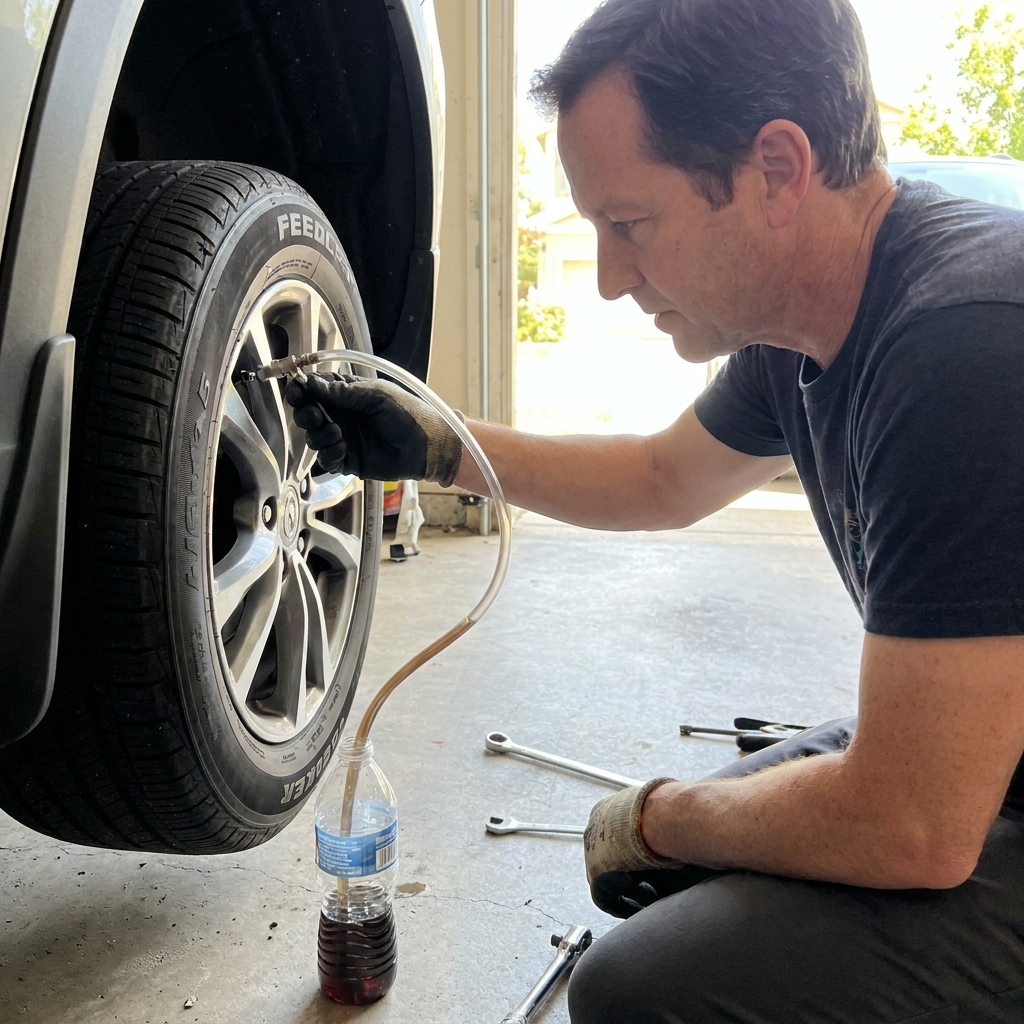
Push the clear hose onto the bleeder nipple and run the other end into your catch bottle.
Add a small amount of clean brake fluid to the bottle so the hose end stays submerged. This helps prevent air from being pulled back in.
3) Bleed the wheel (the rhythm matters)
Here’s the cadence I teach new techs because it keeps air from sneaking back in:
Pedal operator: Slowly pump the brake pedal 3 to 5 times, then hold steady pressure.
Bleeder operator: Crack the bleeder screw open about a quarter turn. Fluid and air will flow through the hose. The pedal will sink.
Bleeder operator: Close the bleeder screw before the pedal operator releases the pedal.
Pedal operator: Release the pedal slowly, then repeat.
Older or high-mileage vehicles: Avoid slamming the pedal to the floor during manual bleeding. If the master cylinder bore is worn or has corrosion in the unused travel area, full-stroke pumping can damage the seals. Use smooth, mid-length strokes, or use a pedal stop (a block of wood under the pedal works).
Keep going until you see consistent fluid with no obvious bubbles coming through the hose. Color can help, but it is not perfect. New DOT 3 and DOT 4 fluid can be nearly clear to light amber. Your real goals are air-free flow and a consistent pedal.
4) Watch the reservoir level
After every few cycles, check the reservoir and top it off as needed. Do not let it run low.
5) Move to the next wheel
Repeat the same steps at each wheel in the correct order.
Quick checklist
- Correct wheel order for your vehicle
- Reservoir stays above MIN the whole time
- Close bleeder before the pedal comes up
- Slow, smooth pedal strokes (do not hammer it)
Alternative methods: one-person bleeding
One-person bleeder bottle
This tool lets fluid flow out without letting air back in. It’s not as fast as a pressure bleeder, but it’s convenient.
- Keep the hose end submerged in fluid.
- Pump slowly. Fast pumping can aerate fluid and create tiny bubbles.
Vacuum bleeding
A vacuum pump pulls fluid from the bleeder screw. It works well, but it can draw air around the threads of the bleeder screw, which looks like bubbles in the hose even when the system is fine.
- Optional tip: You can wrap the bleeder screw threads with a tiny amount of PTFE tape to reduce false bubbles. Use it sparingly and keep it away from the fluid passage. If your service info discourages thread sealants, skip this tip.
- Maintain reservoir level frequently, vacuum bleeding can move fluid quickly.
Pressure bleeding
A pressure bleeder pushes new fluid from the master cylinder down and out at the wheels. This is my favorite for a full flush because it’s consistent and less likely to introduce air.
If you go this route, follow the pressure bleeder instructions carefully and do not exceed the recommended pressure for your vehicle.
How to know you’re done
You’re aiming for:
- No visible air bubbles in the clear hose
- Consistent fluid flow that is free of foam and spurts
- Firm brake pedal that feels consistent and does not continue sinking under steady pressure
When finished:
Top off the reservoir to the correct level and reinstall the cap.
Clean any spilled fluid with brake cleaner and rags.
Reinstall wheels and torque lug nuts to spec.
With the engine off, pump the brake pedal until it feels firm.
Start the engine. The pedal will drop slightly with booster assist, but it should still feel solid.
First test drive
Choose an empty parking lot or a quiet street.
- Start with gentle stops at low speed.
- Build up to moderate stops only after the pedal feels consistent.
- Watch for warning lights (ABS, brake, traction control).
- After the drive, re-check the reservoir level and look for leaks at each bleeder screw and brake hose connection.
If the pedal is still soft, do not convince yourself it will “get better.” Brakes are not the system to gamble on.
Troubleshooting a soft pedal
You still have air
- Re-bleed using slow pedal strokes and the correct wheel order.
- Tap the caliper lightly with a rubber mallet to help stubborn bubbles rise.
- Ensure the hose fits tight on the bleeder nipple.
The reservoir ran low
If the master cylinder sucked air, you may need to bleed longer, and in some cases bench-bleed the master cylinder (especially if it was replaced).
Bleeder is leaking or sucking air
- Make sure it is snugged properly (do not over-tighten and snap it).
- Check for damaged bleeder screw seats or corrosion on the caliper.
Hoses are ballooning
A soft pedal can come from hoses expanding under pressure. If your car is older and the hoses look cracked or swollen, replace them before chasing your tail with more bleeding.
Master cylinder issue
If the pedal feels firm at first but then keeps sinking while you hold steady pressure, that can point to an internal master cylinder bypass. A slight initial settle can be normal, but continued sinking is a red flag.
ABS needs a scan tool
Some vehicles require an ABS “automated bleed” with a scan tool after the system has been opened. If you replaced major components or ran the system very low, this can be the missing step.
Electronic parking brake note
Bleeding is usually the same, but if your vehicle has an electronic parking brake, follow the service mode procedure for any rear brake work or caliper service. Access and setup can differ by model.
Disposal and cleanup
Brake fluid is hazardous waste. Pour the old fluid into a sealed container and take it to a local recycling center or auto parts store that accepts automotive fluids. Do not dump it on the ground and do not pour it down a drain.
Wipe tools and any drips, then rinse any painted areas that may have been splashed with water.
FAQ
How long does it take?
Plan for 45 to 90 minutes for most DIY jobs, longer if you are doing a full flush on a larger vehicle or fighting rusty bleeder screws.
Should I pump fast?
No. Fast pumping can aerate the fluid and create tiny bubbles. Slow, steady strokes give better results.
Can I bleed without removing wheels?
Sometimes, yes. Many cars still require wheel removal for safe access to the bleeder screws and to avoid rounding them off. If access is tight, pull the wheel.
Do I need to bleed all four wheels?
You can often bleed just the affected corner, but I usually recommend bleeding at least the axle (both fronts or both rears) so pedal feel stays balanced. If the fluid is old or dark, flush all four.
What if a bleeder screw snaps?
Stop and reassess. A snapped bleeder can turn into a caliper replacement. If it feels like it’s going to break, apply penetrating oil, use a six-point wrench, and work it gently. Heat can help, but use caution around rubber parts and brake fluid.
Final advice
Bleeding brakes is one of those DIY jobs where patience pays you back immediately. Keep the reservoir level safe, stick to a clean rhythm, and do not rush the safety steps. If something doesn’t feel right at the end, trust that instinct and re-check your work before you put the car back into daily duty.