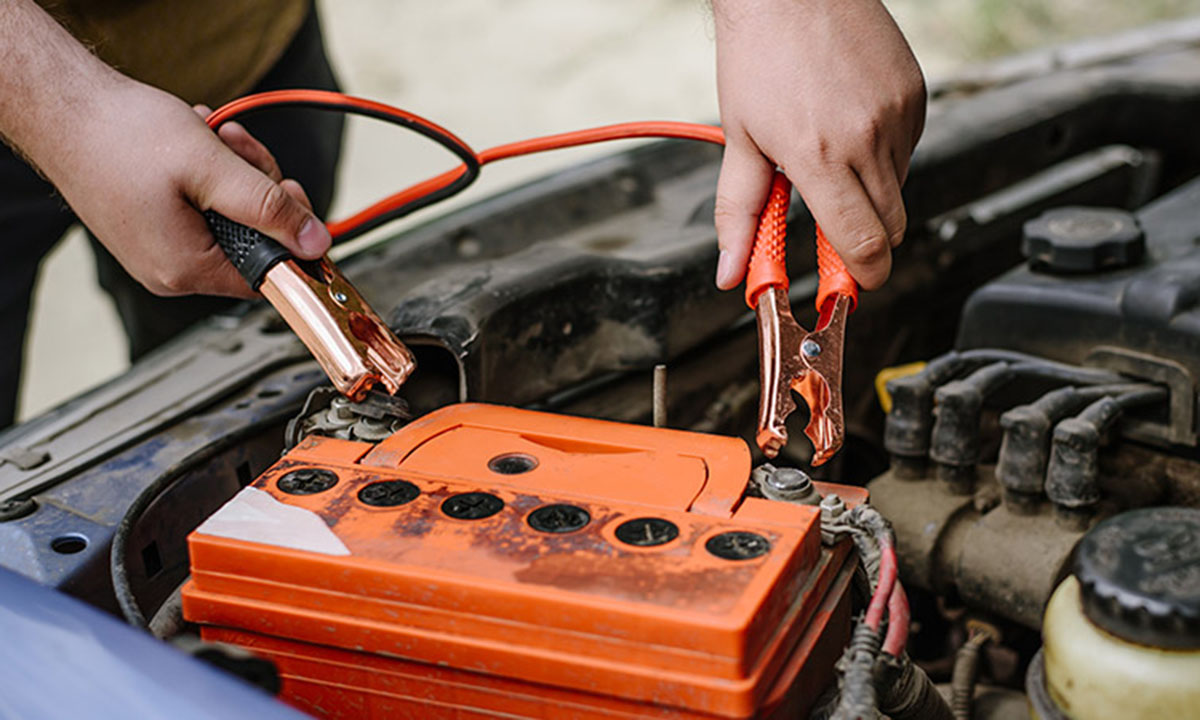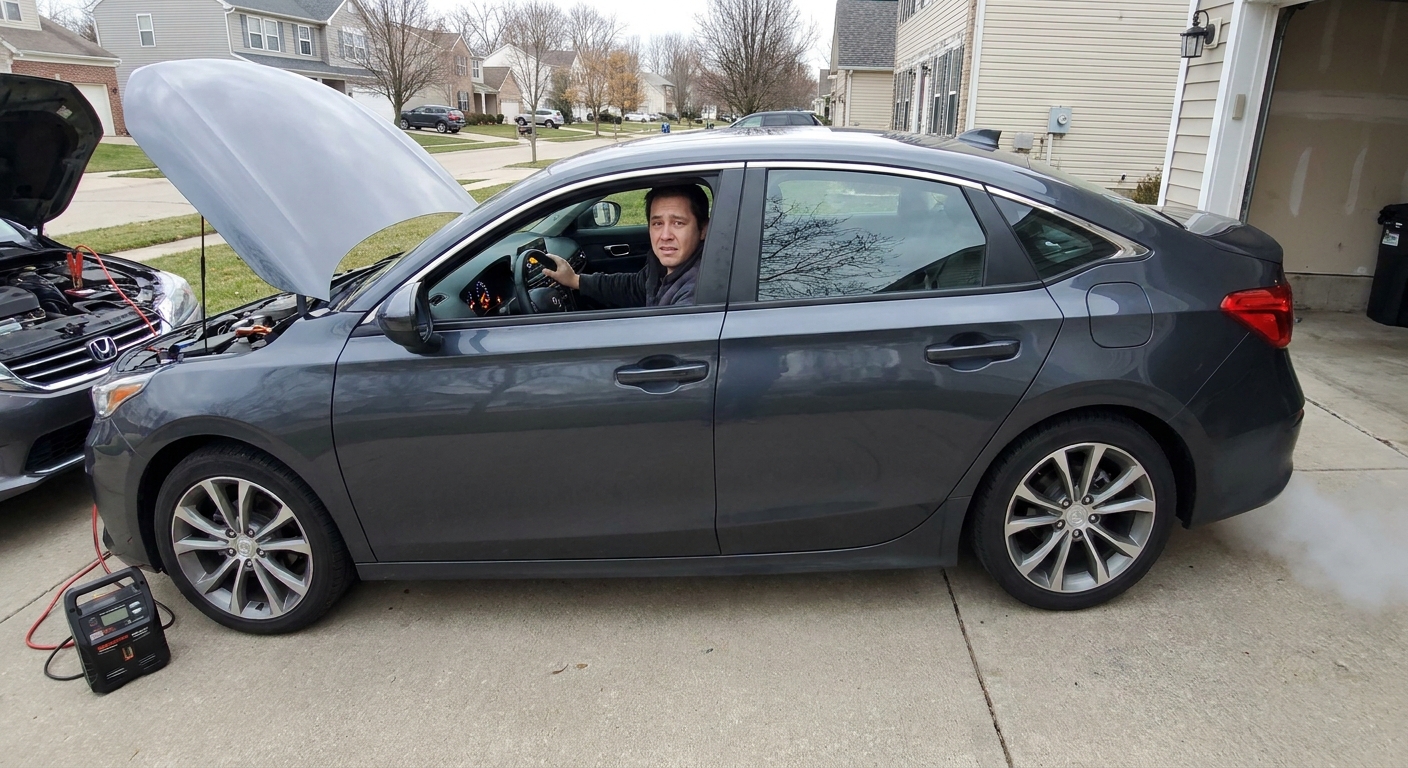
I have lost count of how many crank-no-starts I have diagnosed where the owner already swapped a battery, cleaned a throttle body, and maybe even tossed a crank sensor at it, when the real issue was simply no fuel pressure. The good news is fuel pressure testing is one of the most direct, least guessy checks you can do on a modern gasoline engine. If the engine cranks strongly but will not fire, a 10 minute pressure test can tell you whether the pump is doing its job, whether pressure is bleeding off, or whether you are chasing something other than fuel delivery.
Quick boundary: this guide is aimed at gasoline engines that crank but will not start. That said, the same fuel pressure test also helps with long-crank complaints, because bleed-down and weak pumps can show up there too.
Safety first
Fuel systems can sit at roughly 35 to 60 psi on many port-injected setups, sometimes higher depending on design. Some direct-injection systems run far higher on the high-pressure side. Spraying fuel onto a hot engine, a trouble light, or a cigarette is a bad day. Do the basics and you will be fine.
- Work outside or in a well-ventilated area.
- No smoking, no open flames, no incandescent drop lights near the engine bay.
- Wear safety glasses and gloves.
- Have a rag and a small catch container ready for any fuel drips.
- If you smell heavy fuel vapor, stop and ventilate before proceeding.
Important: This article covers typical low-pressure testing at the fuel rail for port injection and the low-pressure feed side on many DI vehicles. If your only access is the high-pressure direct-injection rail, do not crack lines to install a gauge. Use factory test procedures and scan-tool data for high-pressure systems.
What you need
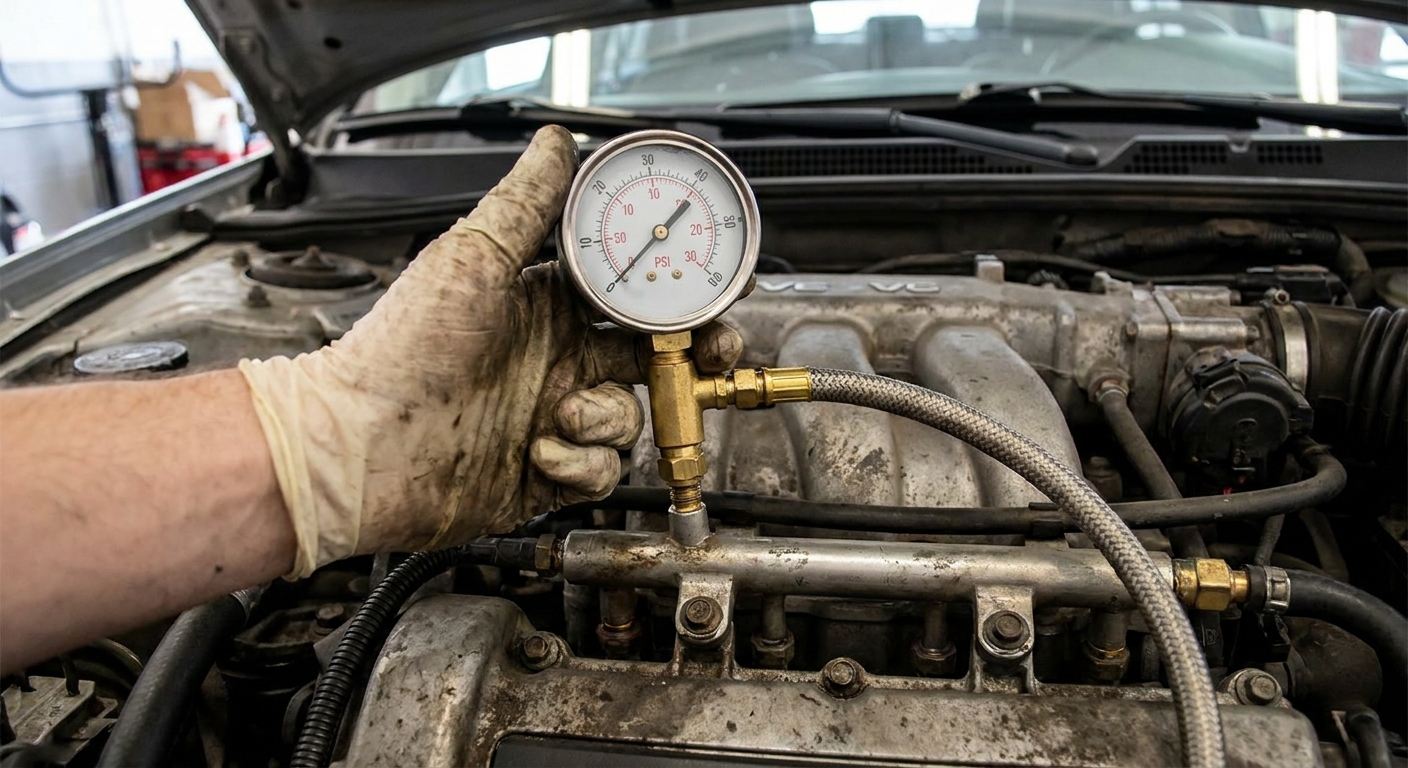
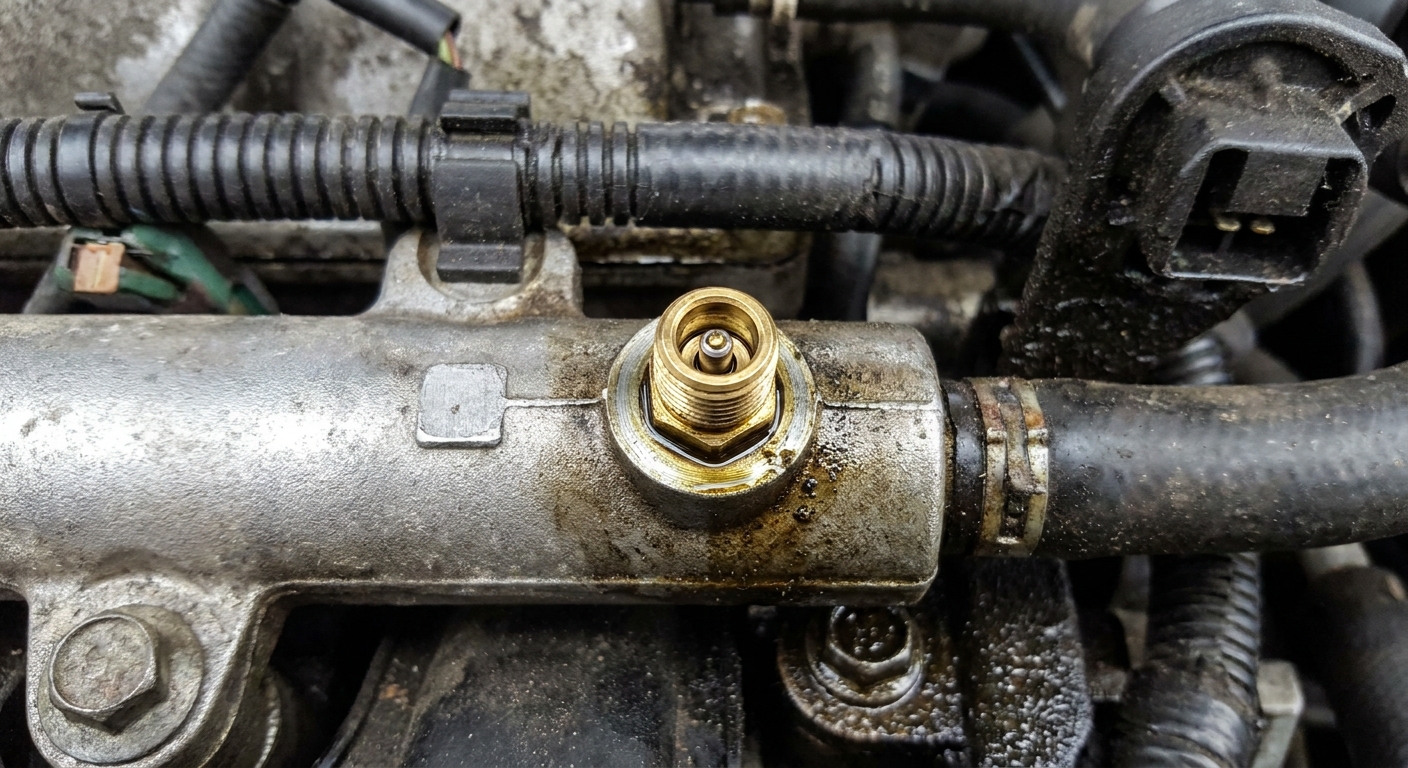
- Fuel pressure gauge kit with the correct adapters. Many cars have a Schrader valve test port on the fuel rail, similar to a tire valve.
- Shop rags and a small container.
- Basic hand tools to remove an engine cover, air duct, or access panel if needed.
- A helper to crank the engine (optional, but handy).
Step 1: Confirm the symptom
Before you break out the gauge, make sure the basics match the complaint.
- The engine cranks at a normal speed (not a slow battery drag).
- The security light is not actively indicating an immobilizer issue (varies by vehicle).
- You have fuel in the tank (it happens).
If cranking sounds uneven or extra fast, or you suspect a mechanical timing issue, fuel pressure may not be your first stop.
Step 2: Relieve fuel pressure
Even if the car will not start, the system may still be pressurized. You want to relieve pressure before connecting or disconnecting anything to avoid a fuel spray.
Method A: Schrader bleed
- Locate the fuel rail test port (Schrader valve). It often has a plastic cap.
- Wrap the valve area with a thick rag.
- Using a small screwdriver or the gauge kit bleed tool, gently depress the Schrader valve to release pressure into the rag.
- Dispose of the fuel-soaked rag safely, away from ignition sources.
Method B: Pull fuse or relay, then crank
- Find the fuel pump fuse or relay in the underhood or interior fuse box.
- Remove it.
- Crank the engine for 5 to 10 seconds to bleed off pressure.
- Turn the key off.
If you are not sure which fuse or relay is the pump, check the fuse box legend or your owner manual. Do not guess on random relays.
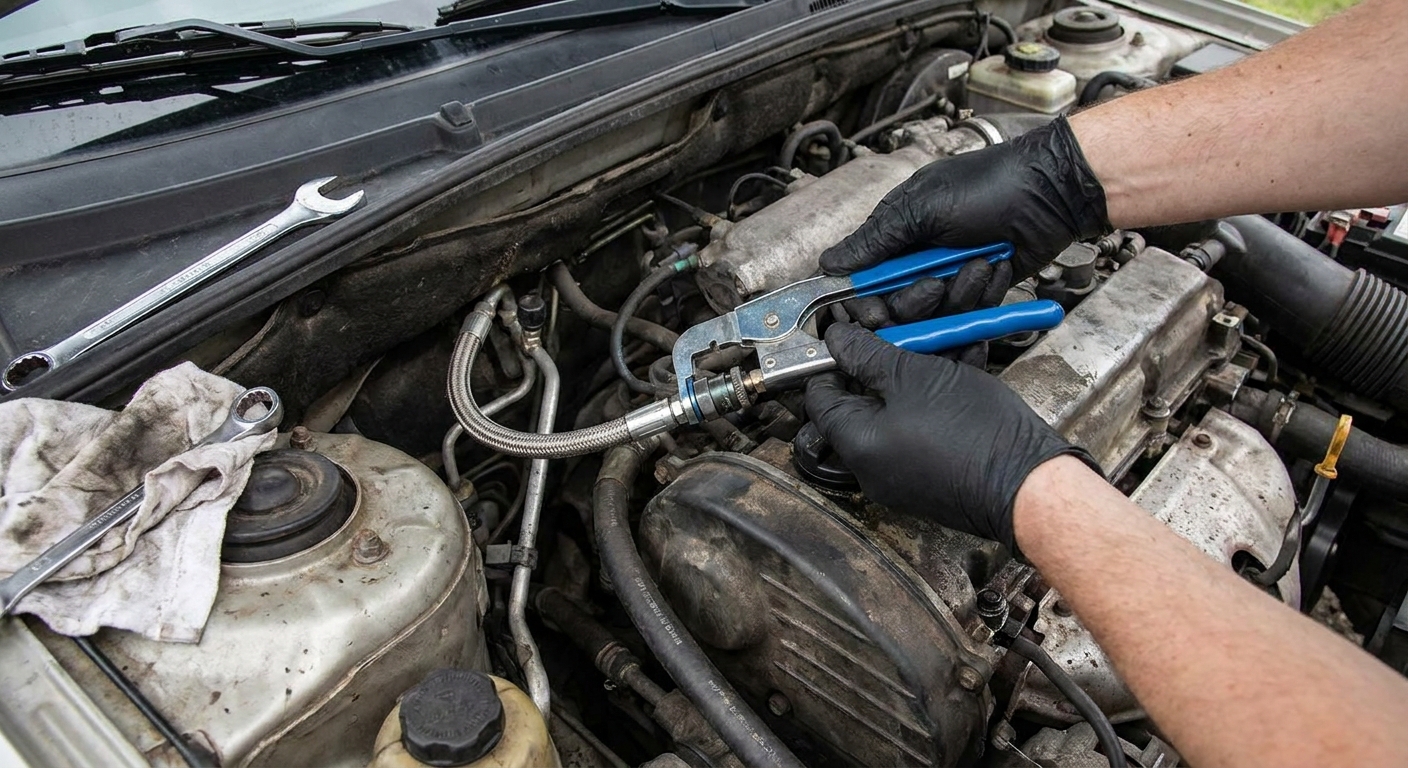
Step 3: Hook up the gauge
There are three common scenarios.
1) Schrader valve on the rail
This is the easiest. Remove the cap and thread the gauge hose on snugly by hand. Do not cross-thread it.
2) No Schrader valve
Many newer vehicles deleted the test port. In that case you typically test at an inline connection using an adapter tee, often near the fuel rail quick-connect, or sometimes at the fuel filter (if external). Use the correct adapter from your gauge kit.
3) Direct injection
Most DI engines still have a low-pressure feed to the high-pressure pump, and that low side is what many universal gauges can measure. The high-pressure rail is not something to open casually. If you are unsure which system you are touching, stop and look up the factory test point.
Step 4: Prime pressure (KOEO)
Once the gauge is connected, you will check pressure during the initial pump prime. Many cars run the pump briefly when you turn the key to ON (without cranking), often around 1 to 3 seconds, but it varies by vehicle. Some platforms prime differently, and a few will not prime in an obvious way until the PCM sees RPM.
- Turn the key to ON (not START).
- Watch the gauge as the pump primes.
- Note the highest pressure it reaches.
- Turn the key OFF.
- Repeat 2 or 3 times to see if pressure builds consistently.
What you are looking for: a quick jump to spec, and the system holding fairly steady after the prime. Exact spec varies by car. The correct move is to look up the specification for your year, make, model, and engine. Also pay attention to what the spec is written for. Some specs are defined KOEO, some are defined engine running, and some list both.
Step 5: Cranking pressure
Now you check what happens while the starter is turning the engine.
- Have a helper crank the engine for 5 to 10 seconds while you watch the gauge.
- Record the pressure during cranking.
- If the engine tries to catch or sputter, note whether pressure drops at the same time.
Rule of thumb: if pressure is low during crank, the injectors may not be getting enough fuel to start, even if the pump can make some pressure during prime.
Step 6: Residual pressure
Residual pressure tells you whether the system is bleeding off too quickly after the pump stops. This is a powerful clue because it separates “pump cannot make pressure” from “pressure cannot be held.”
- After a key-on prime (or after a cranking attempt), note the stabilized pressure.
- Turn the key OFF.
- Watch the gauge for 1 minute, then 5 minutes.
What is normal? It depends on the vehicle, but a healthy system usually holds most of its pressure for several minutes. A rapid drop toward zero can point to a leaking injector, a bad fuel pressure regulator (on return-style systems), a failing check valve in the fuel pump module, or an external leak at a line, fitting, or rail connection.
Safety note: If you suspect leaking injectors, avoid repeated cranking. Flooding can wash cylinders and contaminate oil.
Readings at a glance
- 0 psi + pump silent: likely electrical or command issue (fuse, relay, wiring, ground, inertia switch, pump).
- 0 psi + pump can be heard: fuel not reaching rail or gauge not connected correctly (empty tank, blockage, internal module failure, adapter not opening Schrader).
- Low pressure: weak pump, restriction, low voltage, in-tank regulator issue on returnless systems.
- Hits spec KOEO then drops hard during crank: weak pump under load, restriction, or major leak.
- Good KOEO and crank pressure: pivot to spark, injector pulse, crank and cam signals, immobilizer, compression.
- Bleeds down fast after key-off: injector leak, regulator leak, pump check valve, or external leak.
How to interpret your readings
Here is how I mentally sort fuel pressure results in the bay. Always compare to the factory spec for your exact engine, but these patterns are consistent.
1) Dead reading (0 psi) but you can hear the pump
- Most likely: fuel is not reaching the gauge point. That can be an empty tank, clogged pickup sock, pinched line, blocked filter (if serviceable), or the wrong test point or adapter not actually opening the Schrader core.
- Also possible: the pump is running but not pumping (spun impeller, broken internal hose inside the module on some designs).
Next checks: confirm fuel level, confirm the gauge connection is actually depressing the Schrader valve, and if accessible, verify flow at the supply line using proper procedures.
2) Dead reading (0 psi) and the pump makes no sound
- Most likely: an electrical control problem. Think fuel pump fuse, relay, inertia switch (Ford), wiring, ground, bad pump power feed, or an ECU command issue.
- Also possible: the pump itself is seized and silent even when powered.
Next checks: check the fuel pump fuse and relay, then verify power and ground at the pump connector while commanding prime. If you have power and ground but no pump operation, the pump is the prime suspect.
3) Pressure is present, but below spec
- Most likely: weak pump, restricted filter, restricted line, low voltage at the pump, or a failing in-tank regulator (many returnless systems regulate in the module).
Next checks: repeat the test while monitoring battery voltage during cranking, and consider a voltage drop test on the pump circuit. A pump that gets 10.5 volts during cranking will not perform like one getting 12+.
4) Pressure hits spec at key-on but drops hard during cranking
- Most likely: weak pump that cannot keep up under demand, a restriction, or a major leak on the pressure side.
Next checks: verify voltage at pump during crank. On a return-style system with a rubber return hose, briefly clamping the return with a proper fuel line clamp can help separate regulator issues from pump issues. Do not pinch hard lines, do not use locking pliers, and do not leave a clamp on any longer than necessary.
5) Pressure is at spec during prime and cranking
If fuel pressure is solid and it still will not start, your problem is probably not “fuel pressure.” At that point I pivot to spark, injector pulse, crank and cam signals, immobilizer, or mechanical compression. Fuel pressure testing still did its job because it lets you stop guessing.
6) Pressure builds fine but bleeds down fast after key-off
- Most likely: leaking injector, leaking pressure regulator, bad pump check valve, or an external leak.
How it shows up: sometimes it will still start, sometimes it will not. If it is flooding, it may crank and never fire until you clear it out. If it is only a check valve issue, it more often shows up as a longer crank after sitting. Either way, the gauge gives you the clue.
Pump sound is not a test
Audible clues are helpful, but they are not a fuel pressure test.
- If you hear a short hum at key-on, the pump is at least being commanded on and the motor is spinning.
- If you hear nothing, it could be a dead pump, no power, or simply that the vehicle only primes under certain conditions.
- A loud, whining pump can be a sign of a failing pump or low fuel level, but it is not definitive.
The gauge is the truth-teller. I have seen plenty of pumps that sound fine and still cannot make pressure.
No port and no tee?
If you have no Schrader valve and you do not have the right inline adapter tee, do not “make it work” by cracking a line and hoping for the best.
- Some vehicles have a factory service port elsewhere on the low-pressure side. Look up the proper test point.
- Some platforms expose a low-side fuel pressure PID on a scan tool, and that can be a safe first look (it is not perfect, but it is useful).
- If access is tight or everything is high-pressure DI, it is reasonable to hand this part to a shop with the right adapters and procedures.
Common mistakes
- Not cycling the key enough times. Some systems need two primes to build full pressure after sitting.
- Gauge not opening the Schrader valve. If the adapter does not depress the valve core, you can see 0 psi even with good pressure in the rail.
- Testing the wrong spot. On some setups, where you tee in matters.
- Ignoring battery voltage during cranking. A weak battery can drop pump speed and skew your results.
- Assuming one universal PSI spec. Specs vary widely by engine and fuel system design.
- Assuming there is a rail regulator. Many returnless systems are dead-head designs with regulation in the tank module, so there may be nothing vacuum-referenced at the rail to inspect or adjust.
Disconnect the gauge
- Turn the key OFF.
- Use the gauge bleed valve (if equipped) to relieve pressure into a rag or container.
- Slowly loosen the gauge fitting to confirm pressure is gone.
- Remove the gauge, reinstall the Schrader cap, and wipe any spilled fuel.
- Start with a visual check for leaks before any further cranking attempts.
If fuel got on a hot engine, give it time to evaporate before you keep diagnosing.
When to stop
If you are dealing with a direct-injection high-pressure rail, you see raw fuel pouring out of a connection, or you suspect an electrical issue that requires backprobing pump circuits, it is completely reasonable to hand it off. A good shop will confirm pressure, command the pump with a scan tool, and do voltage drop testing quickly.
FAQ
Where is the fuel pressure test port?
On many port-injected engines it is on the fuel rail, often near the injectors, and it looks like a tire valve with a cap. Many newer vehicles have no test port, which means you need an inline adapter at a quick-connect fitting or a factory service port elsewhere.
What fuel pressure should my car have?
It depends on the system. Many port-injected vehicles are roughly in the 35 to 60 psi range, sometimes higher depending on design. The correct move is to look up the specification for your year, make, model, and engine code, then compare your key-on and cranking readings to that spec. Also note whether the spec is KOEO or engine running.
If I have fuel pressure, does that mean the injectors are working?
No. Fuel pressure only tells you the system can deliver pressurized fuel to the rail. The injectors still need an electrical pulse, and the engine still needs spark and proper timing to run.
My gauge shows pressure, but it will not start. What next?
At that point I check for spark, injector pulse (noid light or scan data), crank and cam sensor signals, immobilizer behavior, and basic mechanical health like compression. Fuel pressure testing is step one, not the entire diagnosis.