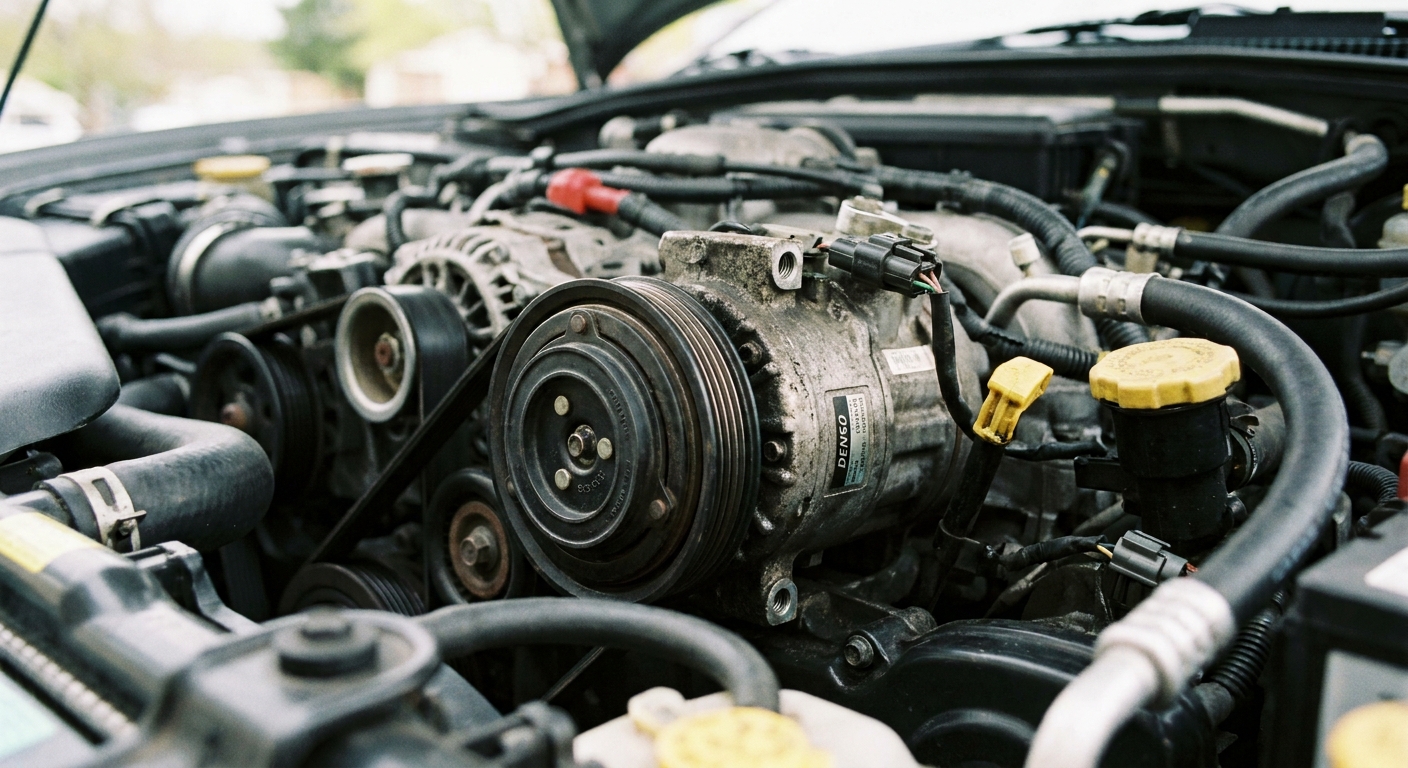
If your vents feel weak, your defroster takes forever, or the inside of your car smells a little “old gym bag,” your cabin air filter is a top suspect. The good news is that on many vehicles, a cabin filter is one of the easiest DIY maintenance items, often a 5 to 15 minute job with no tools. On some models, though, you may need a screwdriver or Torx bit, or a little extra patience with tight under-dash panels.
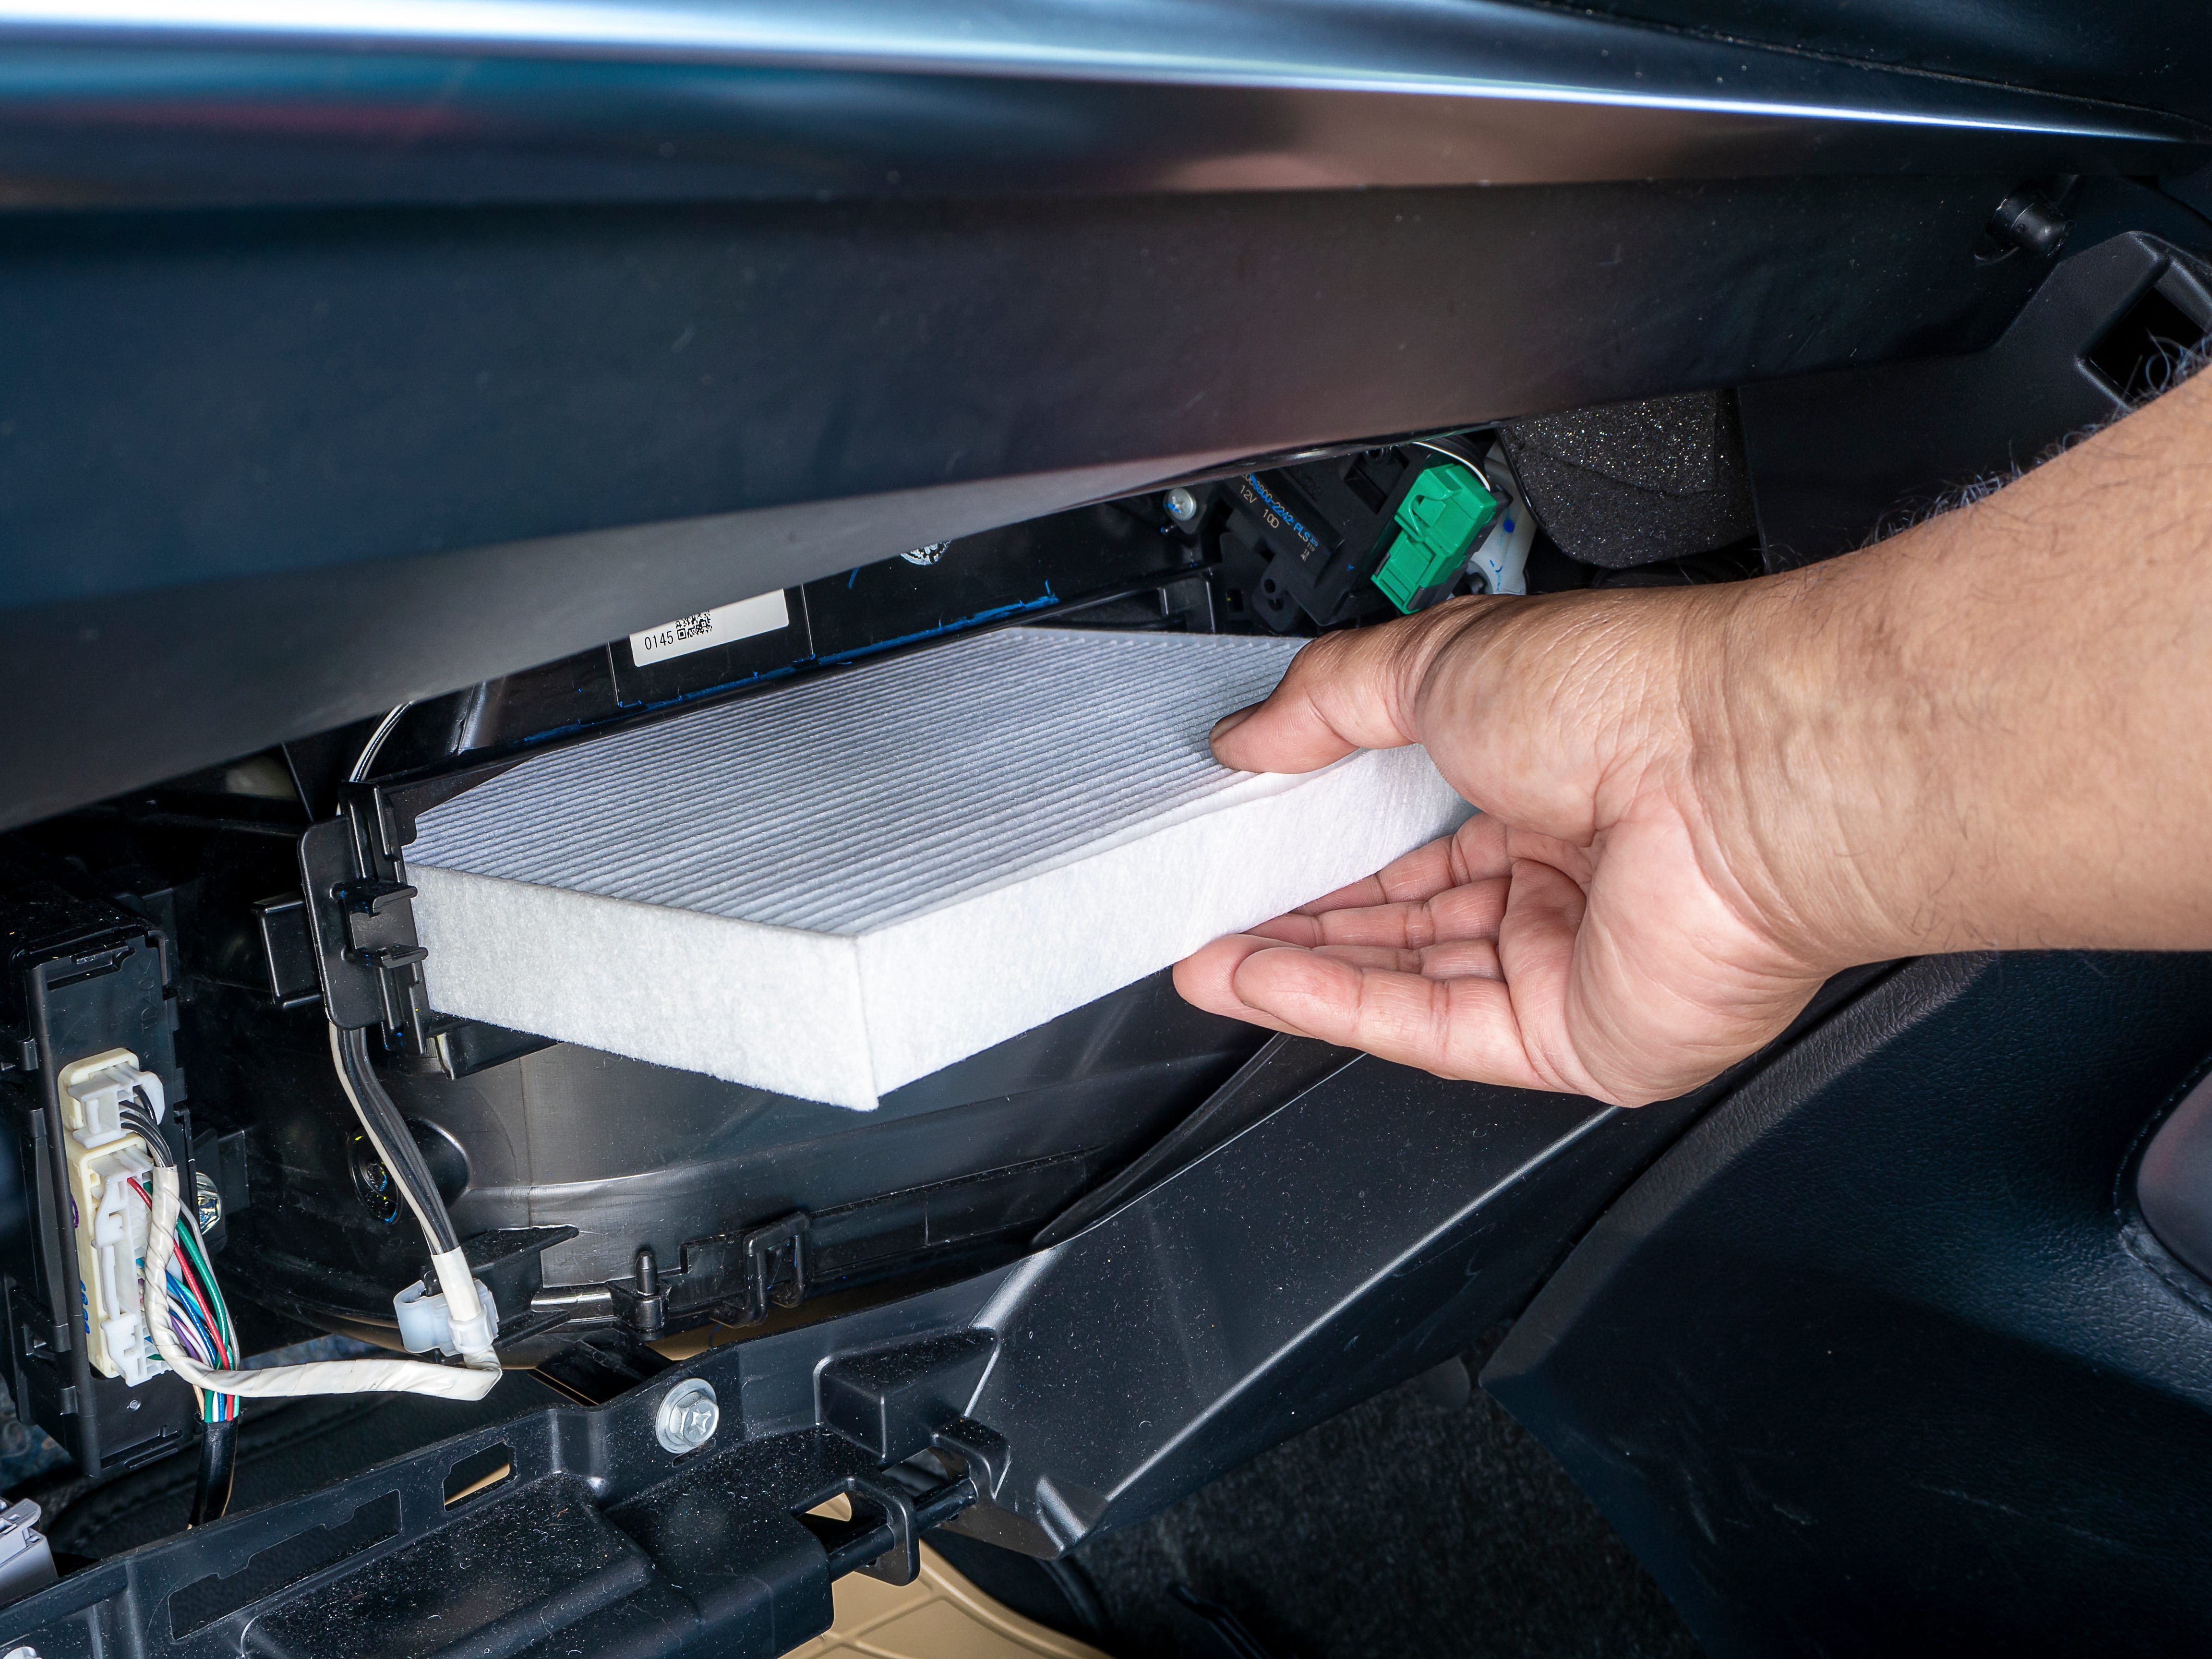
Below, I’ll walk you through how to locate your filter, open the housing without breaking trim, install the new filter the right way (including airflow direction), and confirm everything is sealed up so your HVAC can do its job.
What it does (and why clogging hurts AC)
Your cabin air filter cleans the air entering your HVAC system (often before the blower motor) before it gets pushed through the vents. It traps dust, pollen, soot, and debris so you are not breathing it in and so your HVAC system stays cleaner.
When the filter clogs, the blower motor has to work harder to pull air through it. That restriction causes:
- Reduced airflow at the vents, even when the fan is on high.
- Weaker AC “feel” because less air is moving across the evaporator and into the cabin. The AC system may still be making cold air; you are just not getting much of it.
- More window fogging and slower defrost/defog performance.
- Extra strain on the blower motor, which can shorten its life over time.
Signs it is overdue
- Musty or dusty smell when you first turn on the fan or AC.
- Fan sounds loud but airflow is weak.
- Allergies feel worse in the car, especially during pollen season or wildfire smoke.
- Visible debris blowing from vents (often leaves or dust when the filter has collapsed or been missing).
- It has been a while. Check your owner’s manual, but a common baseline is about 15,000 to 30,000 miles or once a year. Dusty roads, pets, smoke, or heavy city driving can shorten that interval.
If you cannot remember the last time it was replaced, that is usually your answer.
What you need
- The correct cabin air filter for your year, make, model, and trim. (Some vehicles have two-piece filters or a specific shape.)
- Optional: flashlight, small trim tool, and a shop vac.
- Sometimes: a basic screwdriver or Torx bit, depending on the car.
- No “special skills” required, but slow down around plastic tabs. Most of the damage I see on these jobs comes from forcing the wrong clip.
Quick safety note: Turn the vehicle off and keep the HVAC fan off while the filter is out. You do not want the blower running with an open filter slot, especially if there are leaves waiting to get sucked in.
Pro tip: If you have a carbon or activated charcoal option available, it can help with odors and exhaust smells. It is often worth the small price bump if you sit in traffic a lot.
Step 1: Find the housing
Most cabin filters live in one of three places:
- Behind the glove box (most common)
- Under the passenger-side dashboard near the center console
- At the base of the windshield under the cowl panel (less common)
If you are not sure, check your owner’s manual index for “cabin air filter” or “pollen filter.” If that fails, searching your exact model plus “cabin air filter location” usually turns up a quick visual that matches what you are looking at.
Step 2: Access it (glove box method)
Lower the glove box
Open the glove box and empty it. Then look for one (or both) of these:
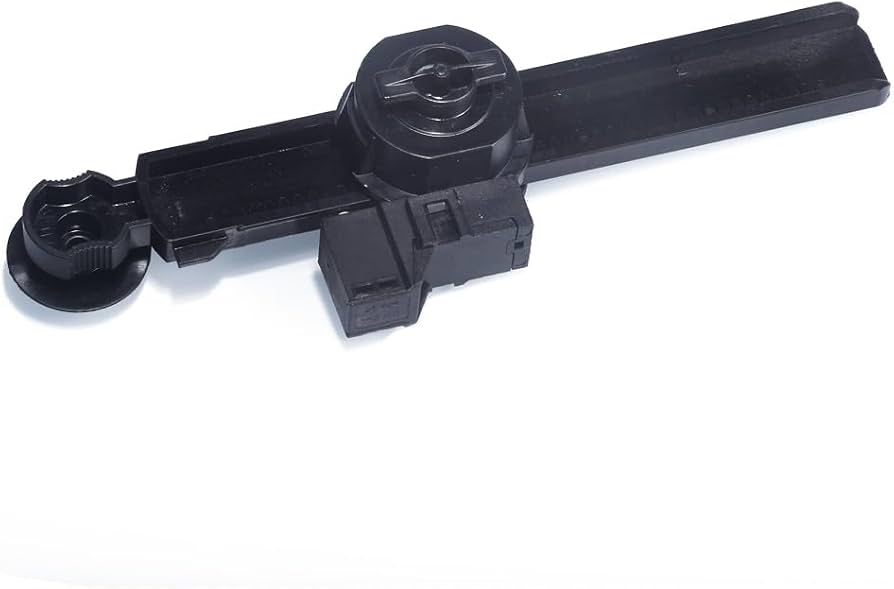
- Side stops that you gently push inward so the glove box can swing down farther.
- A damper arm on one side, usually a small plastic arm that unclips so the glove box can drop.
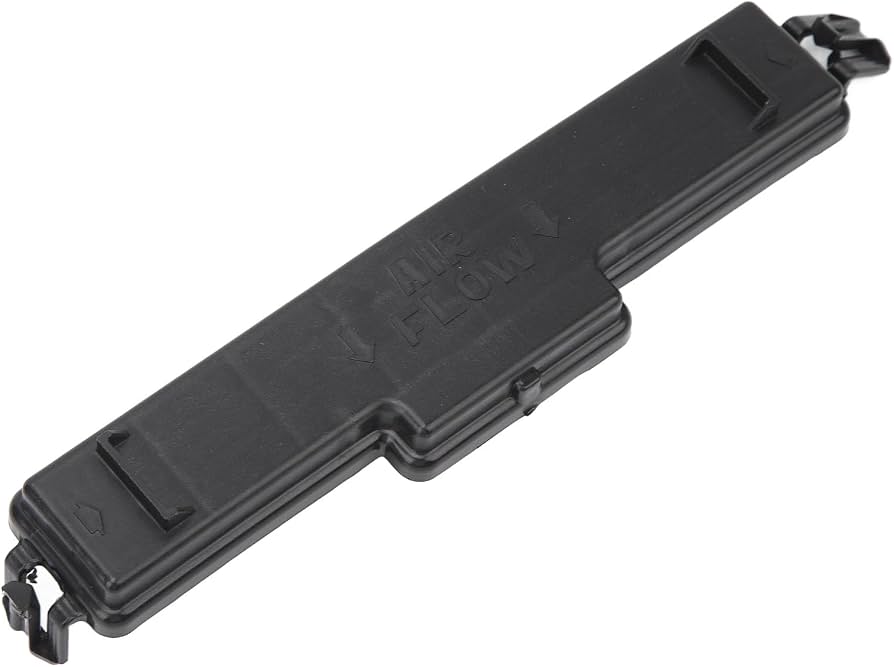
Once the glove box pivots down, you will typically see a narrow rectangular door or cover behind it. If your model is known for spilling debris when the filter slides out, lay a towel in the footwell first.
Remove the door
Most covers use squeeze tabs. Pinch the tabs, pull the cover straight off, and set it aside. If it does not want to come, re-check for a hidden clip or screw rather than yanking.
Step 3: Pull the old filter
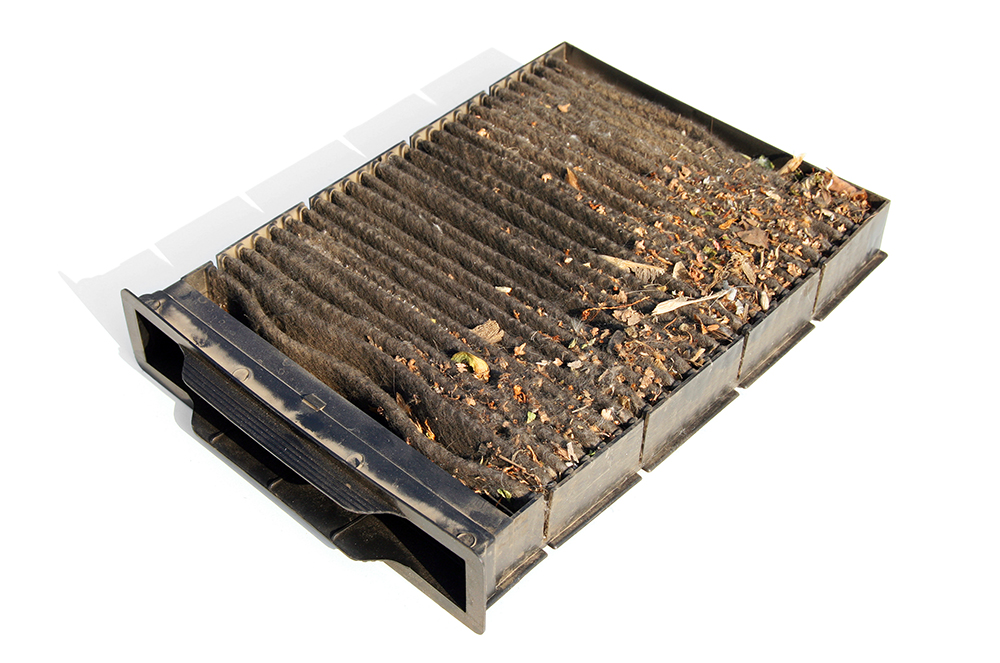
Slide the old filter out carefully. If it is packed with leaves, you do not want that debris tumbling into the blower housing.
- Look for airflow arrows printed on the filter frame.
- Check for mouse nesting or heavy leaf buildup if you park under trees often.
- Vacuum loose debris around the slot if you can do it without pushing dirt deeper into the HVAC box.
If you see moisture on the filter or the area smells strongly musty, drying the HVAC box can help. Try running the fan for a few minutes after you are done (and as a general habit, run the fan for a minute or two at the end of a drive). Persistent mildew smells can also point to a clogged AC evaporator drain, which is a separate issue.
Step 4: Install the new filter
Match airflow direction
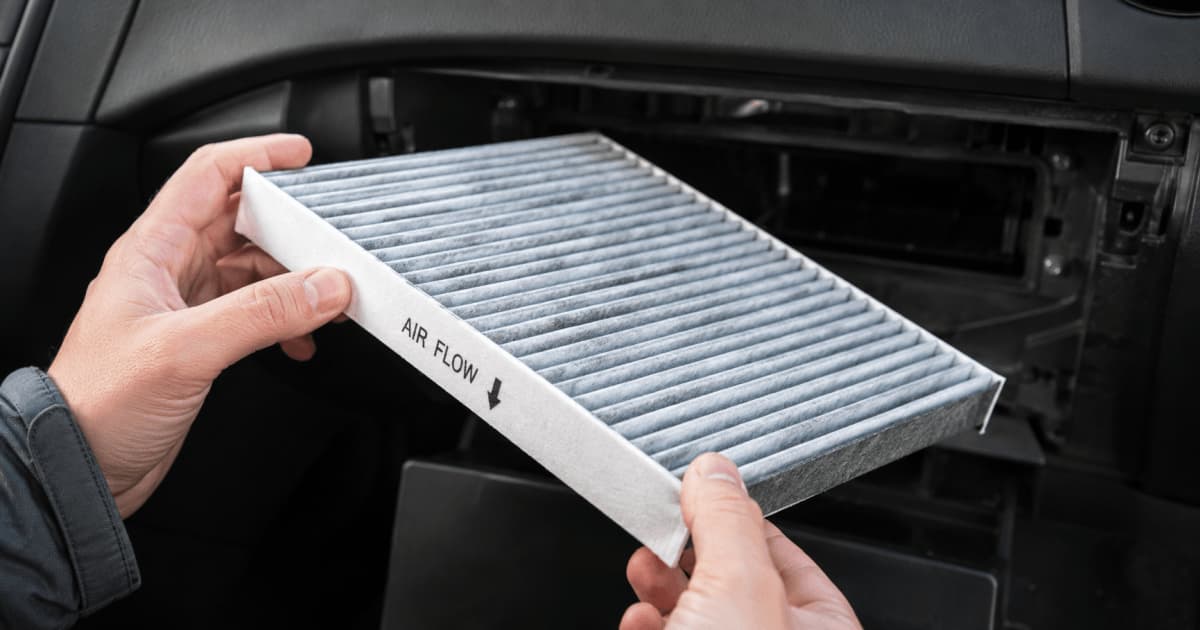
This is the most common mistake I see. The new filter will usually have an arrow labeled Air Flow (and sometimes an UP marking). Follow any labels on the housing first, then match the filter arrow to the actual airflow direction.
- On many vehicles, airflow is top to bottom behind the glove box.
- On others, it is bottom to top or side to side.
If you are unsure, look at the old filter before you toss it and copy the arrow direction.
Seat it fully
Slide the filter in squarely. It should seat fully with light pressure. If it buckles, back it out and try again. A bent filter can let unfiltered air bypass the edges and it can whistle at higher fan speeds.
Step 5: Button it up
Reinstall the access door until the tabs click into place. Then lift the glove box back up and reattach:
- The damper arm (if equipped)
- The glove box stops (push sides in to pass the stops back into position)
Open and close the glove box once to make sure it moves smoothly and does not bind.
Final check
Start the vehicle (or turn the ignition on) and test:
- Fan on high at face vents: you should notice stronger airflow if the old filter was clogged.
- Mode changes (defrost, floor, vents): airflow should switch cleanly.
- Fresh vs recirculation: on many cars, recirculation will feel stronger. If recirculation is strong but fresh air is weak, you may have an intake restriction at the cowl area.
- Unusual noises: a ticking sound can mean a leaf fell into the blower fan. If it happens, the filter job did not cause it, but it might have dislodged debris. You may need blower access to clean it out.
Common questions
Why is my new filter not fitting?
Double-check the part number and whether your vehicle uses a two-piece filter (common on some models). Also confirm you are not trying to install it with the frame rotated 180 degrees. Some housings have rails that only accept the filter one way.
Standard, HEPA-style, or activated carbon?
- Standard: good basic protection, usually the cheapest.
- Activated carbon: helps reduce odors and exhaust smell, my usual recommendation for daily drivers.
- HEPA-style: can capture finer particles, but in some vehicles it may reduce airflow slightly if the media is very dense.
Airflow is still weak. Now what?
If the filter was truly clogged, you usually feel an immediate improvement. If not, common culprits include:
- A blower motor that is failing or has debris in the fan
- A blower resistor or control module issue (fan speeds acting weird)
- A stuck or broken blend or mode door
- Evaporator icing or an AC performance issue (cold then suddenly weak)
How often should I replace it?
Follow the maintenance schedule in your owner’s manual as a baseline, then adjust for your conditions. Many drivers land somewhere around 15,000 to 30,000 miles or annually, but dusty roads, heavy pollen, smoke, and lots of recirculation use can justify more frequent changes.
A quick habit
Anytime you do oil changes or tire rotations, take 30 seconds to check your cabin filter interval and make a note. It is one of those small maintenance items that pays you back every single drive with better airflow, fewer smells, and a more comfortable cabin.