I still remember being about 12 years old, holding a flashlight while my dad fought a crusty battery terminal in our driveway. I thought he was just being stubborn. Years later, after a decade-plus in independent shops, I realized he was being careful. Batteries are simple, but they can bite if you rush them.
Below is the exact, safe order I use to swap a 12-volt car battery without turning it into a wrestling match or a spark show.
Before you start
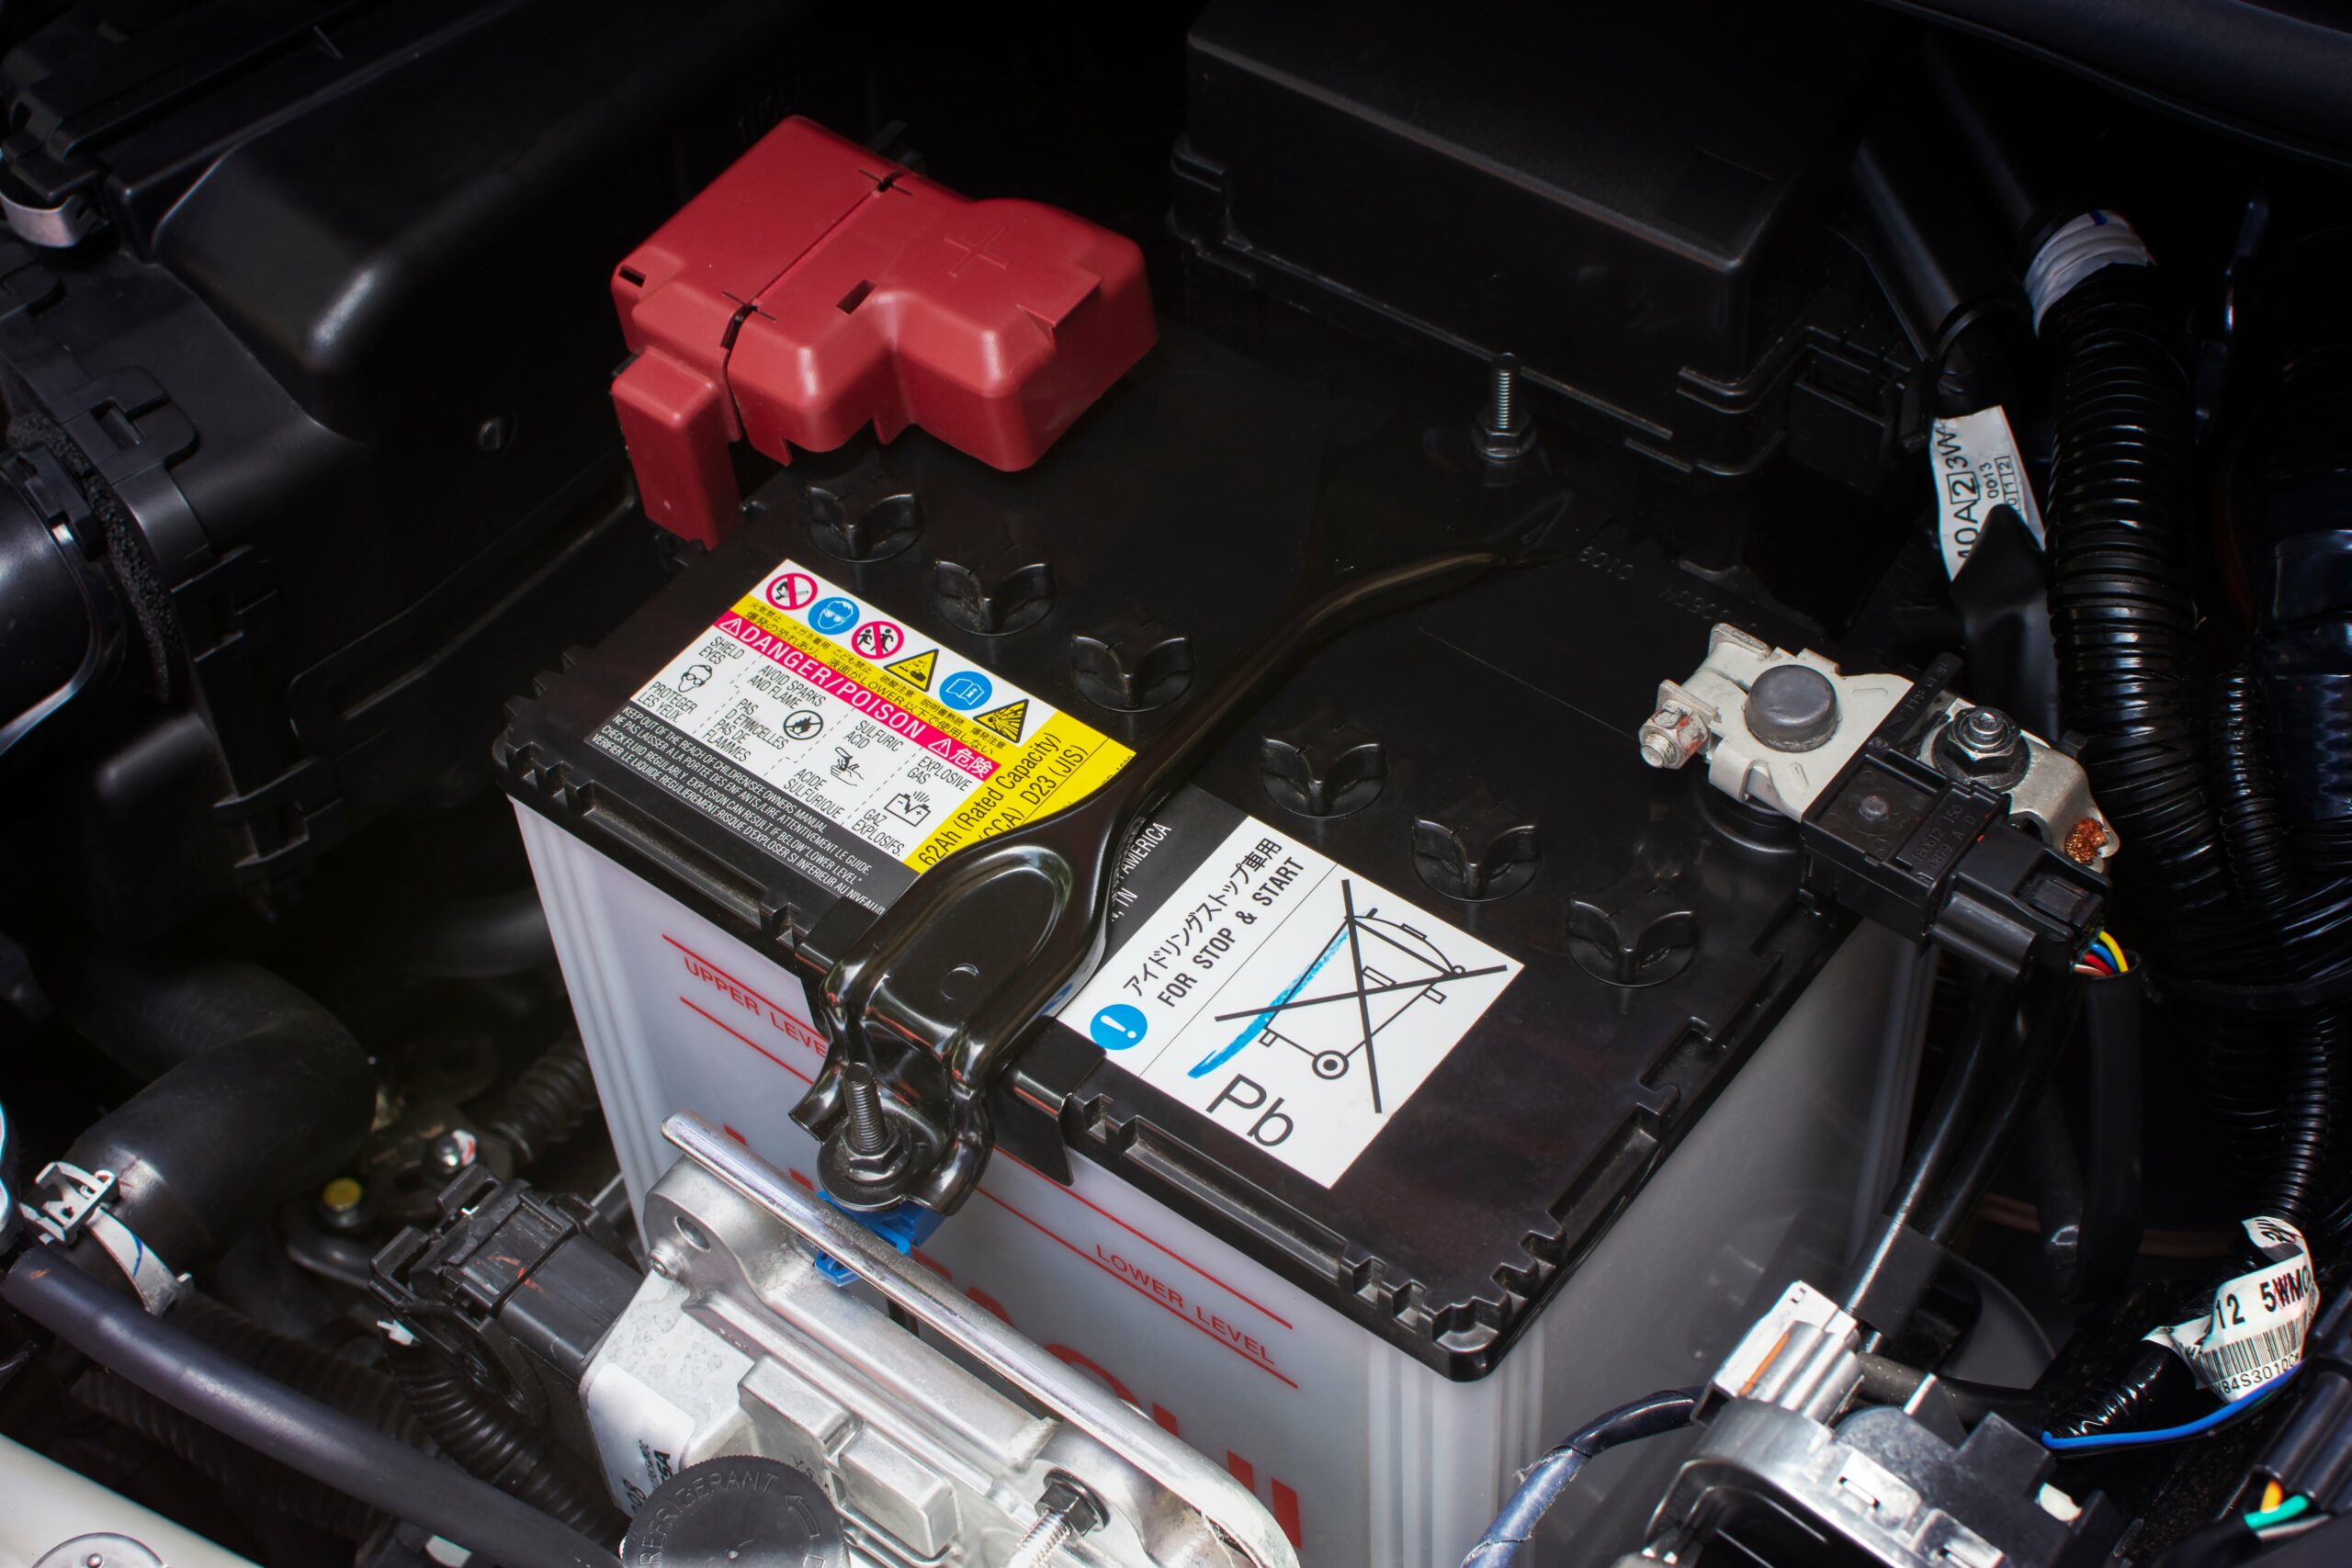
Most “it won’t fit” battery headaches come from grabbing the wrong group size or terminals that face the opposite direction.
- Match the group size (physical dimensions and base style) listed on the old battery label or your owner’s manual.
- Match terminal type and orientation: top posts vs side posts, and which side the positive terminal is on.
- Meet or exceed the specs: CCA (cold cranking amps) and reserve capacity. Equal or higher is generally fine.
- AGM vs flooded matters: If the vehicle came with AGM (common on start-stop systems), replace with AGM unless the manufacturer explicitly allows otherwise. Changing battery chemistry can shorten battery life or confuse charging strategies on some vehicles.
Tools and supplies
- Safety glasses and gloves
- 10 mm wrench or socket (very common), plus whatever sizes your hold-down uses
- Ratchet with extension
- Battery terminal brush or wire brush
- Baking soda and water (for neutralizing corrosion) and rags
- Dielectric grease or battery terminal protectant (optional but helpful)
- Torque wrench (recommended)
- Memory saver (optional but useful)
Safety note: If you see a cracked battery case, bulging sides, or wetness that looks like acid, stop and treat it as hazardous material. Avoid skin and eye contact. If there is residue on the tray or nearby metal, you can neutralize it carefully with a baking soda and water mix, then wipe it up. If the battery is actively leaking, most parts stores or shops can help you handle and recycle it safely.
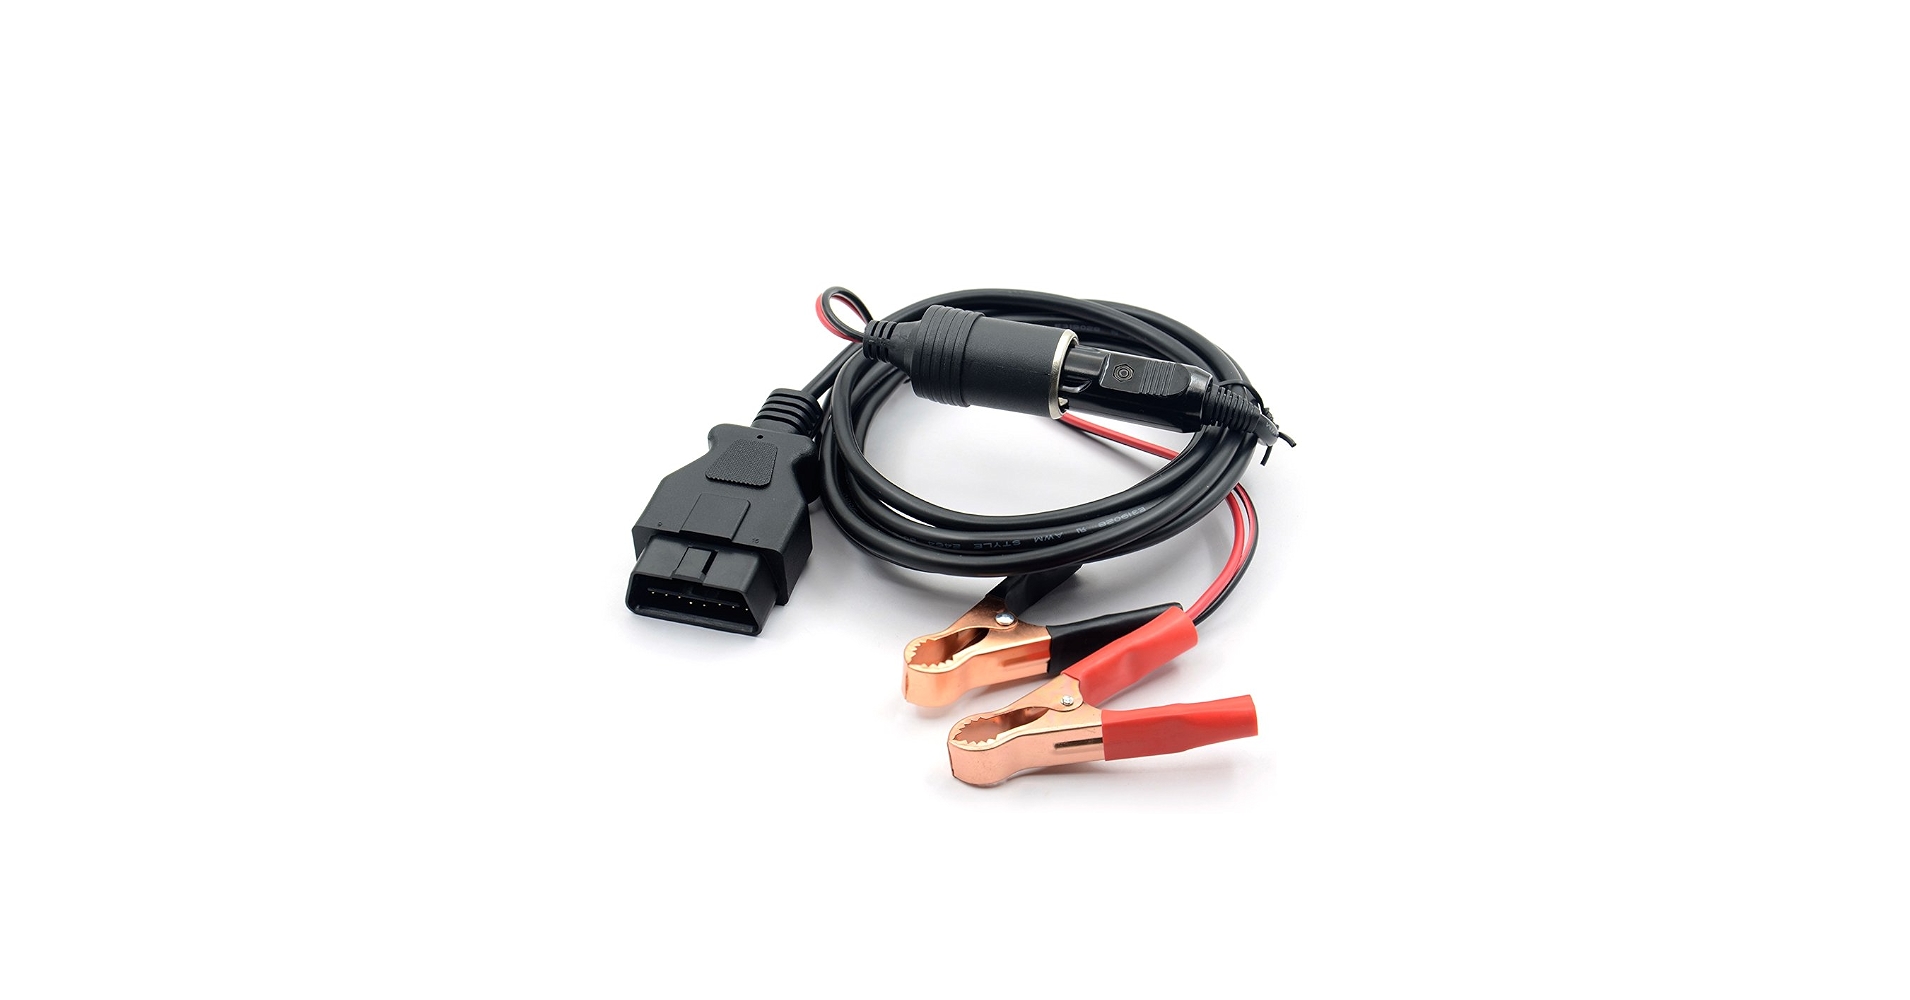
Memory saver
A memory saver supplies low current through the OBD-II port or a 12V outlet to help retain settings while the main battery is disconnected. It can save you from re-setting the clock, radio presets, and sometimes window or sunroof one-touch functions. Some vehicles can also ask for a radio or anti-theft code after power loss, so it is worth knowing your vehicle’s policy ahead of time.
Important: Not every OBD-II port or 12V socket stays powered with the key off, and some manufacturers discourage OBD-based keep-alives. If your owner’s manual or service info gives specific guidance, follow that.
When I recommend it
- You want to keep radio presets and basic settings intact
- Your vehicle is known for being picky about losing power
- You are swapping the battery in a newer car with lots of modules
When to skip it
- You are not sure the OBD/12V outlet stays live with the key off
- You have any electrical issues already (parasitic draw, water intrusion, etc.)
- The procedure for your vehicle warns against it
How to use one (general process): Connect the memory saver to its power source, plug it into the OBD-II port (or 12V outlet type), verify it indicates power, then proceed with the battery disconnect. Keep doors closed if possible so you do not wake up modules unnecessarily.
Battery replacement steps
1) Park and power down
- Park on a level surface, set the parking brake, and shut the engine off.
- Remove the key or turn the vehicle fully off (push-button cars: make sure it is not in accessory mode).
- Turn off lights, HVAC, and accessories.
- Pop the hood and let things cool down if the battery sits near hot components.
2) Find the battery
Most are in the engine bay, but plenty of vehicles place the battery in the trunk, under the rear seat, or under a cowl cover near the windshield. If the battery is under a seat or in a compartment, be gentle with trim clips and look for a vent tube.
If you are working in a trunk: Keep the trunk from latching shut if the latch is electric and you do not have a key cylinder. I have seen more than one DIYer lock themselves out mid-swap.
3) Confirm positive and negative
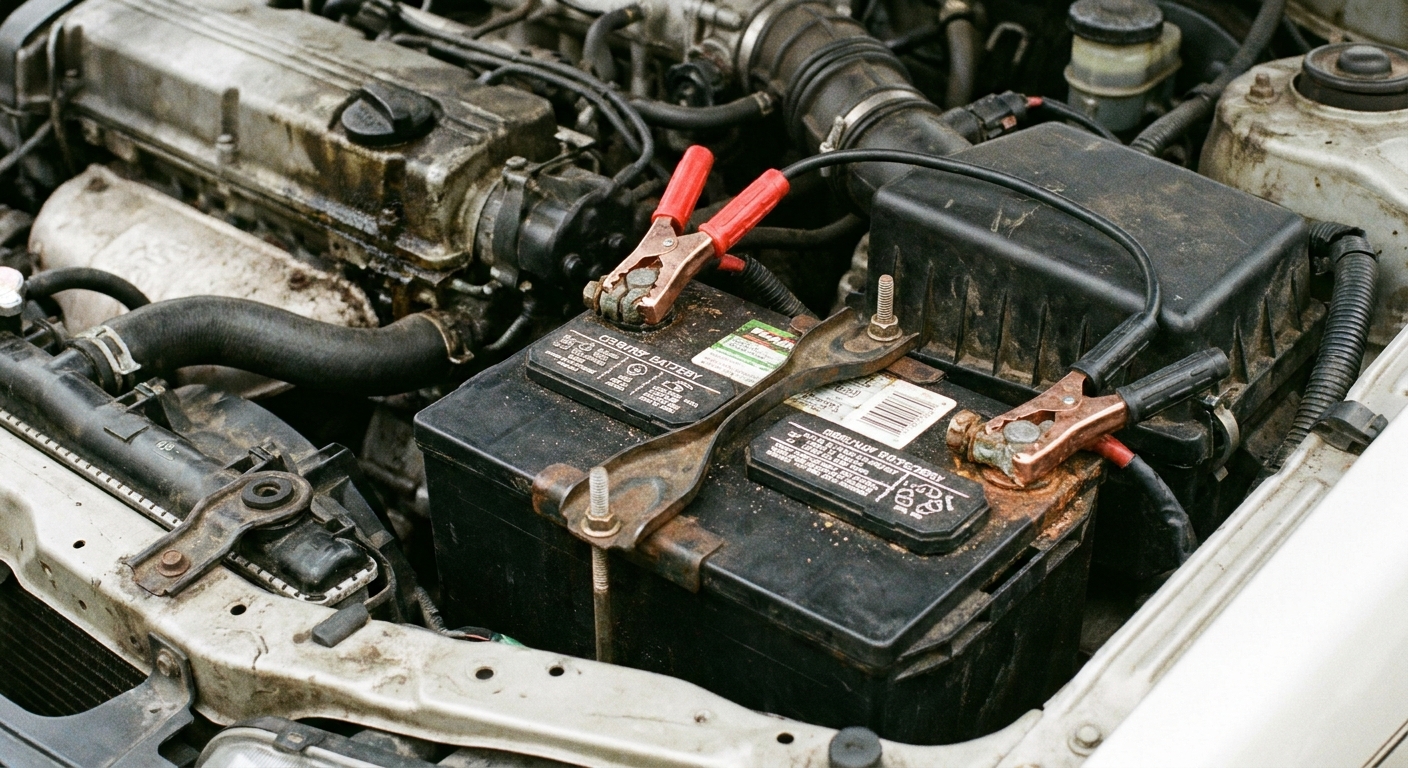
- Positive (+) is usually under a red cover and may have multiple smaller wires attached.
- Negative (-) is usually black and often runs to the body or engine block.
If the markings are dirty, wipe them clean before you put a wrench on anything.
4) Disconnect negative first
This is the big safety rule. With the negative terminal removed, the car’s chassis is no longer tied directly to battery negative. That reduces the chance of shorting the positive terminal to ground with your tool.
- Loosen the negative terminal clamp nut.
- Twist and lift the clamp straight up off the battery post.
- Tuck the cable end aside so it cannot spring back onto the post.
Tip: If the clamp is stuck, do not pry against the battery case. Wiggle the clamp while pulling upward, or use a proper terminal puller.
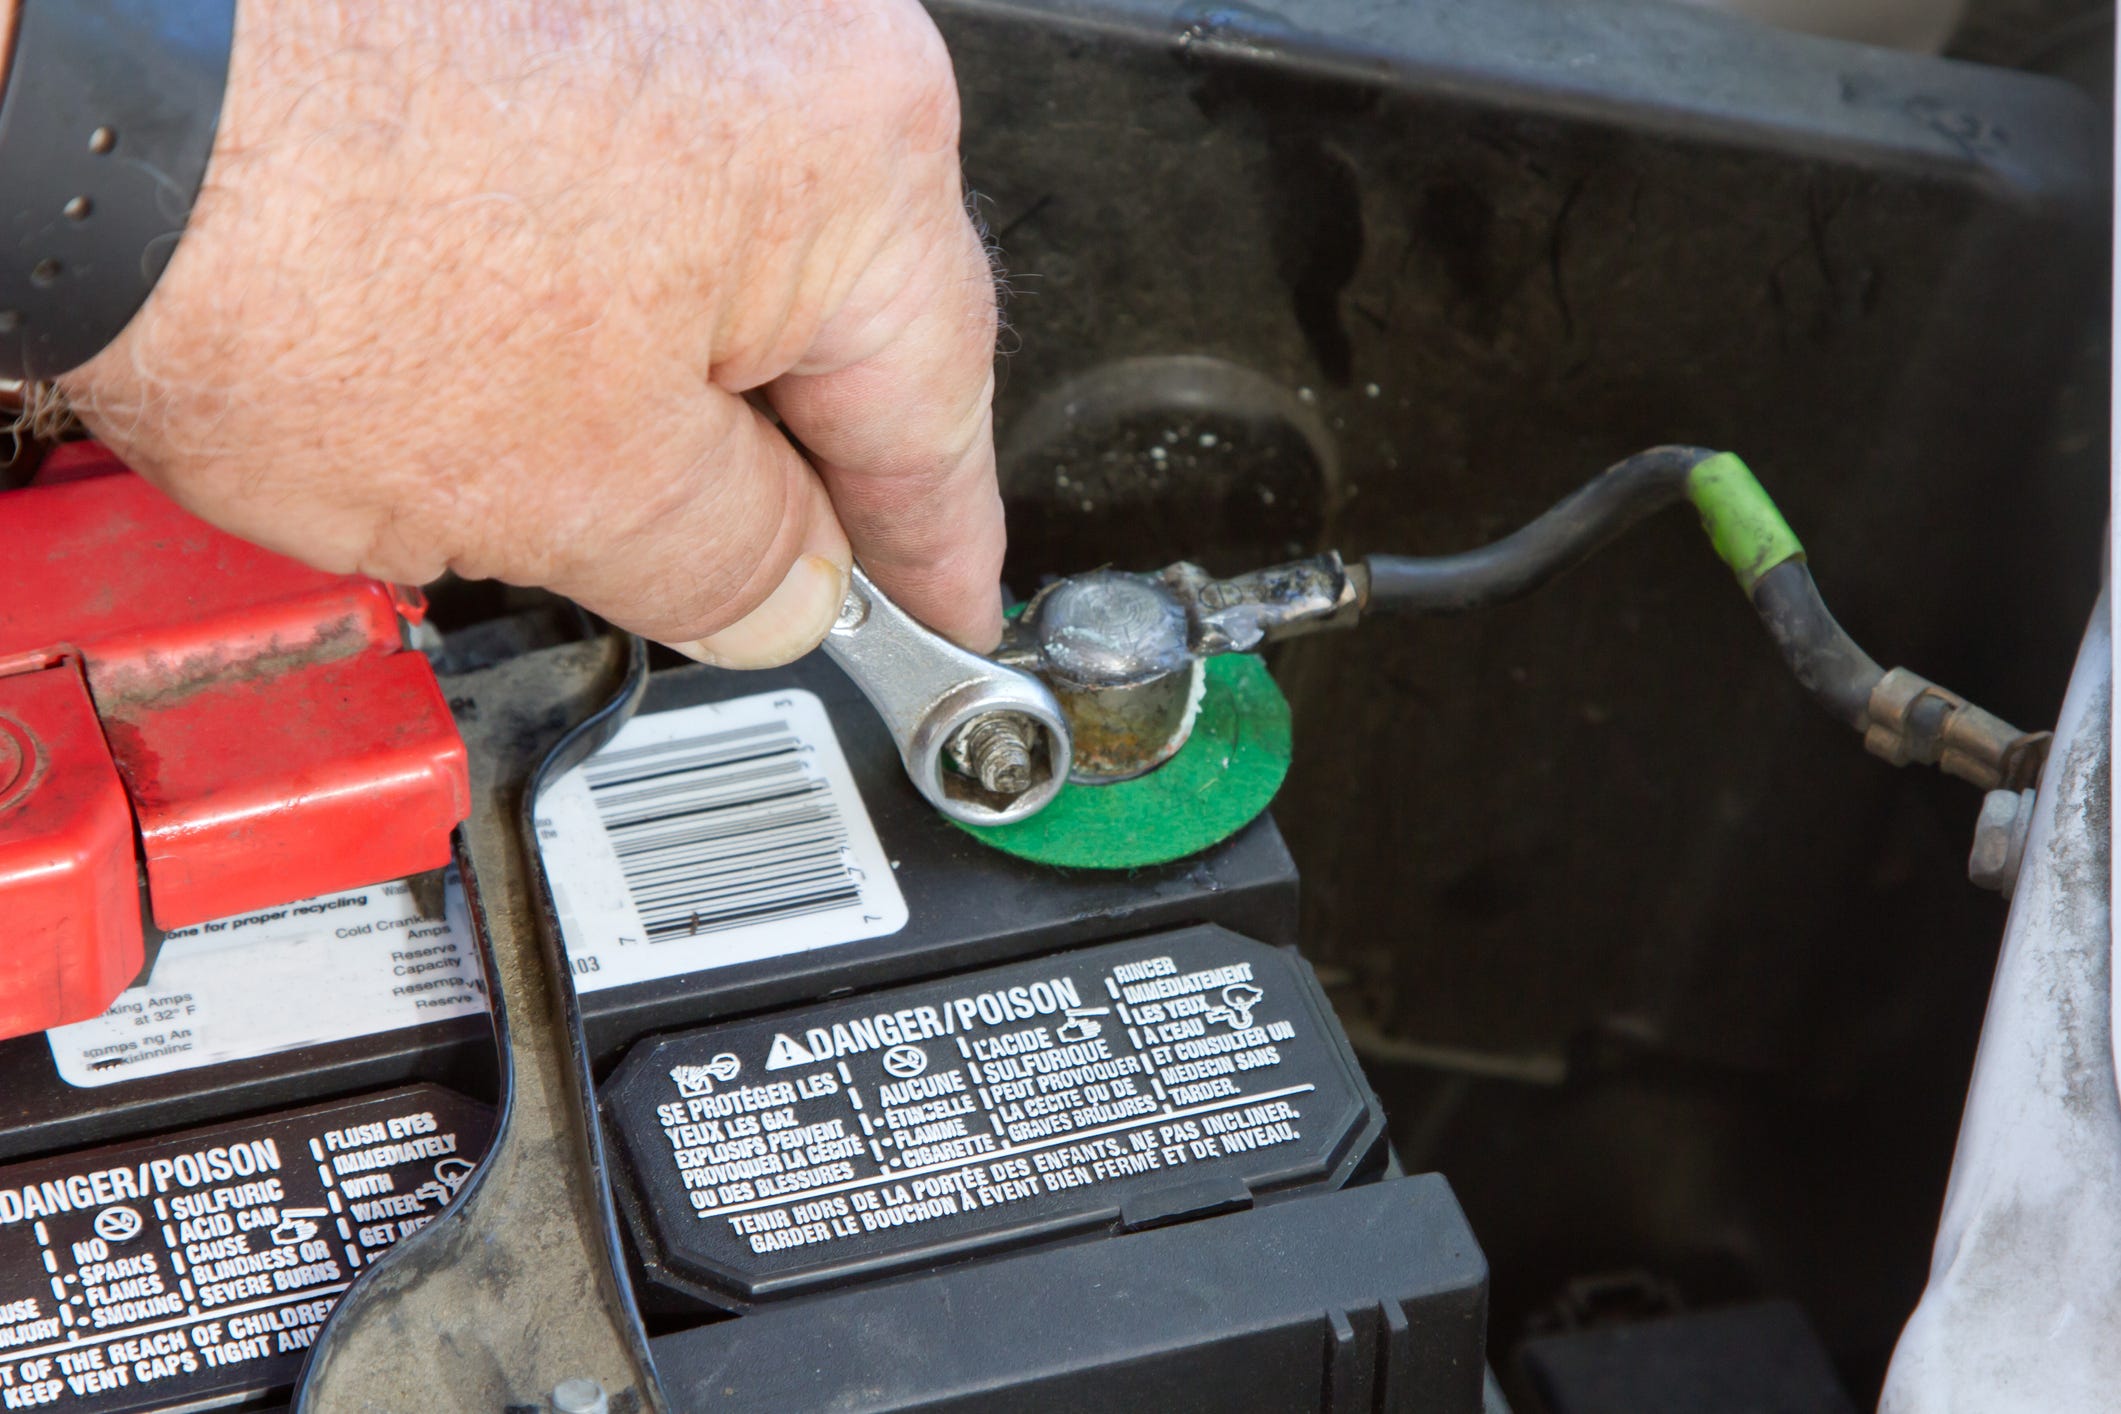
5) Disconnect positive second
Once negative is safely out of the way, repeat the process on the positive terminal.
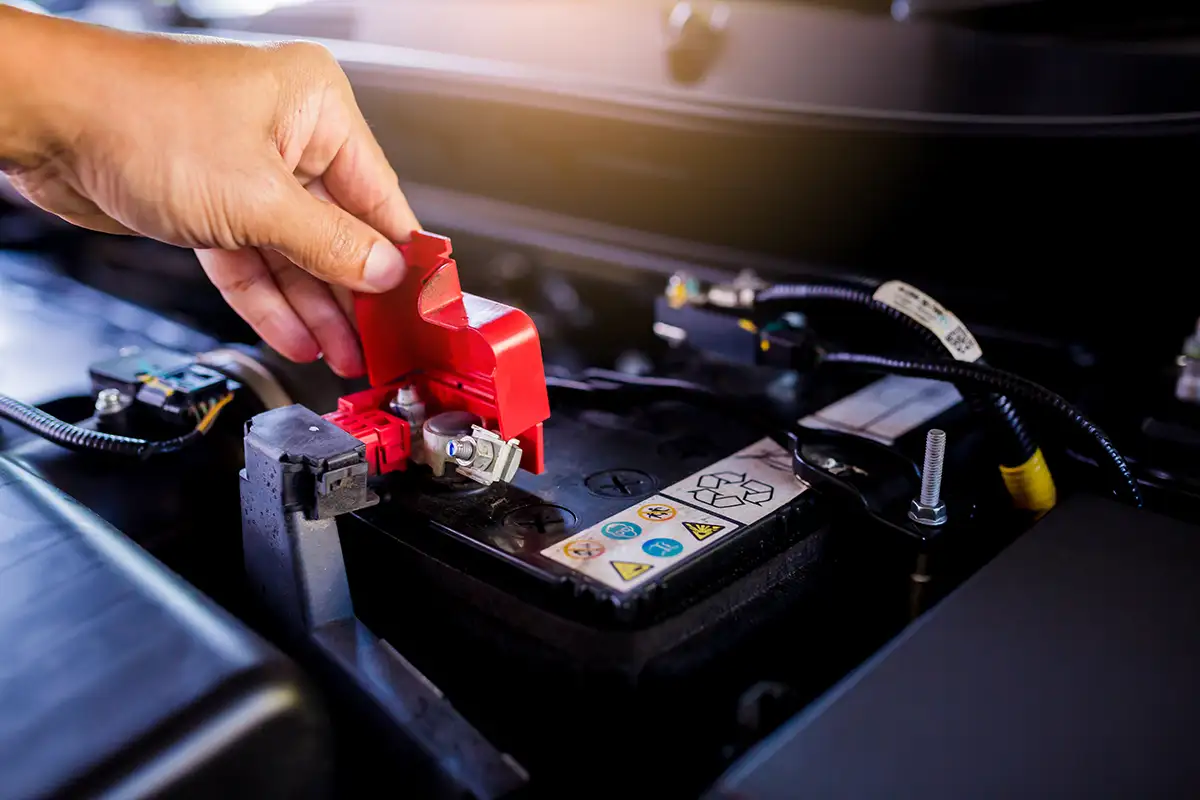
- Flip up the red protective cover if equipped.
- Loosen the clamp nut.
- Lift the clamp off and move it aside so it cannot touch the battery.
Tool control matters here: With the negative cable removed, the risk of a dead short to the chassis is reduced, not eliminated. Keep metal tools from touching the positive post and any other metal or wiring at the same time. Go slow and keep the positive terminal covered when you can.
6) Remove the hold-down
Most batteries are secured with a base wedge clamp, a top bracket, or a strap.
- Remove the fastener(s) and set them somewhere you will not lose them.
- Pay attention to any plastic trays, spacers, or heat shields. Put them back the same way.
Why it matters: A battery that can move around will crack, leak, or cause intermittent no-starts from loose terminals.
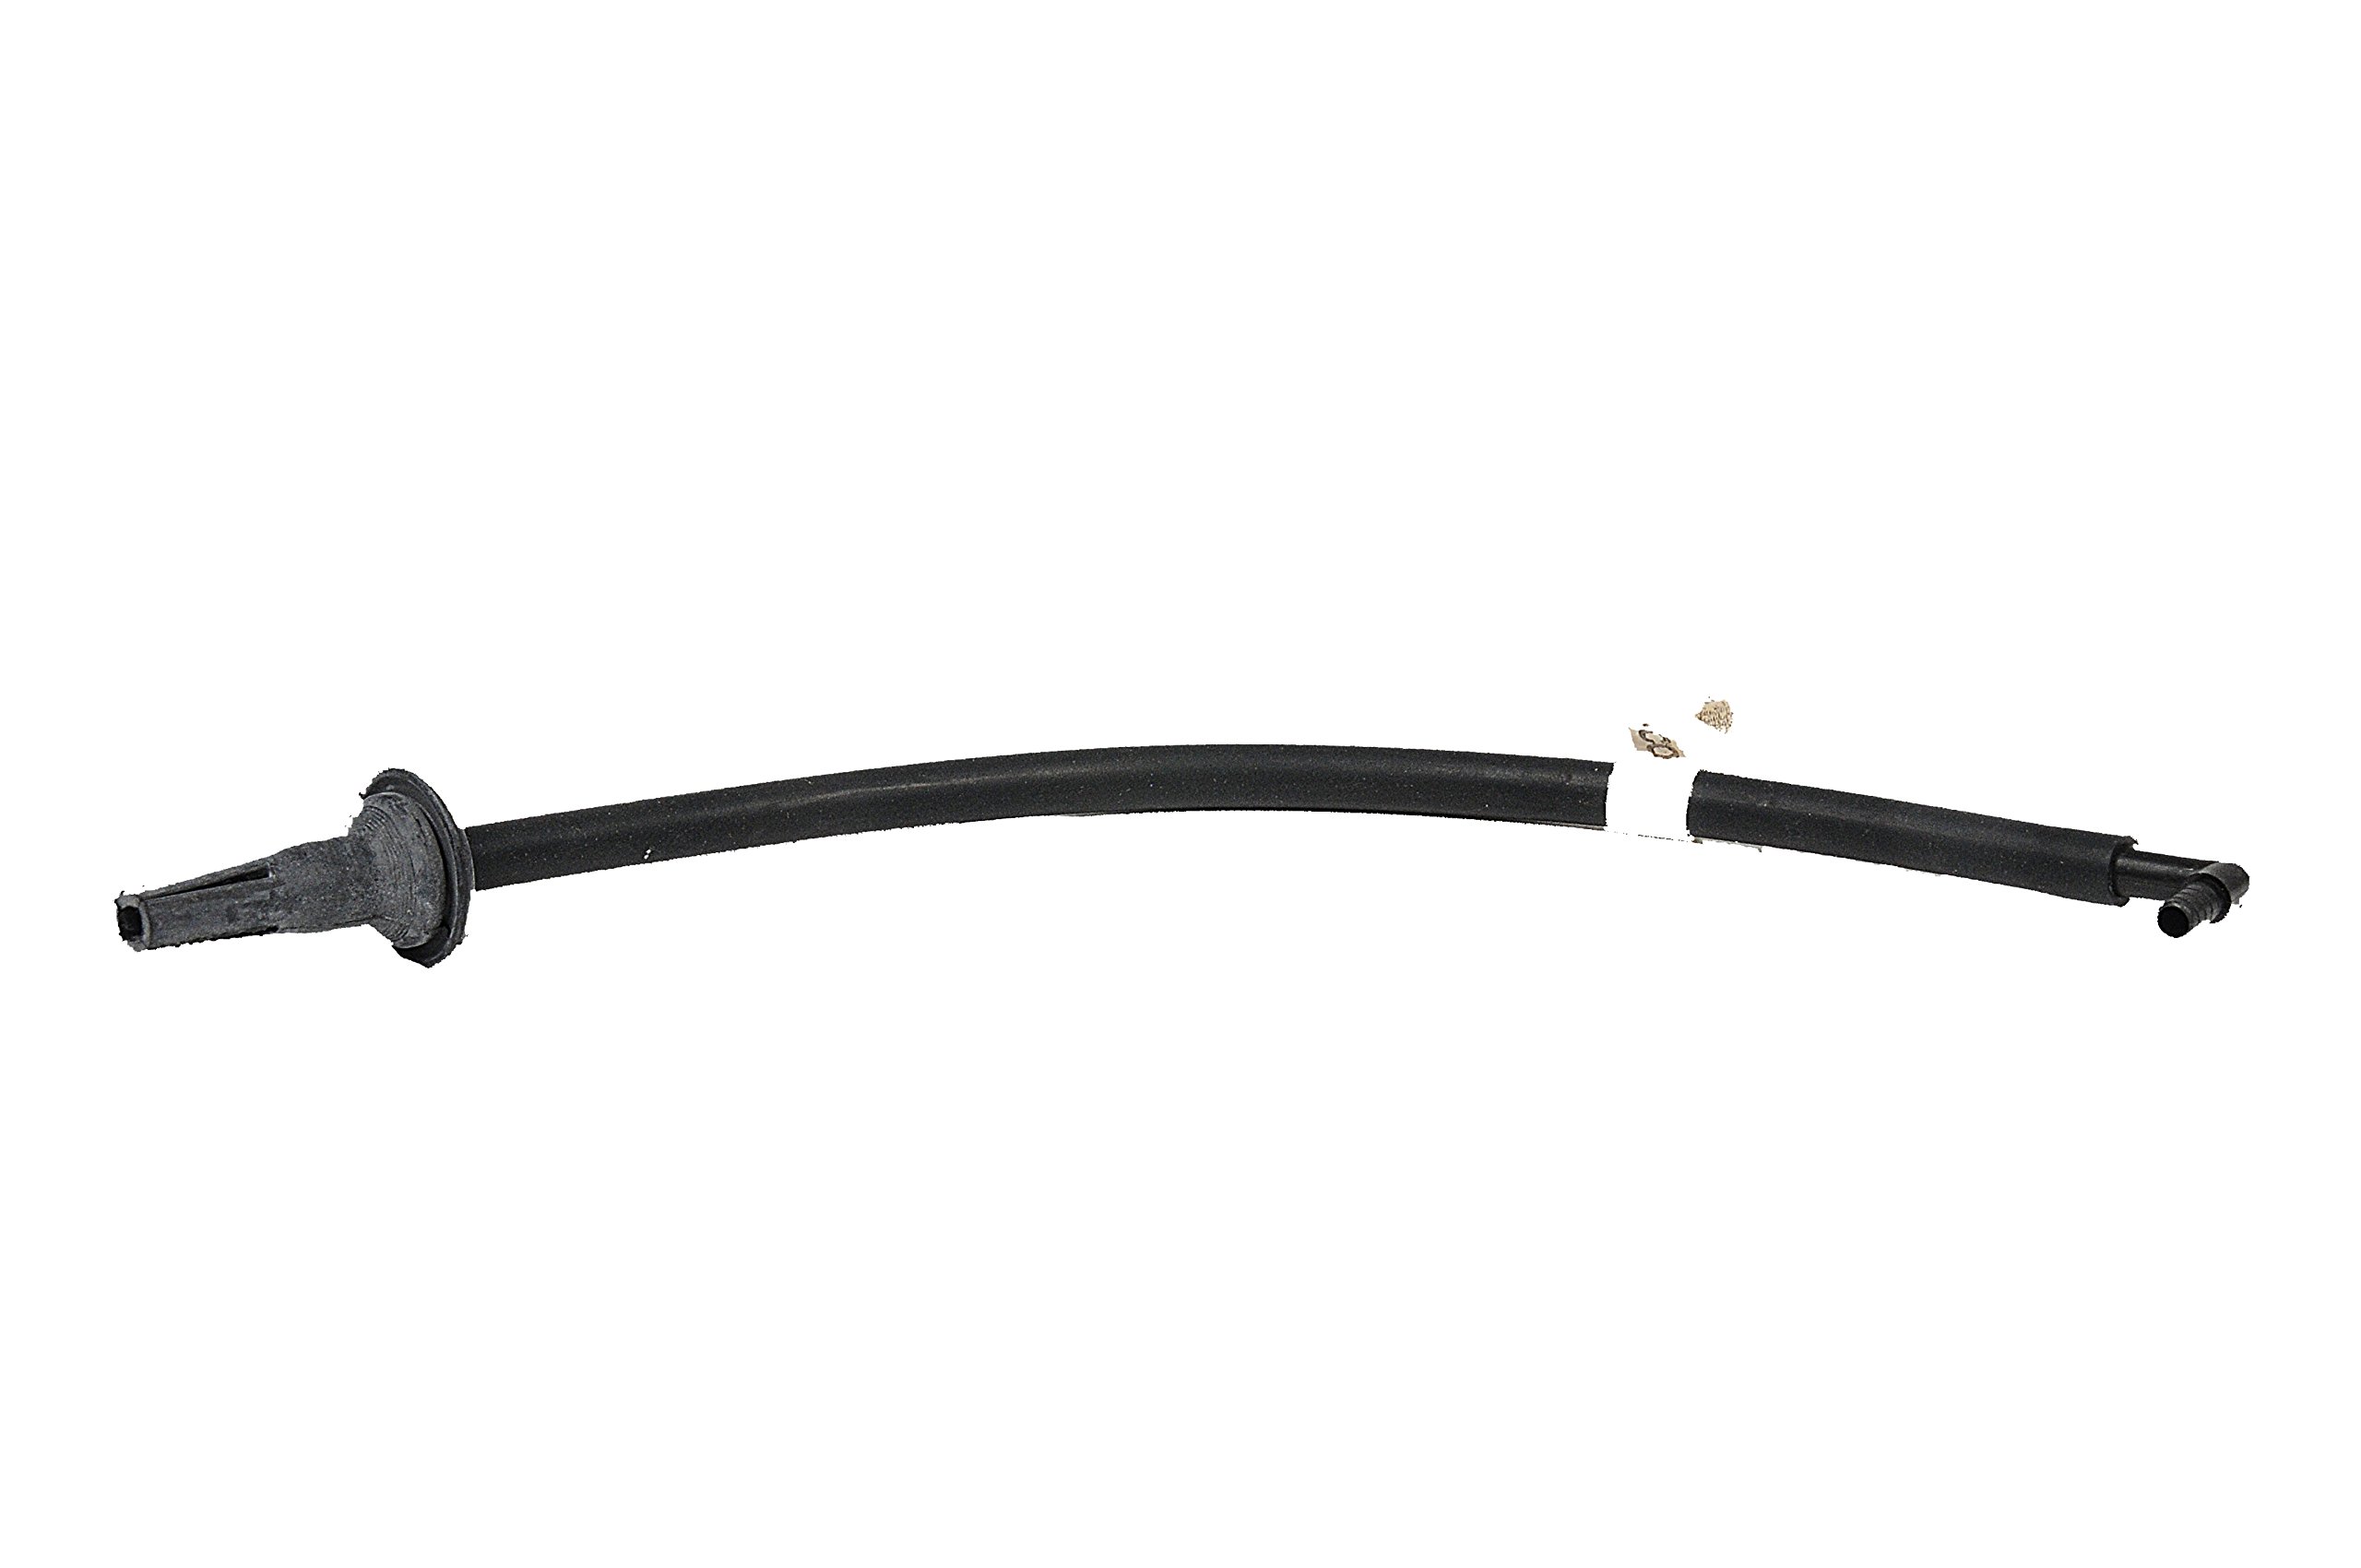
7) Disconnect the vent hose (if equipped)
Many batteries, especially in trunks or enclosed compartments, use a vent tube that routes gases outside the vehicle.
- Gently pull the vent hose from the battery vent port.
- Inspect it for cracks or blockage.
- Make sure your new battery has a compatible vent port location, and that any unused vent port is properly capped if your design requires it.
8) Lift the old battery out
Car batteries are heavy. Use the built-in handle if it has one, keep it upright, and lift with your legs.
- Place the old battery on the ground, not on painted bodywork.
- Check the battery tray for acid residue, rust, or loose debris.
9) Clean the tray and terminals
Clean contact points now so the new battery can do its job.
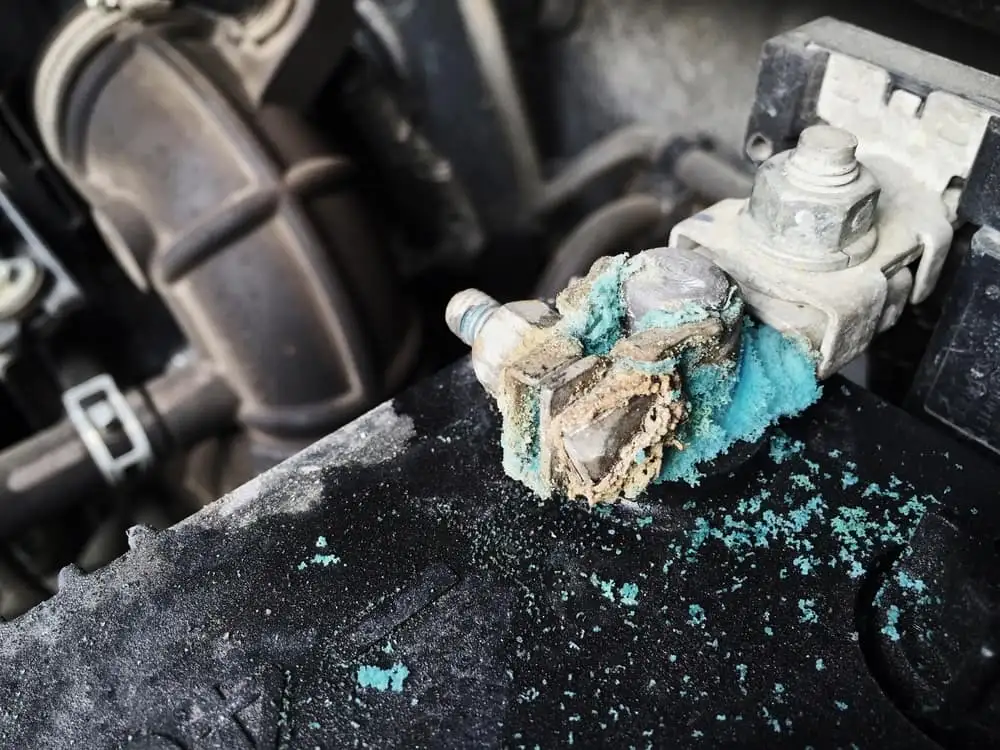
- If you see corrosion: mix baking soda with a little water and scrub the tray area carefully. Avoid letting the mixture run everywhere.
- Use a terminal brush to clean the inside of the cable clamps until the metal looks fresh.
- Wipe everything dry.
Important: Do not get baking soda solution inside the battery or into sensitive connectors. If your vehicle has a battery current sensor on the negative cable (common on many modern cars), avoid soaking it, do not force or twist it, and make sure it ends up reinstalled exactly the way it came off.
10) Install the new battery
Set the new battery into the tray in the same orientation as the old one.
Fit checklist
- Base sits flat in the tray without rocking.
- Cables reach naturally with no stretching, twisting, or sharp bends.
- Correct terminal alignment: positive cable lands on the positive post without crossing over the battery.
- Vent port lines up (if used).
If anything feels forced, stop and confirm the group size and orientation. Forcing a battery into place is how clamps crack and cables get damaged.
11) Reinstall the hold-down
Reinstall the hold-down bracket or base clamp and tighten it until the battery cannot move.
Torque note: Some vehicles specify a hold-down torque in the service manual. If you have it, use it. If you do not, snug is the goal, not brute force. Over-tightening can damage the tray, bracket, or battery case.
12) Reconnect the vent hose (if equipped)
Push the vent hose back onto the battery vent port until it is fully seated. Make sure it is not kinked or pinched by covers.
13) Reconnect positive first
This is the other half of the safety rule. When installing, positive goes on first.
- Place the positive clamp straight down on the positive post.
- Confirm it is fully seated at the base of the post.
- Tighten the clamp.
Clamp fit and torque tips
- The clamp should not spin on the post by hand once tight.
- Do not tighten until the clamp bottoms out and cracks. If the clamp will not tighten properly, it may be stretched or damaged and should be replaced.
- If you have torque specs, use them. If you do not, a common range seen on many vehicles for top-post terminal clamps is about 44 to 80 in-lb (5 to 9 N·m), but this varies widely by vehicle and terminal design. Verify the correct spec for your car when possible.
A thin smear of terminal protectant after tightening can slow future corrosion.
14) Reconnect negative last
Install the negative clamp on the negative post, seat it fully, then tighten.
Expect a small spark when the negative cable touches down if the car is waking modules back up. A tiny snap is normal. A dramatic arc is not. If you see heavy arcing, stop and check for accessories left on or a tool bridging terminals.
15) Final checks
- Tug test: Both clamps should be secure and not rotate.
- Wiggle test: Battery should not move in the tray.
- Vent hose: attached and not kinked (if equipped).
- Covers: positive terminal cover reinstalled if present.
- Tools: removed from the engine bay.
Start the vehicle. If it cranks normally, you are done.
If it will not start
If the new battery is installed and the engine still will not crank or start, the next steps are different from the physical replacement procedure. If you need help diagnosing what is next, here are the most common directions:
- No-start right after replacement: see our guide on what to check when a car won’t start after a battery replacement.
- Security light, immobilizer behavior, or key issues: see our security relearn overview for common makes.
- Battery registration required: some vehicles with smart charging strategies need the battery to be registered or reset after replacement (common on many BMW and MINI models, many Mercedes vehicles, many VW and Audi models, and also some other makes depending on year and system). See our battery registration and reset guide.
Recycling
Please do not toss an old battery in the trash. Lead-acid batteries are highly recyclable, and most parts stores will take your old one back, often with a core credit.
Quick FAQ
Do I really have to disconnect negative first?
Yes. It is the safest standard practice because it reduces the chance of shorting the positive terminal to the chassis with your wrench.
Can a new battery be bad out of the box?
It is uncommon, but it happens. If you have a multimeter, a fully charged 12V battery at rest is typically about 12.6V (AGM often similar). Much lower may mean it needs charging or testing.
What if the terminal clamp will not tighten enough?
Stop and inspect the clamp. If it is stretched, cracked, or the bolt bottoms out before the clamp grips, replace the terminal end. A loose clamp can mimic a dying battery.
Is it normal for the idle to be weird after reconnecting?
Sometimes. After power loss, some vehicles need a short relearn period for idle and throttle adaptation. If it persists or you get warning lights, check our relearn and post-swap troubleshooting pages.