I have lost count of how many “no-start” cars I have seen where the lights come on, the radio plays, and the battery even shows 12-something volts, yet the starter just clicks or drags. That is exactly why a load test matters. A battery can look healthy at rest and still fall flat the moment you ask it to deliver real current.
In this guide, I will show you how to check the battery’s state of charge first, then run a proper load test using either a carbon-pile load tester or a modern digital tester. We will stay focused on the battery itself and keep alternator charging checks out of scope.
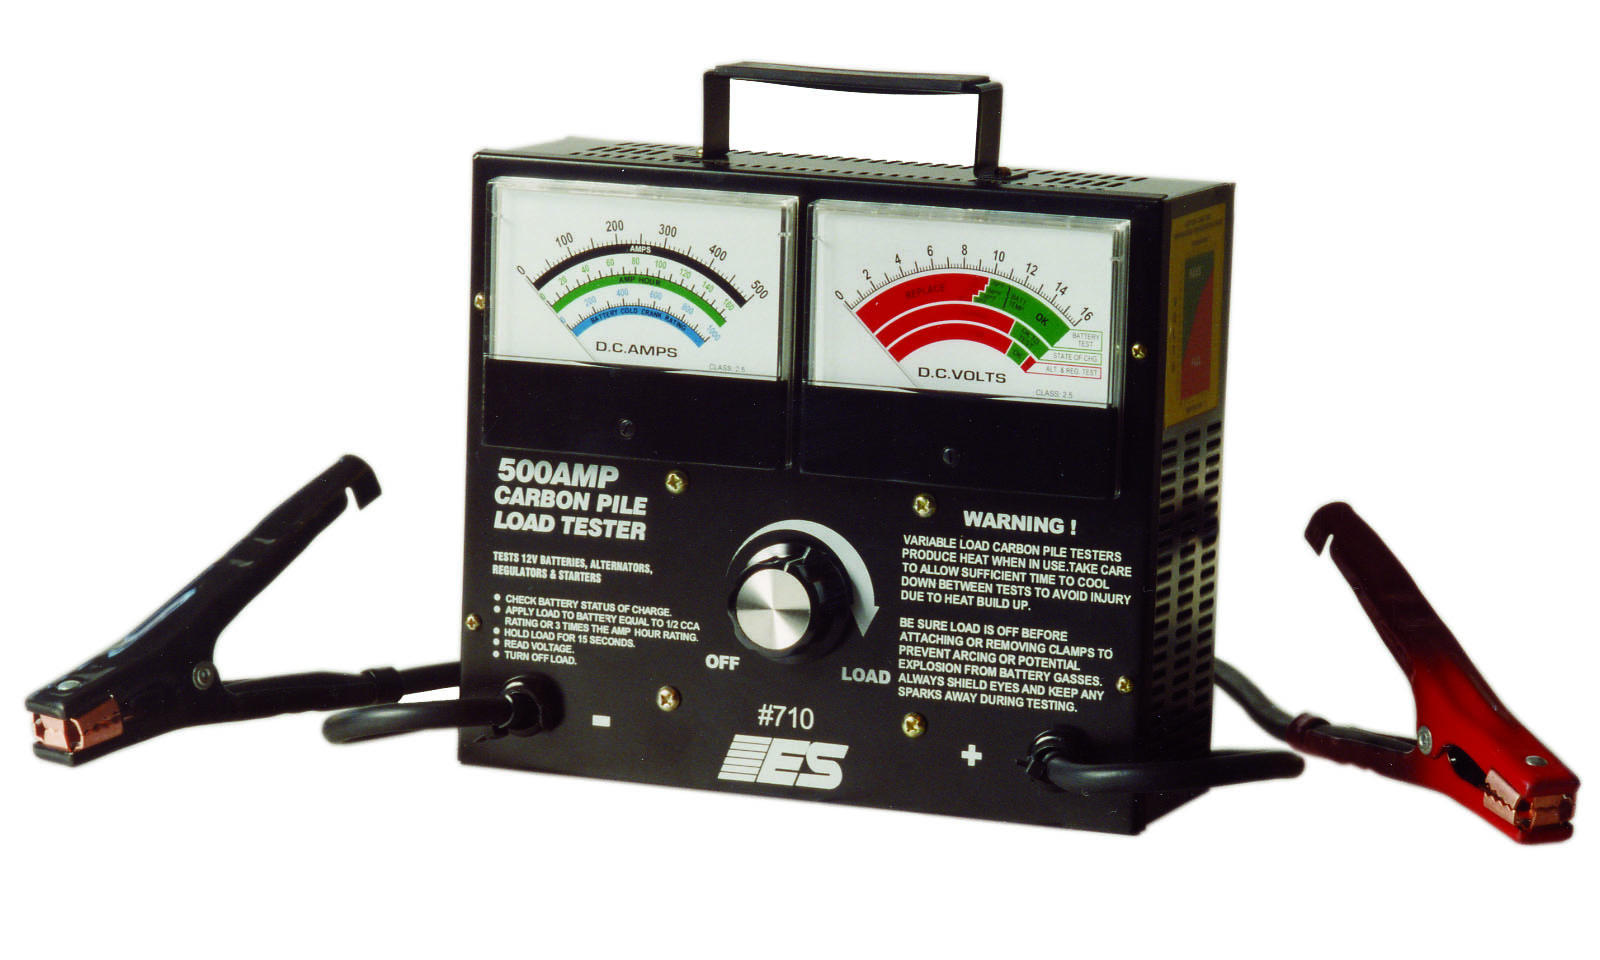
What a load test tells you
A resting voltage check is a useful quick screen, but it is not proof a battery can crank an engine. A lead-acid battery can show 12.6V at rest and still have:
- High internal resistance from sulfation or age
- A weak or shorted cell
- Not enough available cold cranking amps for your starter’s demand
A load test answers one simple question: Can this battery maintain acceptable voltage while delivering high current?
Before you load-test
Load-testing a discharged battery gives you misleading results. Most testers assume the battery is reasonably charged. Here is how I do the “state of charge first” step in the driveway.
Step 1: Safety and setup
- Park in a ventilated area, set the parking brake, and keep sparks and cigarettes away from the battery.
- Turn everything off, remove the key, and close the doors (or disable interior lights).
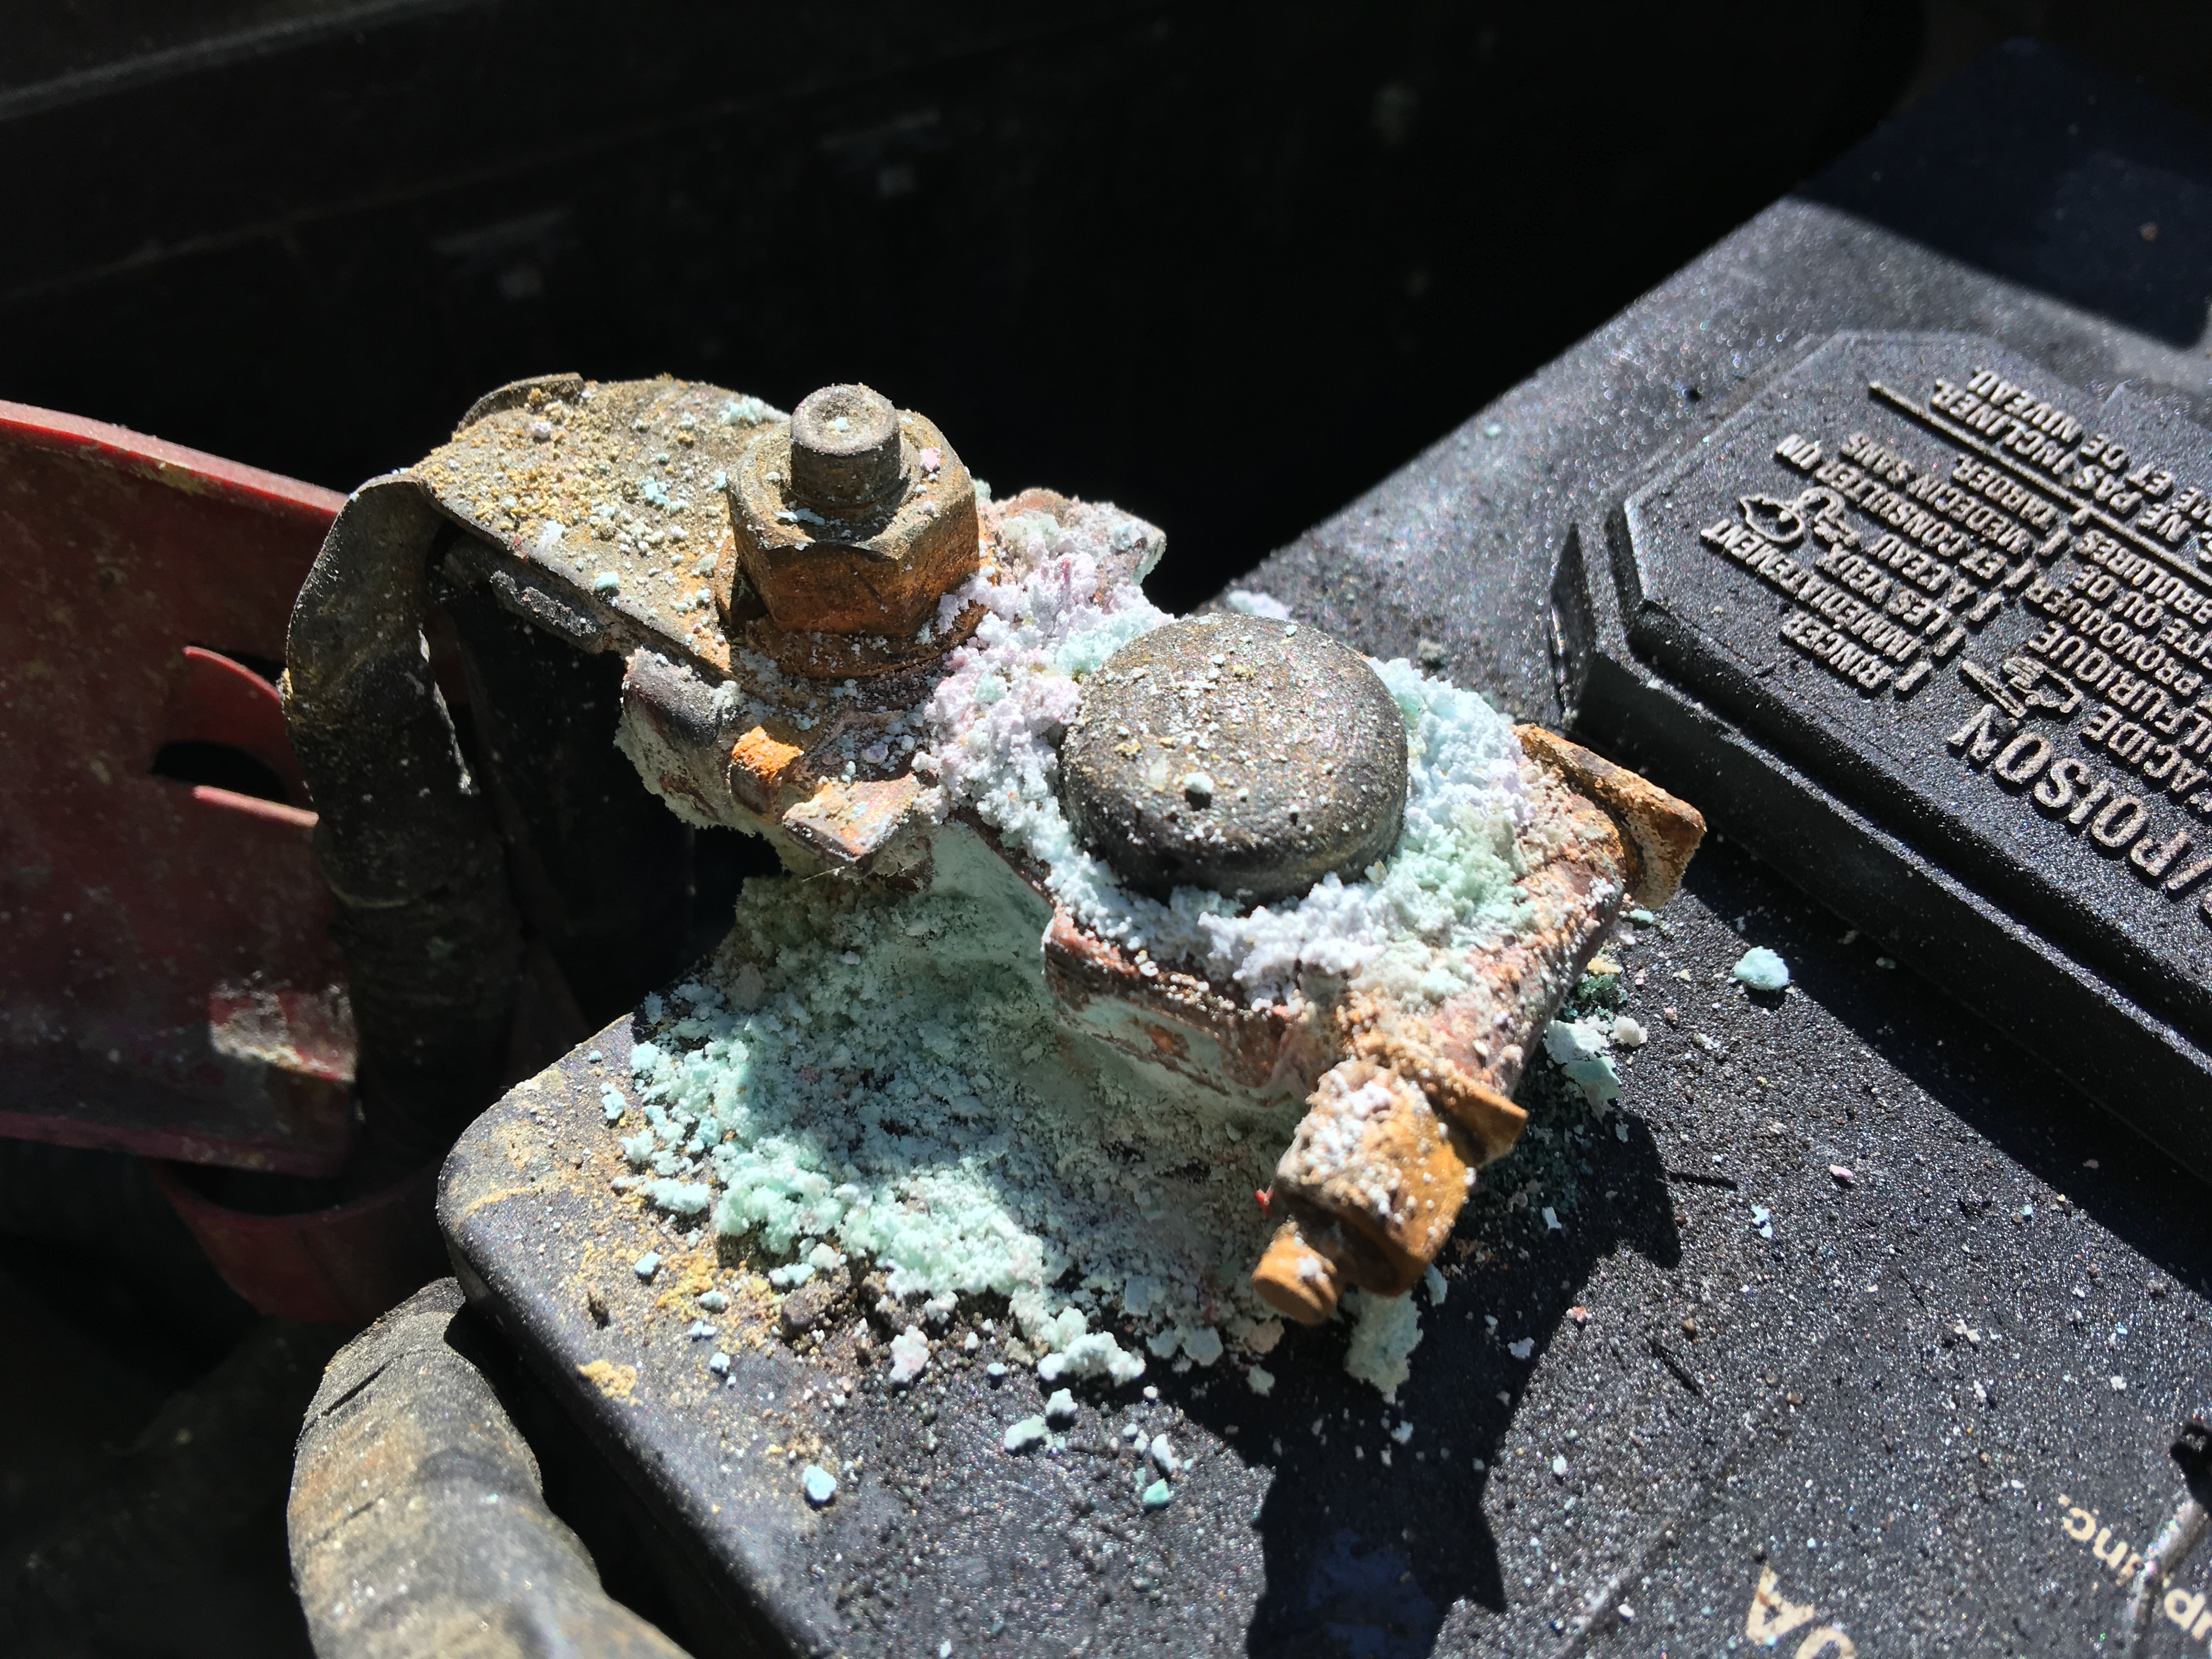
- Visually check for a cracked case, leaking electrolyte, or badly corroded terminals.
- Do not load-test a frozen battery. If it has been in extreme cold and you suspect it is frozen, bring it above freezing first. A frozen battery can rupture.
- If the case is bulged, swollen, or damaged, replace the battery. Do not test it.
Step 2: Remove surface charge
If the car was just driven or the battery was just charged, it may have a “surface charge” that inflates voltage readings.
- Turn headlights on for 30 to 60 seconds.
- Turn them off and wait 2 to 3 minutes.
Step 3: Check resting voltage
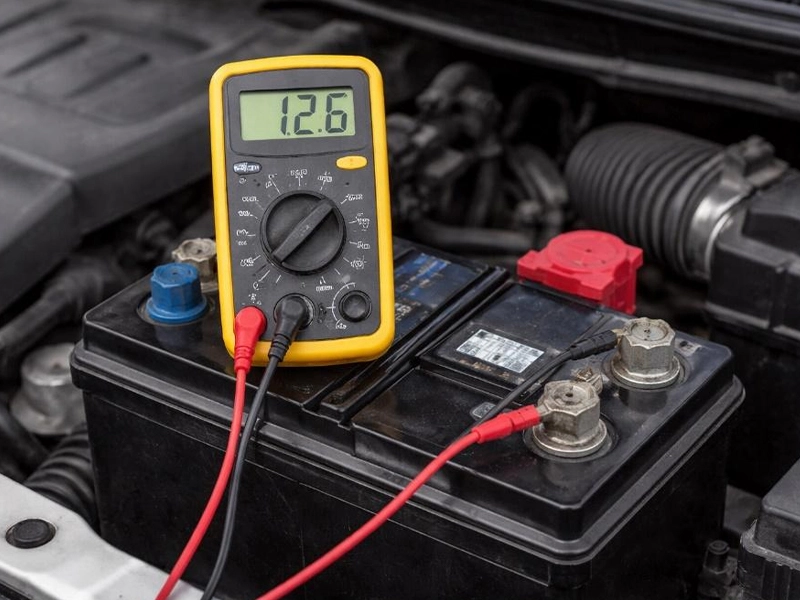
Set your digital multimeter to DC volts and measure directly at the battery posts (not the clamp ends if they are crusty).
- 12.6V to 12.8V: Typically fully charged after surface charge is removed. Many healthy flooded batteries will sit closer to the mid 12.6 range.
- 12.4V: Roughly 75% charged. Many testers will still work, but I prefer charging first.
- 12.2V: Roughly 50% charged. Charge the battery before load-testing.
- 12.0V or less: Very low state of charge. Charge first. If it will not take a charge, that itself is a clue.
Tip from the shop: These numbers are a solid rule of thumb for typical flooded lead-acid batteries at moderate temperatures, but values vary by battery type (flooded vs AGM vs EFB) and temperature. If your battery has a manufacturer chart, trust that chart.
Find the rating to test
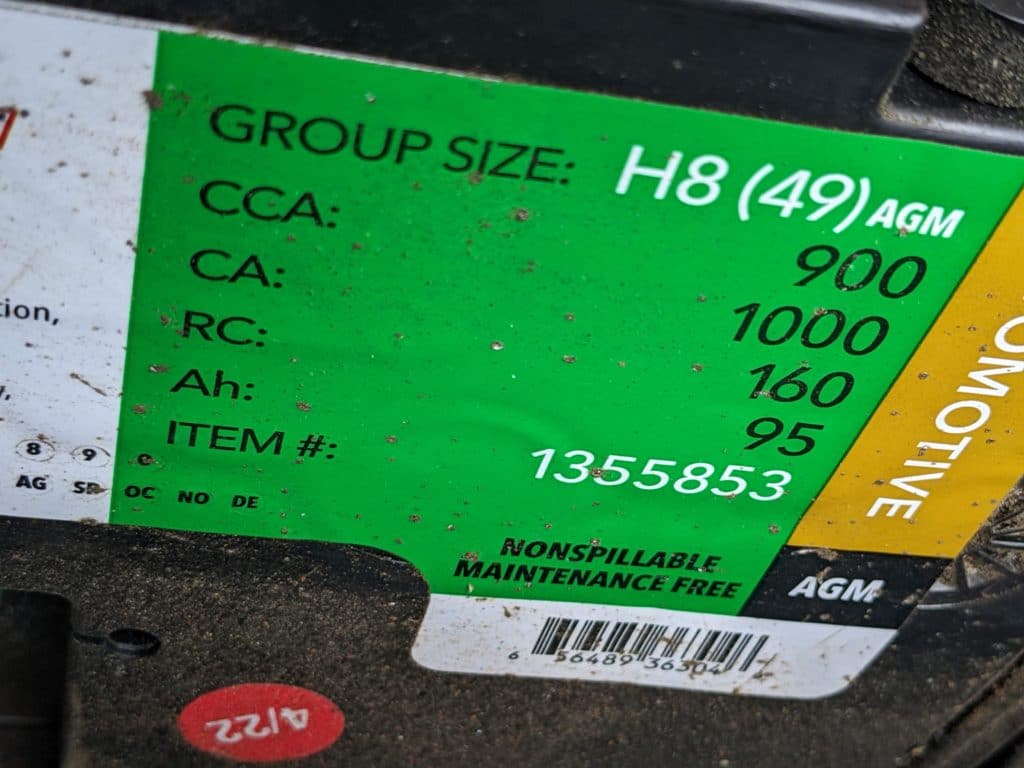
For most passenger cars, you will use the battery’s CCA rating (cold cranking amps). Look for a label on the top or side that says “CCA” followed by a number, like 550 CCA or 700 CCA.
Some batteries list CA (cranking amps) or MCA (marine cranking amps) instead. If you only see CA or MCA, a digital tester can usually still work, but a traditional carbon-pile test is normally referenced to CCA. When in doubt, use a tester that specifically supports the rating shown on the battery label.
Method 1: Carbon-pile test
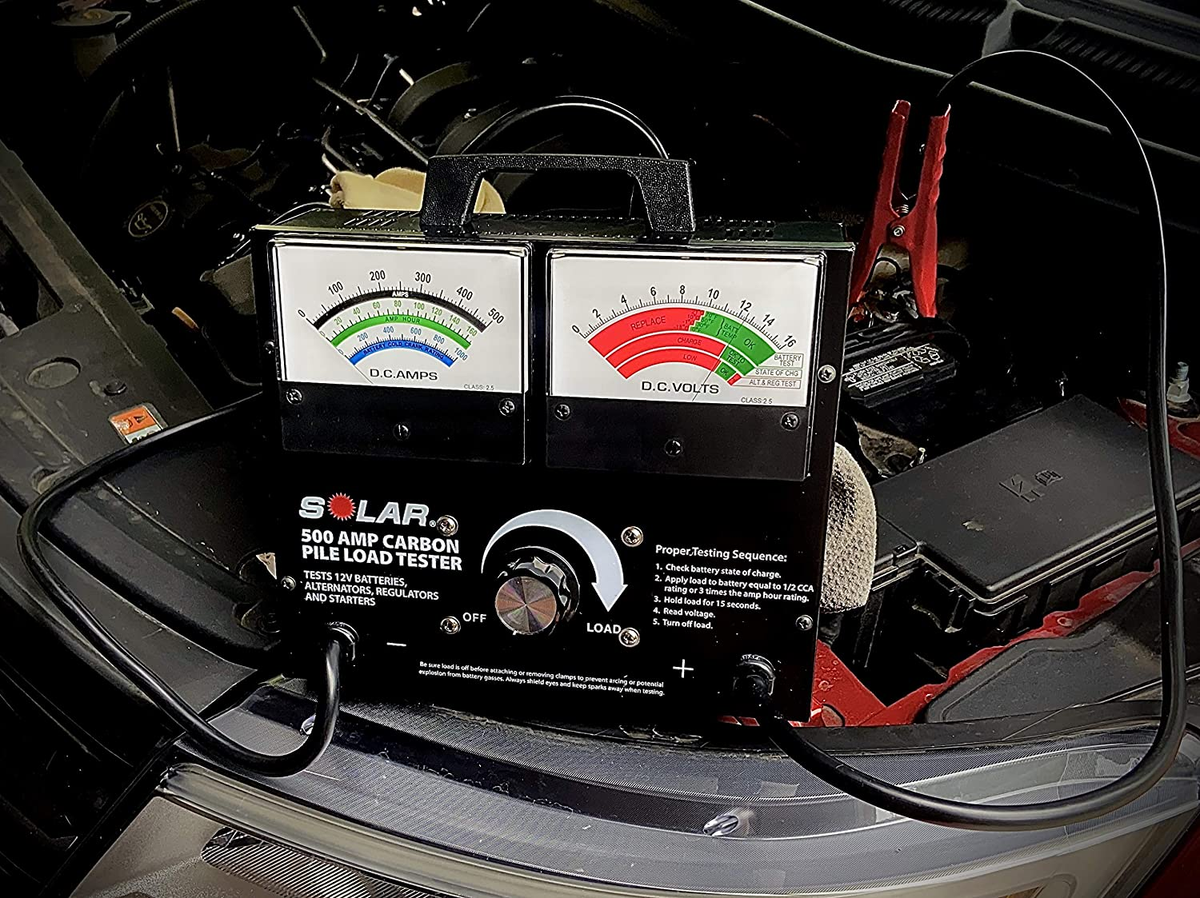
A carbon-pile tester uses a controllable resistive load to “stress” the battery on purpose while you watch battery voltage. This is the old-school test many independent shops still trust because you are actually applying a heavy load.
What you need
- A carbon-pile battery load tester rated for automotive use
- A way to read voltage (some testers have a built-in meter)
- Safety glasses and gloves
Step-by-step
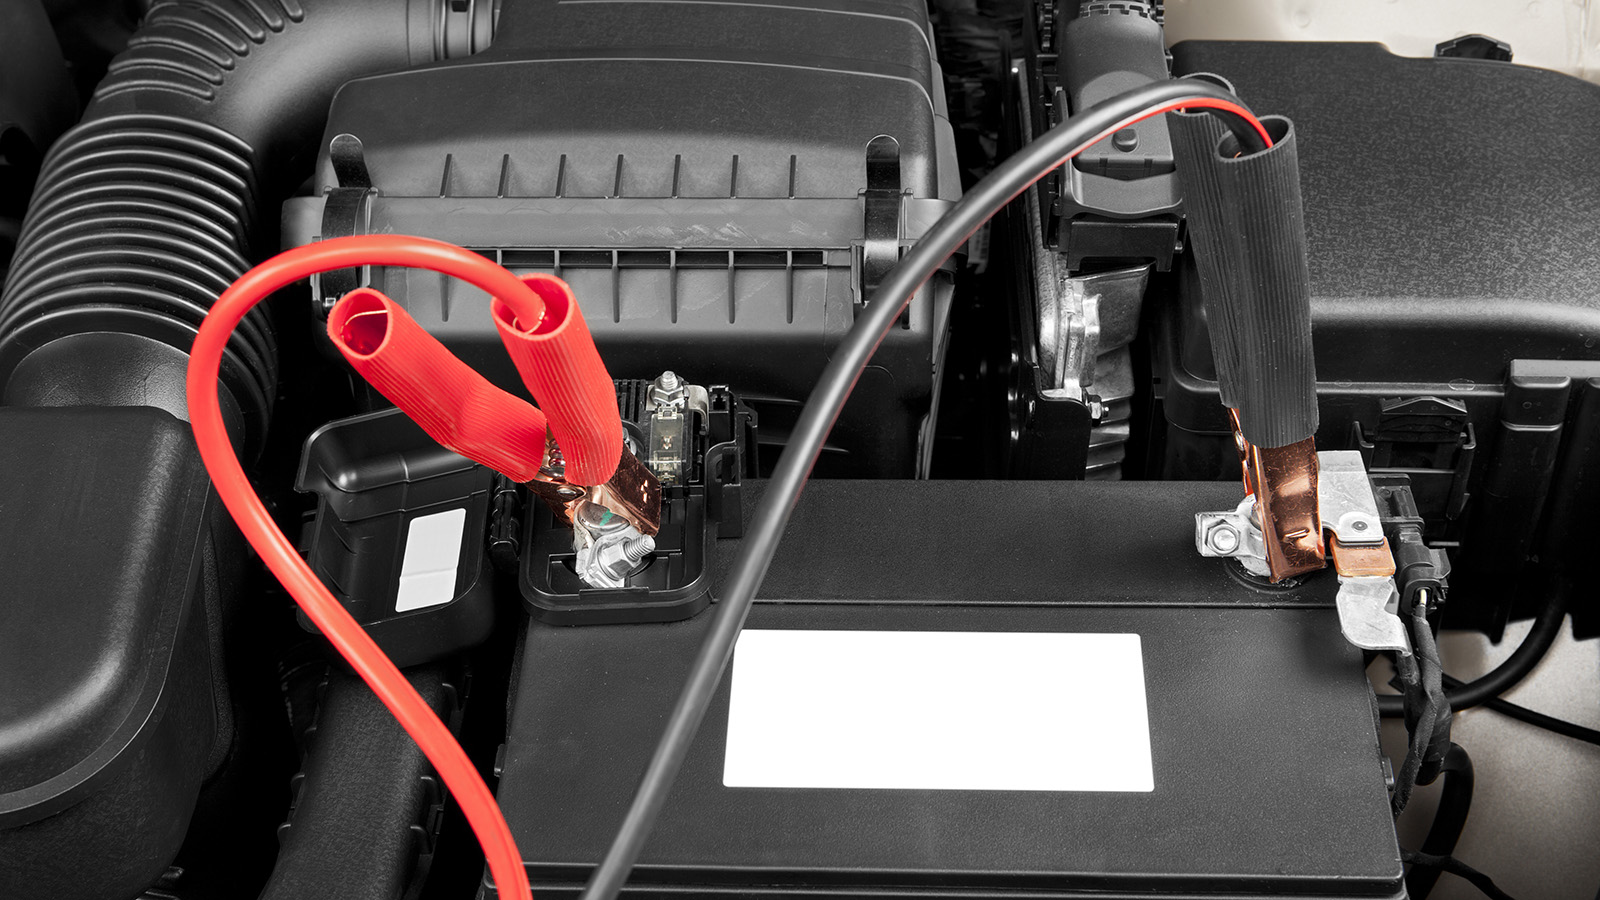
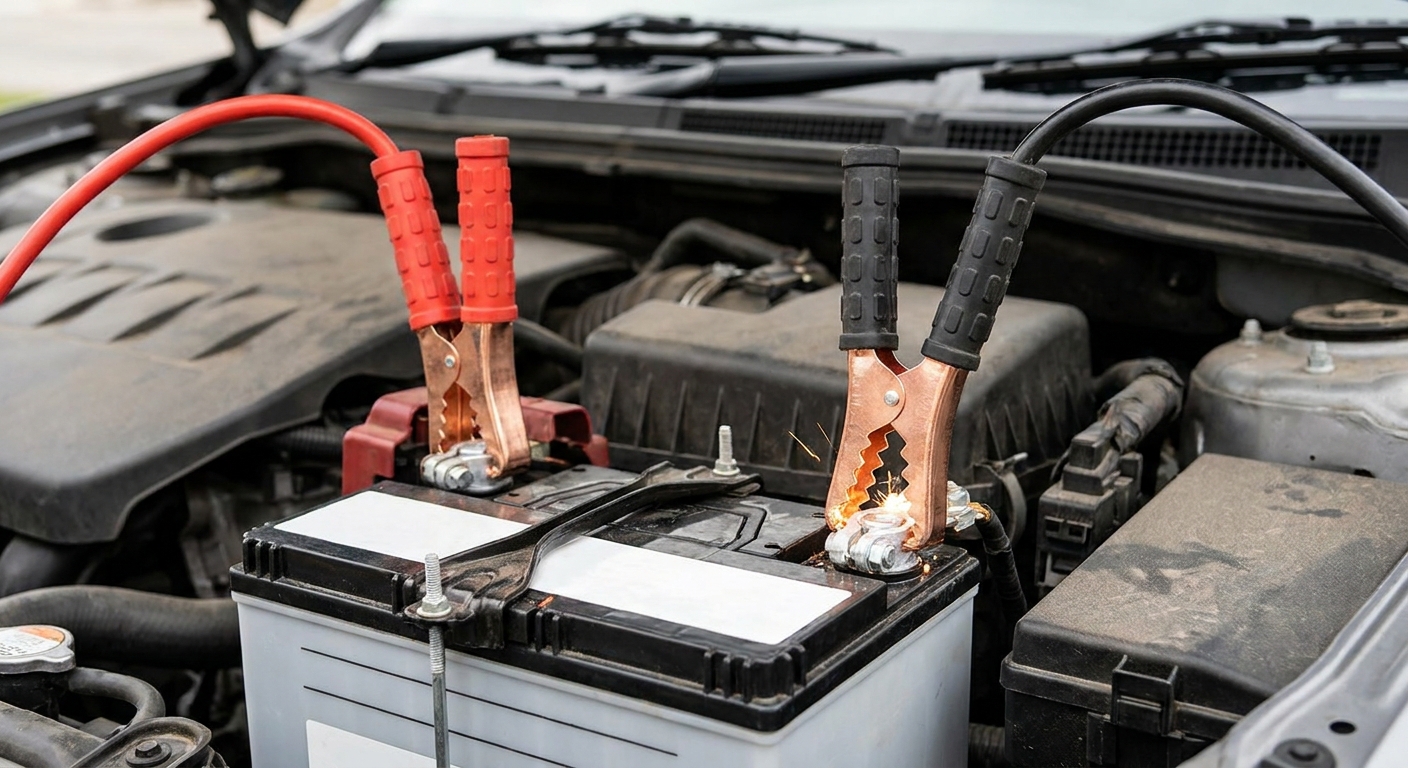
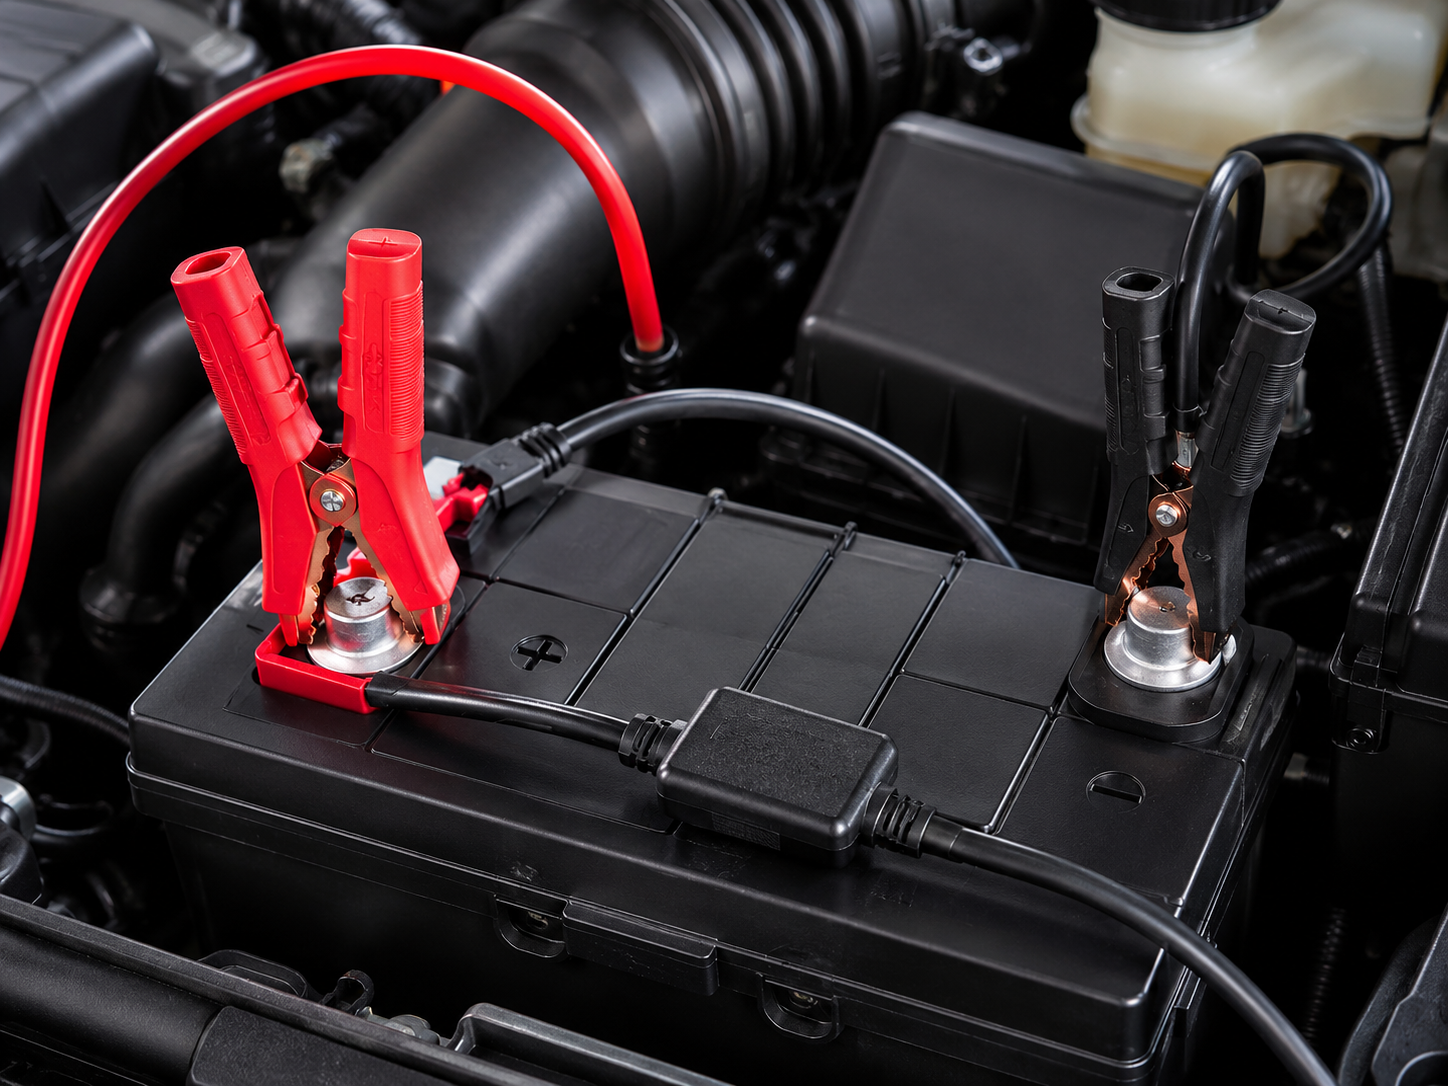
- Connect the tester clamps to the battery terminals: red to positive (+), black to negative (-). Make sure the clamps bite clean metal and are secure.
- Confirm battery voltage on the tester meter or your multimeter. If it is below about 12.4V, charge the battery first for best accuracy.
- Set the load to one-half (1/2) of the battery’s CCA rating. Example: for a 600 CCA battery, set the load to 300 amps.
- Apply the load for 15 seconds. Watch the voltage during the test. Do not exceed 15 seconds, carbon piles get hot fast.
- Read the voltage at the 15-second mark, then release the load and let the tester cool.
Pass or fail
A common rule of thumb for a 12V lead-acid battery is:
- Pass: Voltage stays at 9.6V or higher at the end of 15 seconds at 1/2 CCA load (at around 70°F or 21°C).
- Fail: Voltage drops below 9.6V under that load, or falls rapidly and keeps sliding.
In colder temperatures, the pass threshold is typically lower. Many carbon-pile testers include a temperature compensation chart. Use the chart if your tester has one. Also, some OEM service manuals specify different thresholds for specific batteries, so if you have a factory spec, follow it.
The pattern that tricks people: You might see 12.6V at rest, then the moment you apply load it dumps to 8.5V or 9.0V. That is a classic “looks good on a voltmeter, bad in real life” battery.
Method 2: Digital tester
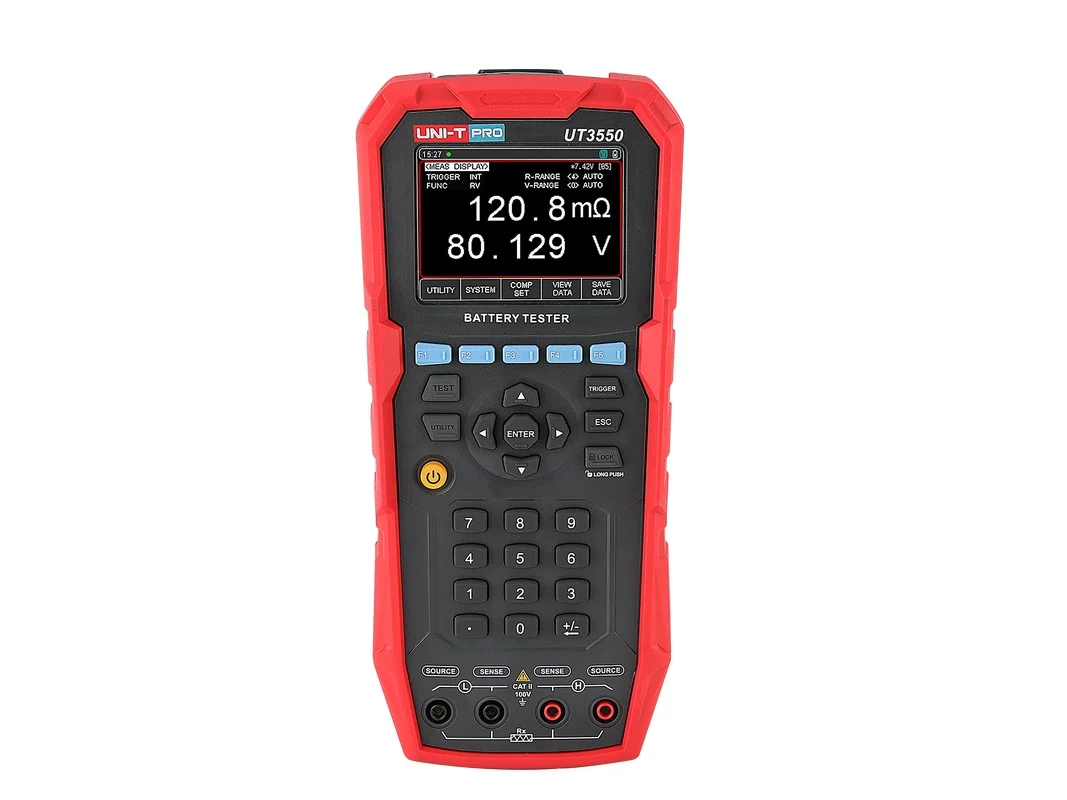
Digital conductance testers are the handheld tools you see at parts stores and many repair shops. Instead of applying a huge load, they measure internal resistance and battery response to a smaller signal, then estimate available cranking performance.
What you need
- A digital battery tester that supports your battery type (flooded, AGM, EFB)
- Access to the battery terminals (or remote terminals if your vehicle provides them)
Step-by-step
- Connect the tester leads at the battery posts: red to positive, black to negative.
- Select battery type (flooded, AGM, etc.) in the tester menu. This matters.
- Enter the rating shown on the label, usually CCA.
- Run the test and wait for the result.
Reading the results
- Good battery: generally means the battery has adequate measured capacity for starting.
- Good, recharge: battery tests okay but state of charge is low. Charge it fully and retest if symptoms continue.
- Replace battery: tester sees insufficient available cranking performance.
- Bad cell: often indicates an internal failure. Replace it.
Digital testers are excellent for quick decisions, especially on AGM batteries common in stop-start vehicles. If your digital tester says “replace,” do not ignore it, but do the basics before you hang the verdict. Double-check that you selected the right battery type and rating, make sure the clamps have clean contact, and retest. If it repeats “replace,” plan on replacement.
Healthy voltage but fails
If your battery shows a “normal” resting voltage but fails a load test, you are seeing the difference between voltage potential and current delivery.
Common causes:
- Sulfation: Lead sulfate crystals reduce active plate area, increasing internal resistance.
- Age and plate shedding: Batteries lose capacity as the grids and plates deteriorate.
- Stratification and chronic undercharging: Repeated short trips can keep a battery from fully charging and accelerate failure.
- Weak cell: One cell can drag the whole pack down under load.
Practically speaking, if it fails a proper load test, you plan for replacement. You can sometimes limp along for a bit in warm weather, but the first cold snap will usually turn “maybe” into “nope.”
Good battery, still no start
If the battery passes a load test and the car still will not crank well, the next suspects are usually connection and cable issues, or the starter itself.
- Dirty or loose terminals: Clean and tighten. Test again.
- Corroded battery cables: Swollen insulation near the terminals is a red flag.
- Bad grounds: Engine-to-chassis ground straps can cause slow cranking.
- Starter draw issues: A failing starter can demand excessive current and make a decent battery look weak in the car.
A simple tell is heat. During or right after cranking or a load test, carefully feel for an unusually warm battery terminal or cable end. Do not burn yourself, and keep hands, sleeves, and tools clear of belts and fans. Heat at a connection often means resistance, and resistance steals cranking power.
Extra tips
- Test at the posts when possible. Measuring at corroded clamp ends can lie to you. If the battery is buried and your vehicle provides remote jump posts, those are fine for an initial check, but testing at the battery itself is more trustworthy.
- Do not overheat a carbon-pile tester. Short 15-second pulls, then let it cool.
- Charge, then retest. If a battery is borderline, results get much clearer when it is fully charged.
- After the test, let it recover. Give the battery a couple minutes between pulls. Repeated tests back-to-back can drag voltage down even on a decent battery.
- Know your battery type. AGM and EFB batteries need the correct tester settings.
- Age matters. If your battery is 4 to 6 years old and acting up, a load test often confirms what your gut already suspects.
FAQ
Can I load-test without a tester?
You can do a crude check by watching voltage on a multimeter while someone cranks the engine, but it is not the same as a controlled, rated load test. A proper load tester or digital conductance tester is the right tool if you want a confident yes or no.
What voltage should it hold under load?
On a traditional carbon-pile test at half the battery’s CCA for 15 seconds, many batteries are considered acceptable if they stay at 9.6V or higher at about room temperature. Always follow your tester’s instructions and temperature guidance.
Why do my lights work if the battery is bad?
Headlights and cabin electronics need far less current than a starter motor. A weak battery can run accessories and still be unable to deliver the hundreds of amps needed to crank the engine.
How long should you load-test?
With a carbon-pile tester, 15 seconds is the standard duration for the rated test. Longer pulls can overheat the tester and stress the battery unnecessarily.
Should I disconnect the battery to load-test it?
Usually no. Most testing is done with the battery installed. Just make sure the vehicle is off and you have good access to the terminals. If your battery is in the trunk or under a seat, follow the vehicle’s battery access procedure so you do not damage trim or wiring.
If it keeps saying “good, recharge,” what then?
If the battery repeatedly tests “good, recharge,” that is your hint to stop guessing and look at why it is ending up discharged. It could be a lot of short trips, a light left on, or a parasitic draw. Those issues can mimic a “bad battery” even when the battery itself still tests okay.
Bottom line
If you are chasing a no-start where the dash lights and radio still work, a load test is the moment of truth. Check state of charge first, then test the battery at its rated load. When a battery looks fine at 12.6V but collapses under load, that is not bad luck. That is a battery that cannot deliver cranking current anymore.