I have lost count of how many times a neighbor has told me, “The car is dead dead, can I just slap a charger on it?” Usually, yes. But doing it the right way matters, both for safety and for actually bringing the battery back instead of cooking it.
Below is exactly how I charge a deeply discharged 12-volt car battery with a standalone charger, whether the battery is still in the vehicle or sitting on the bench. I will also show you what to do when the battery is so flat the charger will not even recognize it.
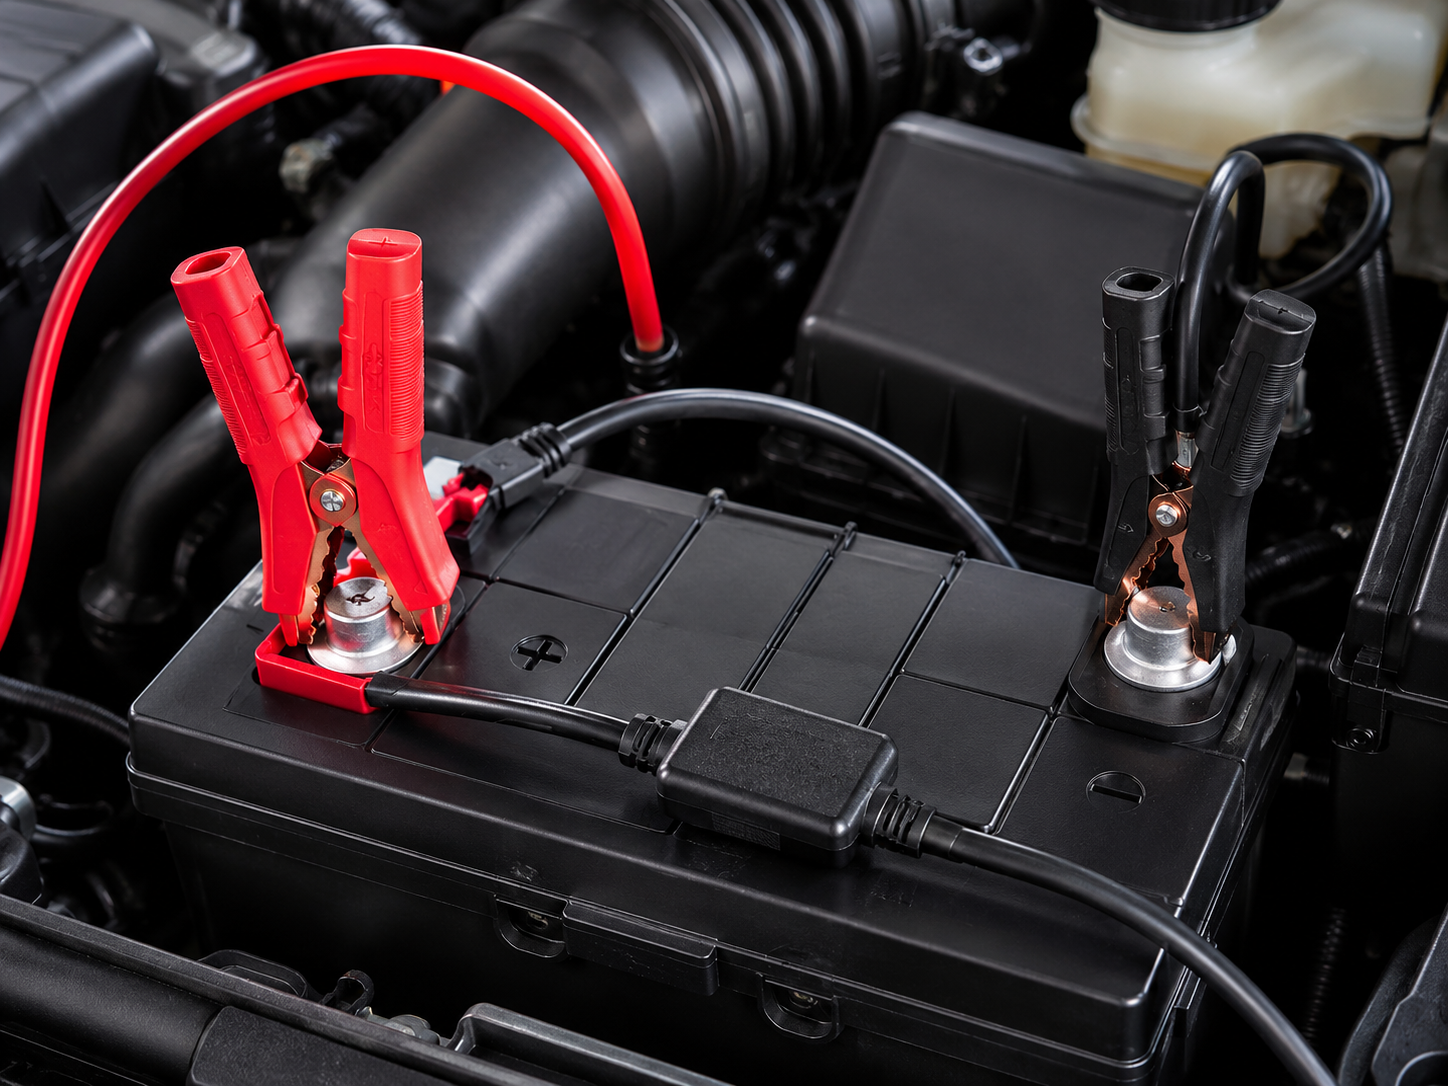
Before you start: confirm it is a 12-volt battery
Most gas and hybrid cars use a 12-volt lead-acid battery (flooded, AGM, or EFB). Many EVs also have a 12-volt battery for accessories and computers, even though the car has a high-voltage pack. This guide is for the 12-volt battery only.
Do not attempt to charge any high-voltage EV battery with a consumer 12-volt charger.
One more quick note on EVs and newer cars: some 12-volt batteries are lithium based. If the label says lithium (LiFePO4 or similar), use a charger that explicitly supports that chemistry. Do not guess.
Quick checks that save time
- Look for the label: It will usually say 12V and list battery type (Flooded, AGM, EFB, sometimes Lithium).
- Inspect the case: If the battery is cracked, swollen, or leaking, do not charge it. Replace it.
- Sniff test: A strong rotten egg smell (sulfur) can mean the battery is overgassing or failing internally. Stop charging, ventilate the area, and have the battery and charging system inspected. In the real world, replacement is common.
Choose the right charger (and why it matters)
There are three tools people mix up: a charger, a jump starter, and a tender. They are not interchangeable.
Smart charger vs. manual charger
- Smart charger (recommended): Automatically regulates current and voltage, often has AGM modes and a “repair” or “recondition” setting. Safer for modern vehicles and easier for beginners.
- Manual charger: Can work fine, but it will keep pushing current whether the battery is ready or not. You need to monitor it closely to avoid overheating and overcharging.
How many amps should you use?
For most dead-but-not-damaged car batteries, I like 2A to 10A charging.
- 2A to 4A: Slow, gentle, great for recovery and battery health.
- 6A to 10A: Faster, still reasonable for most automotive batteries.
- 40A+ boost or start modes: Often intended as start assist or rapid bulk charging. They can be useful, but they are harder on the battery than low-amp charging, especially when the battery is deeply discharged.
If your charger has an AGM setting and your battery is AGM, use it. AGM batteries typically want a slightly different charging profile.
Safety setup: ventilation, sparks, and what to wear
Charging creates hydrogen gas, especially with flooded lead-acid batteries. Hydrogen is extremely flammable.
- Charge in a well-ventilated area. If you are in a garage, crack the door open.
- Keep flames and sparks away. No smoking, grinding, or trouble lights with hot bulbs near the battery.
- Wear eye protection and gloves. Battery acid is not forgiving.
- Keep the charger unplugged while you connect clamps. This reduces spark risk at the battery.
Charging the battery in the car
In-car charging is the most common approach and usually the easiest. You do not have to remove the battery, and many modern cars are picky about losing power.
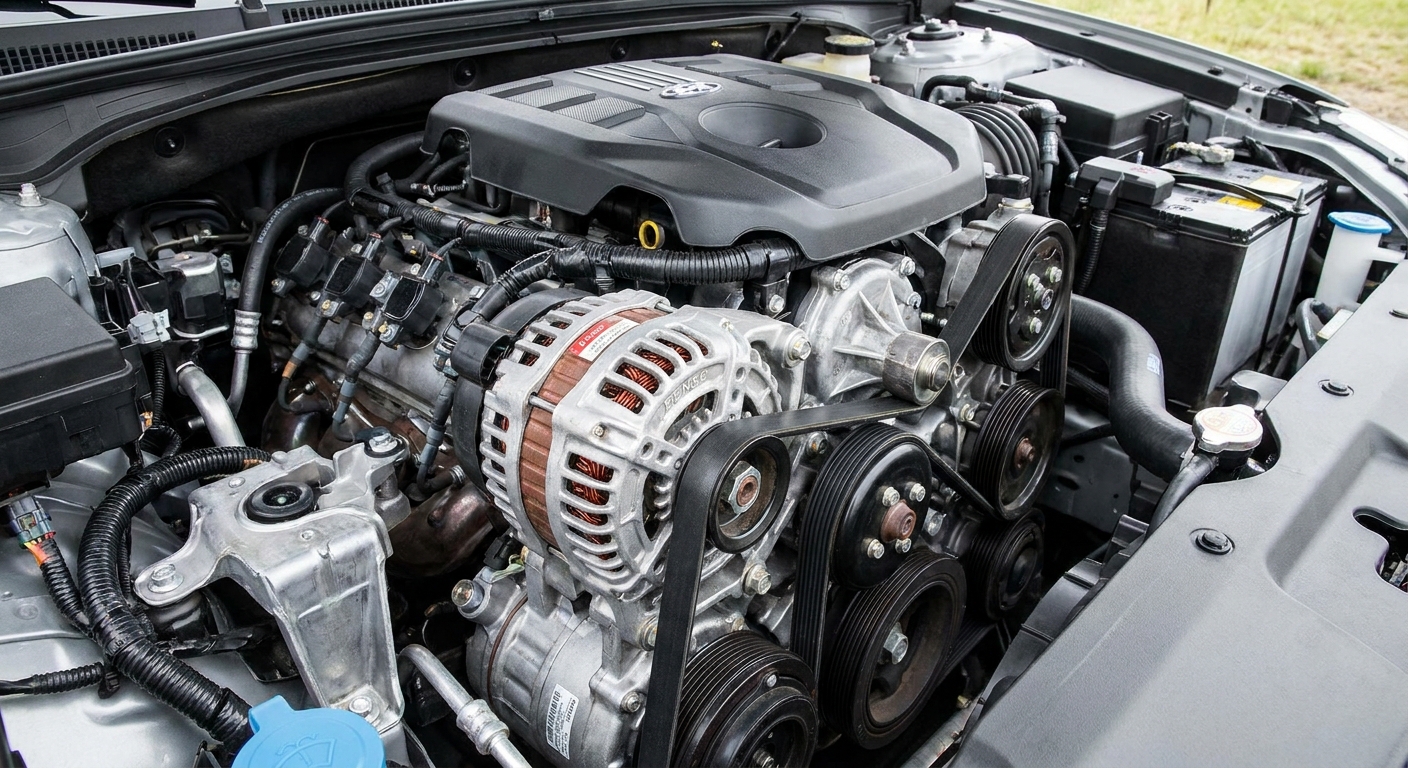
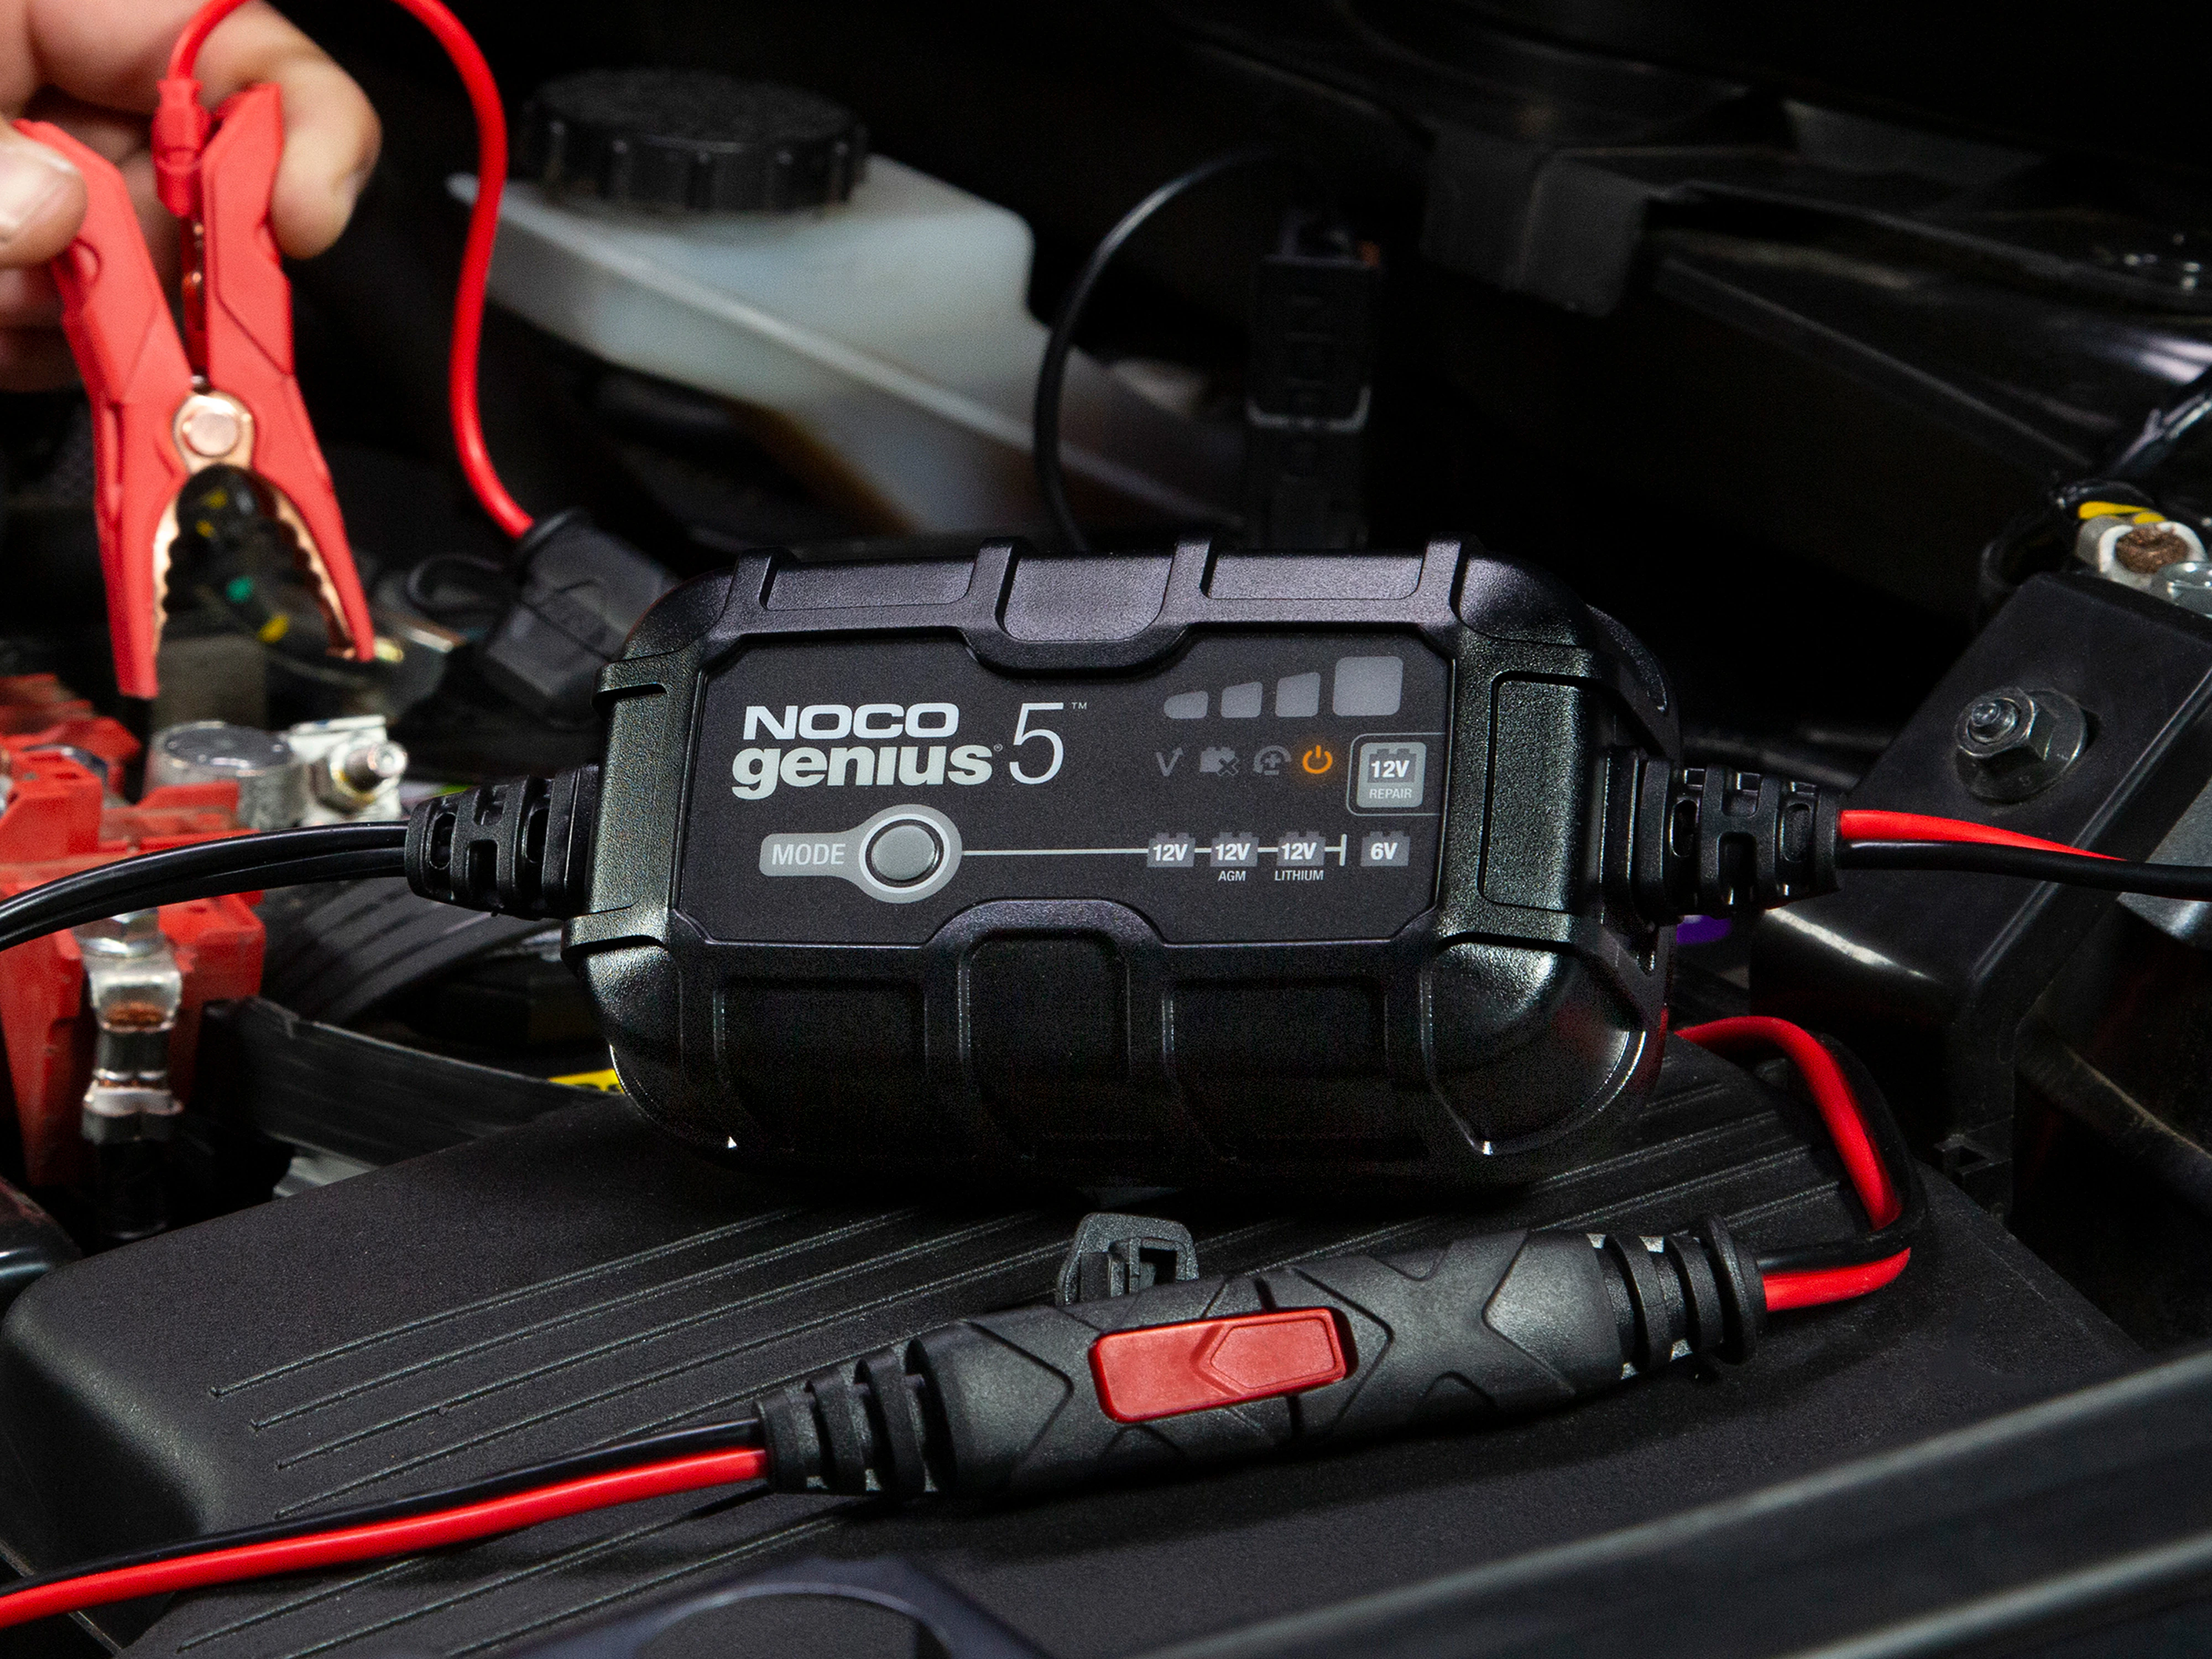
If your vehicle has designated under-hood jump or charge points, use them. Many cars also have a battery monitoring sensor on the negative terminal, and charging at the approved points helps the car “see” what is happening.
Connection steps
- Turn the vehicle off and remove the key or fob from the car.
- Set the parking brake and pop the hood.
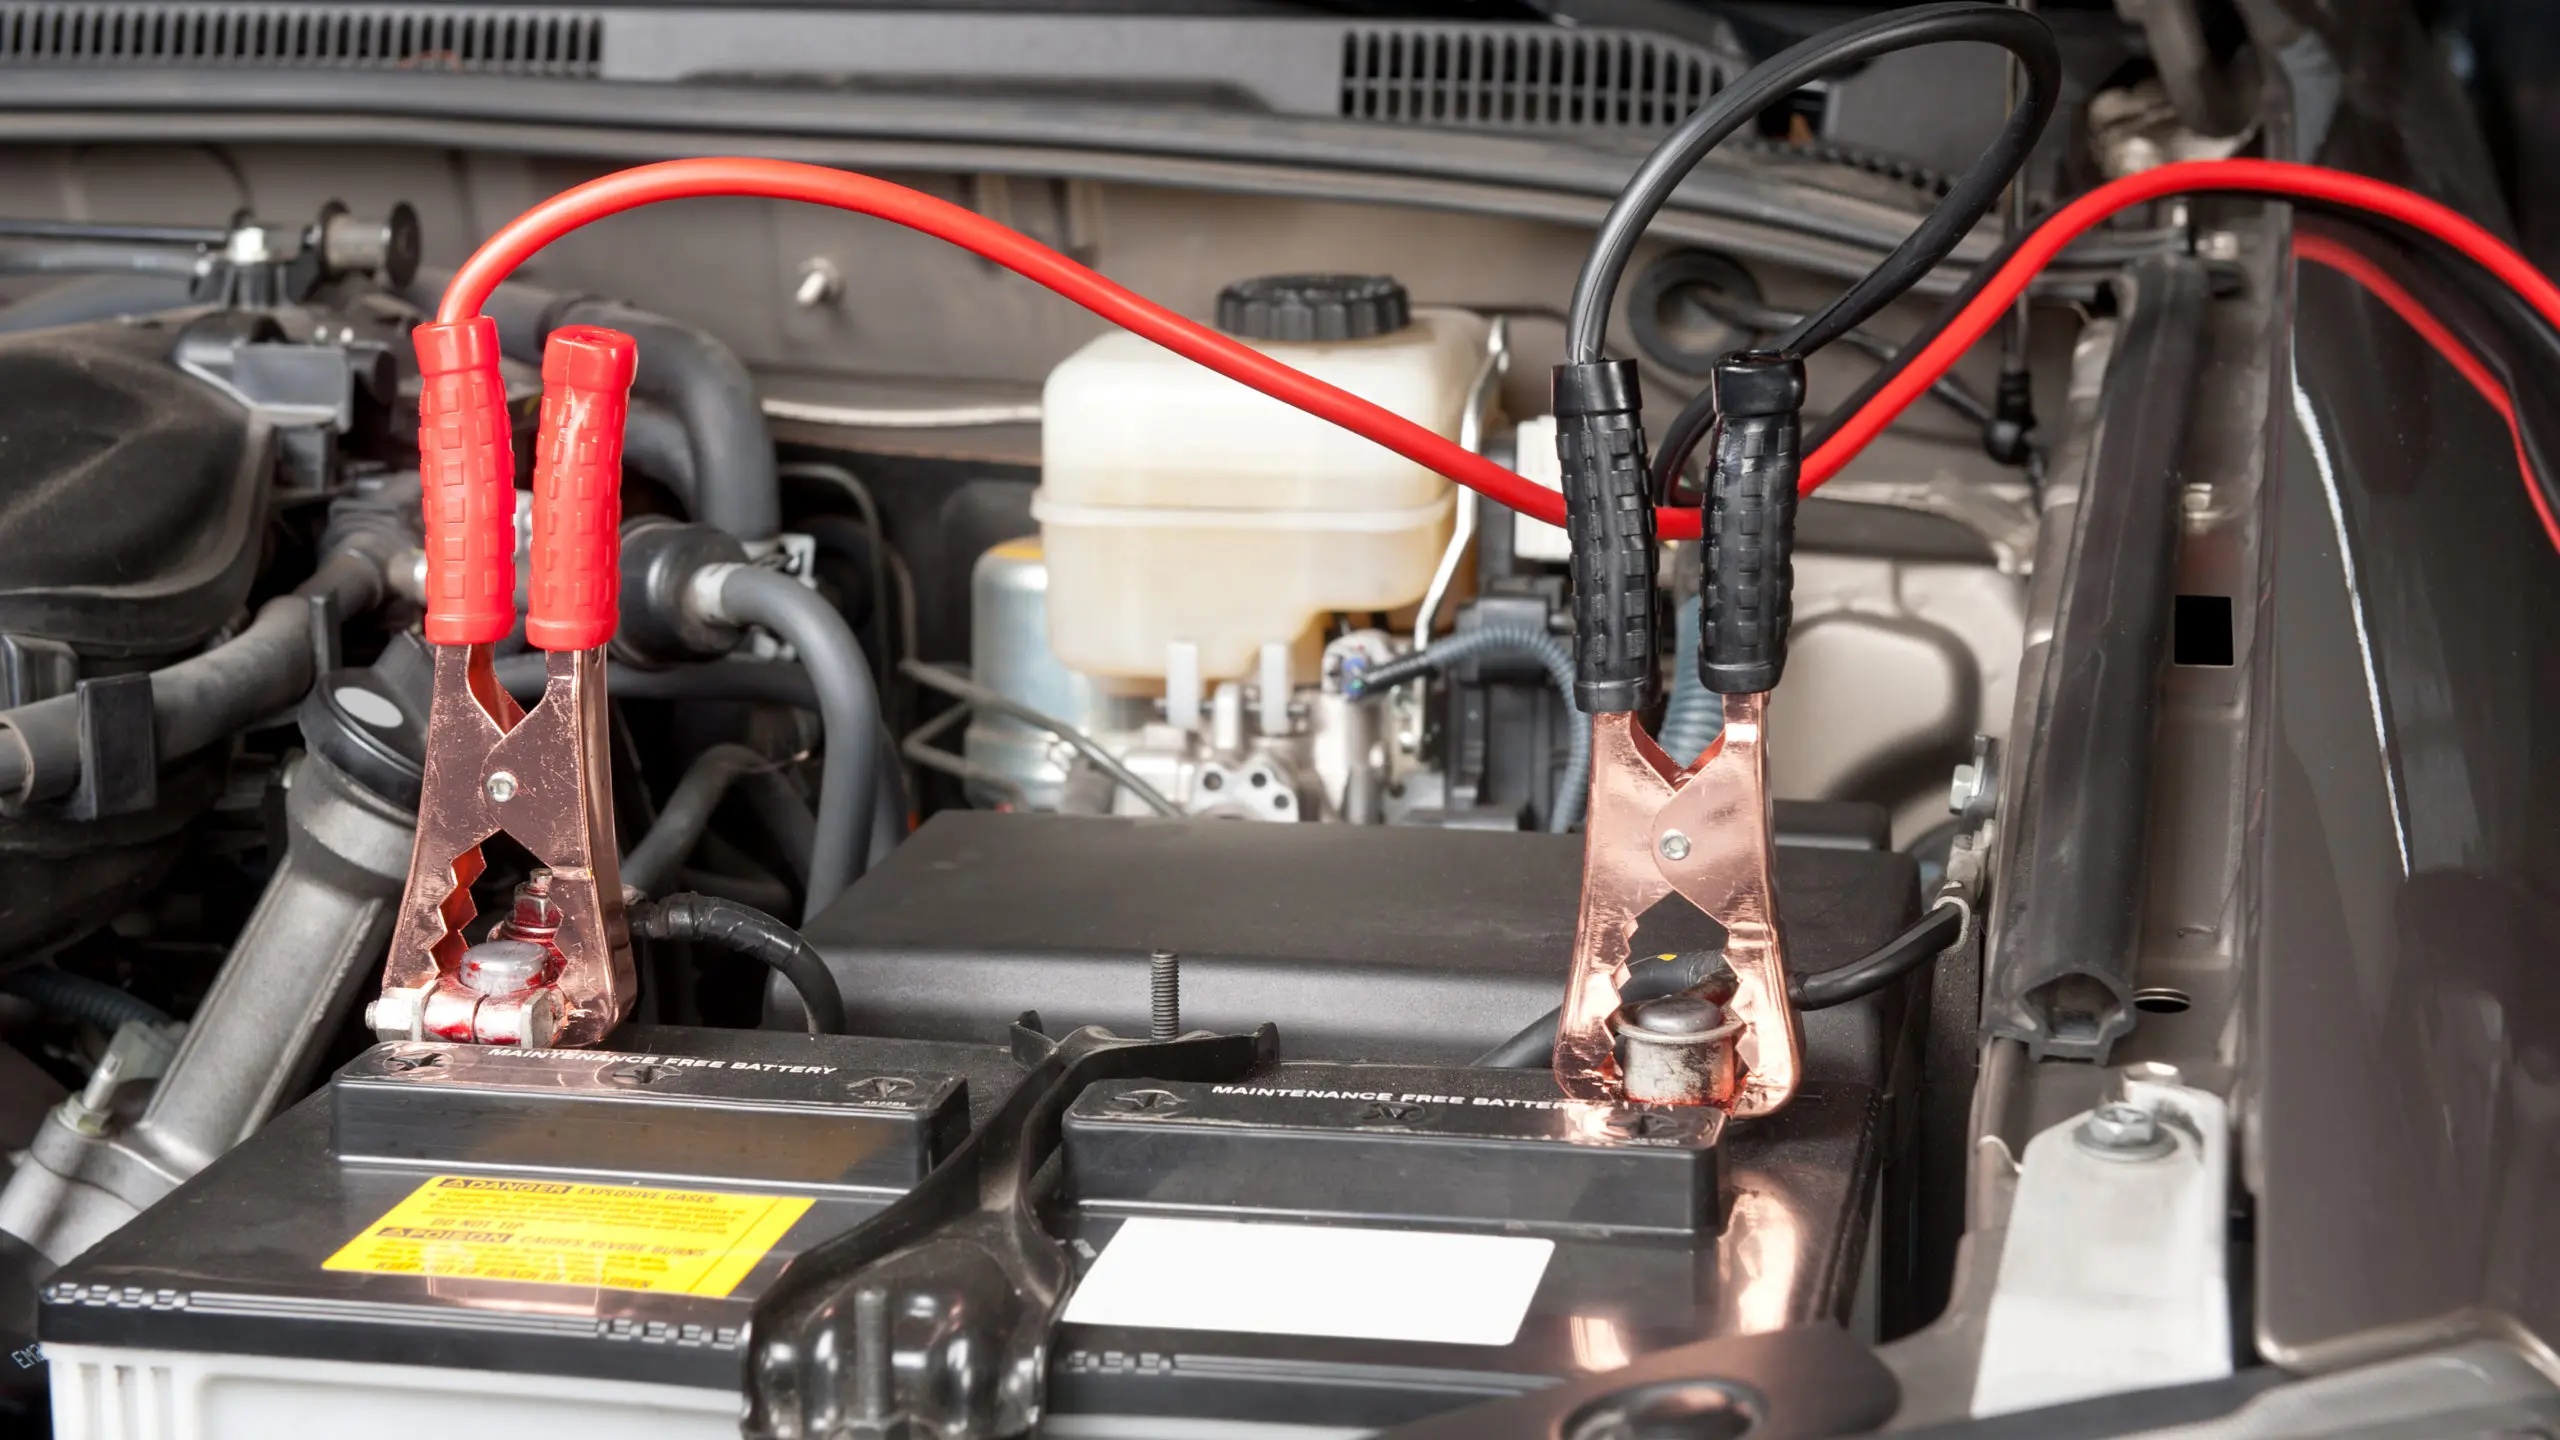
- Identify the battery posts or designated under-hood jump or charge points. Many cars have a remote positive terminal and a ground point for the negative.
- With the charger unplugged:
- Connect the red clamp to positive (+).
- Connect the black clamp to a clean chassis ground or the designated ground point, away from the battery when possible.
- Select settings on the charger: 12V, correct battery type (AGM if applicable), and a reasonable charge rate (often 2A to 10A).
- Plug the charger into the wall and start charging.
Why I connect ground away from the battery
Here is the simple version: connect positive first, then connect negative to chassis ground away from the battery when the vehicle provides a good ground point. The main idea is to make your last connection away from the battery itself when possible.
Batteries can vent hydrogen. A tiny spark at the post is usually harmless, but I have seen enough battery tops blown apart to stay conservative.
What to expect from a smart charger
Most smart chargers work in stages. Names vary, but you will usually see some version of bulk (higher current), absorption (topping off), then float or maintenance (holding at full). If you unplug early in the “almost full” part, the battery may start the car once and still be weak the next morning.
How long should you charge?
It depends on battery size, how dead it is, and charger amperage. As a rough guide:
- A mildly low battery might recover in 2 to 6 hours.
- A very dead battery can take 12 to 24 hours on a low amp setting.
Smart chargers usually show percent charged or switch to “full” and then “maintenance” or “float.” Let it finish.
Disconnecting order
When done:
- Unplug the charger from the wall first.
- Remove the black clamp (ground or negative) second.
- Remove the red clamp (positive) last.
Charging on a bench (out of the car)
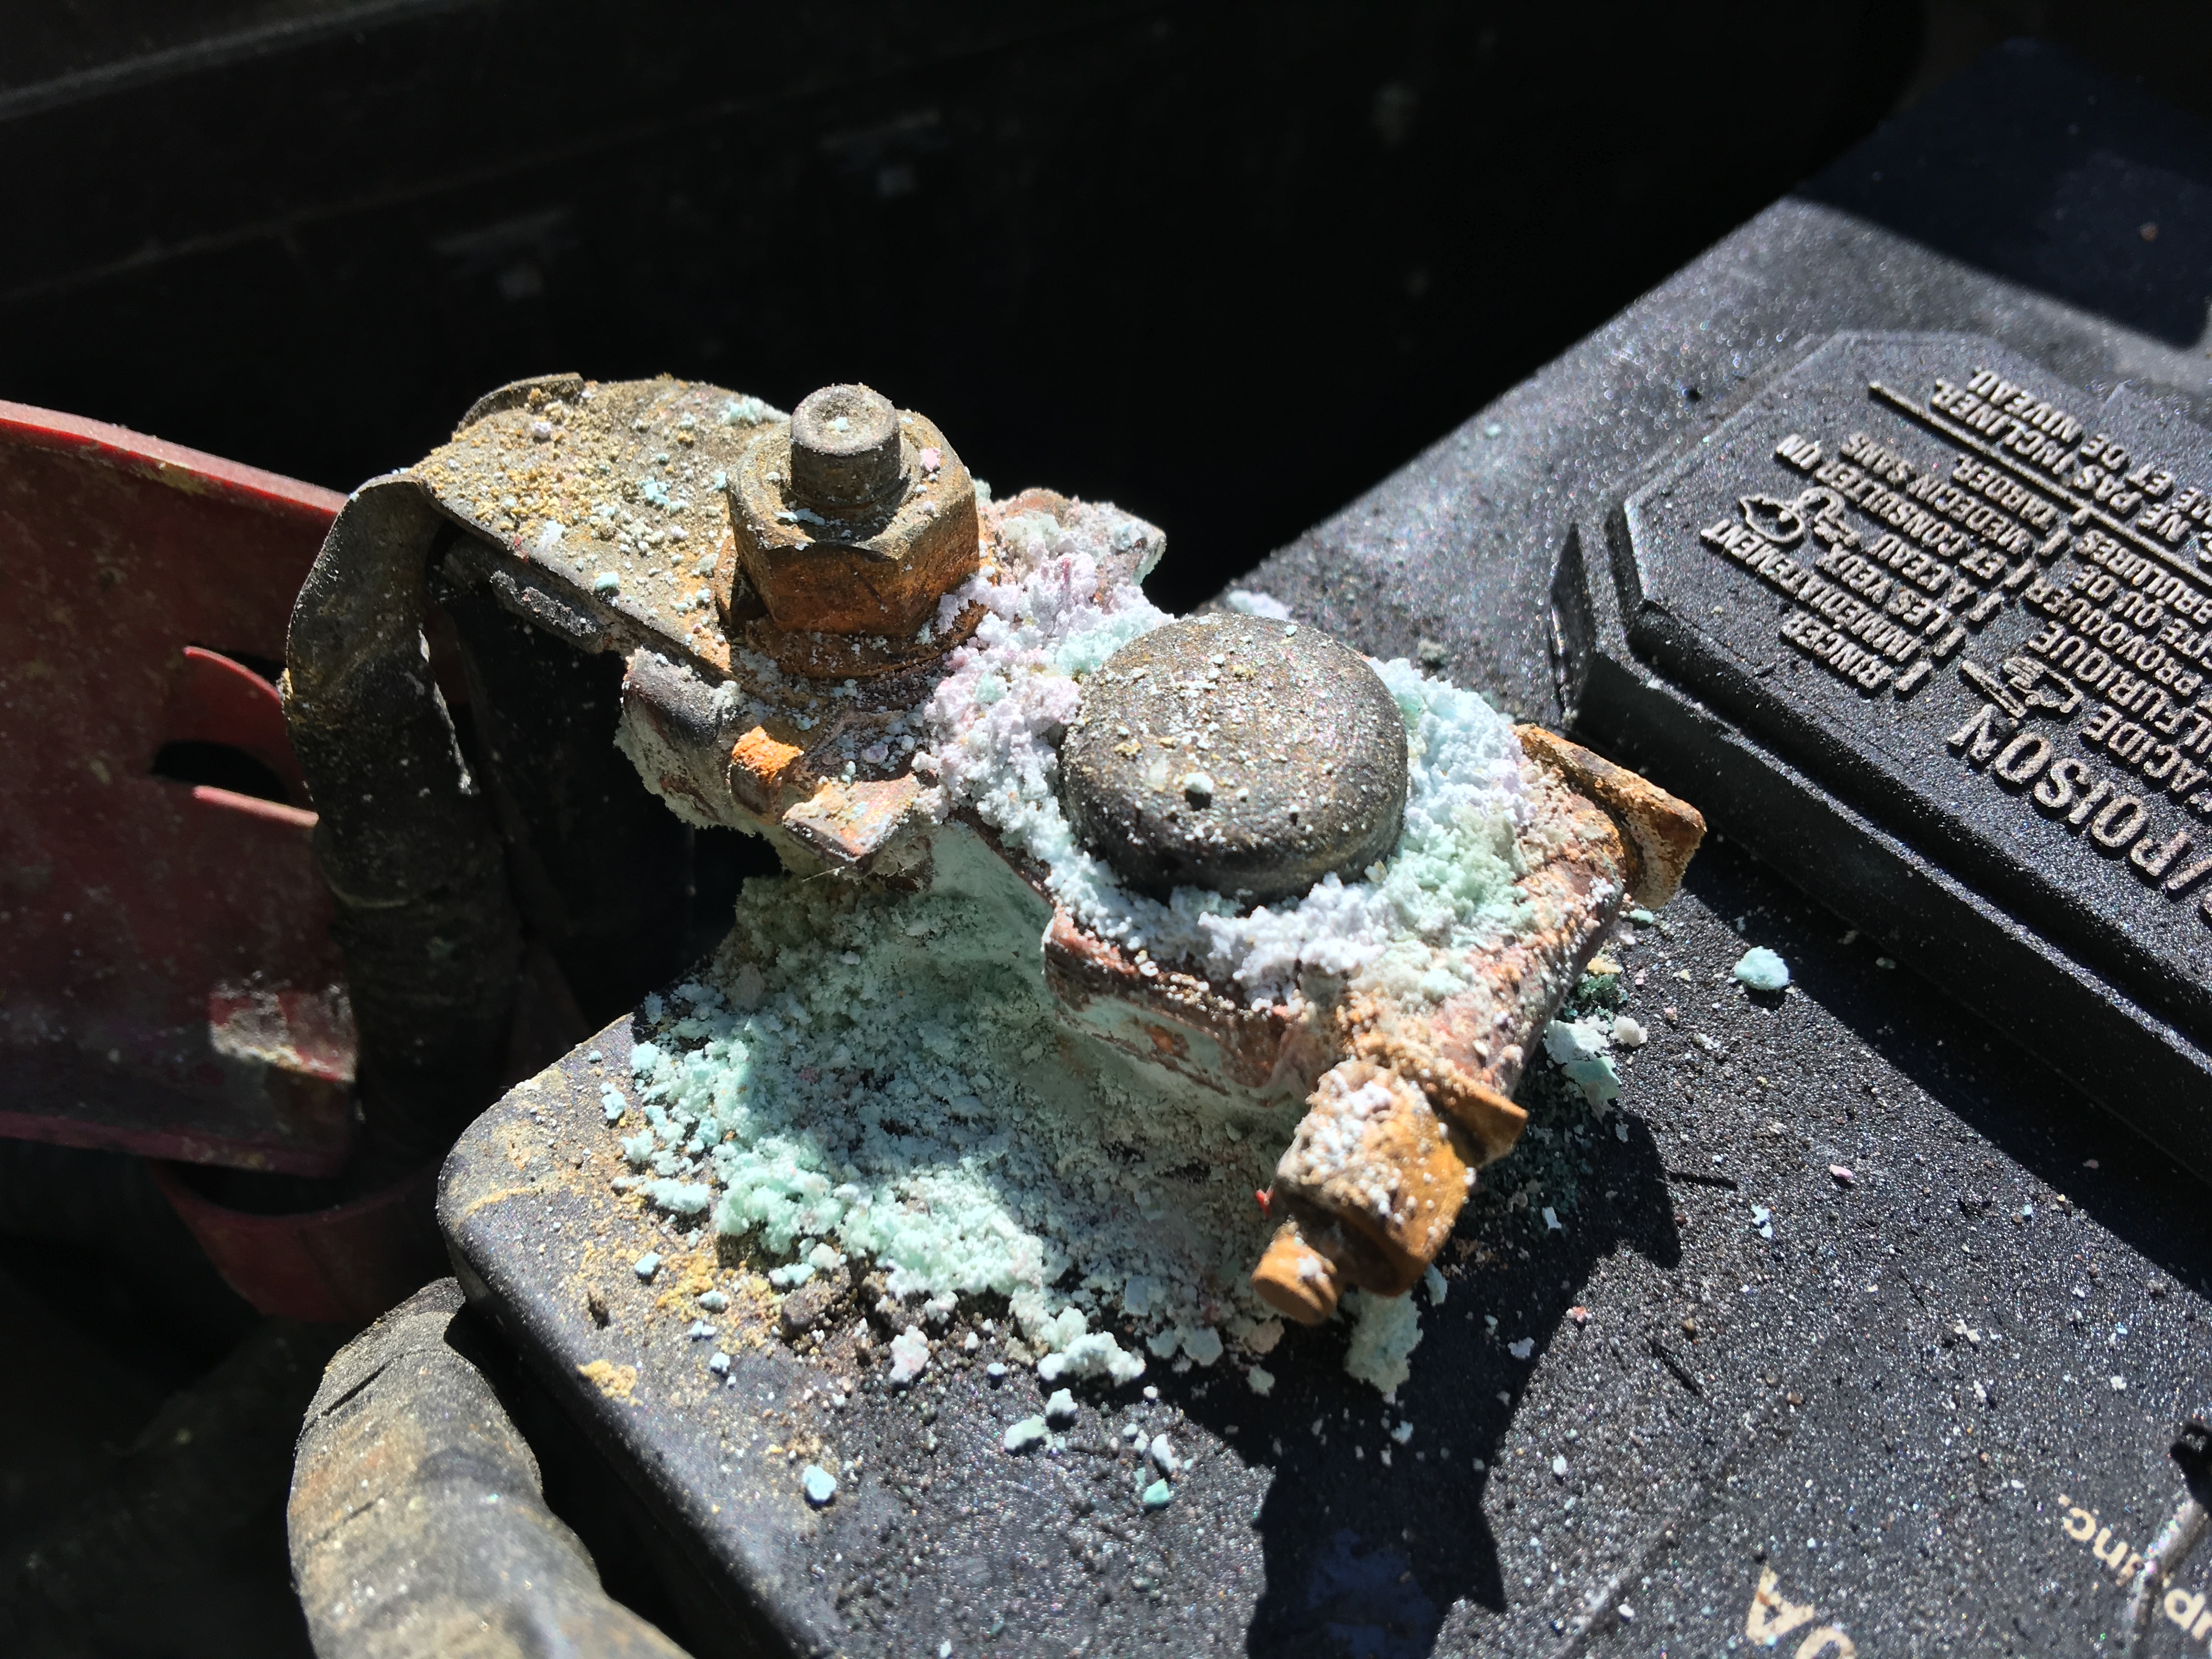
If the battery is easy to remove, bench charging can be cleaner and safer, especially if the terminals are crusty or you are diagnosing a suspected drain issue.
Bench setup tips
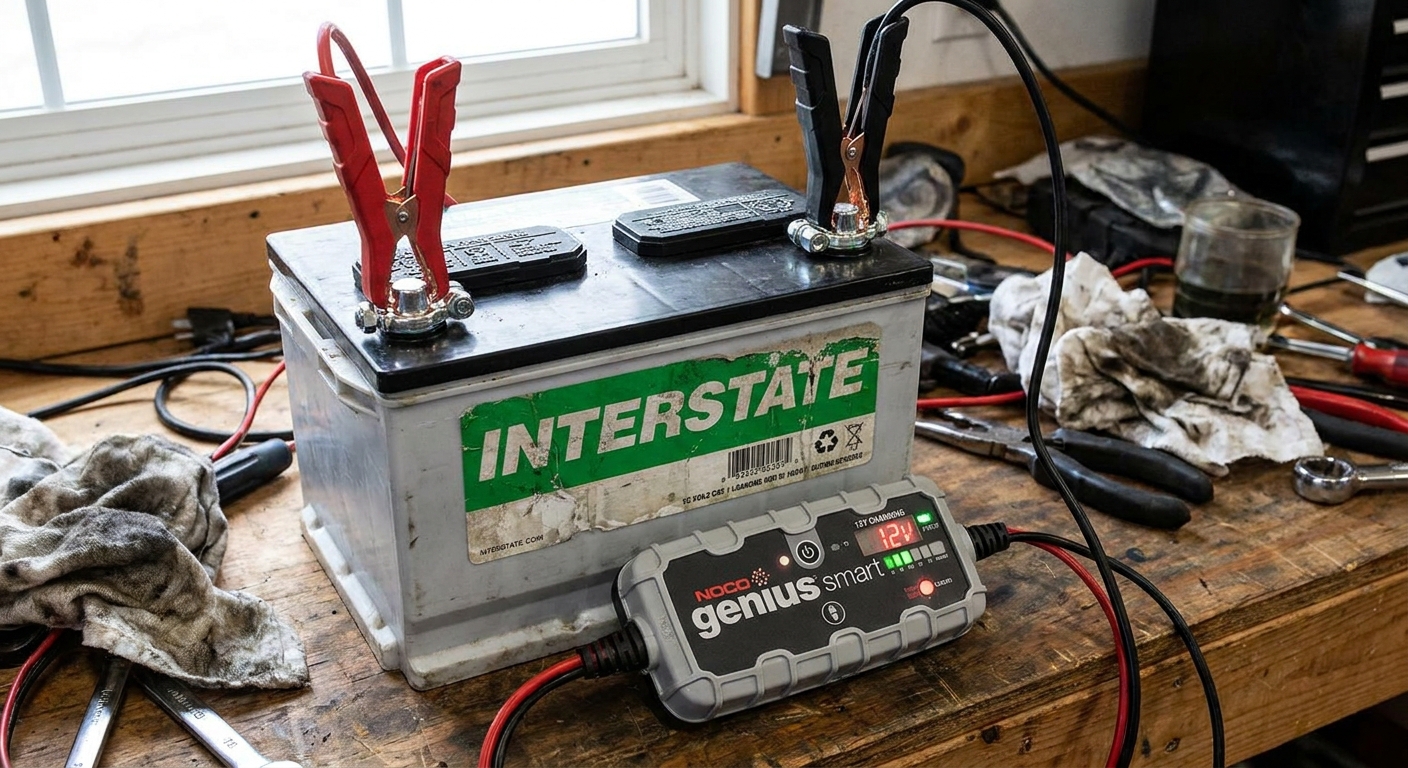
- Set the battery on the floor or a sturdy bench, away from anything flammable.
- Keep it upright. Flooded batteries can leak if tipped.
- Vents: On serviceable flooded batteries, make sure vents are not blocked. Do not remove caps unless the manufacturer instructs it.
Check electrolyte level (serviceable flooded only)
If your battery has removable caps and the manufacturer allows it, check the electrolyte level. Plates should be covered. If it is low, top up with distilled water to the recommended level. Do not overfill. If you are not sure, skip this step and leave the caps alone.
Connection steps
- Charger unplugged.
- Red clamp to positive (+).
- Black clamp to negative (-).
- Select 12V and battery type, choose an appropriate amp setting.
- Plug in and charge until complete.
After charging, let it rest
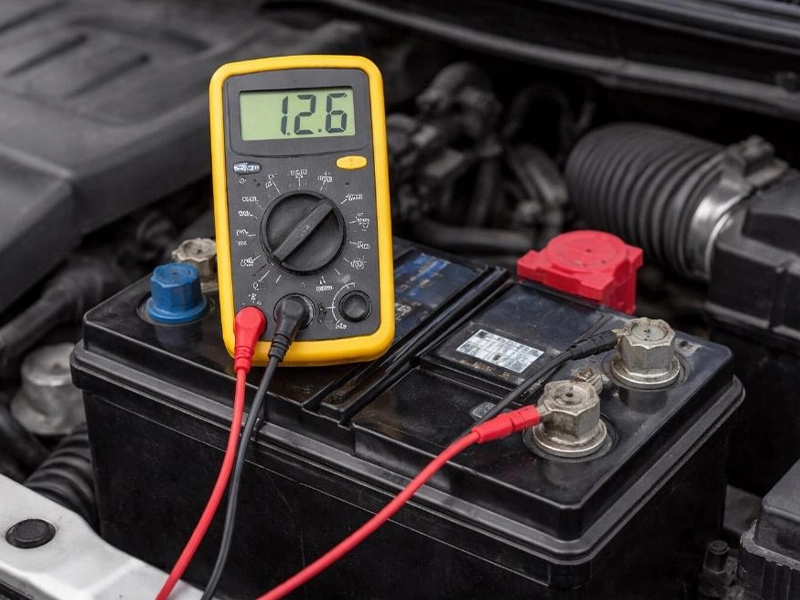
If you want a more honest read on battery condition, let it sit disconnected for an hour (longer is even better), then check voltage. Keep in mind temperature, battery type, and surface charge can skew numbers, especially right after charging.
- About 12.6V to 12.7V: typically full for many flooded lead-acid batteries at moderate temperatures.
- Up to about 12.8V: sometimes seen on some AGM batteries or with a little surface charge still present.
- About 12.4V: roughly 75 percent charged.
- About 12.2V: roughly 50 percent charged.
- 12.0V or less: very discharged. After a proper full charge and rest, if it will not hold voltage or drops quickly, sulfation or internal damage is likely.
When the charger will not start
This is the scenario that makes people think the charger is broken. Many smart chargers will refuse to charge a battery that reads extremely low voltage because they cannot confirm polarity or battery health.
Use repair or recovery mode
Some smart chargers include a recovery mode designed for deeply discharged batteries. It usually starts with a tiny current to slowly bring voltage up to a point where normal charging can begin.
- Pick the lowest amp setting available (often 2A).
- Let it run for a while. Sometimes 30 to 120 minutes is enough for the charger to recognize the battery.
If there is no recovery mode
You have two common options:
- Try a different charger that supports low-voltage recovery.
- Have the battery tested at an auto parts store or shop. A battery that sat dead for days or weeks may be sulfated enough that it will never come back reliably.
What I do not recommend
You will hear advice about briefly paralleling a good battery or “jumping” a dead one so a smart charger will recognize it. In practice, it can work, but it adds spark risk and it is easy to get wrong. If you are not experienced, skip it and use a charger with a true recovery function or have a shop recover and test the battery.
Charger vs. jump start vs. tender
These tools solve different problems. Knowing which one you need saves a lot of frustration.
Standalone charger
- Purpose: Actually recharges a depleted battery.
- Best for: A car that sat, a battery drained by a light left on, repeated short trips, or cold-weather slow cranking.
Jump start (donor vehicle or jump pack)
- Purpose: Provides enough power to start the engine now.
- Reality check: It does not fully recharge the dead battery. The alternator can replenish some charge, but it is not a gentle, complete charger.
- Best for: Getting off the shoulder or out of a parking lot, then charging properly afterward.
Battery tender (maintainer)
- Purpose: Maintains a healthy battery at full charge over storage using a float or maintenance mode.
- Not for: Bringing a truly dead battery back. Most tenders are too low-amp and may never recover a heavily discharged battery.
- Best for: Seasonal cars, weekend toys, motorcycles, or a stored classic that sits for weeks.
Common mistakes (and how to avoid them)
- Clamping to the wrong terminals: Double-check positive and negative before you plug in the charger.
- Charging too fast: High amp settings create more heat. Heat is the enemy of battery life.
- Ignoring battery type: AGM batteries should be charged on an AGM setting when available. Lithium 12V batteries need a lithium compatible mode.
- Charging a physically damaged battery: A swollen or leaking battery is done. Replace it.
- Assuming “full” means “good”: A battery can show full and still fail under load. If the car still cranks slowly, get it load-tested.
Quick troubleshooting after charging
- It starts, then dies again in a day or two: Think parasitic drain, a failing battery, or an alternator issue. Get the charging system checked and consider a draw test.
- It cranks slow even after a full charge: Load-test the battery. If it fails under load, no amount of charging will make it trustworthy.
- The charger says “full” quickly: Sometimes that is a sign the battery has lost capacity and voltage rises fast but does not have real reserve.
FAQ
Can I charge a battery without disconnecting it from the car?
Usually, yes. With a smart charger and correct connections, in-car charging is normal. If you have an older manual charger or the vehicle has known electrical issues, disconnecting the negative terminal can add a layer of protection, but it may reset memories in some cars.
Should I remove the battery caps while charging?
Most modern batteries are sealed and have no removable caps. If you have a serviceable flooded battery, follow the battery manufacturer guidance. In general, you want vents unobstructed and the area ventilated, not the caps removed and acid exposed.
How do I know if my dead battery is beyond saving?
If it will not take a charge, gets hot quickly while charging, drops voltage rapidly after charging and resting, or repeatedly goes dead, it is often time. A proper load test is the fastest truth teller.
My lights and radio work, but it will not start. Is the battery still the issue?
It can be. Headlights and a radio need far less current than a starter motor. A weak battery can power accessories but collapse under starter load. Charging and then load-testing is a solid next step.
When to stop and get help
If the battery case is swollen, you see acid, the terminals are melting, or the battery is hissing or venting heavily, stop charging and replace it. And if you charge fully but the battery dies again within a day or two, you likely have a parasitic drain or an alternator issue that needs diagnosis.
Charging a dead battery is straightforward once you do it a few times. Take it slow, keep it ventilated, and use the lowest reasonable amp setting. Your battery, and your knuckles, will thank you.