If you’ve ever popped the hood and found a fuzzy white, blue-green, or crusty buildup on your battery terminals, you’re not alone. Battery corrosion is one of the most common under-hood nuisances I saw in the shop, and it can turn a perfectly good battery into a no-start situation just by adding resistance where the power needs to flow.
The good news is that most terminal corrosion is fixable at home with basic tools and a little patience. The better news is you can usually keep it from coming back once you address the cause.
What battery corrosion is
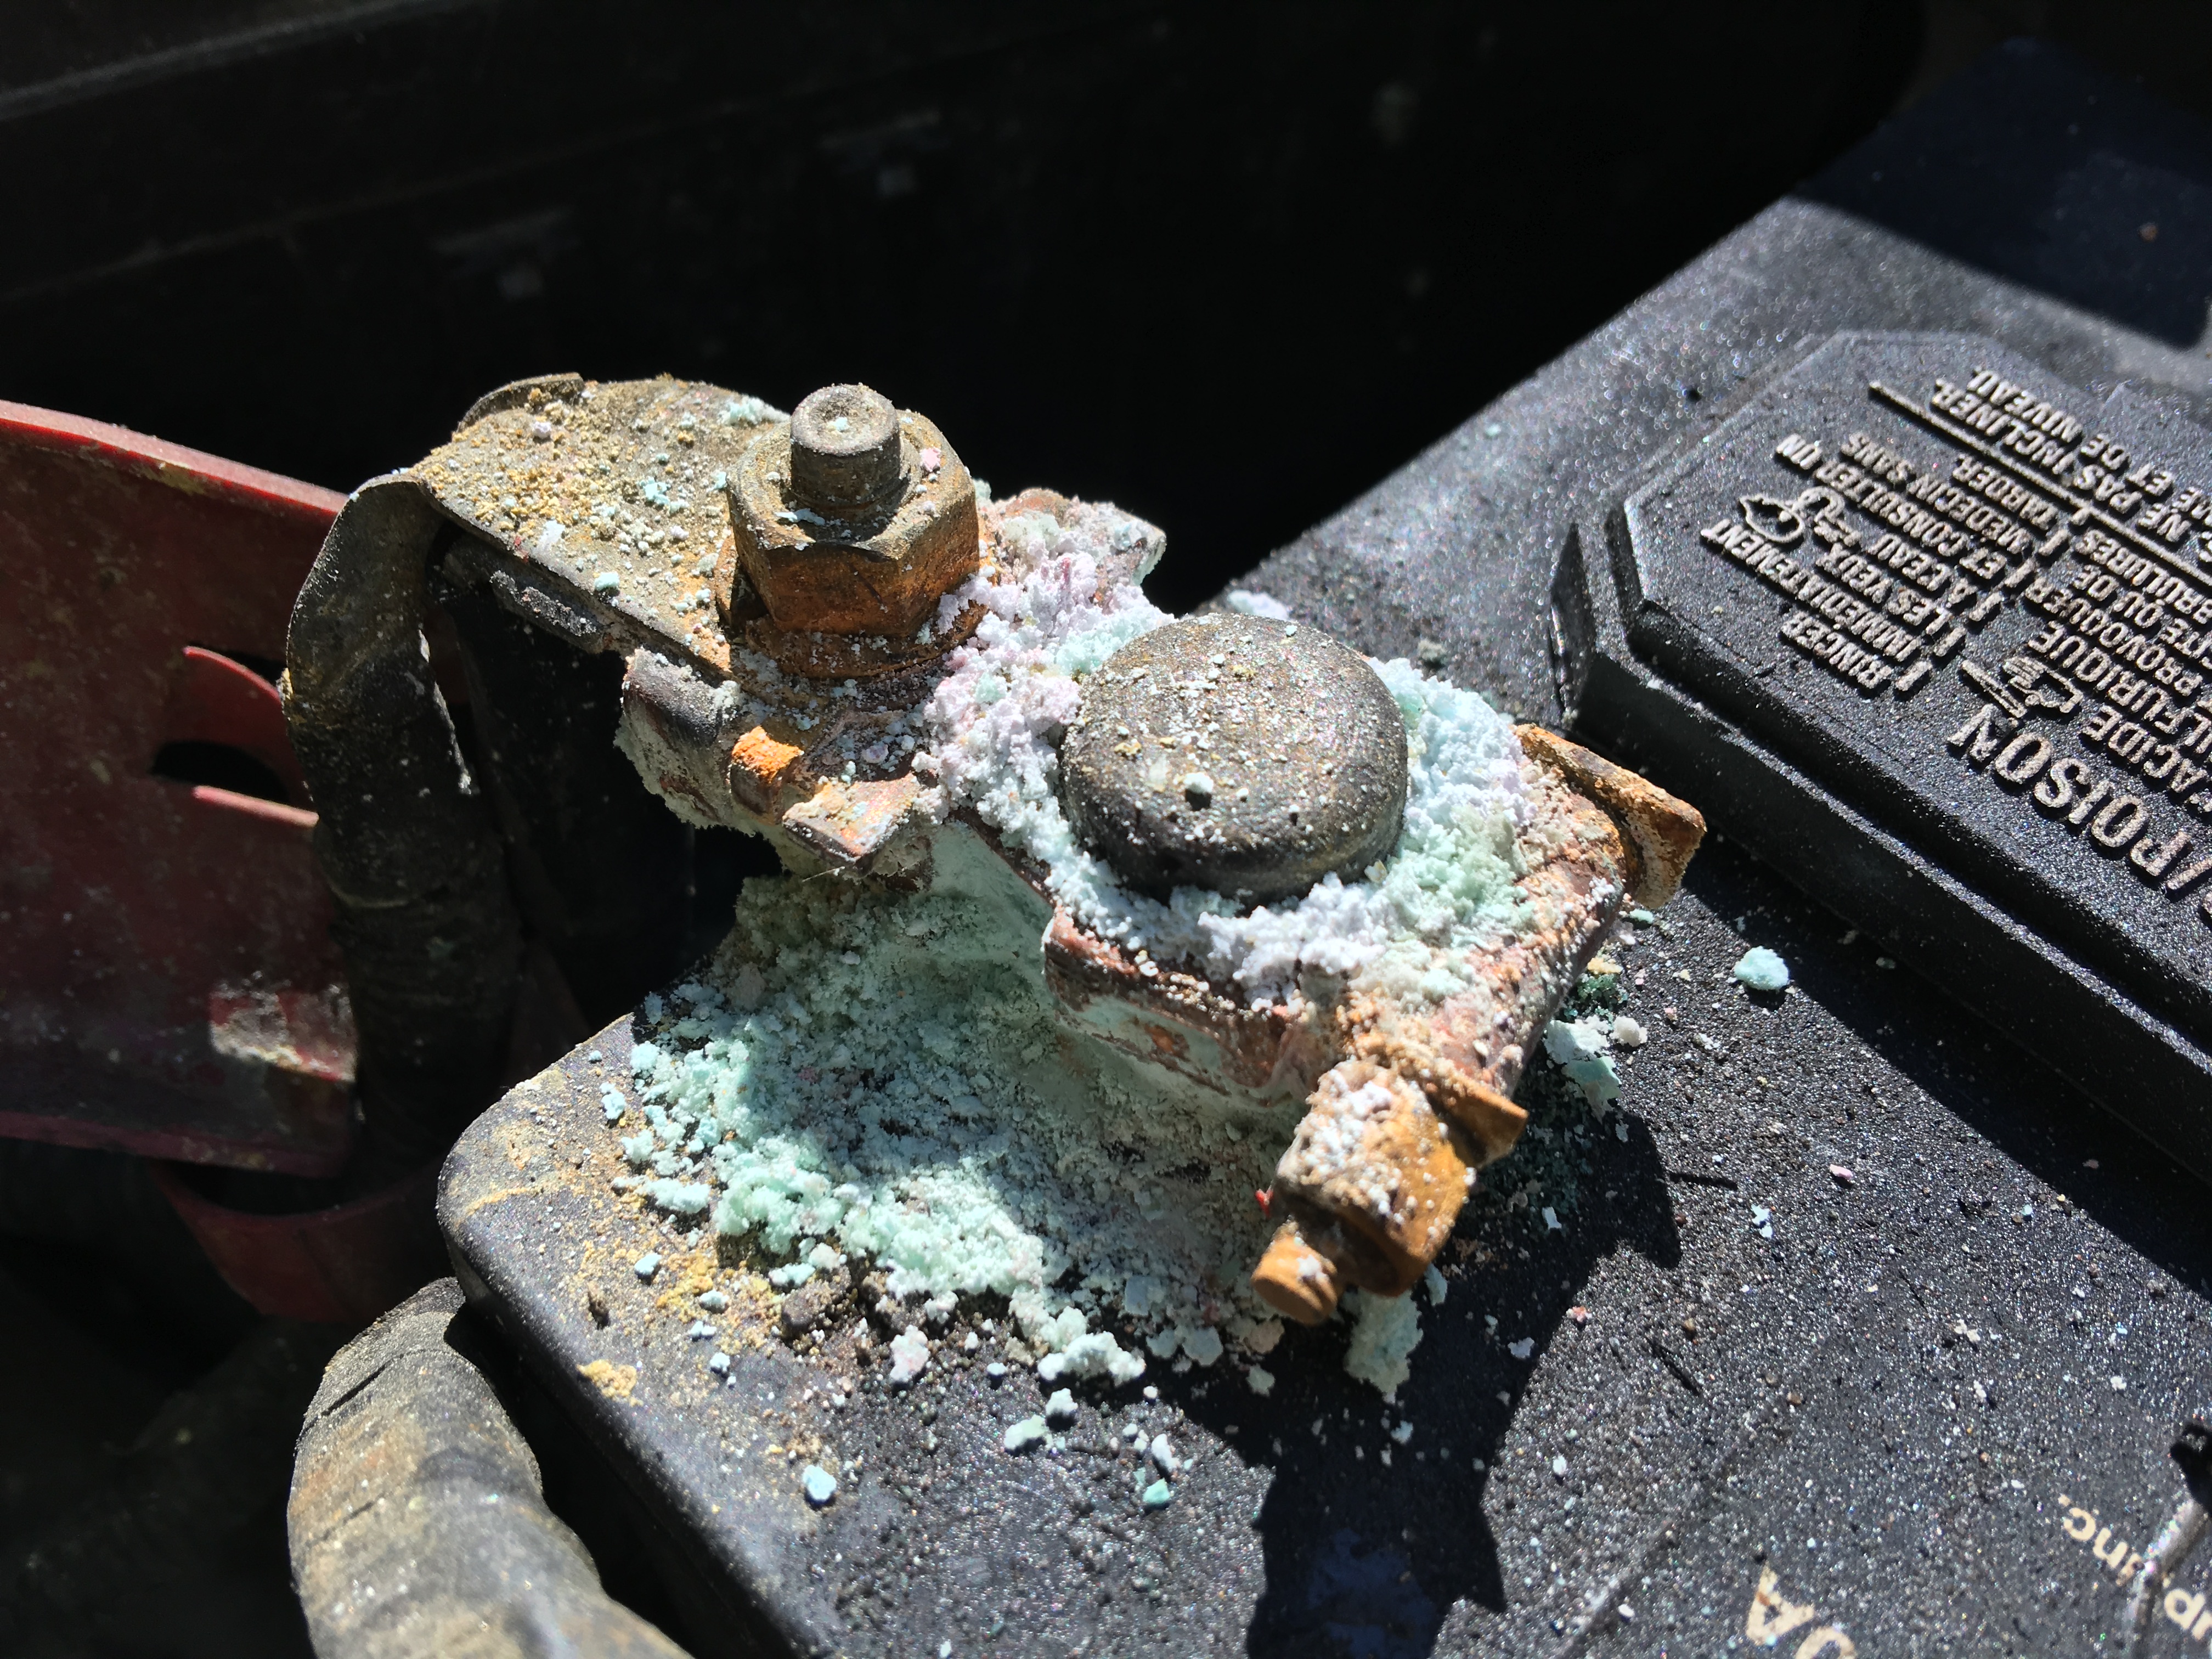
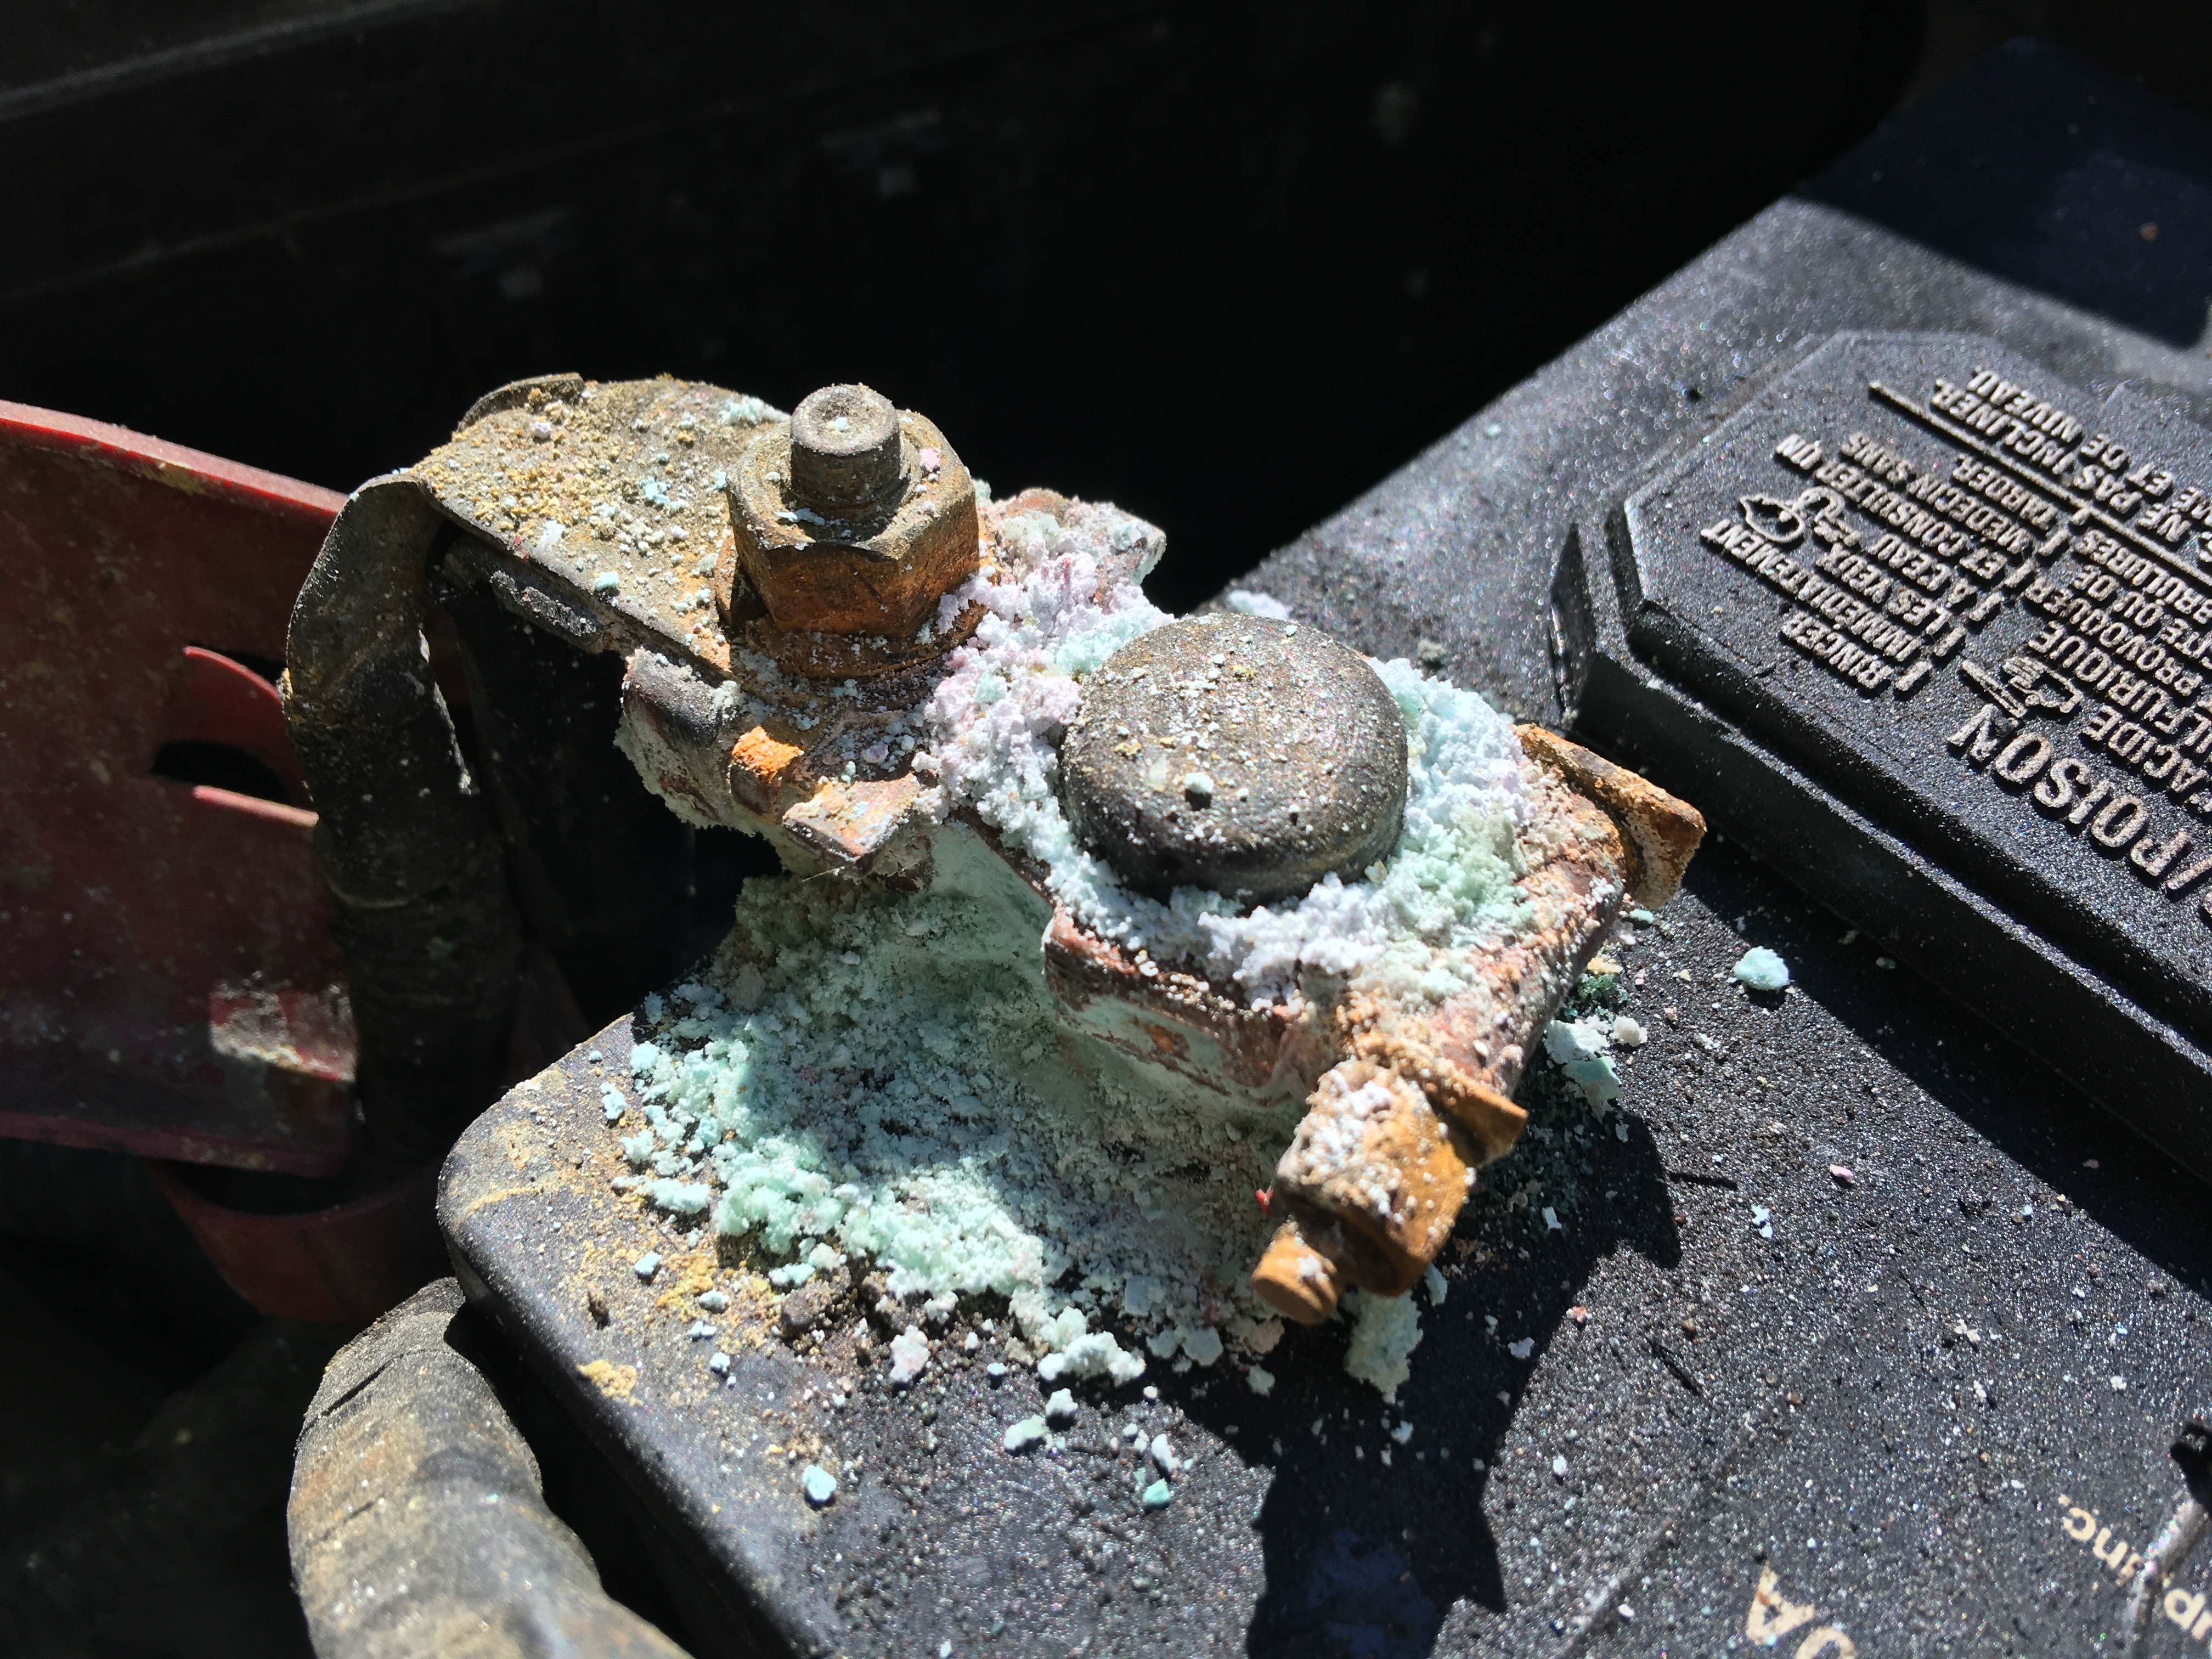
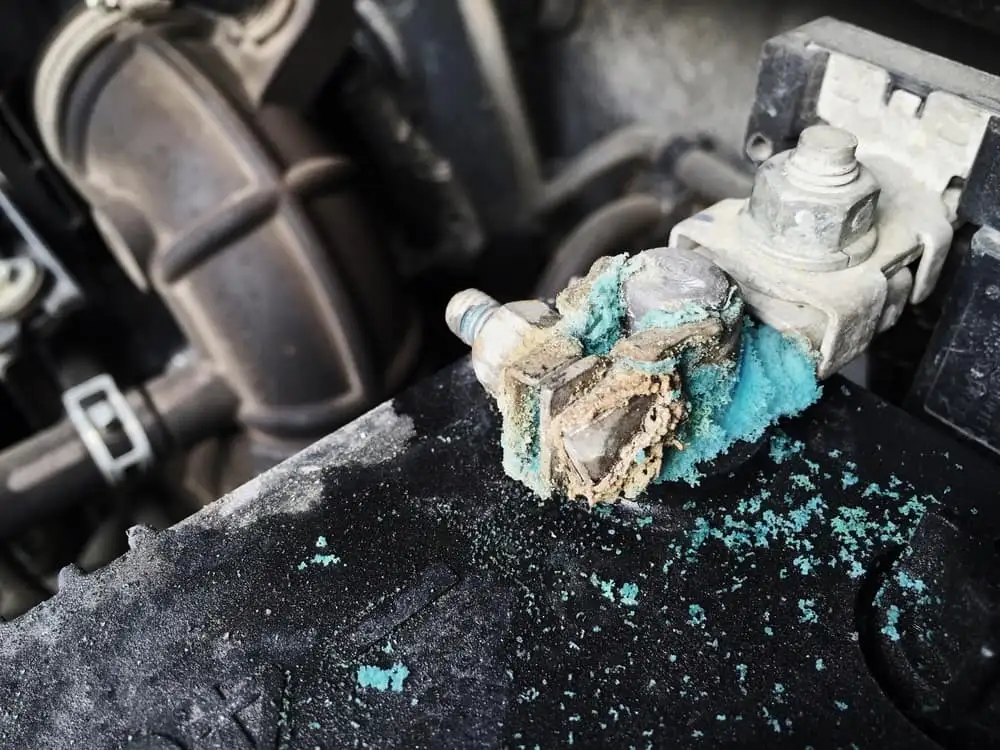
Battery “corrosion” is a catch-all term for the powdery or crusty deposits that build up on the battery posts, cable ends, and nearby metal. In most cases, it’s the result of a chemical reaction involving battery vapors, moisture, and the metal at the connection.
You’ll typically see:
- White or gray powder (common with lead-acid batteries and certain terminal protectants)
- Blue or green crust (often copper compounds from the cable reacting)
- Wet, grimy buildup (acid mist plus road dirt, which can create a leakage path across the battery top and accelerate discharge and corrosion)
Regardless of color, the practical problem is the same: corrosion increases electrical resistance, which reduces the current your starter and electrical system can actually use.
Common causes
Normal battery venting and aging
Most 12-volt lead-acid batteries can vent small amounts of hydrogen gas and acid vapor, especially as they age, are overcharged, or run hot. Those vapors react with metal parts and moisture in the air, creating that familiar crust.
Loose or poor terminal connections
A slightly loose terminal clamp can cause tiny arcs, heat, and vibration-related fretting at the connection. That accelerates oxidation and corrosion. If you can twist the cable end by hand on the post, it’s too loose.
Acid leakage or case damage
Cracks, bulges, a damaged vent, or an overfilled serviceable battery can allow electrolyte to seep or mist more than normal. This often creates heavy corrosion that returns quickly after cleaning.
Overcharging (charging system problems)
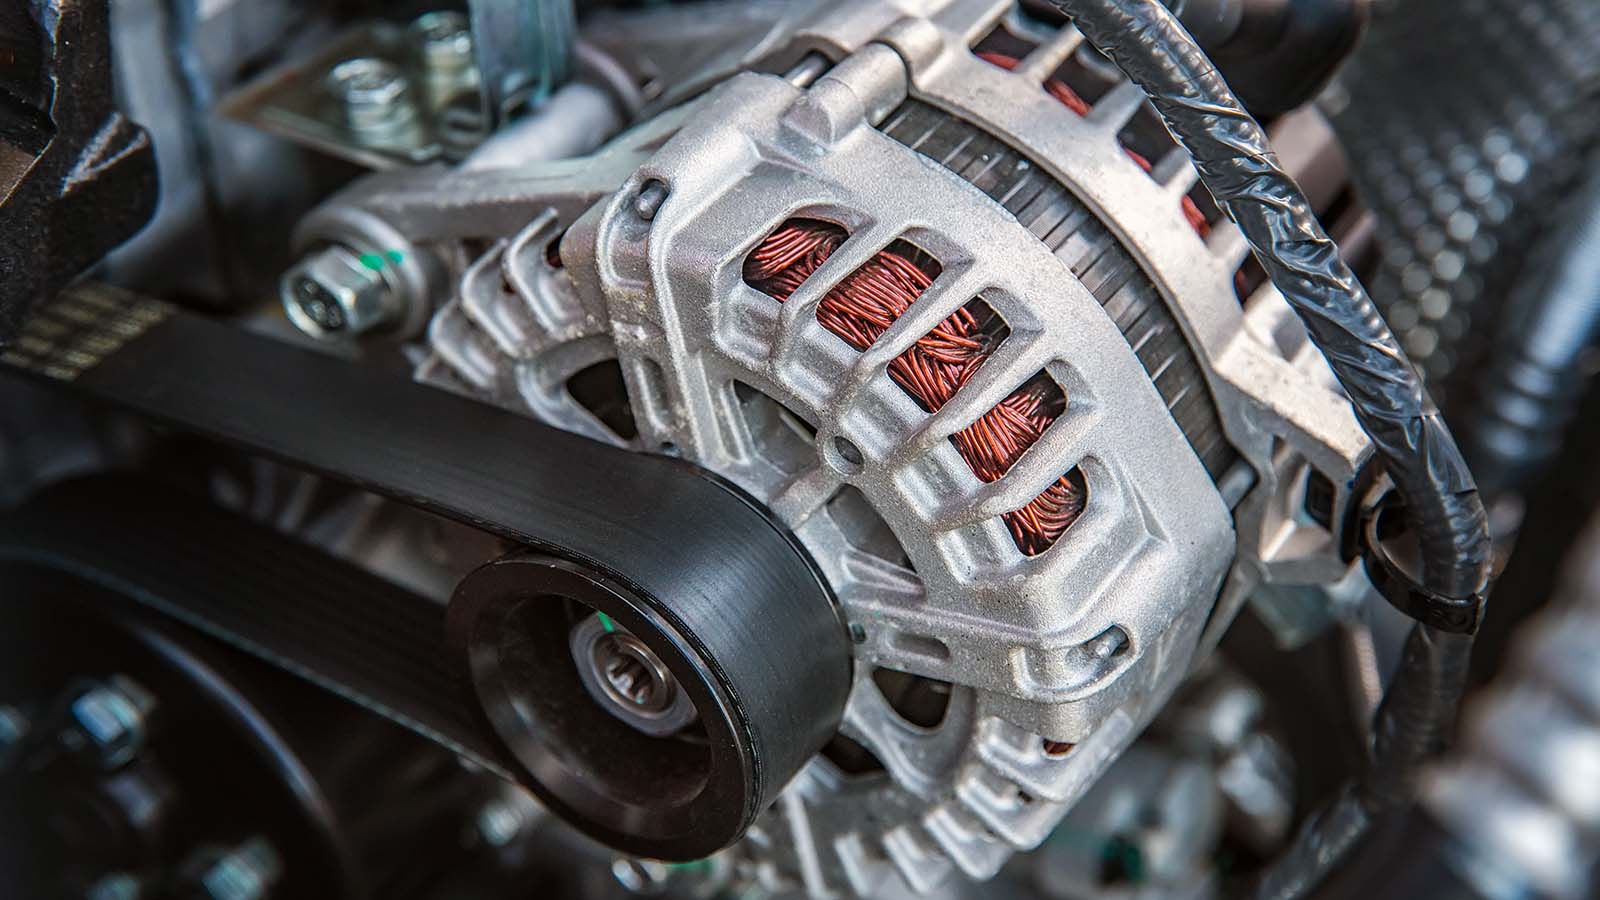
If your alternator or voltage regulator is overcharging , the battery can gas more aggressively. That extra venting pushes more vapor out and speeds up corrosion. Overcharging can also shorten battery life.
Heat and under-hood environment
High under-hood temps, humidity, and road salt all make corrosion more likely. Vehicles driven in coastal areas or snowy states tend to see it more.
Battery location and design quirks
Side-post batteries, cramped battery trays, and batteries mounted in the trunk or under a seat can have their own patterns of corrosion. The chemistry is the same, but access and ventilation change how it shows up.
Modern vehicles and special cases
Most of the cleaning process is the same, but newer vehicles can add a couple wrinkles. If your vehicle has start-stop, a battery monitoring sensor on the negative cable, or a battery mounted in the trunk or under a seat, take an extra minute with the owner’s manual before you disconnect anything.
- Smart charging systems can vary charging voltage more than older vehicles. Brief dips and changes are normal, and some systems will also run higher voltage for short periods.
- Start-stop batteries are often AGM or EFB types and can be more sensitive to improper charging or replacement.
- Battery monitoring sensors (often on the negative cable) should not be forced, pried on, or soaked.
- Trunk-mounted batteries often use a vent tube. Make sure it stays connected and routed correctly.
- Battery replacement on some vehicles requires registration or coding. Cleaning terminals does not, but if you end up replacing the battery, plan ahead.
Safety first
Battery work is simple, but it deserves respect. You’re dealing with stored electrical energy and corrosive acid.
- Wear safety glasses and nitrile gloves.
- Work in a ventilated area. Batteries can vent hydrogen gas, which is flammable.
- Turn the car off and remove the key. Keep sparks and cigarettes away.
- Remove metal jewelry like rings and watches before you start.
- Don’t lean directly over the battery while disconnecting.
- Keep baking soda and water handy to neutralize acid, and have clean water ready to rinse.
If the battery case is cracked, swollen, or leaking liquid, skip the DIY cleaning and replace the battery. That’s not routine corrosion, that’s a failing or damaged battery.
Tools and supplies
- 10mm wrench or socket (most top-post clamps), sometimes 8mm or 13mm depending on vehicle
- Battery terminal brush (the two-sided post and clamp style)
- Wire brush (small hand brush works great)
- Baking soda
- Clean water (spray bottle or cup)
- Shop towels or paper towels
- Dielectric grease or battery terminal protectant spray
- Optional: battery terminal cleaning spray (works, but not required)
- Optional: felt terminal washers (red for positive, green for negative)
How to clean corrosion
1) Save settings if needed
Some vehicles lose radio presets or need an idle relearn when the battery is disconnected. If that matters to you, use a memory saver or be prepared to reset items after.
Quick caution: Some manufacturers prefer using under-hood jump posts instead of hooking a memory saver through the OBD port. Check your owner’s manual so you are using the method your vehicle is designed for.
2) Disconnect in the right order
On most vehicles, remove the negative terminal first, then the positive.
- Negative first reduces the chance of accidentally shorting the positive to body metal with your tool.
- After the negative is off, remove the positive.
When reinstalling later, it’s the opposite: positive first, then negative. If your vehicle’s manual calls out a different procedure, follow that.
3) Mix a neutralizing solution
In a cup or spray bottle, mix about 1 tablespoon of baking soda into 1 cup of water. Exact measurements are not critical. You just want enough baking soda to neutralize acid residue.
4) Neutralize the corrosion
Apply the baking soda mixture to the battery terminal area and cable ends. If it foams or fizzes, that’s normal. It’s neutralizing acidic residue.
Tip: Try to keep liquid out of battery vents. A little splash is usually fine, but don’t flood the top of the battery.
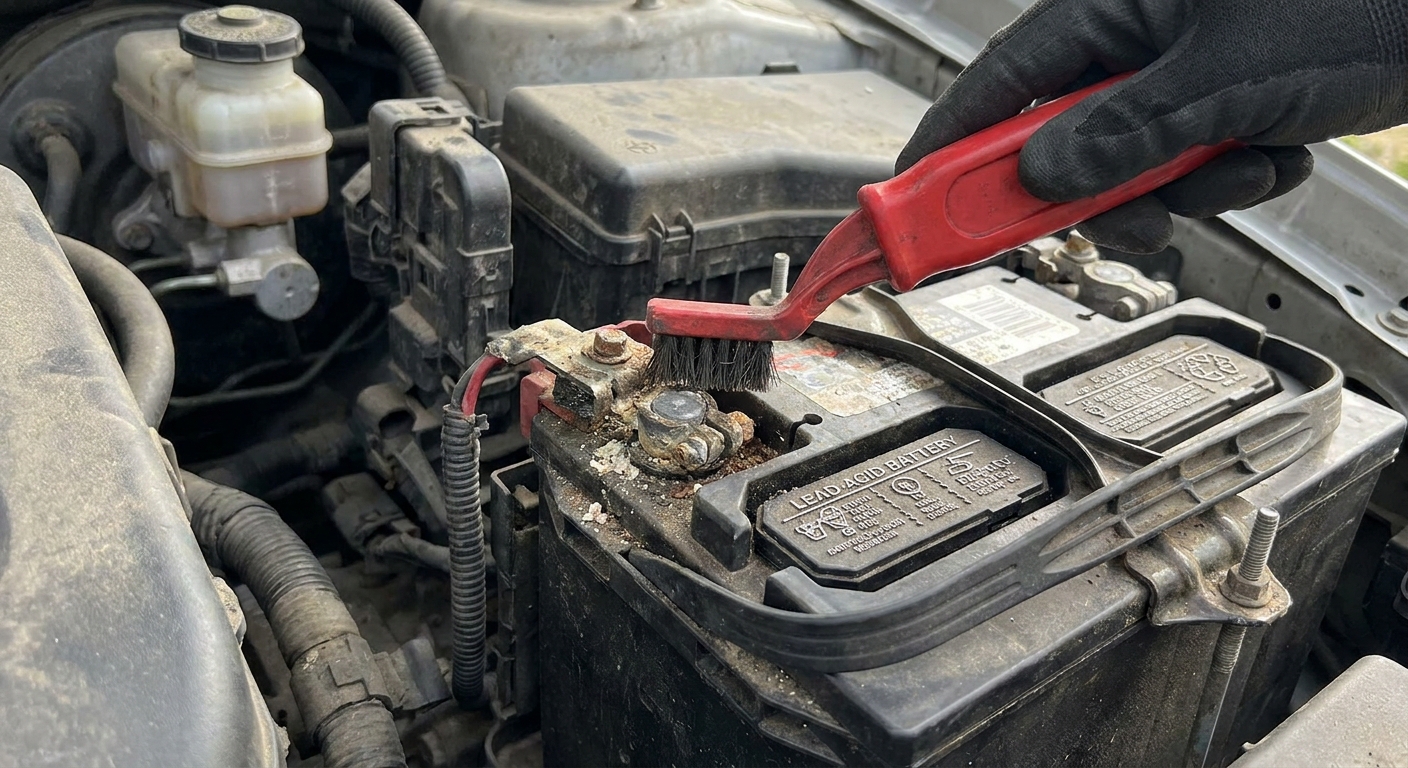
5) Scrub the posts and cable ends
Use the terminal brush to clean:
- Each battery post until the lead looks clean
- The inside of each cable clamp until it’s bare metal again
If corrosion has crept into the cable end or there’s green powder traveling up the copper wire under the insulation, that cable may be compromised. More on that below.
6) Rinse, dry, and clean up
Wipe away loosened residue and rinse lightly with clean water. Dry everything thoroughly with a towel. Leaving moisture behind invites the next round of corrosion.
Dispose of towels and crusty residue in the trash. If you’re rinsing a lot of acid-heavy gunk off the battery tray, do it responsibly. Avoid washing it straight into storm drains, and rinse any splashes off painted surfaces. Wash your hands after, and change clothes if you got solution on them.
7) Reassemble and protect
Reinstall the cables:
- Positive on first, tighten snug
- Negative on last, tighten snug
Then add protection:
- A thin film of dielectric grease on the outside of the connection, or
- Battery terminal protectant spray after everything is tight and dry
Dielectric grease does not improve conductivity. The metal-to-metal clamping force handles conductivity. The grease helps block air and moisture around the connection.
If corrosion returns fast
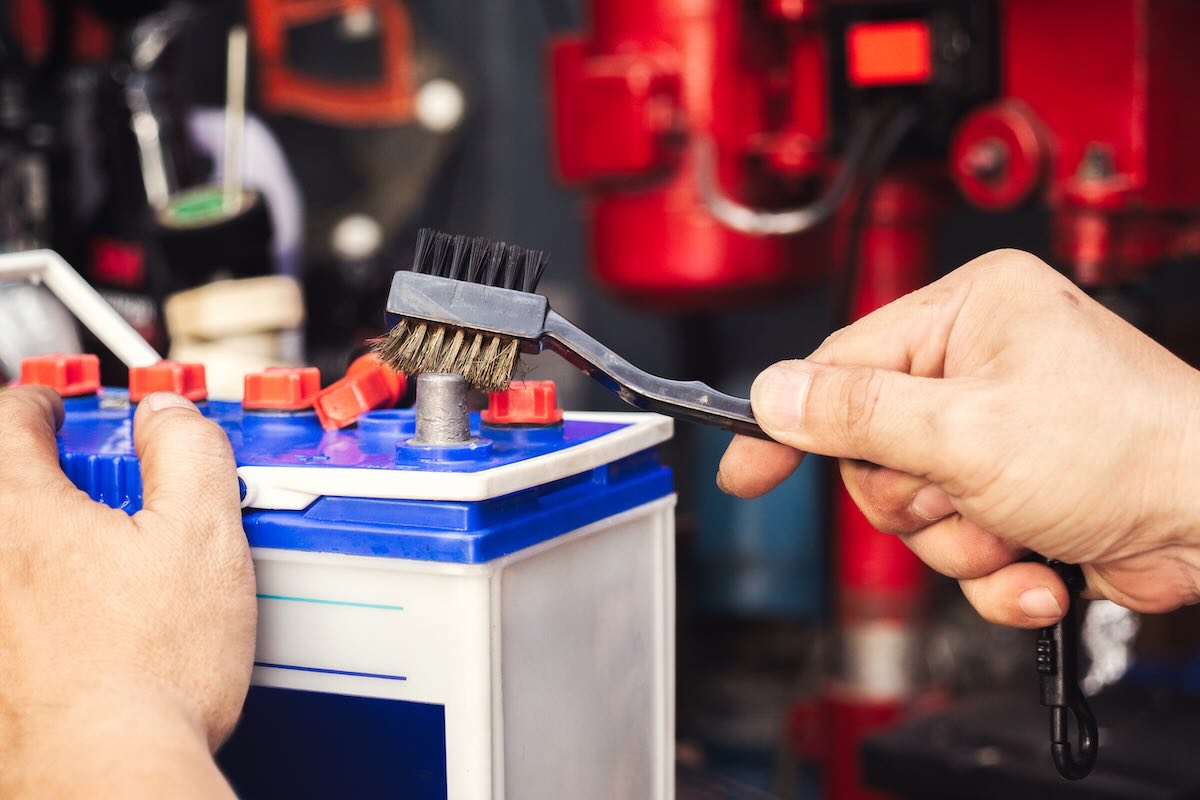
Cleaning is great, but if the crust returns in a week or two, it’s time to look deeper. Here are the big repeat offenders.
Check terminal tightness and condition
- Terminals should be tight enough that you cannot rotate them by hand.
- Look for cracked or stretched terminal ends. Some cheap replacement clamps deform and never clamp correctly again.
- Look for melted plastic around the battery post area, which can indicate heat from resistance.
Inspect the battery for leaks, swelling, or vent issues
- Wet spots on the case or tray, especially near the posts
- Bulging sides or a battery that looks puffed up
- Strong rotten-egg smell (sulfur odor can indicate severe overcharging or a failing battery)
If you see any of the above, replacement is usually the smart call.
Look for corrosion under insulation
If you see greenish buildup traveling up into the cable, or the cable feels stiff and crunchy near the terminal, the copper strands may be corroded inside. That creates hidden resistance you can’t fix with surface cleaning.
In that case, plan on a cable replacement or a properly installed new cable end, depending on the design.
Check for overcharging
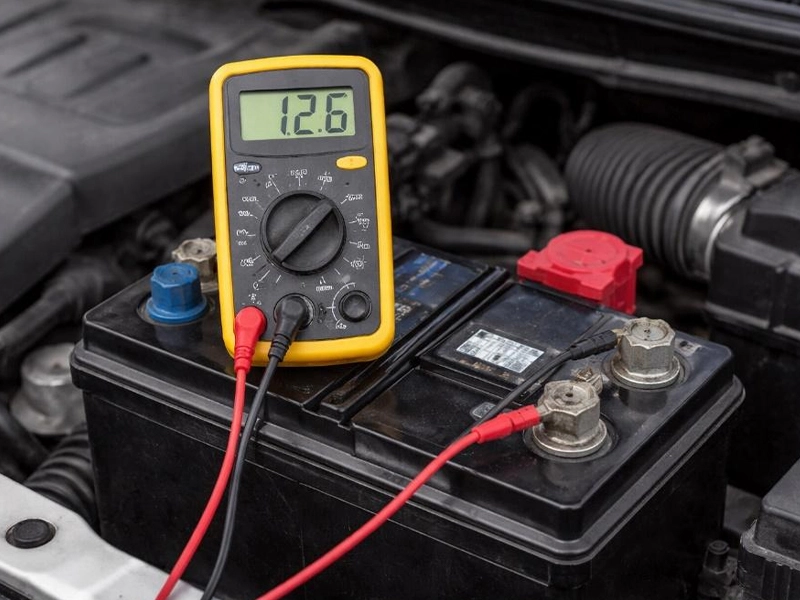
If you have a multimeter, check voltage at the battery with the engine running. Numbers vary with battery type, temperature, and ECU-controlled charging strategy, so use these as common ballpark figures, not gospel.
- Engine off: a healthy, fully charged battery is typically around 12.6V (around 12.4V is partially charged)
- Engine running: many vehicles charge roughly 13.8V to 14.7V, but smart-charging systems can legitimately run lower at times and may change rapidly
Consistently seeing 15.0V or higher for extended periods can point to an overcharging issue on many vehicles. If you’re unsure what your vehicle should do, consult service information or have the charging system tested.
Symptoms corrosion can cause
Corroded terminals can create the same symptoms as a weak battery or even a starter problem. Before you spend money on parts, clean and inspect the connections.
- Slow cranking or a labored start, especially in cold weather
- Intermittent no-start that fixes itself after wiggling cables
- Dash lights flicker or electronics act weird during cranking
- Random warning lights from low voltage events
- Radio resets or clock losing time
If the engine cranks strongly but still won’t start, that’s a different diagnostic path. Corrosion mainly causes voltage drop and current loss, not fuel or spark issues.
Prevention that works
Keep terminals clean and properly tight
Most repeat corrosion starts with a connection that was never fully cleaned or never fully tightened.
Use protectant or dielectric grease
After cleaning and tightening, protect the connection from air and moisture. Terminal protectant spray is convenient. Dielectric grease is cheap and effective when used lightly.
Consider felt washers
Those red and green felt rings sit under the cable ends and help absorb and neutralize vapors. They’re especially helpful on vehicles that have a history of corrosion.
Secure the battery
A loose battery bounces, stresses cables, and can encourage leaks or connection problems. Make sure the hold-down clamp is installed and snug.
Keep the top of the battery and tray clean
Grime and acid residue on the battery top and tray can create leakage paths and promote corrosion. A quick wipe-down during oil changes goes a long way.
Address charging issues early
If your alternator is overcharging or the battery is regularly heat-soaked and boiling off, no spray can keep corrosion away for long. Fix the root cause and the terminals stay cleaner.
Don’t do this
- Don’t use an open flame near a battery. Hydrogen gas is explosive.
- Don’t hammer or pry on battery posts. Posts can crack and leak.
- Don’t short the terminals with a tool or jewelry.
- Don’t over-tighten terminal clamps. You can crack the lead post or deform the clamp.
- Don’t ignore heavy corrosion that keeps returning. It’s usually a sign of a battery, cable, or charging system issue.
Quick FAQ
Is battery corrosion dangerous?
It can be. The residue can contain acidic material that irritates skin and eyes, and batteries can vent flammable gas. With eye protection, gloves, and a careful approach, cleaning is typically safe for DIYers.
Can I use Coke to clean battery terminals?
It works in a pinch because it’s mildly acidic and helps dissolve deposits, but it’s sticky and can leave residue behind. If you do it, rinse thoroughly with clean water afterward and dry the area so it does not turn into a dirt magnet. Baking soda and water plus a proper brush is the cleaner, more shop-correct method.
Why is the corrosion blue or green?
That color often points to copper salts and other copper compounds from the cable reacting with acidic vapor and moisture. It can also hint that corrosion is traveling into the cable strands, which may require cable repair or replacement.
Will terminal protectant fix the problem by itself?
No. Protectant helps prevent future buildup, but it won’t compensate for a loose connection, damaged cable, leaking battery, or an overcharging alternator.
When to get it checked
DIY cleaning is great for routine corrosion. I’d recommend getting the battery and charging system tested if you notice any of the following:
- Corrosion returns quickly after a thorough cleaning
- Battery case swelling, leaking, or a strong sulfur smell
- Repeated dead battery episodes, even after driving
- Voltage readings that seem consistently high with the engine running
- Visible cable corrosion traveling under insulation
Most parts stores can do a battery and charging system test in minutes. A good independent shop can also perform a voltage drop test on the cables and connections, which is the fastest way to catch hidden resistance problems.
Clean terminals, solid connections, and a healthy charging system make the whole car happier. Stay ahead of corrosion and you’ll avoid a lot of those “it was fine yesterday” mornings.