I still remember my first starter swap as a teen, wedged under a tired old sedan while my dad held the light and coached me through it like a pit crew chief. A starter motor replacement is one of those jobs that looks intimidating because it sits low, gets dirty fast, and has big cables attached to it. But the actual sequence is straightforward if you stay organized and respect two things: battery safety and cable routing.
Below is the in-car process I used for years in the shop, with the small details that keep a simple job from turning into a no-crank headache.
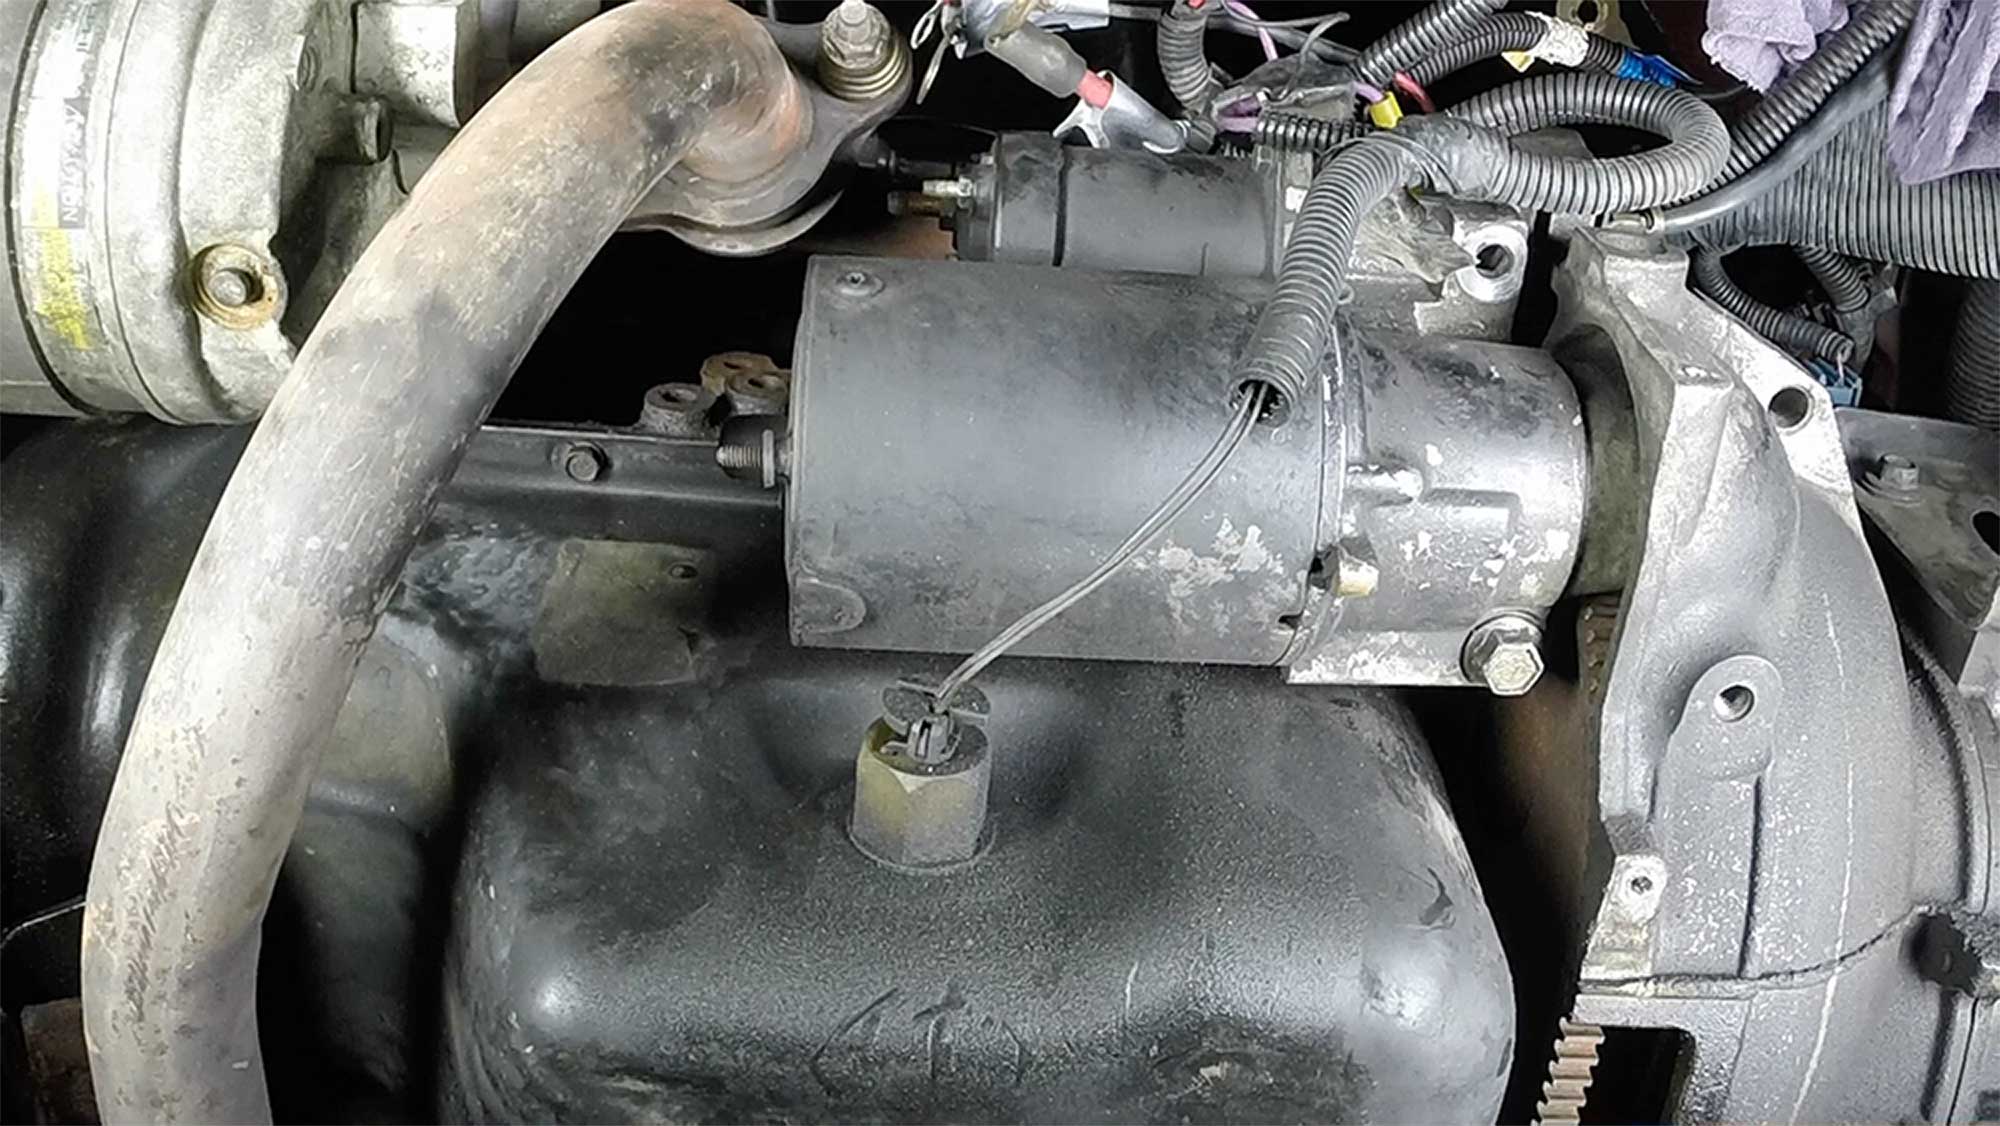
Before you start: confirm it is the starter
If your car will not crank but the lights and radio work, the starter circuit is a prime suspect, but do a quick sanity check before you unbolt anything. Also make sure you are chasing the right problem: no-crank means the engine is not turning over at all. Crank-no-start is a different diagnosis.
- Battery voltage: A battery can power accessories and still be too weak to crank. If you have a multimeter, you want about 12.6V for a fully charged lead-acid battery at room temperature. Temperature and battery type (AGM vs flooded) can shift what “normal” looks like, and 12.4 to 12.6V can still be serviceable depending on state of charge. A common rule of thumb is above 9.6V while cranking at about 70°F (21°C), if it will crank at all.
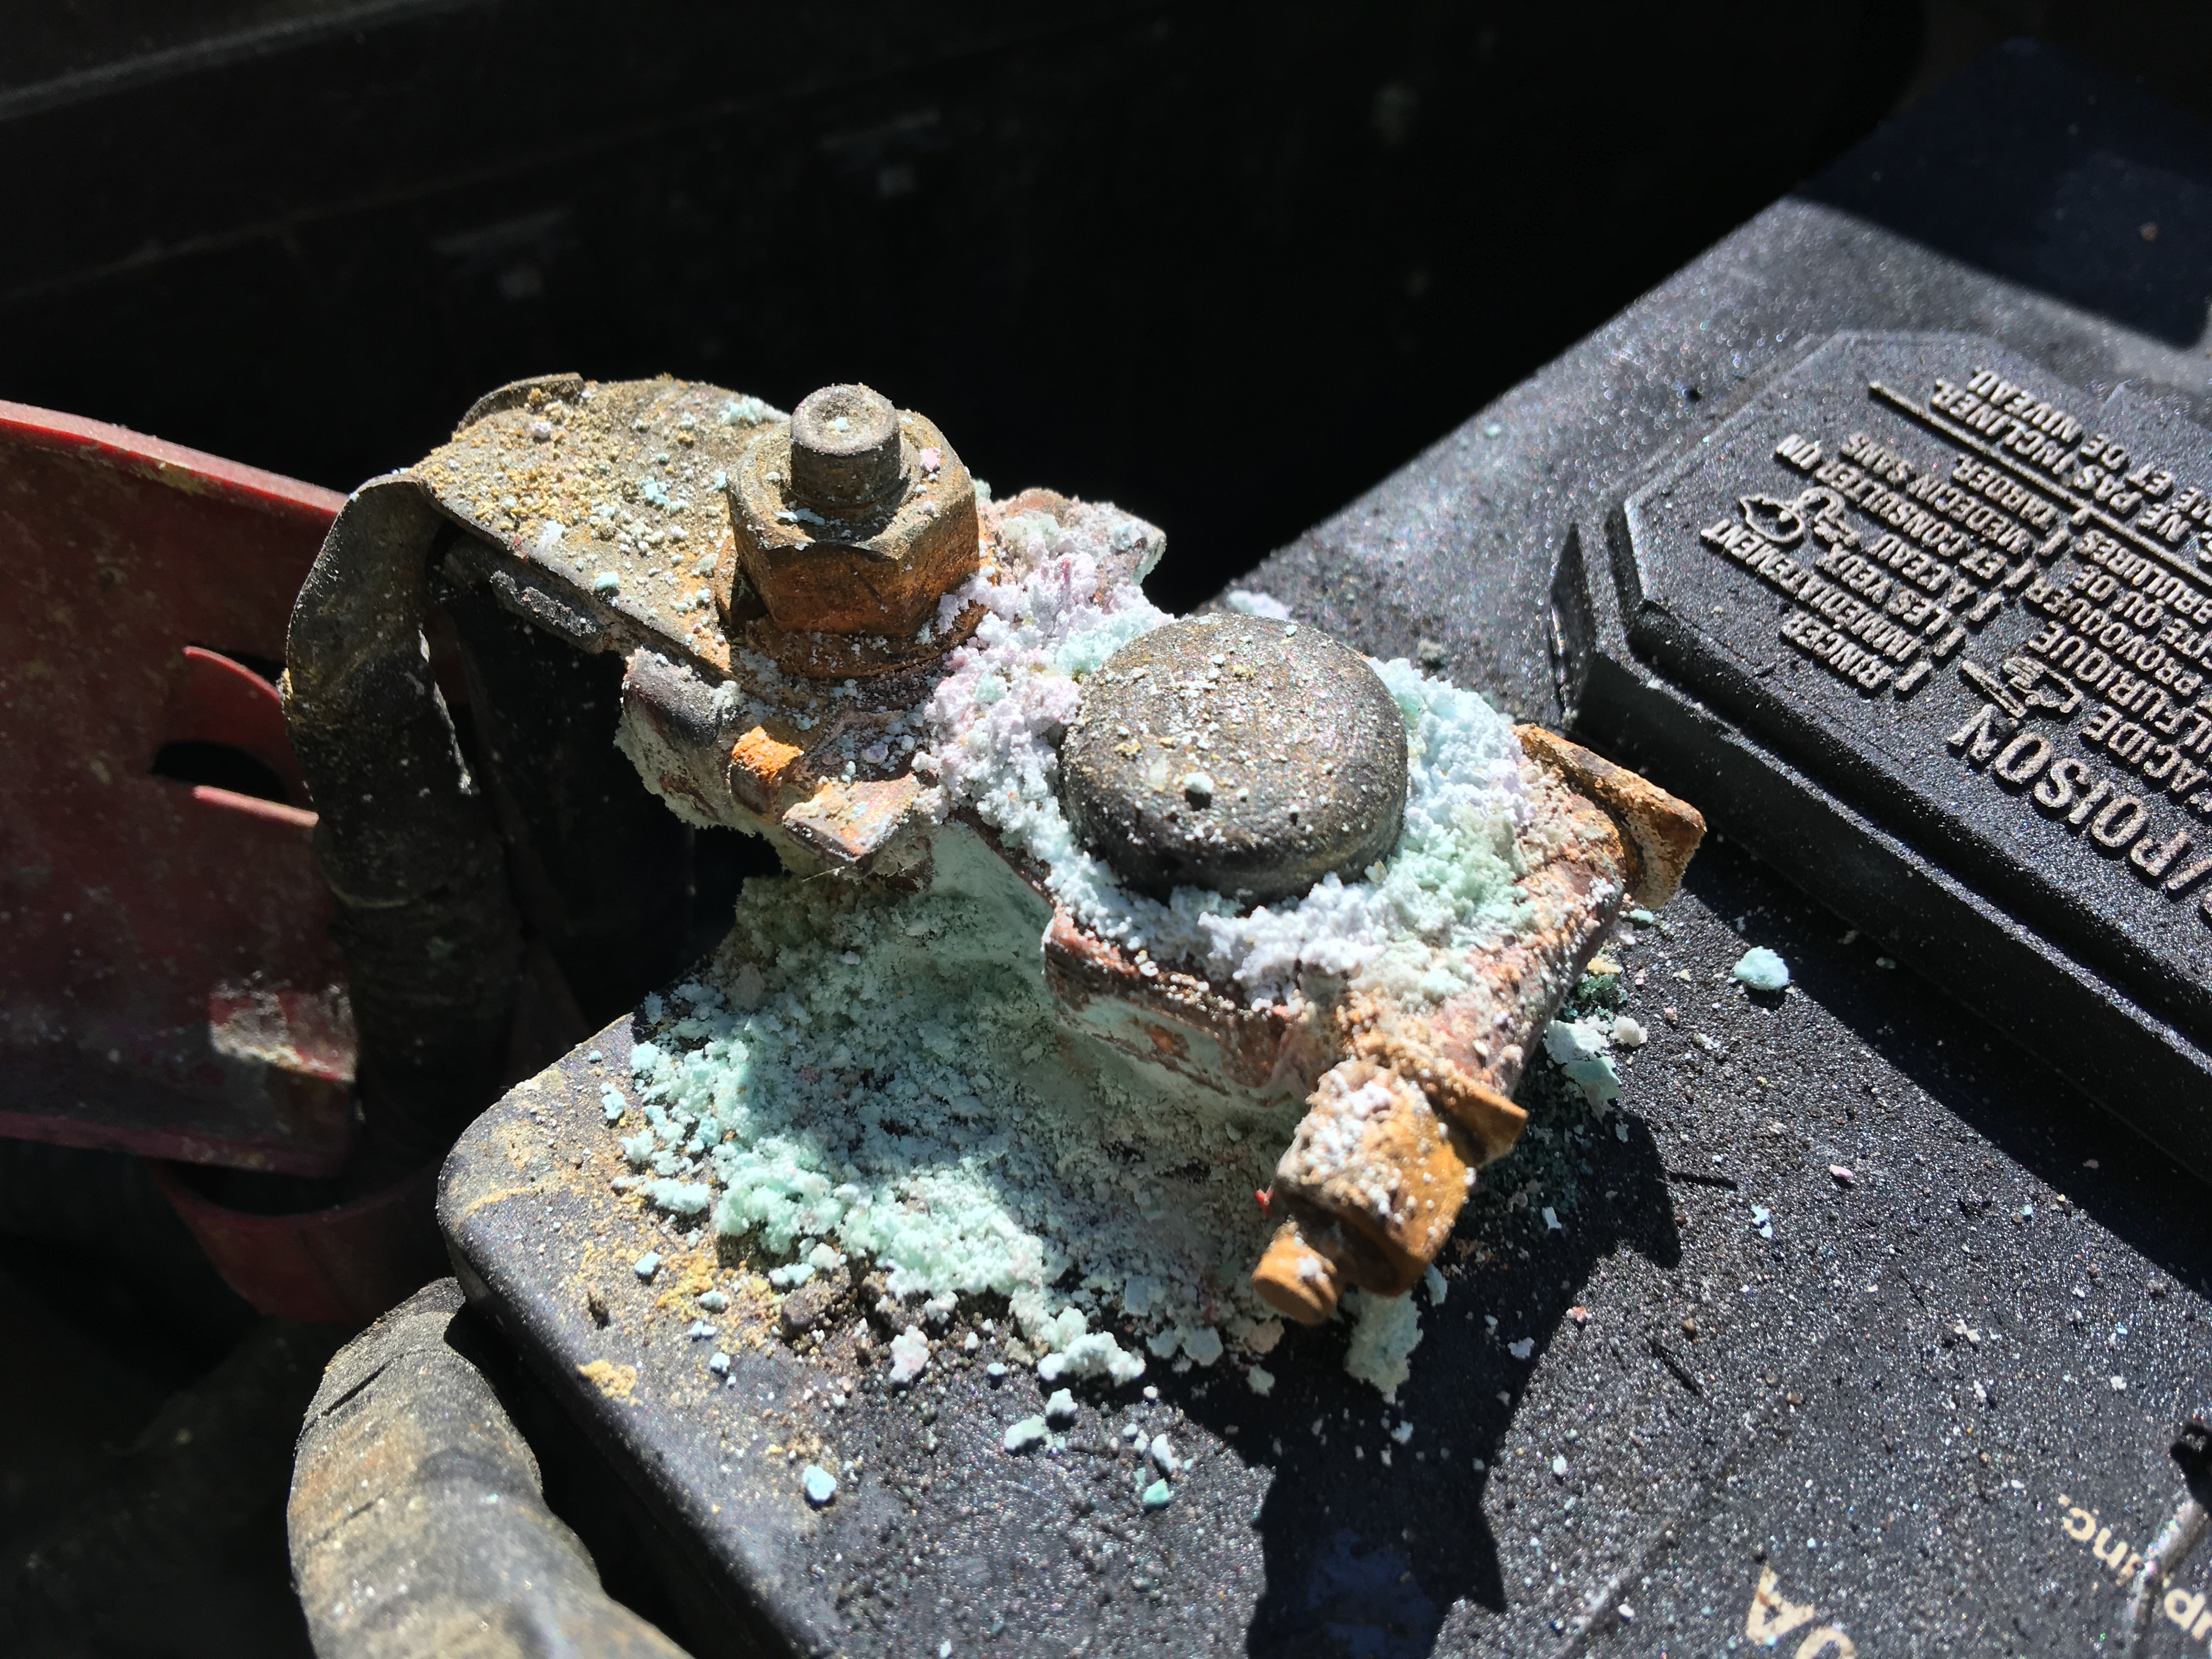
- Connections: Clean and tight battery terminals matter. A loose clamp can mimic a dead starter.
- Listen for clues: Rapid clicking often points to low voltage or a bad connection, not the starter itself. A single heavy click from the starter area can be a failing starter or a voltage drop. Total silence can be a control issue (relay, switch, immobilizer) or a wiring problem.
- Neutral safety or clutch switch: Try starting in Neutral (automatic) or verify the clutch is fully depressed (manual).
- Ground path: A weak or corroded battery negative cable or engine ground strap can cause a no-crank even with a good starter.
- Quick signal check: If you are comfortable with a meter or test light, check for 12V at the small start signal wire at the starter while someone turns the key to Start. If you have signal power but no crank, the starter is more likely the culprit. If you have no signal power, look upstream.
If your diagnosis already led you to a failed starter, keep going.
Tools and supplies that make the job smoother
- Basic socket set, ratchet, and extensions (a wobble extension helps)
- Wrenches for cable nuts on the starter solenoid
- Torque wrench (recommended)
- Jack and jack stands or ramps, plus wheel chocks
- Penetrating oil (for rusty mounting bolts)
- Dielectric grease (optional, for corrosion prevention on signal connections)
- Wire labels or masking tape and a marker
- Phone camera for reference photos
- Safety glasses and gloves (highly recommended when you are under the car and working around battery cables)
Torque note: Starter mounting bolt torque varies a lot by engine and design. Always check your service info for your exact vehicle. If you cannot access a spec, tighten evenly and do not overdo it. Stripped aluminum threads in a bellhousing area can ruin your day. A torque wrench and the correct spec is the best move.
Access note: Most starters are reachable from underneath, but some vehicles bury the starter under an intake manifold or require extra disassembly. Before you start, look up the starter location on your exact engine so you do not get surprised mid-job.
Step-by-step: replace the starter motor
1) Disconnect the battery first
Disconnect the negative battery cable and isolate it so it cannot spring back to the terminal. This is not optional. The main starter cable is often unfused or only protected by a fusible link or mega-fuse upstream. If your wrench bridges that stud to ground, you can get instant welding and instant fire.
If your battery is in the trunk or under a seat, you still disconnect it the same way. If the vehicle has memory settings you care about, you can use a memory saver, but I would rather reset the clock than risk a short.
2) Gain access safely
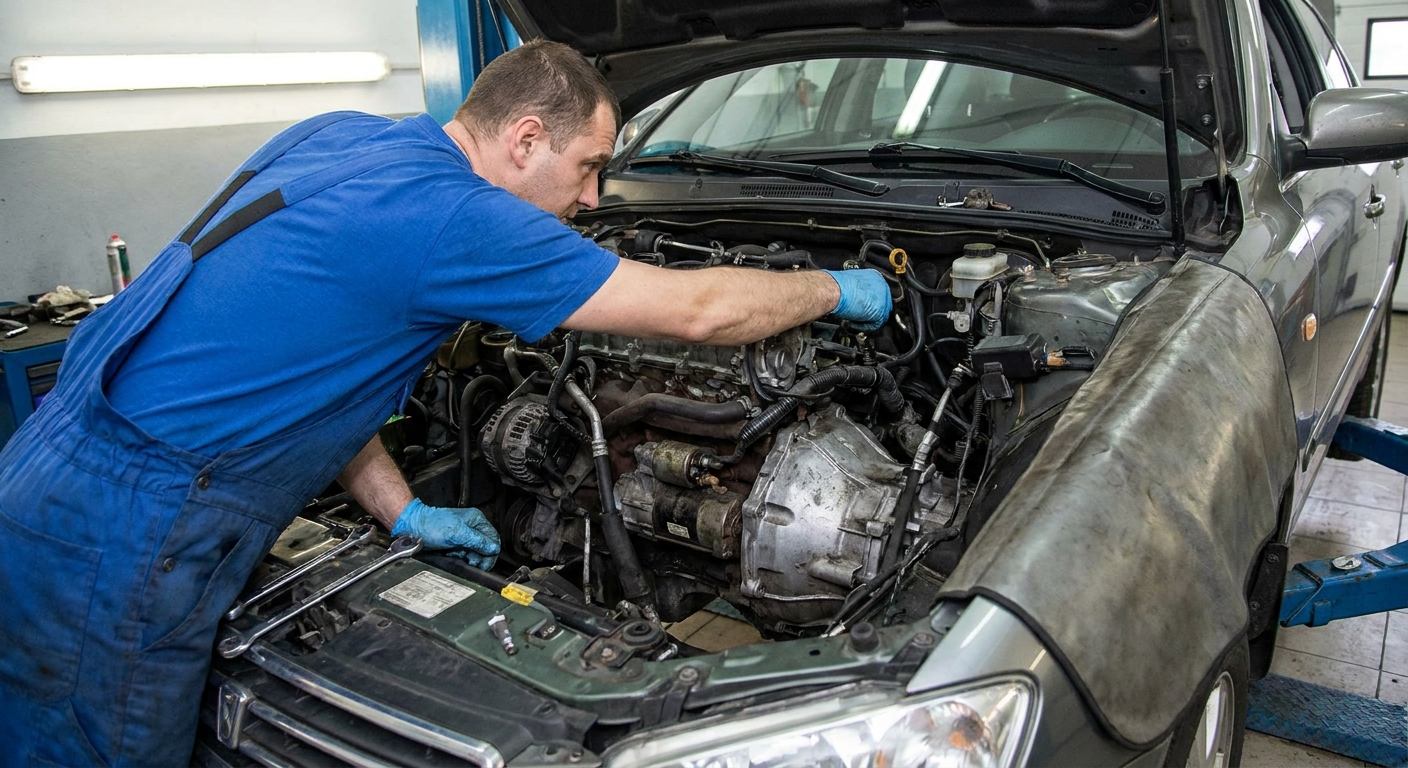
Most starters live where the engine meets the transmission, low on the block.
- Chock the wheels and set the parking brake.
- Lift the vehicle only on approved lift points.
- Support it with jack stands on solid ground.
Depending on the car, you may need to remove a splash shield, intake ducting, or a brace. Keep fasteners organized. I like a small tray and a quick phone photo before and after each panel comes off.
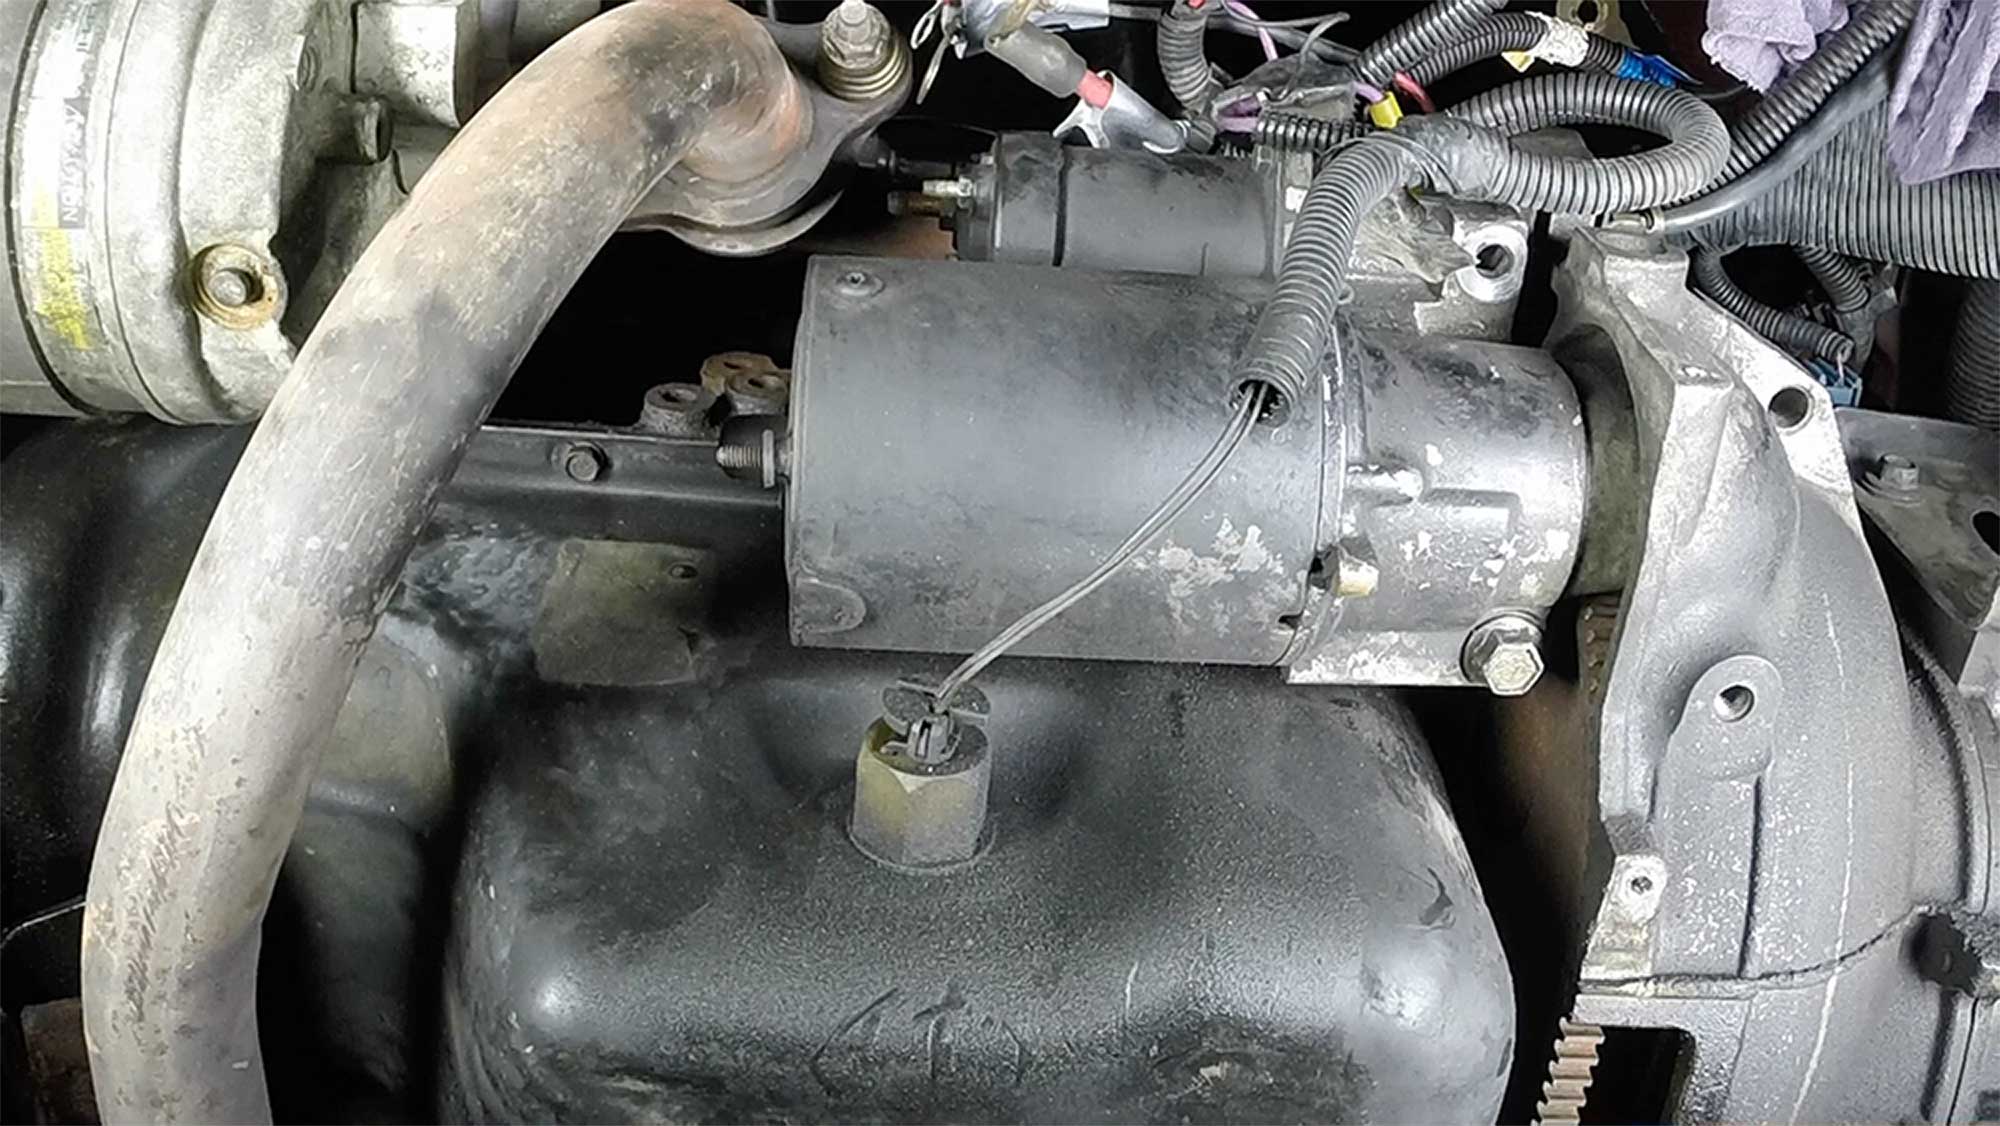
3) Identify and label the solenoid wires
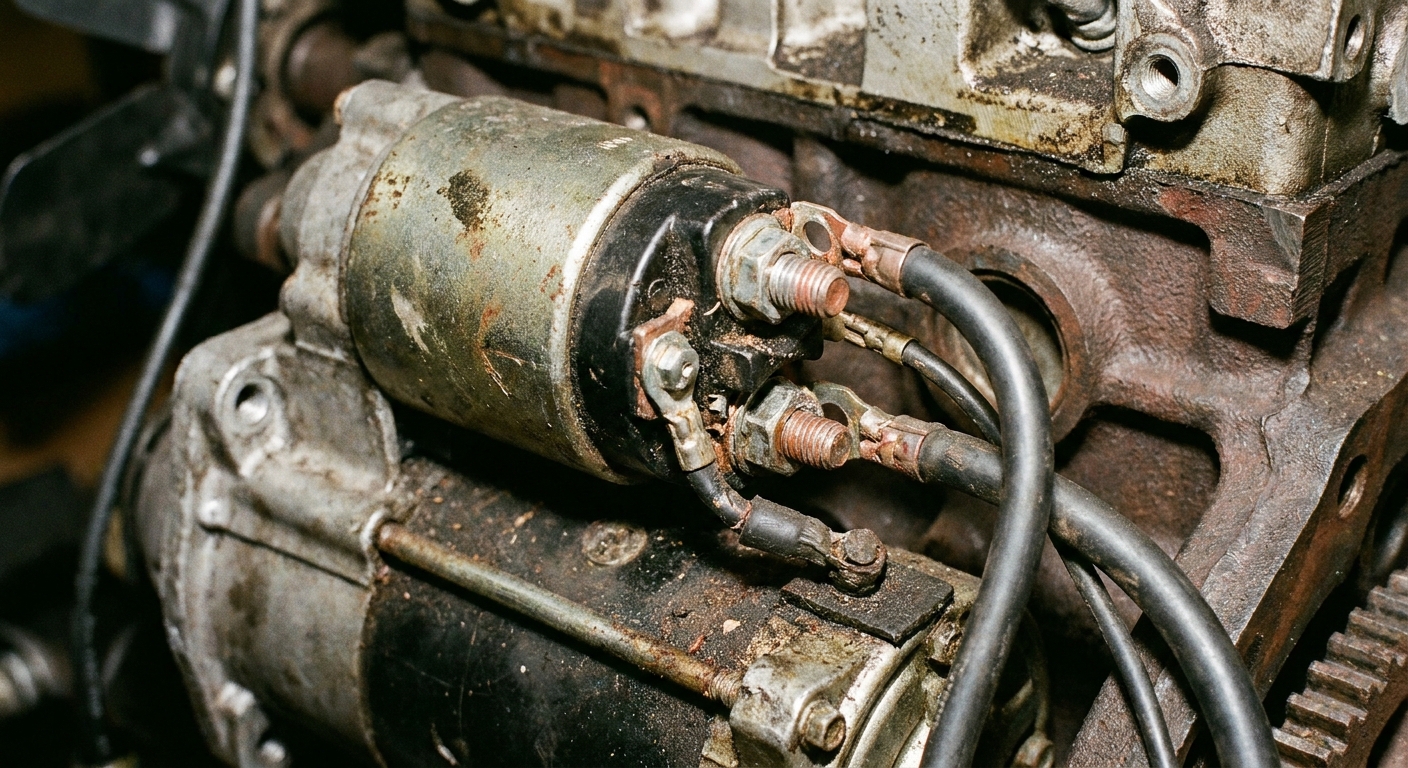
At the starter you will typically see:
- Main battery cable on a large stud (usually held by a nut)
- Start signal wire on a smaller terminal (often a push-on connector or small nut)
- Sometimes additional wires feeding a junction or power distribution point
Before removing anything, label each wire and take a clear photo. “Looks obvious” becomes “wait, which one was that?” after you have been fighting a top bolt for 30 minutes.
Cable-fit caution: Do not force ring terminals onto the stud at an angle. If the cable is pulled tight or twisted, it can loosen later, overheat, or crack the terminal. Cables should sit flat on the stud with no tension.
4) Remove the starter electrical connections
Remove the nut on the main power stud and lift the ring terminal off. Then remove the smaller signal wire connection.
- If a terminal is corroded, clean it with a wire brush before reinstalling.
- If the rubber boot is torn on the main stud, replace it if possible. That boot helps prevent accidental shorts.
5) Support the starter and remove the mounting bolts
Starters are heavier than they look, especially when you are on your back working around exhaust and a subframe. Support it with one hand while you remove bolts with the other, or use a small support under it.
Common setups:
- Two bolts straight into the bellhousing area
- Two bolts plus a brace (often on older trucks)
- One long and one short bolt (do not mix them up)
Removal caution: If you feel bolts getting tight on removal, stop and work them back and forth with penetrating oil. Snapping a starter bolt in the bellhousing is a job that can go from Saturday afternoon to “tow it to a shop.”
6) Watch for shims and note orientation
Some vehicles, especially certain GM applications and some older designs, use starter shims between the starter and the mounting pad. If shims fall out, do not ignore them. Put them aside and reinstall them exactly as found unless your service info says otherwise.
Why shims matter: They set the gear mesh between the starter pinion and flywheel or flexplate. Wrong mesh can cause grinding, slow cranking, broken teeth, or a brand new starter that sounds terrible.
7) Match the new starter
Before bolting the new one in, compare it side by side with the old unit:
- Mounting ears and bolt holes match
- Nose cone length matches
- Electrical terminal locations match
- If applicable, the starter is clocked the same (the solenoid orientation relative to the body)
Some starters can be clocked by rotating the housing, but only if the unit is designed for it. If yours is not adjustable, do not force it. Set it up to match the original so the cables route cleanly and do not touch the exhaust or steering shaft.
If you have the chance to bench check the new starter before installation, do it, but keep your expectations realistic. Parts-store bench tests are helpful, but they do not always catch intermittent issues.
8) Install the starter and hand-thread bolts first
Lift the starter into place and start all mounting bolts by hand a few turns before tightening. This reduces the chance of cross-threading, especially when threading into aluminum.
If there is a brace, install it loosely until all fasteners are started, then tighten in stages.
Torque guidance: Use the factory torque spec whenever possible. If you cannot access a spec, tighten evenly and securely without leaning on it like a suspension bolt. Treat any generic torque range you see online as an example, not a spec for your vehicle.
9) Reconnect the wiring with clean, flat contact
Reconnect the small signal wire, then the main battery cable.
- Make sure the ring terminal sits flat on the stud and the nut tightens down evenly.
- Route cables away from the exhaust, CV axles, and any sharp edges.
- Reinstall any heat shields, wire clips, and boots.
Cable-fit caution: A loose main cable connection can cause a no-crank, intermittent crank, or a hot, melting terminal. If you can wiggle the terminal after tightening, the nut may not be seated, the ring may be stacked at an angle, or the nut may be bottoming out on the stud before it clamps the terminal.
10) Reinstall shields, lower the car, and reconnect the battery
Reinstall splash shields and any intake or braces you removed. Lower the vehicle safely. Reconnect the negative battery cable last.
Turn the key or press Start. Listen for:
- A strong, consistent crank
- No grinding or screeching
- No smoke or burning smell from the starter area
Common mistakes I see on starter swaps
- Forgetting the battery disconnect and shorting the main stud
- Mixing up wires at the solenoid because nothing was labeled
- Skipping shims or reinstalling them wrong
- Over-tightening and stripping threads in aluminum
- Poor cable routing that lets the main lead rub or sit against a hot exhaust section
- Not checking the flexplate or flywheel teeth when there was grinding beforehand
If your old starter was making a harsh grinding noise, take a minute with a light and inspect the ring gear teeth you can see. Missing or heavily damaged teeth can make a new starter act “bad” when it is really doing its job against a damaged target.
If it still won’t crank after replacement
If the new starter is bolted in and the wiring is connected but the engine still will not crank, do not keep throwing parts at it. The issue is often a voltage drop, a missed ground, an incorrect wire placement, a security system or immobilizer interlock, or a bad replacement unit.
Head over to our post-install troubleshooting guide: Why Your Car Won't Crank After Replacing the Starter.
Starter replacement FAQ
Do I need to replace the starter relay too?
Not automatically. If testing showed the relay was bad, replace it. If the relay was working and the starter was the confirmed failure, replacing the starter alone is fine.
Should I use remanufactured or new?
Both can work. In my shop days, I saw good and bad examples of each. The most important thing is buying from a reputable supplier with a solid warranty, and making sure the unit matches your exact engine and transmission setup.
What if the starter is soaked in oil?
Fix the leak if you can. Starters do not love oil saturation. Valve cover leaks, rear main seal leaks, and oil filter housing leaks can all shorten starter life depending on layout.