The most frustrating no-crank calls I used to get at the shop all sounded the same: “Ben, I just put a starter in it… and now it won’t crank at all.” If your car ran before the swap and immediately went dead silent when you turn the key, odds are high this is not a mystery battery issue. It is usually one small detail at the starter, solenoid wiring, or main power feed that is now wrong, loose, or missing.
Below is the exact way I would diagnose this in your driveway before you pull the starter back out. We will focus on the problems that are most common because the starter was just replaced: solenoid wire on the wrong stud, a ground left off, cable connections that feel tight but are not actually making contact, shim or fitment mistakes, a blown fuse or fusible link, and yes, a brand-new starter that is defective out of the box.
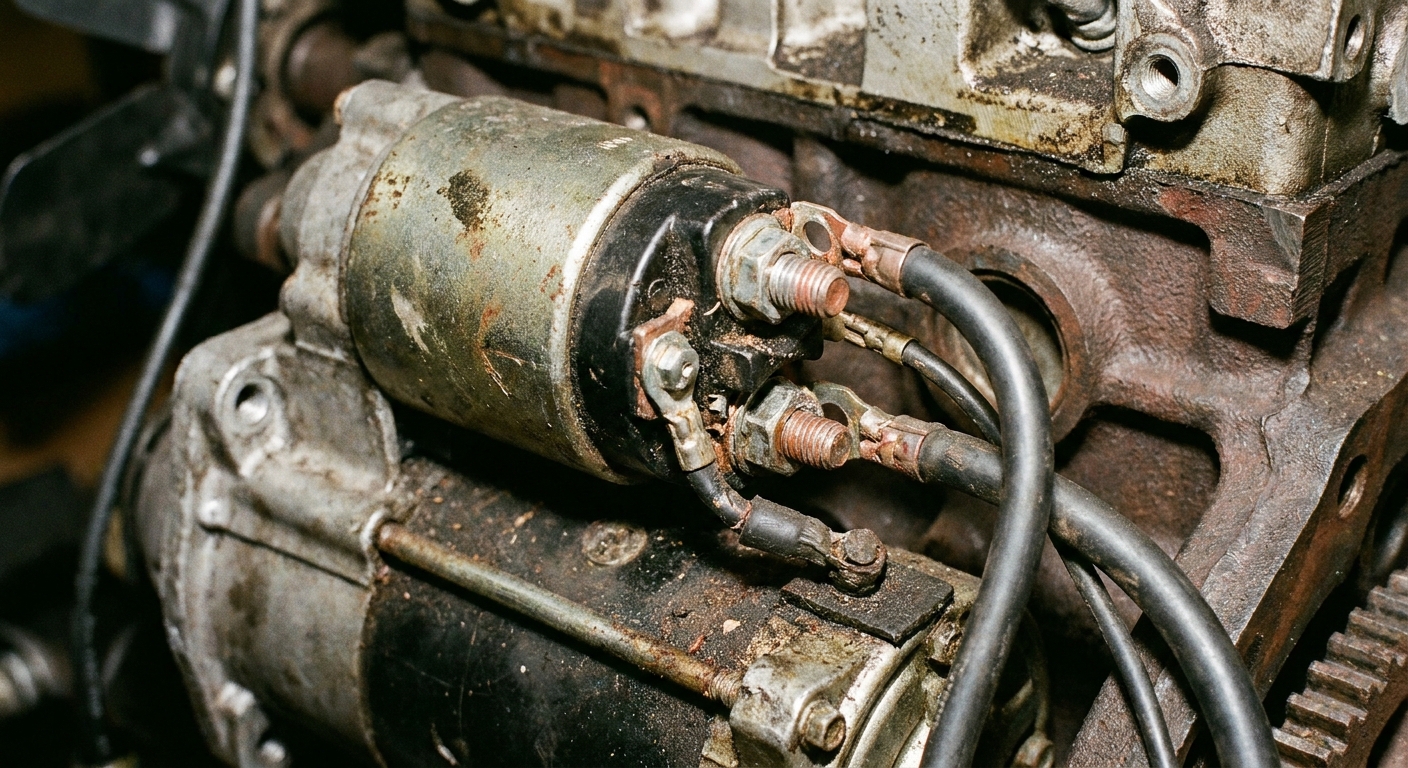
First, confirm what “no crank” means
Before chasing wiring, make sure we are talking about the same symptom. Turn the key to START and note what you get:
- One click (or rapid clicks), engine does not turn: can be low voltage, bad connection, weak battery, or solenoid issue.
- Dead silent, dash lights stay on: often the small “S” trigger wire is not energizing the solenoid, a starter relay or fuse is open, or the wrong terminal is used.
- Dash lights dim hard when you try to start: high resistance in the battery cables, wrong starter fitment, starter locked mechanically, or engine seized (rare if it ran before).
- It cranks but will not start: different problem entirely. This article is for no-crank.
If your lights and radio work but it will not crank, that is totally normal in a no-crank situation. A starter needs a lot more current than the radio.
Safety quick hits
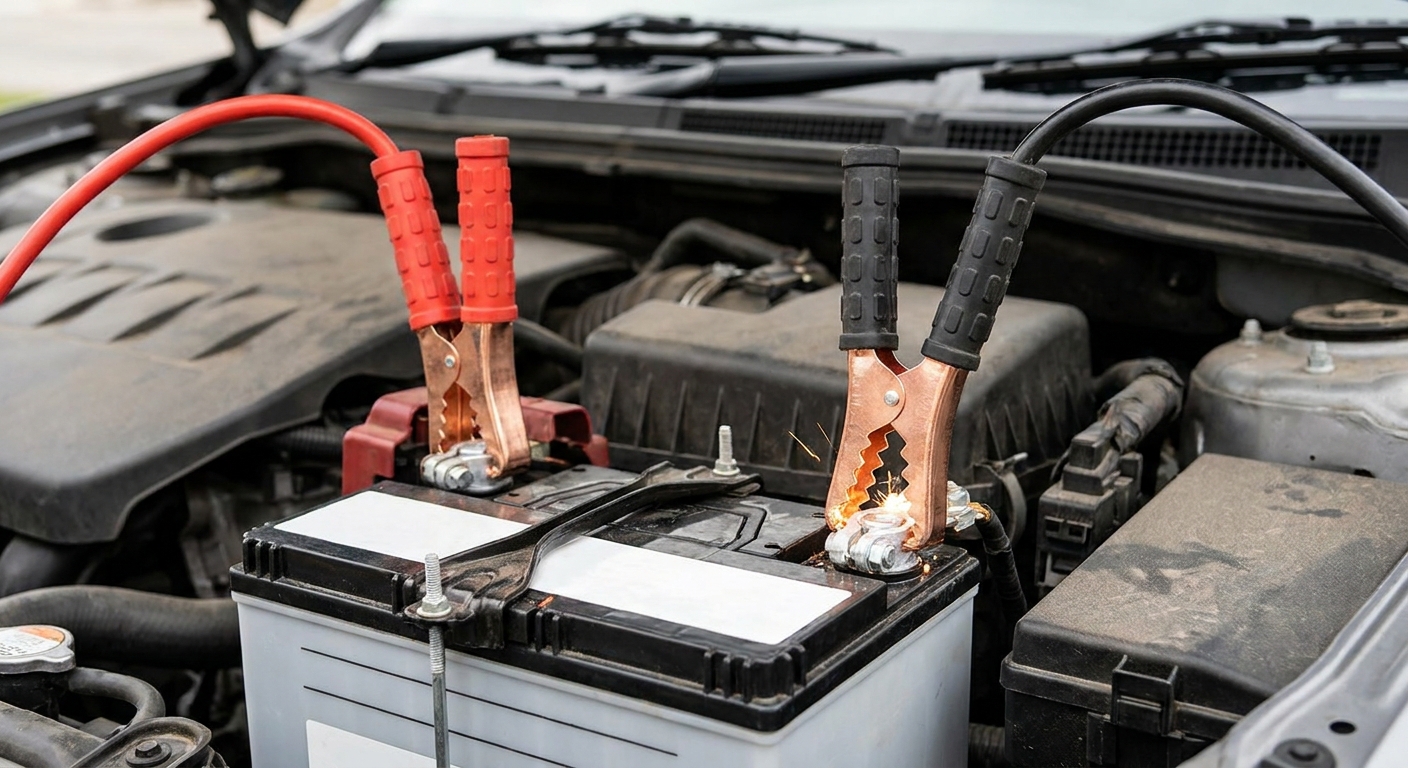
- If you are working near the starter power stud, disconnect the negative battery cable first. That stud is often effectively unfused at the starter itself, even on vehicles that use a mega-fuse or main fuse closer to the battery. One slip of a wrench can ruin your day.
- If you must test voltage at the starter with the battery connected, keep tools clear of exhaust and rotating parts and avoid bridging terminals.
- If the car is raised, use jack stands on solid points. Never trust a jack alone.
Common install mistakes
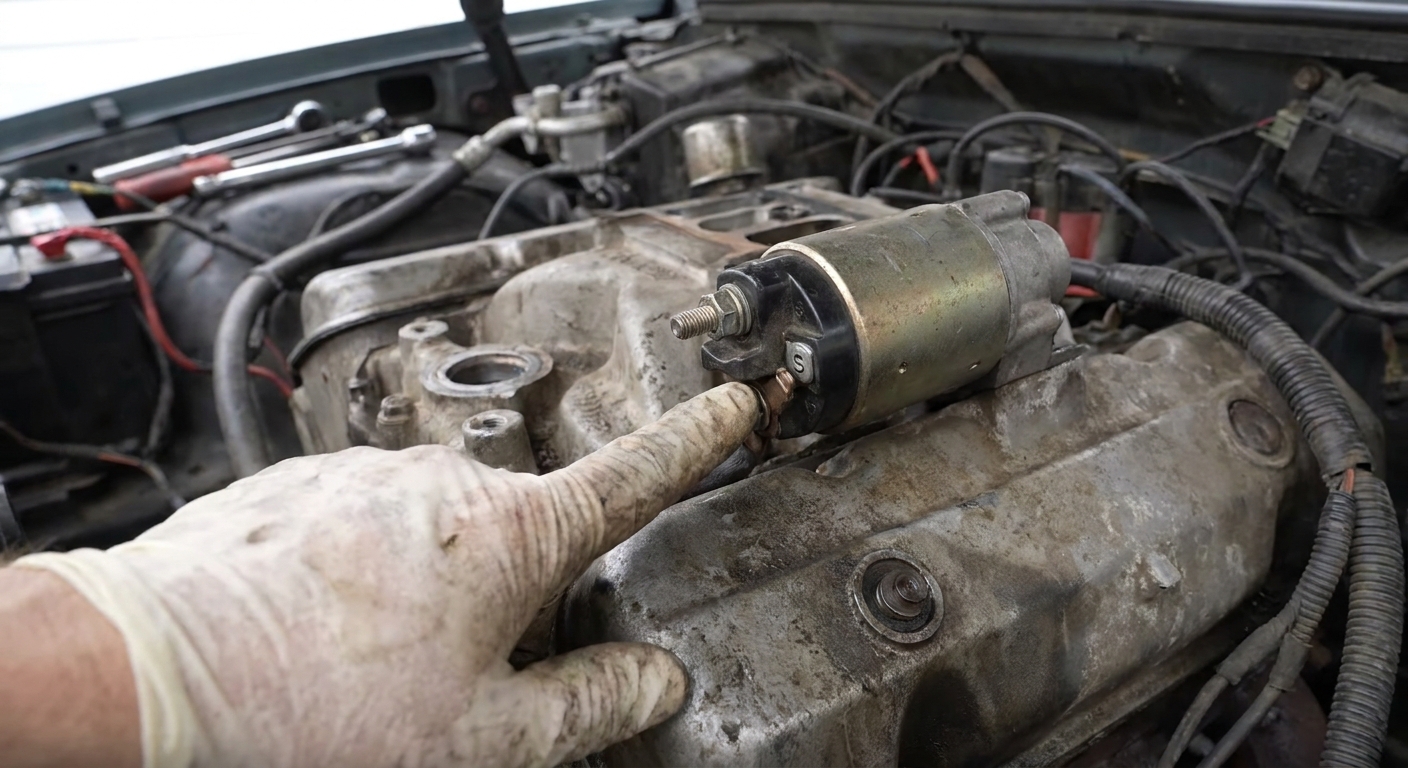
1) The solenoid trigger wire is on the wrong stud
This one is number one for a reason. Many starters have:
- A large stud for the main battery cable (constant 12V).
- A small “S” terminal that gets 12V only when you turn the key to START.
- Sometimes an additional small terminal (often “R” on older systems) or an extra post used on certain applications.
If the small trigger wire is accidentally placed on the big battery stud, or on the wrong small terminal, the starter will not engage correctly. In some cases it can cause the starter to run at the wrong time, or not at all.
What to do: Compare the new starter to the old one if you still have it. Look at terminal markings cast into the solenoid cap. If nothing is labeled, trace the wire: the trigger wire is usually smaller gauge, often on a push-on spade connector or a small ring terminal.
Quick late-model note: on some newer vehicles, the “start” request is handled by the BCM and a relay, and there may not be a traditional ignition-switch-to-starter “S” wire you can easily probe the same way. You can still use the power and voltage-drop tests below to catch bad feeds and bad grounds.
2) A ground is missing or the ground path is compromised
Starters draw huge current. They do not just need power, they need an excellent return path to the battery negative. Usually that path is:
- Battery negative to chassis
- Chassis to engine block (ground strap)
- Starter case bolted to the engine block
Common post-starter-swap ground issues I have seen:
- Battery negative cable not reconnected or not tight after the repair.
- Engine ground strap left off during other work, or broken when the engine was moved around.
- Paint, corrosion, or dirt between the starter and the mounting pad.
- Incorrect bolts or missing braces on certain starters that rely on solid mounting alignment and contact.
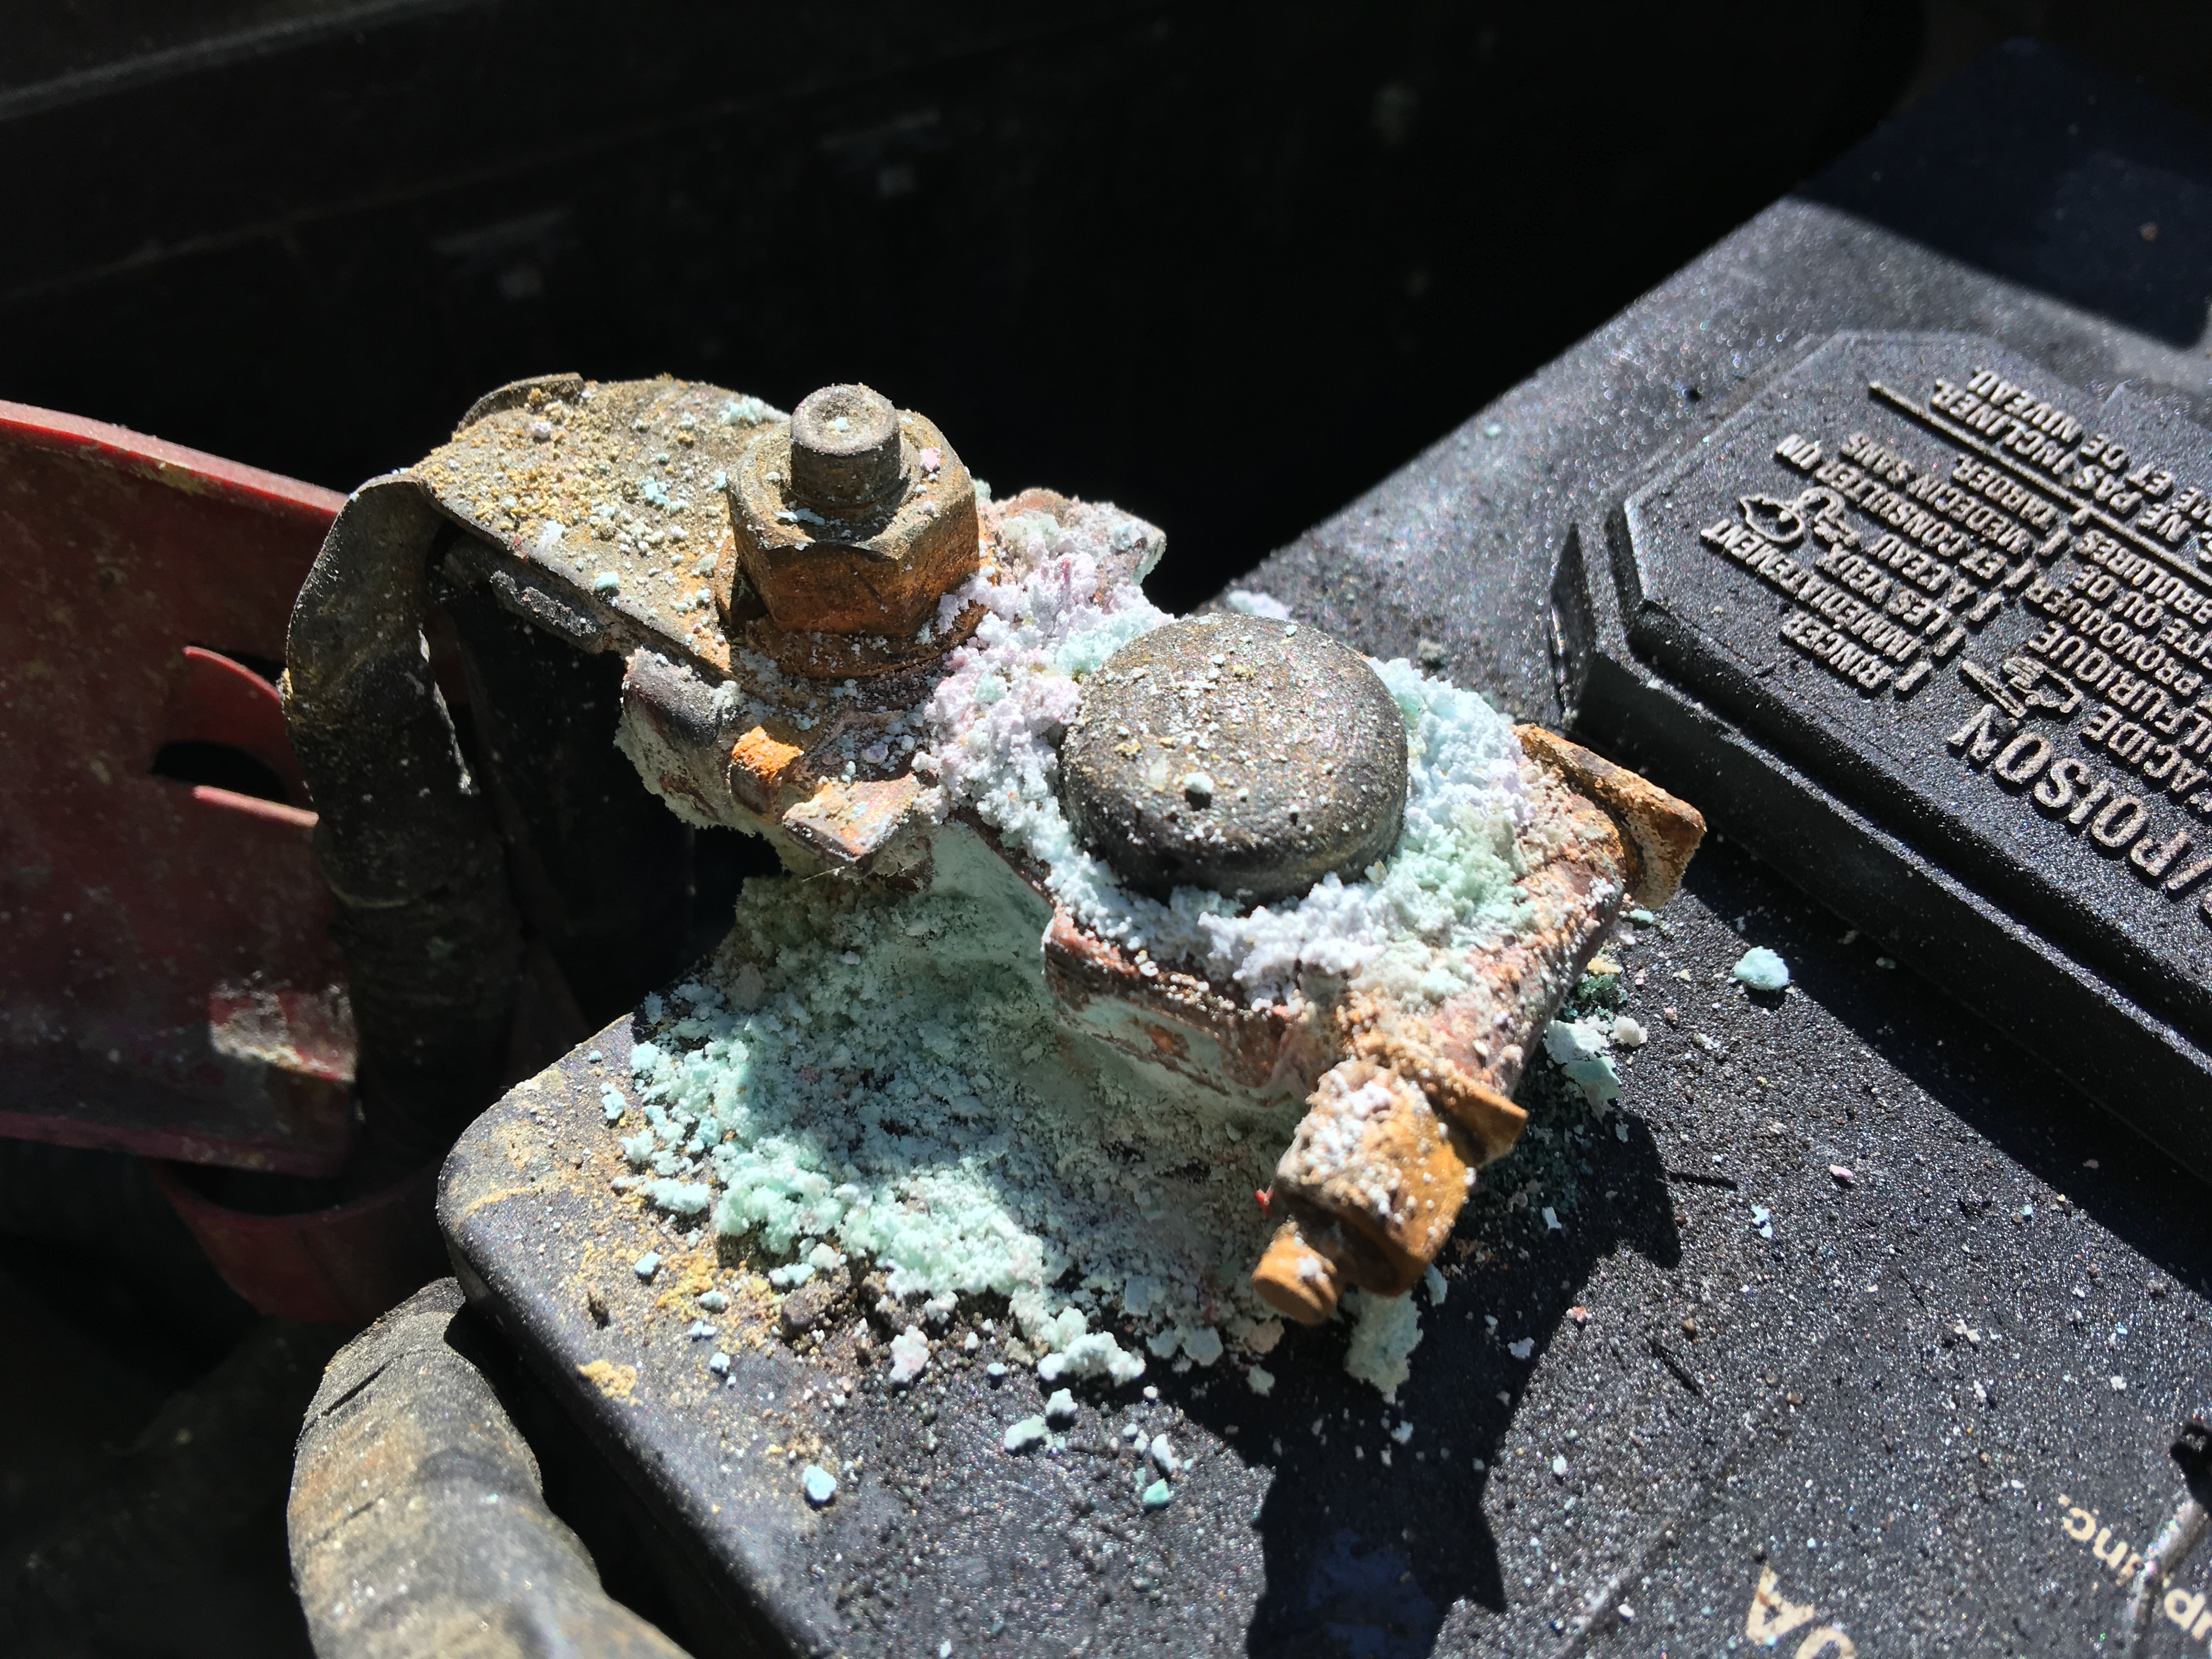
What to do: Visually confirm the battery negative cable is tight at the battery and at its connection point. Then find the engine ground strap. If you can grab it and it is frayed, green, loose, or missing, fix that first. A quick test is to use a quality jumper cable from battery negative directly to a clean metal point on the engine block, then try to start. If it suddenly cranks, you have a ground path problem.
3) The main battery cable is loose or not actually making contact
It is very easy to “tighten” a nut on the starter B+ stud while the ring terminal is sitting crooked, stacked wrong, or riding on a shoulder. The nut feels tight, but the copper is not clamped properly.
Watch for:
- Ring terminal not flush on the stud surface.
- Multiple cables stacked with a boot or insulator trapped between them.
- Cable under tension that is pulling sideways on the stud.
- Stripped threads on the starter stud (easy to do if you over-torque).
What to do: Disconnect the battery negative, remove the nut, and re-stack the ring terminals so copper sits flat on the terminal face. Tighten snugly, not like you are tightening lug nuts. Then reinstall the boot so it cannot short to ground.
4) A fuse, mega-fuse, fusible link, or starter relay blew during the swap
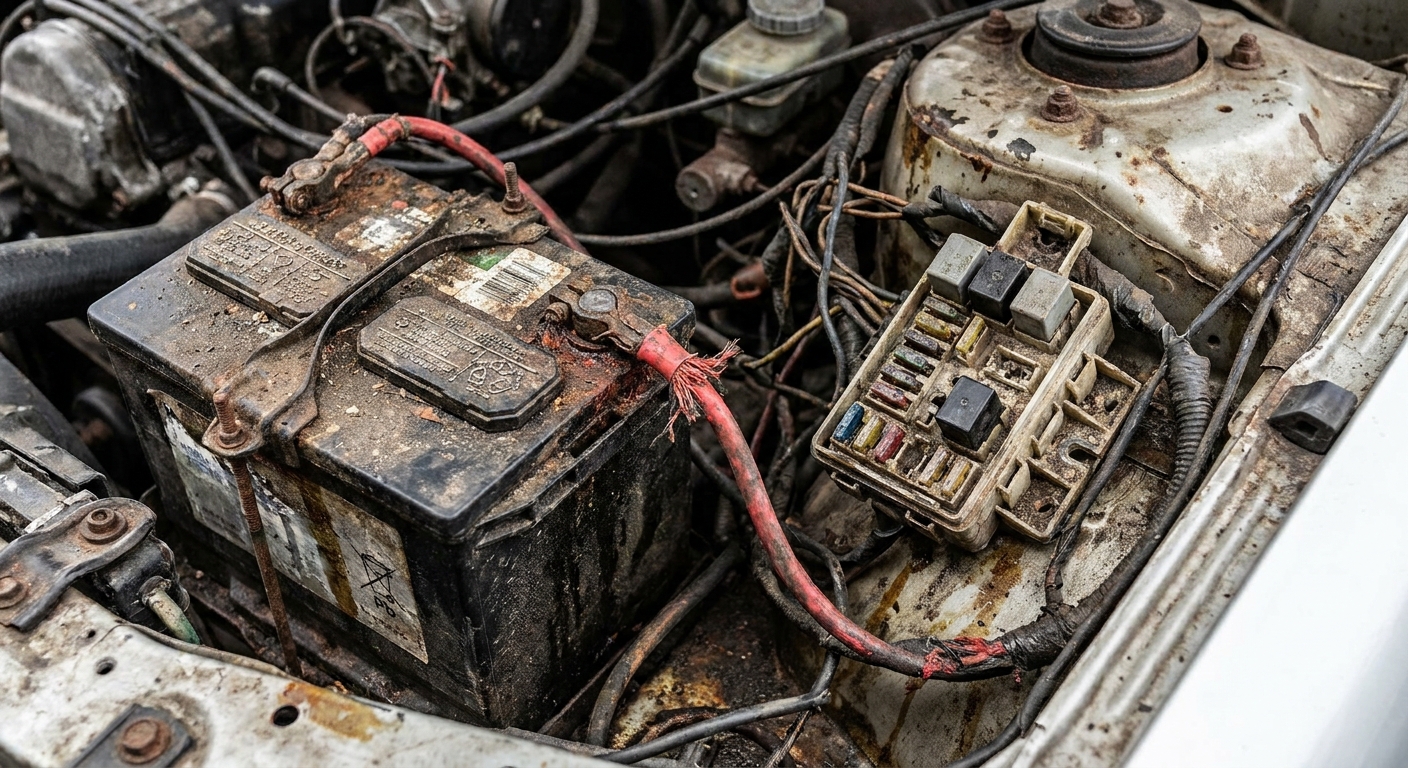
Depending on the vehicle, the small trigger circuit is protected by a fuse and controlled by a starter relay. If the battery was connected and the main cable touched ground during the job, you can pop a high-amp fuse, a mega-fuse, or a fusible link. Some cars will also blow a smaller fuse that feeds the starter relay or ignition switch start signal.
What to do:
- Check the starter relay in the underhood fuse box. Swap it with an identical known-good relay if you have one (horn relay is sometimes the same, but verify).
- Check any fuses labeled START, CRANK, IGN, ECM, or CLUTCH/PNP (names vary widely).
- Look for a fusible link or main fuse near the battery positive cable. If it is burned, stretched, or the insulation looks bubbled, that is a big clue.
Important: a fusible link can fail internally and still look okay. Voltage testing will catch that.
5) Fitment issues that cause a mechanical bind
This does not happen on every platform, but when it does, it can mimic an electrical problem. Two situations I have seen a lot:
- Shims on some older GM applications: some older GM setups require shims for proper pinion-to-flywheel clearance. Too tight a mesh can cause a hard bind. The solenoid may click, but the motor cannot turn. Many modern starters do not use shims, so do not guess. Check service info for your exact application.
- Wrong housing or solenoid orientation on a reman: it is possible to get a remanufactured unit with the wrong nose cone depth or an incorrect housing installed, which can cause interference or misalignment.
Clues you are dealing with a bind: the starter case gets hot quickly, there is a single heavy clunk, lights dim hard, and the battery cable may get warm. If you hear grinding, stop and reassess fitment before you chew up the flywheel teeth.
What to do: If your old starter used shims, do not assume the new one does not need them. Transfer the shims, or follow the spec for your platform. If you suspect a housing or orientation mismatch, compare the new unit to the old one side-by-side.
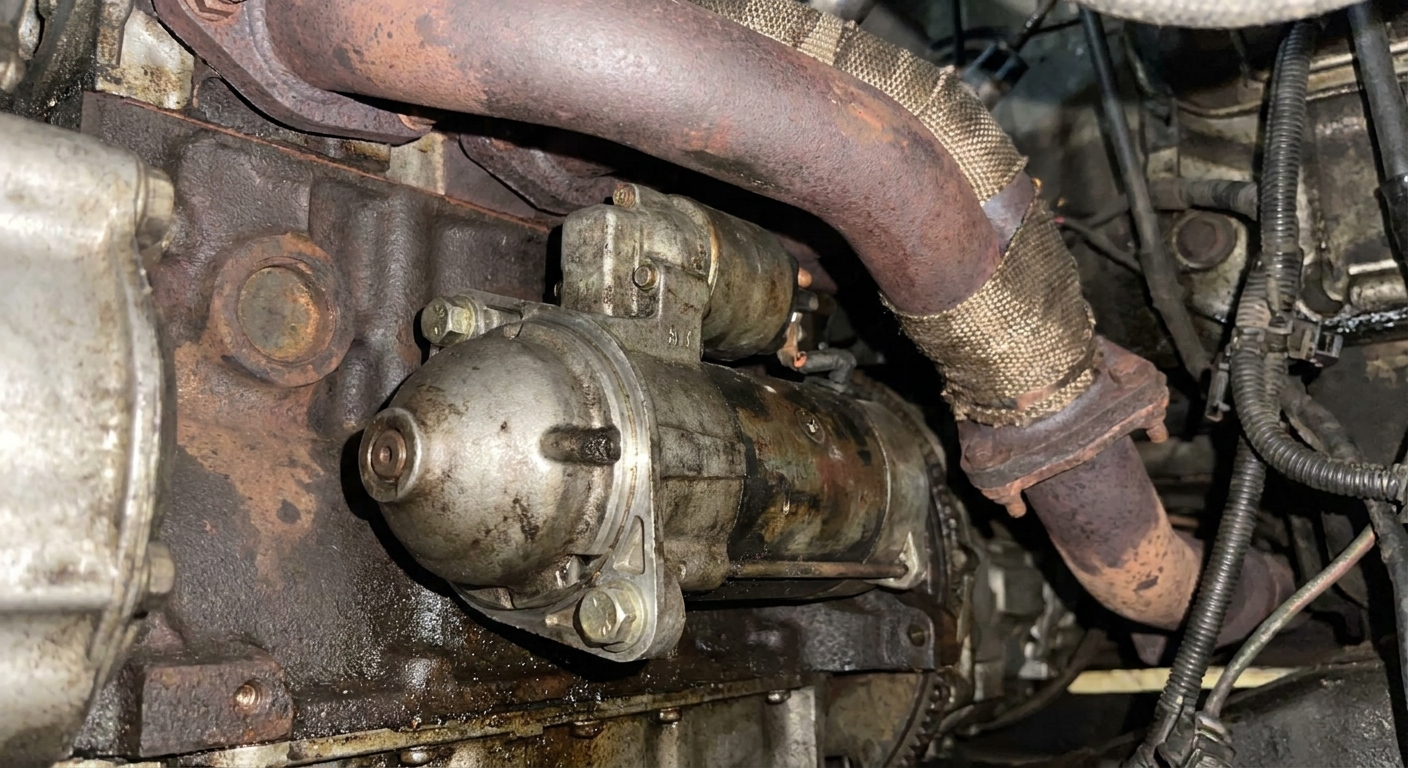
6) The new starter is defective
I wish this was rare enough to ignore. It is not. Remanufactured starters, and even some new ones, can fail right out of the box. Common failures include a bad solenoid coil, internal brush issues, or a dead spot on the commutator.
Before you pull it back out, do the voltage checks below. If power and signal are correct and your voltage does not collapse under load, the starter itself becomes the prime suspect.
Voltage checks before you pull the starter again
If you own a basic multimeter, you can save a lot of time here. You are going to check two things at the starter: constant battery power at the big terminal and the start signal at the small “S” terminal. Then, if needed, you will do a simple voltage-drop test under load.
Quick power and signal check
- Set the meter to DC volts.
- Black lead on a clean metal ground on the engine block or starter housing.
- Red lead on the large battery stud (B+). You should see roughly battery voltage. A fully charged battery is usually around 12.6V at rest. As a rough range, about 12.4 to 12.7V is common, and around 12.2V is roughly half-charged. If you see 0V or something very low, you have an open in the positive cable, fusible link, or connection.
- Move the red lead to the small “S” terminal.
- Have a helper turn the key to START (or press the start button with the brake, depending on vehicle). You should see about battery voltage on that “S” terminal only while cranking is requested.
How to interpret the results:
- B+ has battery voltage, S has battery voltage in START, still no crank: now think starter issue, mechanical bind, or ground problem at the starter. Before condemning the starter, do the voltage-drop test below to make sure voltage is not collapsing under load due to a bad cable or connection.
- B+ has battery voltage, S stays at 0V in START: problem is upstream: starter relay, fuse, ignition switch, neutral safety switch, clutch switch, wiring, or immobilizer logic on some vehicles.
- B+ is not at battery voltage: positive feed problem: loose battery terminal, bad cable, blown main fuse or fusible link, or wrong cable on the wrong post.
Pro tip from the shop: the number that matters most is what happens during a crank attempt. A connection can show 12V with no load and still fail the second you ask for starter current.
Simple voltage-drop test (this prevents bad guesses)
You do this while someone holds the key in START. If the engine will not crank, that is fine. You are just loading the circuit.
- Positive side drop: put the red lead on the battery positive post (not the clamp) and the black lead on the starter B+ stud. Have your helper try to start. Ideally you see a very small number. As a practical rule, more than about 0.5V drop points to resistance in the positive cable, terminal, fuse connection, or link.
- Ground side drop: put the red lead on the starter case (clean metal) and the black lead on the battery negative post (not the clamp). Try to start. Ideally this is also very low. More than about 0.2 to 0.3V drop usually means a ground path problem (ground strap, cable end, corrosion at mounting points).
If either drop is high, fix that before you blame the starter.
If the S terminal has no power
Neutral safety switch or clutch switch
If the car cranks only in Neutral (not Park), or only when you push the clutch harder, that is a strong clue. After a starter job, this can be coincidence, but it is common enough to mention.
- Automatic: try starting in Neutral.
- Manual: fully depress the clutch. If anything was bumped under the dash, check the clutch switch connector.
Starter relay and fuses
Find the starter relay in the fuse box diagram. Swap it with an identical relay. Also check the fuses that feed the relay control side and the ignition switch start signal.
Immobilizer or key recognition issues
On some vehicles, a security system problem can block the start request. If you see a security light behaving abnormally and you have no S-terminal power, scan for codes if you can. That said, if the problem started immediately after the starter replacement, I still prioritize wiring and power checks at the starter first.
If you have power and signal but still no crank
Confirm the starter is the correct part
“It bolts up” does not always mean “it is right.” Different engines and transmissions can use different tooth counts, nose lengths, or solenoid orientations. A wrong starter can bind, misalign, or fail to engage.
Double-check:
- Engine size and drivetrain in the catalog
- Transmission type (manual vs automatic)
- 2WD vs 4WD where applicable
- Whether the vehicle uses a starter with an integrated solenoid vs a remote-mounted solenoid (older designs)
Clean the mounting pad
If the starter mounting pad on the engine is crusty, clean it to bare metal where it contacts the starter flange. Same goes for the starter flange itself if it is painted or heavily oxidized.
Check for flywheel interference
Rare, but worth mentioning: if the starter drive gear is jammed into damaged flywheel teeth, it may not spin. If you had starter grinding before replacement, inspect flywheel teeth through the inspection cover if possible.
Checklist before you remove it again
- Battery negative reconnected and tight
- Battery terminals clean and tight
- Main battery cable flat and tight on the big stud
- Small trigger wire on the correct “S” terminal
- Ground strap present from engine to chassis
- Starter mounting bolts tight and correct length
- No pinched wires between starter and block
- Relay swapped and relevant fuses checked
- Battery voltage verified at B+ and start signal verified at S during a start request
- Voltage-drop test done if it still will not crank
When to stop and call in help
If you see smoking cables, melting insulation, or the battery cable gets hot during a crank attempt, stop. That is high resistance or a bind, and continuing can damage wiring, the battery, or the flywheel. Also, if the vehicle is a hybrid or EV with a high-voltage system, follow the manufacturer safety procedures. Many hybrids still use a 12V system to boot computers, but the drivetrain can behave differently than a traditional starter setup.
FAQ
My lights come on, but the starter does nothing. Does that rule out the battery?
No. Lights and radio can work with a battery that is too weak for a starter load, or with a bad cable connection that still passes small current. That is why checking voltage at the starter, and doing a voltage-drop test under load when needed, is so valuable.
I hear one click after replacing the starter. What does that mean?
Often it is the solenoid trying to engage but not getting enough current to spin the motor. Think battery charge, cable condition, ground path, or a mechanical bind from fitment issues.
Can a brand-new starter be bad?
Absolutely. It is not the most common outcome, but it is common enough that I never skip the power, signal, and voltage-drop checks. If the starter is getting what it needs and still does nothing, the starter becomes the likely culprit.
Should I bench test the starter?
If you already have it out, bench testing can help, but it does not always catch heat-related or load-related failures. In-vehicle checks can tell you whether the starter is receiving what it needs before you do the labor twice.
If you tell me what vehicle you are working on, what sound it makes when you turn the key, and what voltage you saw at the large stud and the S terminal, I can help you narrow it down fast.