If your car has started to feel floaty over dips, bangs over potholes, or takes an extra beat to settle after bumps, your struts or shocks may be tired. Replacing them at home is absolutely doable for a careful DIYer, but suspension work has one non-negotiable rule: respect stored spring energy and support the vehicle correctly. I have seen good techs get hurt by rushing a spring compressor or trusting a sketchy jack position.
This guide walks you through a safe driveway workflow, with special attention to coil spring compression and reassembly. If at any point you feel unsure, there is no shame in having a shop swap the spring onto the new strut and handing you back a ready-to-install assembly.
Struts vs shocks (and why it matters)
Shocks are generally dampers only. They control bounce, but in most designs they are not what locates the wheel. On many trucks and some cars, the coil spring is separate from the shock.
Struts are a structural part of the suspension. A typical MacPherson strut is the damper plus a spring seat and mount that helps locate the wheel and sets alignment angles. Replacing struts often means disturbing alignment, and it often involves handling a coil spring.
Quick driveway clue: if you can see a coil spring wrapped around the damper up front, it is likely a strut. Caveat: coilover does not always mean MacPherson strut, and some vehicles use strut-like assemblies in the rear too. When in doubt, look up your suspension type or compare parts diagrams.
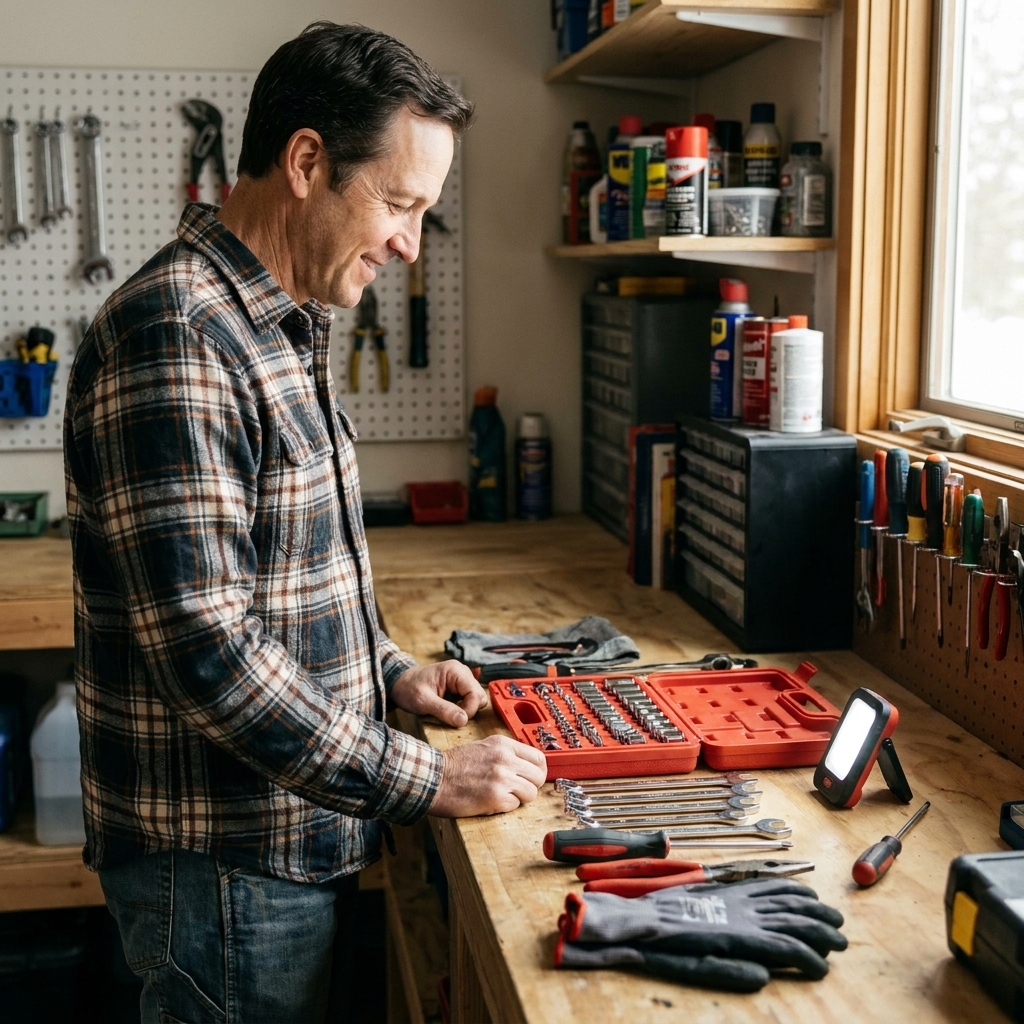
Safety gear and tools you actually need
Must-haves
- Quality floor jack and jack stands rated for your vehicle
- Wheel chocks (two minimum)
- Torque wrench (your suspension bolts have torque specs for a reason)
- Spring compressor if you are swapping struts and not buying complete assemblies
- Eye protection and mechanic gloves
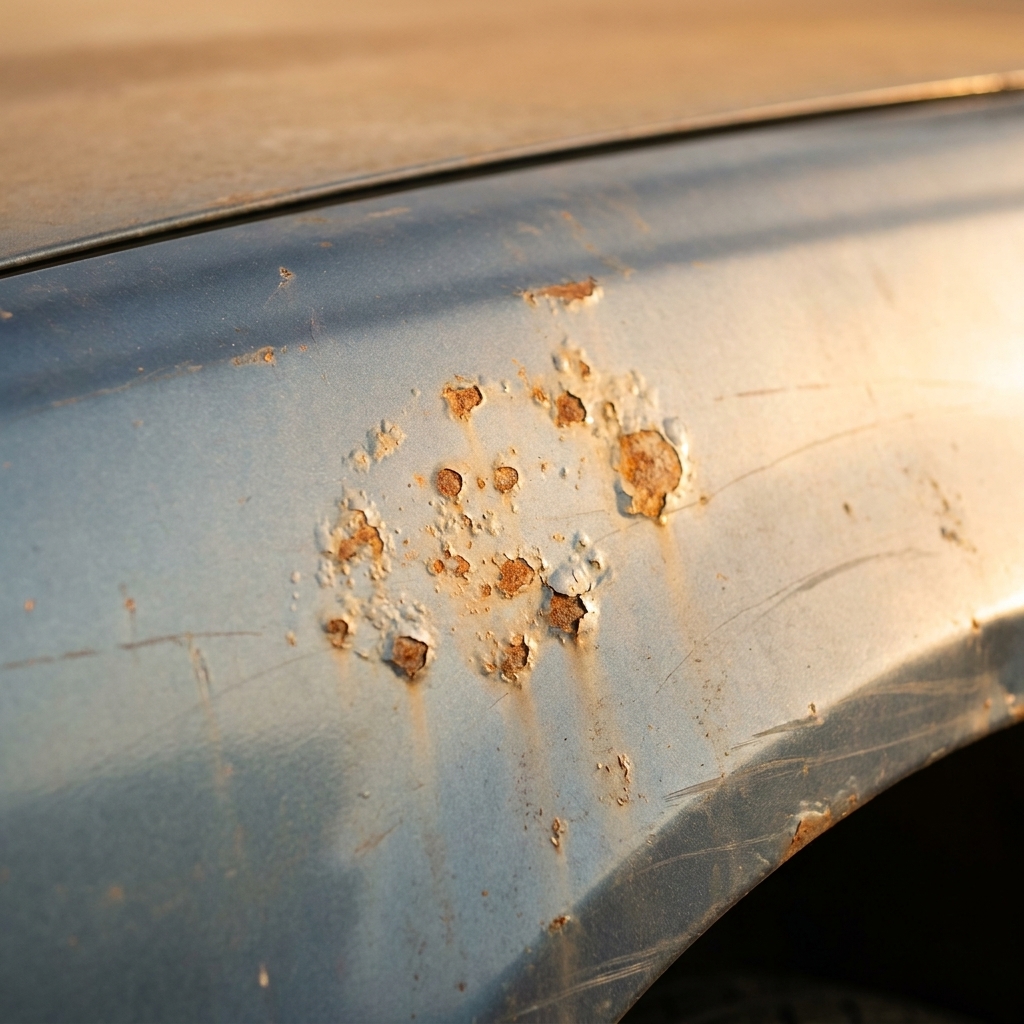
- Penetrating oil and a wire brush for rusty fasteners
Strongly recommended
- Impact gun for stubborn bolts (still torque by hand on final)
- Breaker bar and a cheater pipe
- Pry bar
- Paint marker to mark camber bolt positions if equipped
- Service manual access or OEM torque specs (AllData, factory manual, etc.)
- Heat source (propane or MAP gas) if you live in the rust belt and know how to use it safely
About spring compressors
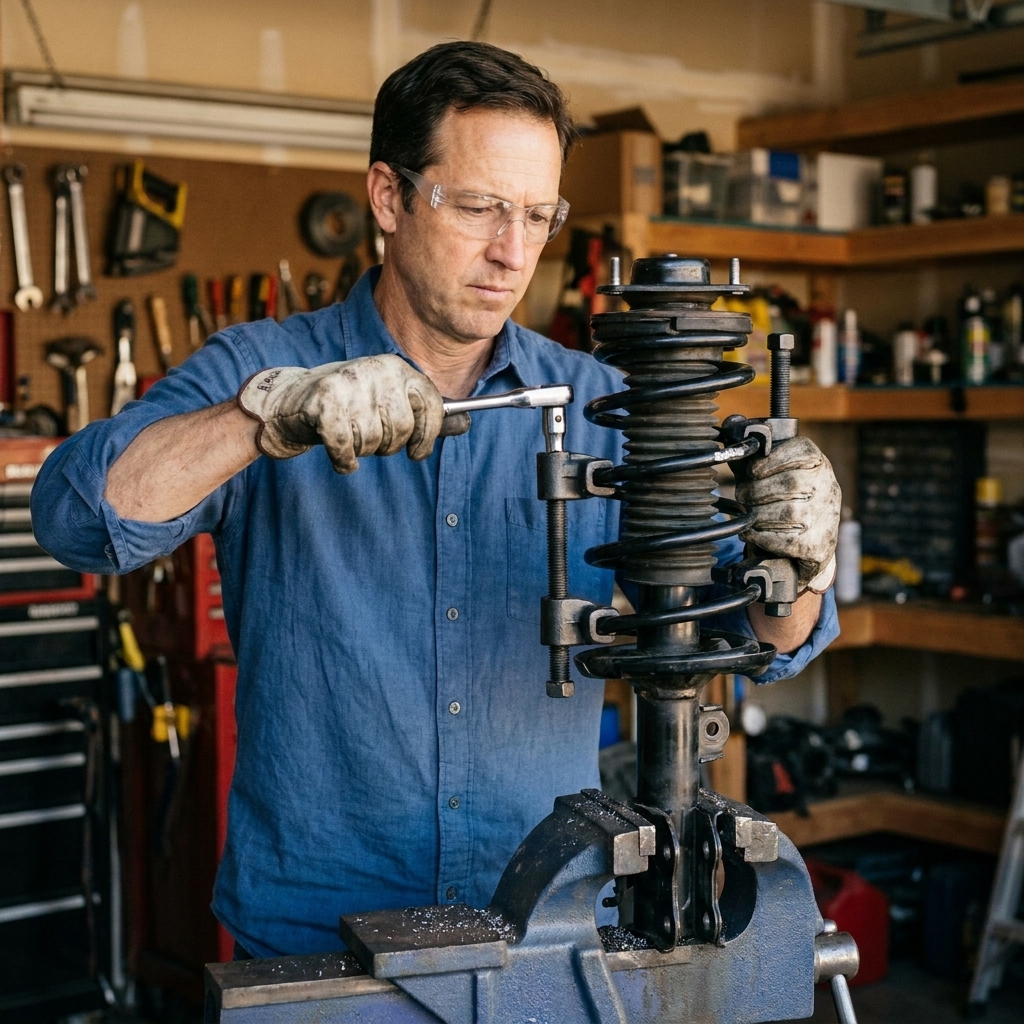
Use a known-brand compressor in good shape. Avoid worn threads, bent hooks, and bargain-bin tools with sloppy engagement. Coil springs store enough energy to ruin your day fast. If your compressor feels sketchy, it is sketchy.
Best driveway option for many people: buy “quick struts” or “complete strut assemblies” that come with the spring and mount already installed. You skip spring compression entirely.
Know your hardware
Suspension fasteners are not all the same. Some strut-to-knuckle bolts are cam bolts, some vehicles use torque-to-yield (TTY) bolts, and some top nuts are single-use locking nuts. Check the manual and your parts kit before you start. If the manufacturer calls for new hardware, use it.
Before you start: diagnose the real problem
Worn struts and shocks cause bounce, poor control, nose dive, and uneven tire wear. But clunks and wandering can also come from other parts.
Common symptoms of worn dampers
- Excessive bouncing after a bump
- Front end diving hard under braking
- Rear squatting during acceleration
- “Floaty” feeling on the highway, especially over dips
- Oily residue on the damper body (leaking)
Also check these while you are in there
- Top mounts and bearings (struts)
- Spring isolators (rubber seats)
- Sway bar end links and bushings
- Ball joints and tie rod ends
- Control arm bushings
If your mount is cracked or your bearing is gritty, replace them now. Doing struts twice because you reused a worn mount is a special kind of regret.
Driveway setup: jack points, stands, and stability
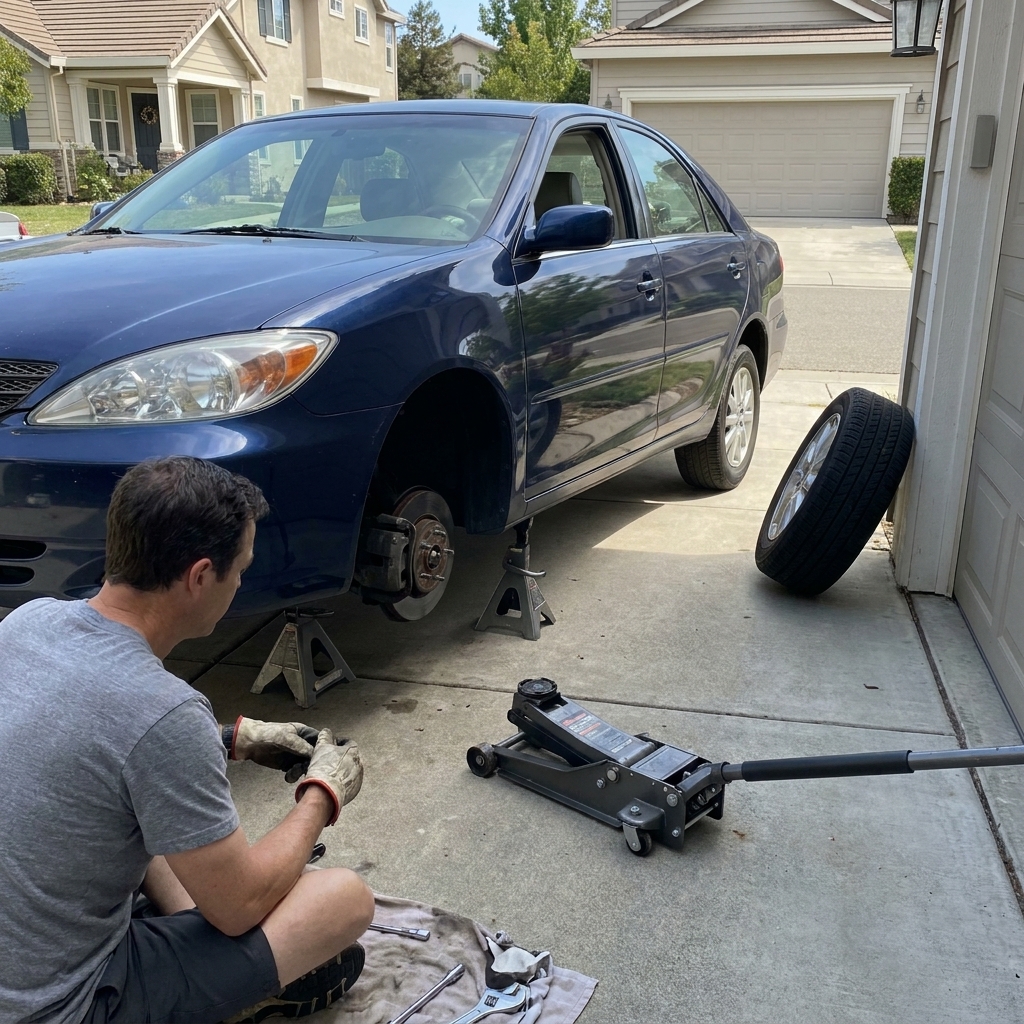
Work on a flat surface. Do not do suspension work on dirt, grass, or a sloped driveway.
- Chock the wheels that stay on the ground.
- Break lug nuts loose before lifting the vehicle.
- Lift at the correct jack point and set the vehicle on jack stands at solid frame or pinch-weld points.
- Shake test: grab the car and give it a firm shove. It should feel planted on the stands.
- Remove the wheel and slide it under the car as a secondary safety buffer.
Step-by-step: replacing front struts
Front struts vary by vehicle, but the workflow is consistent. Always follow your service manual for exact fastener locations and torque specs.
1) Prep and disconnect bolt-on items
- Soak lower strut bolts and sway link nuts with penetrating oil. In rust country, give it time to work and reapply while you set up.
- Remove any brake hose bracket or ABS wire clips attached to the strut. Do not stretch wires.
- If the sway bar end link is attached to the strut, remove it from the strut.
Common snag: end link studs like to spin. Many have a hex or Torx counterhold in the stud. If it is rounded, rusty, or refuses to cooperate, replacing the link is often faster than fighting it.
2) Support the knuckle
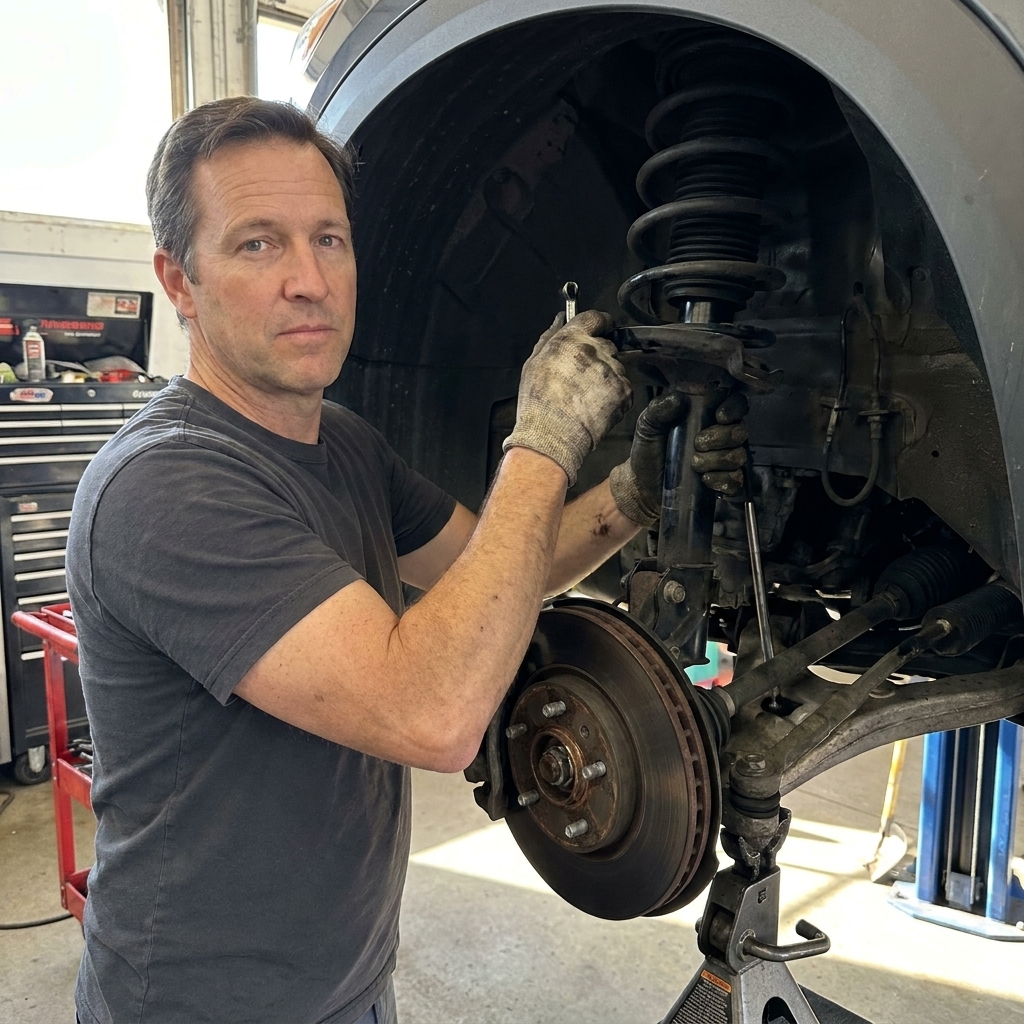
Place a small jack or a stand under the control arm or knuckle area to prevent the hub assembly from dropping and yanking an axle or brake line.
FWD and AWD note: if you need to pull the knuckle down far to free the strut, be mindful of the CV axle. On some vehicles it is smart to loosen (or remove) the axle nut so you do not overextend the axle and pop the inner CV joint. Follow your manual here.
3) Mark camber bolts if equipped
Some cars use camber bolts or slotted holes at the strut-to-knuckle connection. Use a paint marker to outline the bolt head and washer position. This will not replace an alignment, but it can keep you close enough to drive to the shop safely.
4) Remove the strut-to-knuckle connection
Many struts use two big bolts through a bracket. Some use a pinch-bolt clamp design where the strut slips into the knuckle and a single pinch bolt locks it in place. The pinch style may require a knuckle spreader tool (or the correct wedge) to open the clamp. Do not pry on random surfaces and crack the knuckle.
These fasteners are often very tight. Use a breaker bar. Keep your fingers clear as the knuckle can shift when the last bolt comes out.
5) Remove the upper strut mount nuts
Open the hood and locate the strut tower. Remove the mount nuts, but do not loosen the large center nut yet if the spring is still under load.
With the lower connection undone and the top nuts removed, the strut assembly can come out. Maneuver it out carefully.
Safely compressing a coil spring
If you are installing a complete strut assembly, skip to the installation section. If you are transferring the old spring onto a new strut, read this twice.
Spring compression rules I live by
- Inspect the spring. If it is cracked, heavily rust-pitted, or has a broken coil, replace it. Do not compress a damaged spring.
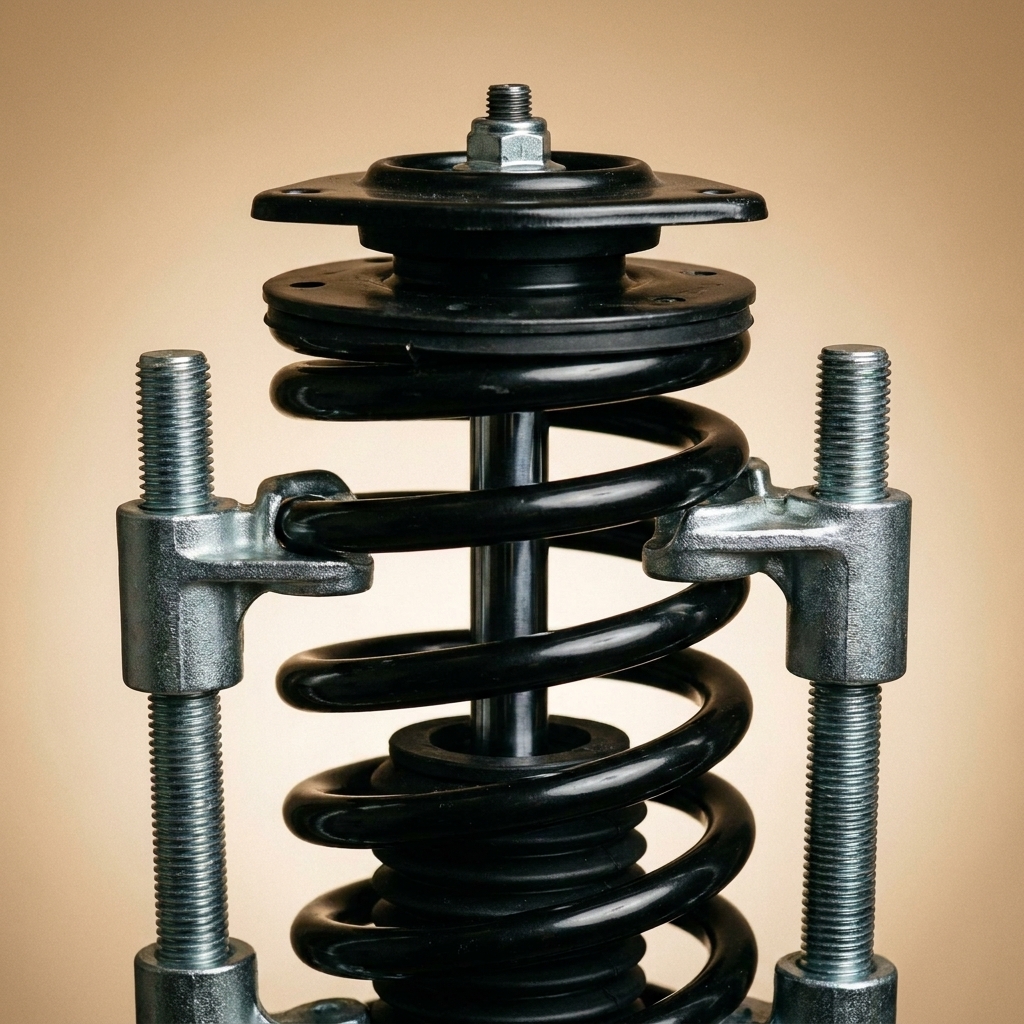
- Use two compressors opposite each other on the spring, with hooks fully seated.
- Keep the compressors straight and aligned. Crooked tools slip.
- Tighten evenly, alternating side to side a few turns at a time.
- Aim the assembly away from your body. Never put your face over the spring.
- Stop if anything shifts. Back off and reset.
How far to compress?
Compress only until the spring is clearly free from the upper mount, meaning you can wiggle the mount and the spring does not push against it. More compression than needed increases risk.
Removing the top nut safely
Once the spring is compressed and the upper mount is unloaded, you can remove the center nut. Many struts require an Allen key or Torx in the shaft while you loosen the nut. Use the correct tools so you do not strip the shaft.
Assembling the new strut
Prime bare struts and shocks
If you are installing bare shocks or struts (not complete assemblies), take one minute to “prime” them. Slowly compress and extend the damper by hand a few times before installation. This helps move any trapped air and can prevent a moment of mushy damping on first drive. Follow the manufacturer’s instructions if they specify a different procedure.
If you are transferring parts
- Move over the spring, isolators, dust boot, bump stop, and upper mount as needed.
- Make sure the spring end indexes into the pocket on the lower perch. Most perches have a stop or notch where the coil end must sit.
- Install the top mount in the correct orientation. Some mounts have arrows or an “outboard” mark. Do a quick stud-pattern sanity check against the old unit before you commit.
- Torque the center nut to spec (and replace single-use nuts if required).
- Slowly release the spring compressors evenly until the spring seats firmly top and bottom.
If anything looks misaligned while decompressing, recompress and correct it. A spring not seated in its pocket can cause noise, ride height issues, and damage.
If you bought complete strut assemblies
Inspect that the mount studs match your old unit and that the brake line brackets are in the same place. Complete units save time and remove the most dangerous step.
Installing the strut back on the car
- Position the strut in the tower and hand-thread the upper mount nuts a few turns.
- Align the knuckle and install the lower connection. You may need to raise or lower the control arm slightly to line up holes.
- Snug fasteners, then torque to spec. If camber bolts are present, match your paint marks as a starting point.
- Reattach sway bar end link, brake hose bracket, and ABS wire clips.
- Reinstall wheel, snug lugs.
- Lower the vehicle and torque lug nuts in a star pattern to spec.
Do a final visual check: nothing rubbing the tire, no twisted brake hose, all clips reinstalled, and every required fastener torqued.
Step-by-step: replacing rear shocks (and rear struts)
Rear setups range from simple shocks to full struts. The rear is often easier, but do not underestimate rust and tight access.
Rear shocks (spring separate)
- Chock front wheels, raise rear, support with jack stands.
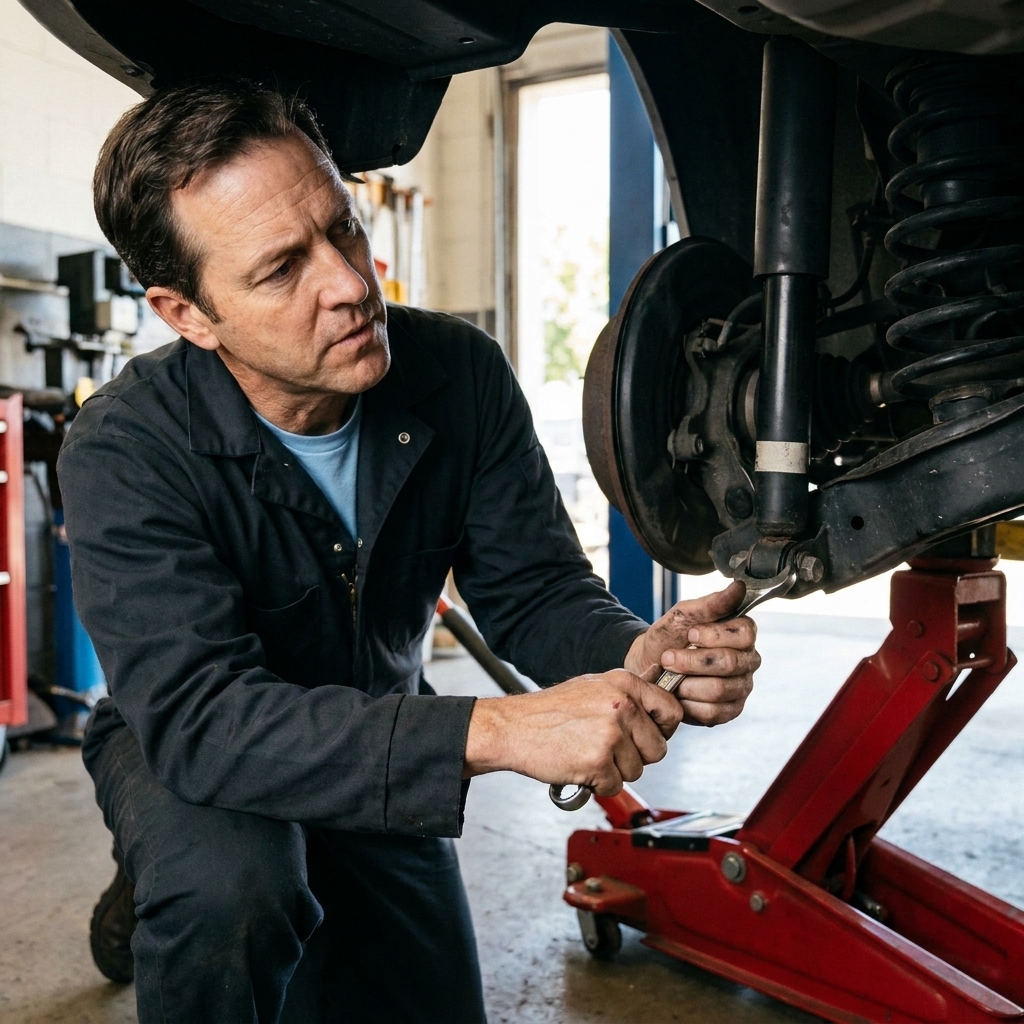
- Support the rear axle or control arm with a jack so it does not drop.
- Remove lower shock bolt, then the upper shock fasteners (often in the trunk or wheel well).
- Install new shock, hand-thread fasteners, then torque to spec.
Rear struts (spring on strut)
The process mirrors front struts, including spring compression if you are reusing the spring. Some vehicles require removing interior trim to access the top mount.
Torque, ride height, and bushing preload
A common DIY mistake is tightening suspension bushing bolts with the suspension hanging. Many control arm and trailing arm bushings are bonded rubber and are meant to be torqued at normal ride height. If you tighten them at full droop, the rubber is pre-twisted and can tear early.
What to do in the driveway
- For fasteners that clamp rubber bushings, torque at ride height when the manual calls for it.
- You can simulate ride height by supporting the hub or control arm with a jack until it sits near its normal position.
- Strut-to-knuckle bolts and shock bolts usually torque fine at droop, but always verify for your model.
After the install: alignment and test drive
Do you need an alignment?
Yes, plan on it after front struts, and often after rear struts too. MacPherson strut cars commonly see camber and toe changes when the struts come out. Some vehicles have limited camber adjustment, but toe can still end up off. Even if you marked camber bolts, small changes add up to tire wear and handling issues.
First test drive checklist
- Start with a slow loop around the block.
- Listen for clunks over small bumps. Common culprits are a loose sway link, a missed brake line bracket, a loose top mount nut, or a spring that is not indexed in its pocket.
- Verify the steering wheel is centered and the car tracks straight.
- After 25 to 50 miles, recheck lug torque if your manufacturer recommends it and do a careful visual inspection for leaks, rubbing, and shifted clips. Do not blindly re-torque suspension fasteners, especially TTY hardware, unless the manual specifically allows a recheck procedure.
Mistakes I see DIYers make
- Loosening the top center nut before compressing the spring on a strut. Do not do this.
- Using a cheap or damaged spring compressor with bent hooks or gritty threads.
- Forgetting ABS wire clips, then tearing a wire on full steering lock.
- Letting the knuckle hang and overextending a CV axle or brake hose.
- Reusing a noisy mount and blaming the new strut for clunks.
- Skipping torque specs. Suspension bolts are not “good-n-tight” territory.
- Rushing rusted hardware. If a bolt feels like it is going to snap, stop. More penetrating oil, more time, heat (carefully), or a plan B beats broken studs.
FAQ
Should I replace struts and shocks in pairs?
Yes. Replace left and right on the same axle together. Mixing new and worn dampers can cause uneven braking and handling.
Do I need to replace springs too?
Not always. Springs usually last longer than dampers, but if the car sits low, the spring is cracked, or corrosion is severe, replace the springs.
What are quick struts, and are they worth it?
Quick struts are complete assemblies with spring, mount, and strut preassembled. They cost more than bare struts, but they are often worth it for time savings and safety, especially if your mounts and isolators are old.
How do I know if my spring is seated correctly?
The end of the coil should sit against the stop in the lower perch, and the upper isolator should sit flat with no gaps. If the spring looks rotated out of its pocket, recompress and reposition it.
When to hand it off to a pro
If you do not have a trustworthy spring compressor, if your hardware is heavily rusted, or if your car uses unusual strut designs that require special tools, it is smart to outsource part of the job. One great middle ground: remove the strut assemblies yourself, have a shop swap springs onto the new struts, then reinstall at home and pay for an alignment. You still save real money and avoid the highest-risk step.
Done right, fresh struts and shocks make a car feel years newer. The steering sharpens up, the ride calms down, and your tires will thank you.