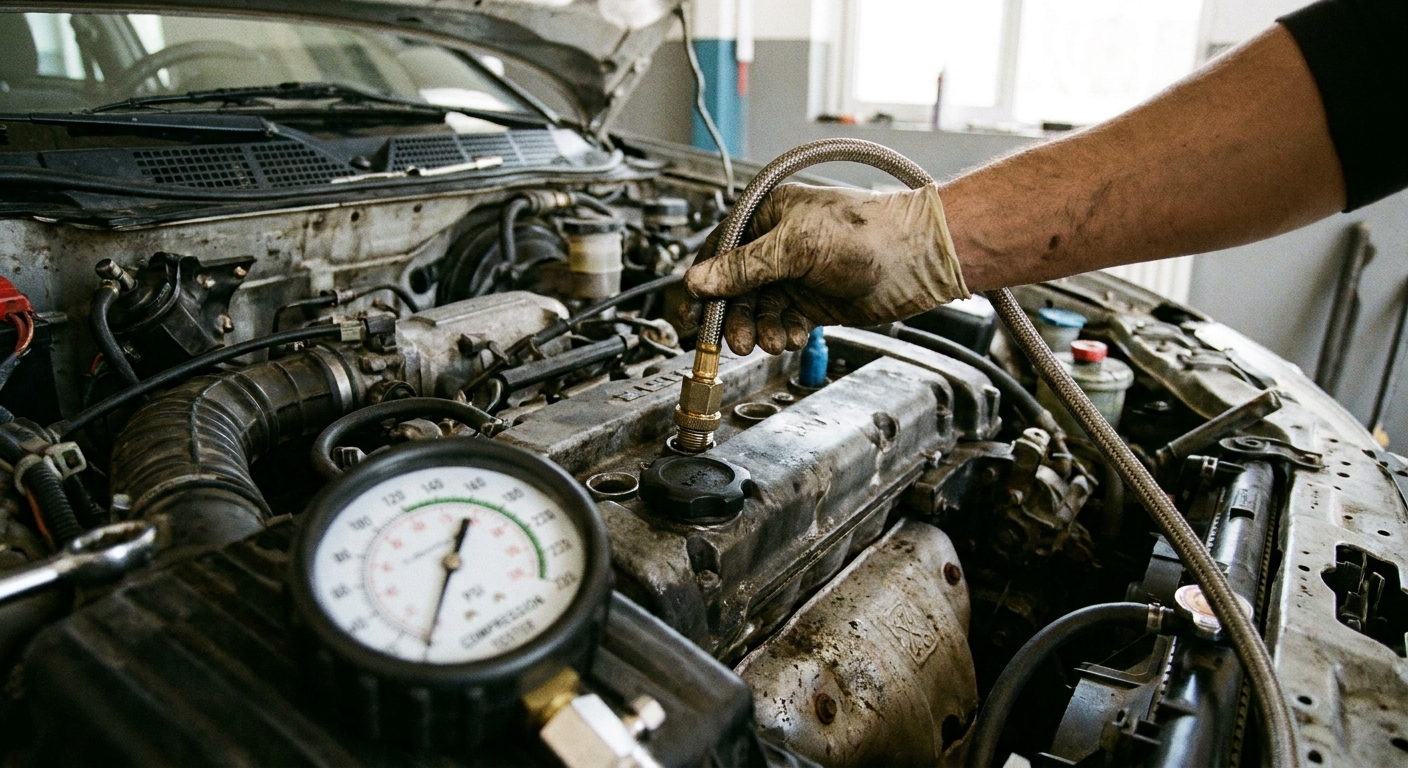
The cylinder leakdown test is what I reach for after a compression test shows one cylinder lagging behind the rest. Compression testing tells you that something is wrong. Leakdown testing tells you where the air is going, which is what you need before you spend money on parts or tear an engine apart.
The basic idea is simple: you bring the piston to top dead center (TDC) on the compression stroke, feed regulated compressed air into that cylinder, and then you listen and look for where that air escapes. Intake, exhaust, crankcase, or cooling system. Each one points you toward a different failure. You do the test one cylinder at a time, then compare results across the whole engine.
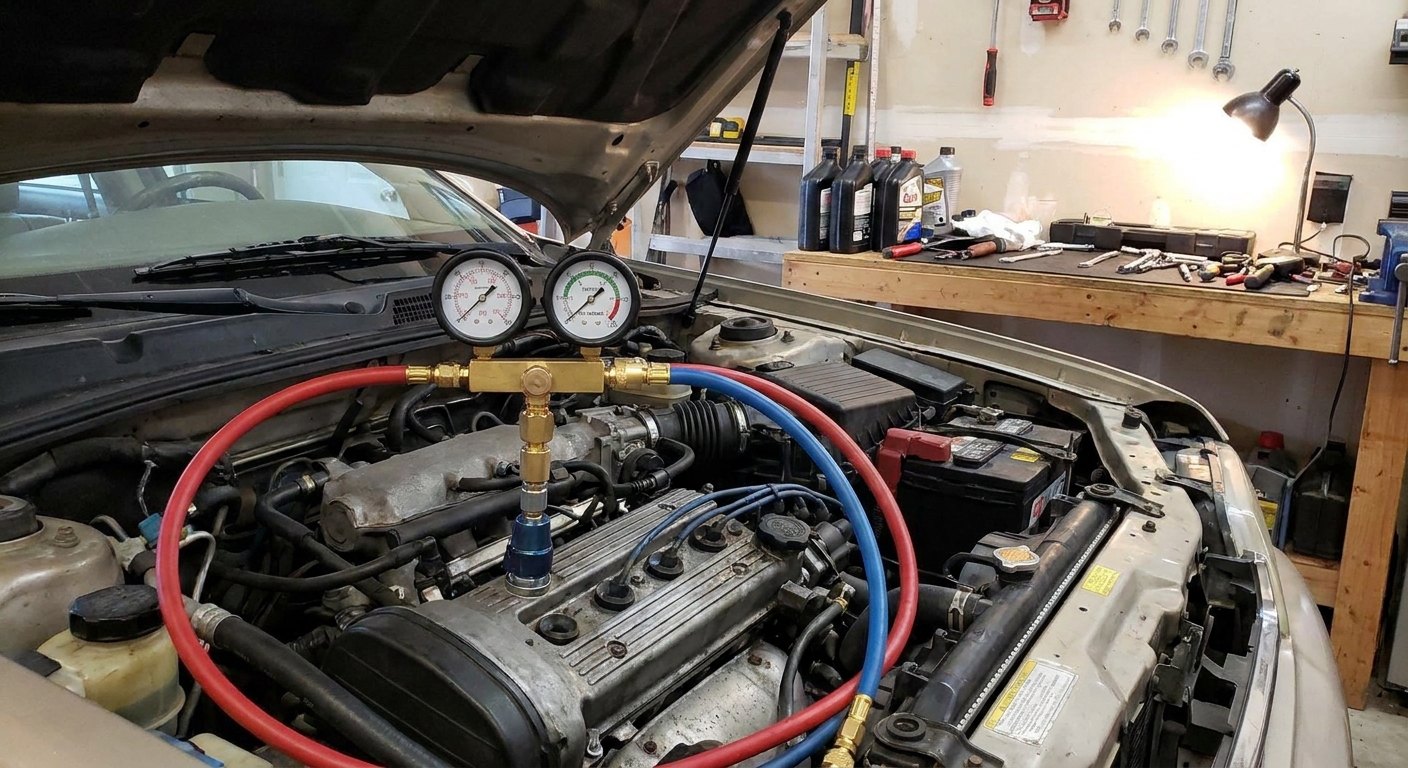
What a leakdown test tells you
A leakdown test measures how well a cylinder holds pressure when it is sealed up at TDC compression. It’s excellent for finding:
- Burned or leaking valves (intake or exhaust)
- Worn piston rings or cylinder wall issues (blow-by into the crankcase)
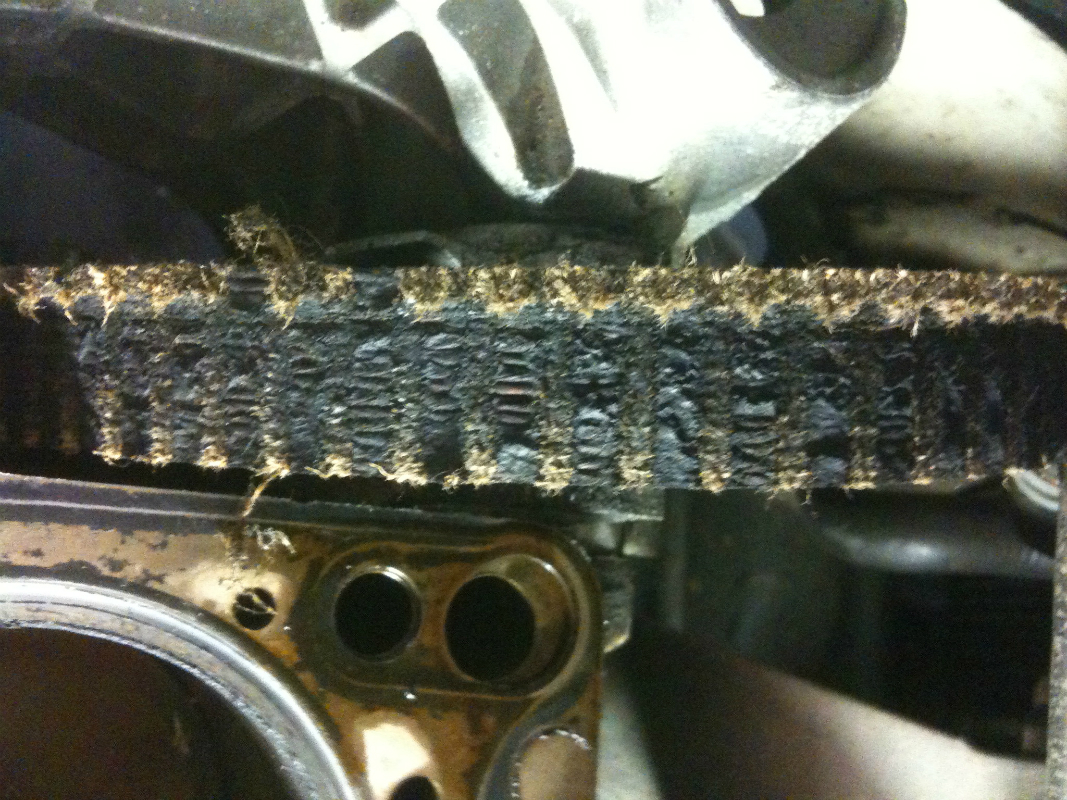
- Head gasket leaks (air into adjacent cylinder or into the cooling system)
- Cracked head or block (less common, but possible, especially if coolant involvement shows up)
What it does not do well is tell you about problems that only show up while the engine is running hot, at high RPM, or under load. It’s a static test. Still, it’s one of the best next steps you can do in the driveway after a weak compression number.
One quick scope note: this walk-through is aimed at typical gasoline four-stroke engines. Diesels can be leakdown tested too, but adapters, pressures, and what counts as acceptable can look different.
Tools and supplies you’ll need
- Cylinder leakdown tester (the common two gauge style)
- Air compressor capable of steady pressure (most home compressors work fine)
- Spark plug socket and basic hand tools
- A way to turn the engine by hand (usually a socket and breaker bar on the crank pulley bolt)
- Optional but very helpful: remote starter switch, long screwdriver or piston stop tool (for finding TDC), mechanic’s stethoscope or a length of hose (for listening)
If your tester kit came with multiple hose adapters, match the spark plug thread size and seat type (taper seat vs gasket seat) to your engine. Forcing the wrong adapter can damage threads, and that turns a diagnostic job into a repair.
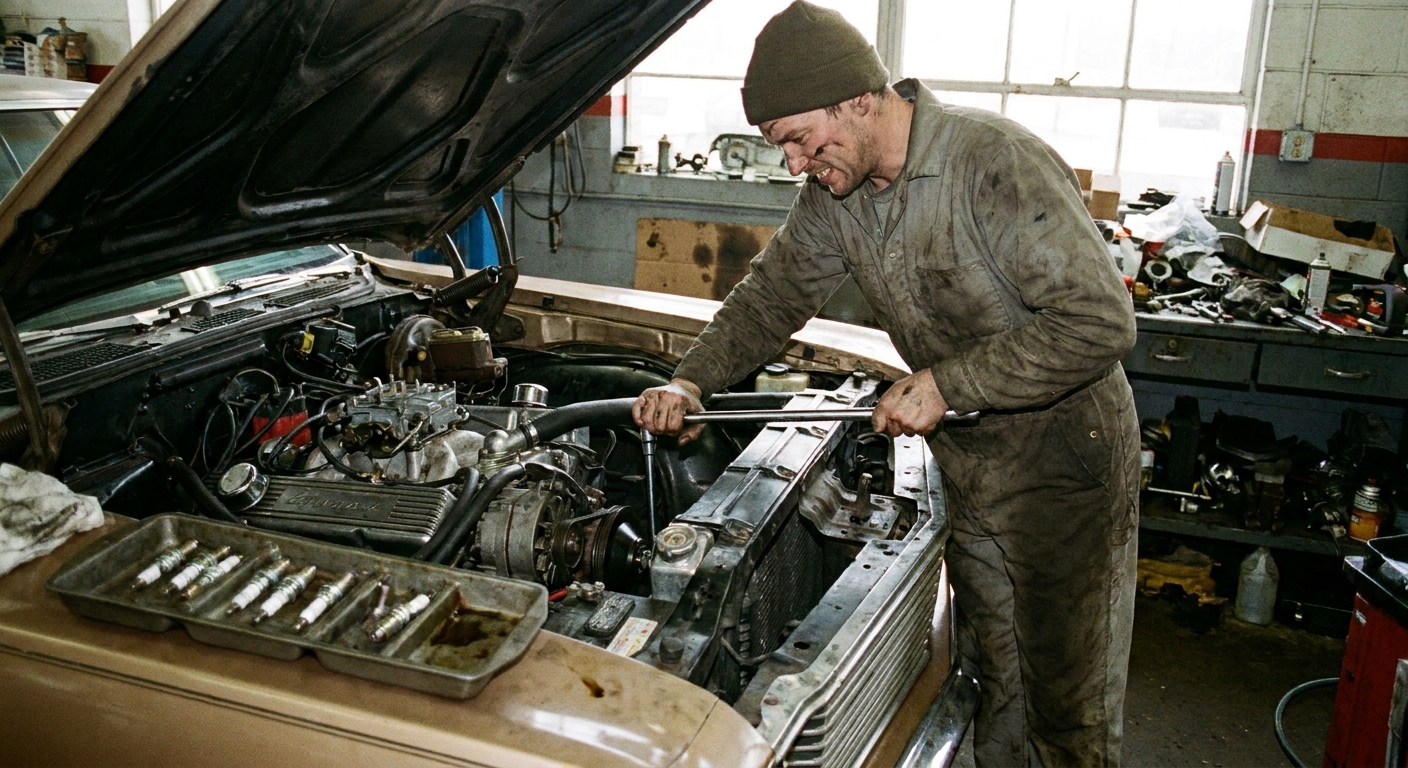
Safety notes before you pressurize
This is the part I stress to friends because it can surprise you the first time.
- The engine can rotate suddenly under air pressure. If the piston is not exactly at TDC on the compression stroke, the compressed air can push it down and spin the crank.
- Keep hands, tools, and wiring clear of belts and fans. Even with the engine off, rotation can pinch you or damage parts.
- Use a breaker bar on the crank bolt to hold the engine at TDC. Don’t rely on the transmission alone.
- Start with low regulator pressure until you confirm the piston is stable at TDC.
If you’re working on a manual transmission car, putting it in a high gear and setting the parking brake can help resist rotation, but I still keep a hand on the breaker bar. With many automatics, Park can add some resistance, but it usually is not enough to safely rely on by itself. Plan on controlling the crank with the breaker bar either way.
How to do a leakdown test
1) Warm the engine if possible
Leakdown numbers are most meaningful when the engine is at operating temperature because metal expands and clearances change. If the car will run, let it reach normal temp, then shut it off and work carefully around hot components.
If the vehicle will not start, you can still do the test cold. Just interpret the numbers with that in mind and focus more on where the air is leaking than the exact percentage.
2) Disable fuel and ignition
You do not want the engine to start while you’re working.
- Disable ignition (unplug coils, ignition module, or pull the ignition fuse or relay)
- Disable fuel (pull fuel pump relay or fuse or disable injectors)
3) Remove spark plugs
Pulling all plugs makes the engine much easier to rotate by hand and keeps you from fighting compression in the other cylinders while you line up TDC.
4) Bring the cylinder to TDC on the compression stroke
This is the make or break step.
- Pick the cylinder you’re testing.
- Rotate the engine by hand (often clockwise when viewed from the front, but follow your service info if you’re unsure).
- Confirm you are on the compression stroke, not overlap.
Quick driveway methods to confirm compression stroke:
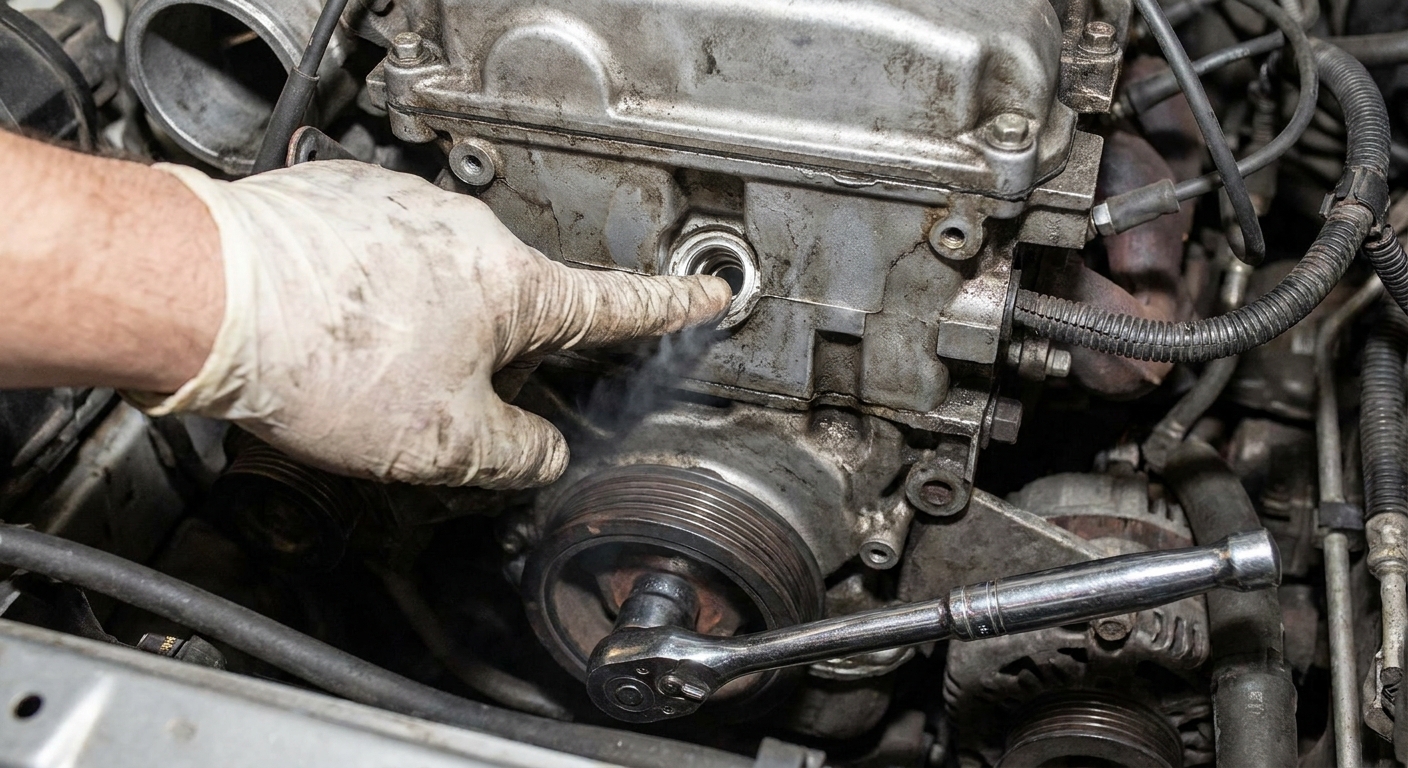
- Finger over the spark plug hole: you’ll feel air push out as the piston comes up on compression.
- Watch the valvetrain (if accessible): both intake and exhaust valves should be closed as you approach TDC compression.
At true TDC compression, the piston is at the top and both valves are closed. If you’re slightly before or after, the crank may want to move when you add air. Sneak up on TDC slowly, then hold the crank with the breaker bar.
5) Set up the leakdown tester
Most two gauge testers work like this:
- Left gauge: regulated supply pressure (often set to 100 psi for easy math)
- Right gauge: pressure held in the cylinder or a calibrated leak scale that reads percent leakage
Typical setup steps (follow your tester’s instructions too):
- Connect the tester to the air compressor, but do not connect to the engine yet.
- Set the regulator so the supply gauge reads the tester’s recommended pressure. Many kits are designed around 100 psi input.
- Zero or calibrate if your unit has a zero adjust knob. Some testers want you to set the reference with the outlet blocked or with the included calibration fitting.
- Thread the spark plug hole hose into the cylinder by hand until snug. Do not cross-thread.
- Connect the tester’s outlet hose to the spark plug hole hose.
Once you connect the air, be ready. If you are not truly at TDC compression, the crank can roll.
If you keep fighting rotation even when you think you are at TDC, back the pressure down and reposition. In some bays I’ll brace the breaker bar carefully against a solid point or use a flywheel lock, but only if I’m 100 percent sure it cannot slip. If you are not sure, get a helper to hold the breaker bar instead.
How to read leakdown percentage
Leakdown is usually expressed as a percentage of leakage. Lower is better.
- 0 to 5%: excellent sealing
- 5 to 10%: very good on most street engines
- 10 to 20%: worn but often still serviceable, depending on symptoms
- Over 20%: significant leak that usually matches a drivability issue
Those ranges are rules of thumb, not laws of physics. Performance engines, diesels, and high-mileage engines can have different expectations, and the absolute percentage depends heavily on the tester’s design and calibration.
Two important realities from the shop:
- Tester-to-tester numbers vary. Different orifice sizes and calibration methods can swing the reading. Use the tool to compare cylinders on the same engine, not to win a bench racing argument.
- The sound and location of the leak matters as much as the percent. A cylinder with 18% that’s clearly leaking past an exhaust valve tells a very different story than 18% hissing through the oil filler.
Best practice: test all cylinders and write the results down. The odd one out is usually your problem child.
Where to listen
This is the part that makes the leakdown test worth doing. With the cylinder pressurized, use your ears. A mechanic’s stethoscope is great, but honestly a length of rubber hose works too.
One heads-up on modern intake plumbing: depending on throttle position and PCV design, you can hear air moving in places that are more “connected path” than actual failure. Keep the throttle closed for consistency, and focus on the loudest, most direct hiss you can pinpoint.
Air hissing at the intake
Listen at: throttle body, intake tube, airbox, or intake manifold runners.
Likely cause: leaking intake valve, carbon on the valve seat, bent valve, or a valvetrain issue keeping the valve from fully closing.
Air hissing at the exhaust
Listen at: tailpipe or near the exhaust manifold.
Likely cause: leaking exhaust valve. This can be associated with engines that have run hot or had a lean condition, but the leakdown test is really just telling you that the valve is not sealing.
Air rushing from the oil filler, PCV port, or dipstick tube
Listen at: oil fill cap opening, PCV valve grommet, dipstick tube.
Likely cause: blow-by past piston rings or worn cylinder walls. Some faint hiss is normal, especially on higher mileage engines, but a strong rush of air usually lines up with low compression and oil consumption.
Bubbles in the radiator or coolant reservoir
Check: radiator neck (cap off only when cool), overflow reservoir, or the system’s actual fill point on vehicles that use a remote pressurized tank.
Likely cause: head gasket leak, cracked head, or cracked block allowing air into the cooling system.
Safety note: Never remove a radiator cap on a hot engine. If the engine is warm, let it cool fully before checking for bubbles.
Air coming from an adjacent spark plug hole
Check: neighboring cylinder plug holes while testing one cylinder.
Likely cause: head gasket breach between cylinders.
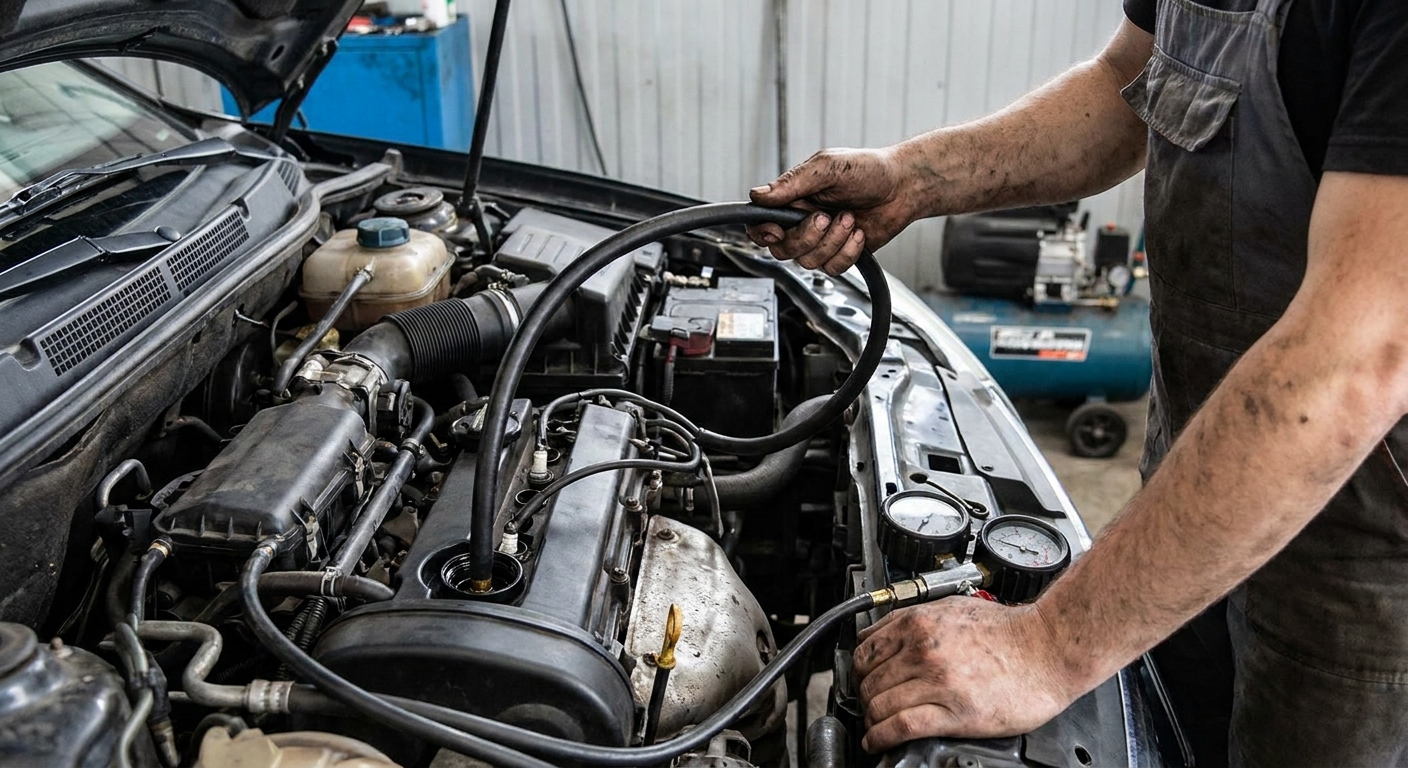
Tips for repeatable results
- Be precise at TDC. Even a little off can open a valve (depending on cam timing) or let the engine rotate.
- Hold the crank steady. If the crank moves during the test, your percentage can change.
- Use consistent input pressure. Many techs use 100 psi because it simplifies percentage math on many testers.
- Test the suspect cylinder, then test a known good cylinder. This gives you an immediate baseline for normal on that engine.
- If you suspect ring issues, try two piston positions. Testing right at TDC and then slightly down the bore can sometimes highlight cylinder wall wear or ridge issues, but do this carefully because the crank will want to move more when you’re off TDC.
Leakdown vs compression test
I think of them as teammates:
- Compression test: quick screening. Great for does this engine have enough squeeze to run and comparing cylinders.
- Leakdown test: deeper diagnosis. Best for pinpointing where the compression is escaping and whether you’re looking at valves, rings, or a head gasket.
If your car cranks but will not start and you found a weak cylinder on compression, leakdown is how you avoid guessing whether you need a valve job, rings, or head gasket work.
Common questions
What if the crank keeps rotating when I add air?
You’re not at true TDC compression, or you are close enough that the air pressure is pushing the piston down. Back the pressure off, reposition the engine exactly at TDC compression, and hold the crank with a breaker bar while you bring pressure back up gradually.
How much leakage is too much?
On a typical street gasoline engine, anything consistently above about 20% usually deserves action, especially if one cylinder is far worse than the others. That said, an older engine can run acceptably with higher numbers if the leakage is even across cylinders and the car has no major symptoms. Also remember that absolute percentages vary by tester, so comparisons on the same engine matter most.
Can I do a leakdown test without an air compressor?
Realistically, no. You need regulated compressed air to do this correctly. If you don’t have a compressor, some parts stores rent tools, or a local shop can run a leakdown test quickly and often fairly cheaply.
Should the piston be at TDC on compression or exhaust?
TDC on the compression stroke. At TDC exhaust (valve overlap on many engines), one or both valves can be slightly open, which will make the cylinder fail the test even if nothing is wrong.
When results point to bigger repairs
If your leakdown test clearly points to:
- Intake or exhaust valve leak: you may be looking at a cylinder head repair, valve job, or sometimes a valvetrain issue (like improper lash or a damaged rocker) that’s preventing full closure.
- Ring blow-by: options range from live with it on a beater to an engine rebuild or replacement depending on oil consumption, smoke, and overall condition.
- Cooling system bubbles: stop driving it until you confirm the root cause. Combustion gases in the cooling system can overheat an engine fast and turn a head gasket job into an engine replacement.
If you’re on the fence, repeat the test once to confirm your setup, then compare across all cylinders. Consistency is everything in diagnosis.