I have lost count of how many “it won’t start but everything lights up” cars I have diagnosed where the fix ended up being a simple starter relay issue. The relay is cheap, easy to reach, and easy to test if you know what you are looking for. The trick is not confusing it with the starter solenoid, which lives on the starter itself and fails in a different way.
Below is the exact process I use: quick checks first (listen and swap), then confirm with a multimeter so you are not just guessing.
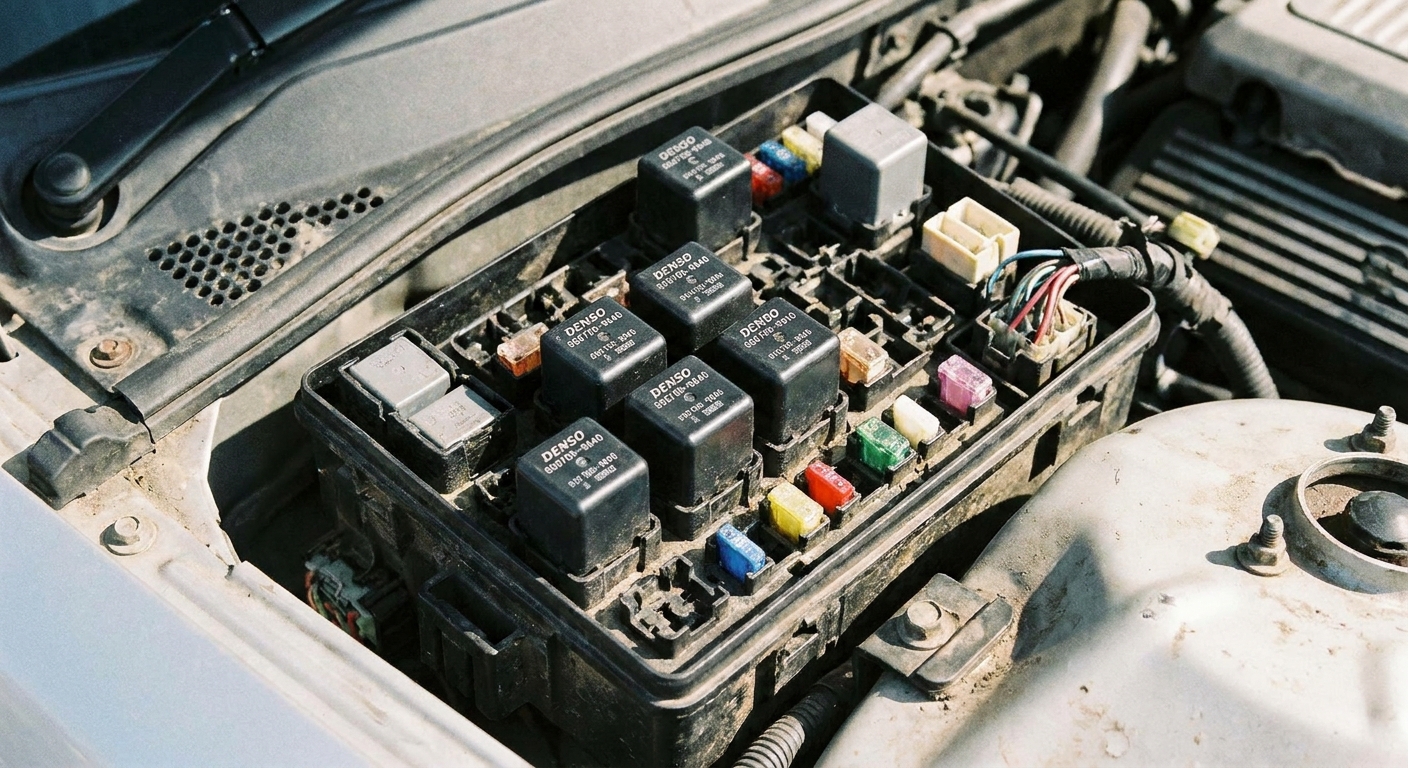
Starter relay vs. starter solenoid
These two parts get mixed up constantly:
- Starter relay: Usually a small cube relay in the under-hood fuse box or interior fuse panel. It is the “middleman” that uses a low-current signal from the ignition switch or a control module to send power to the starter solenoid trigger circuit.
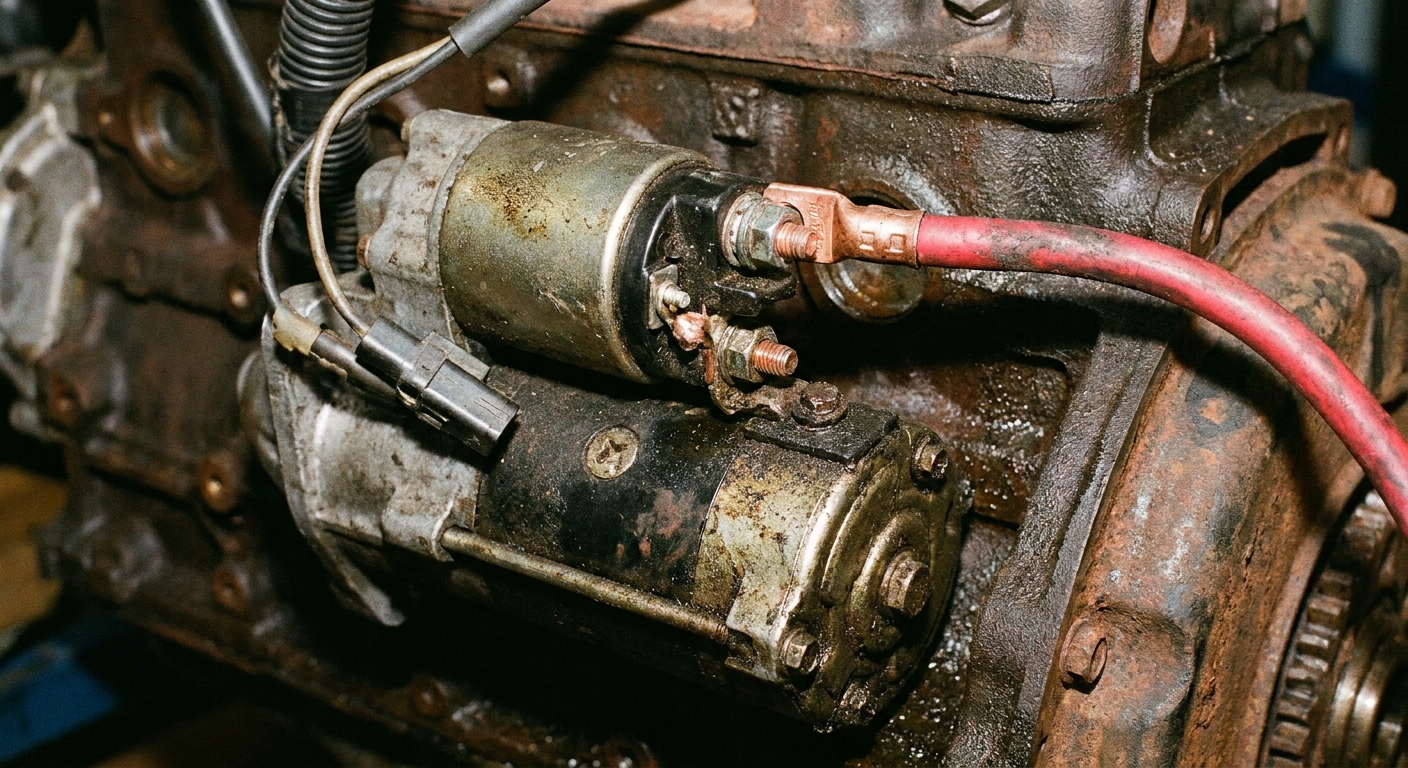
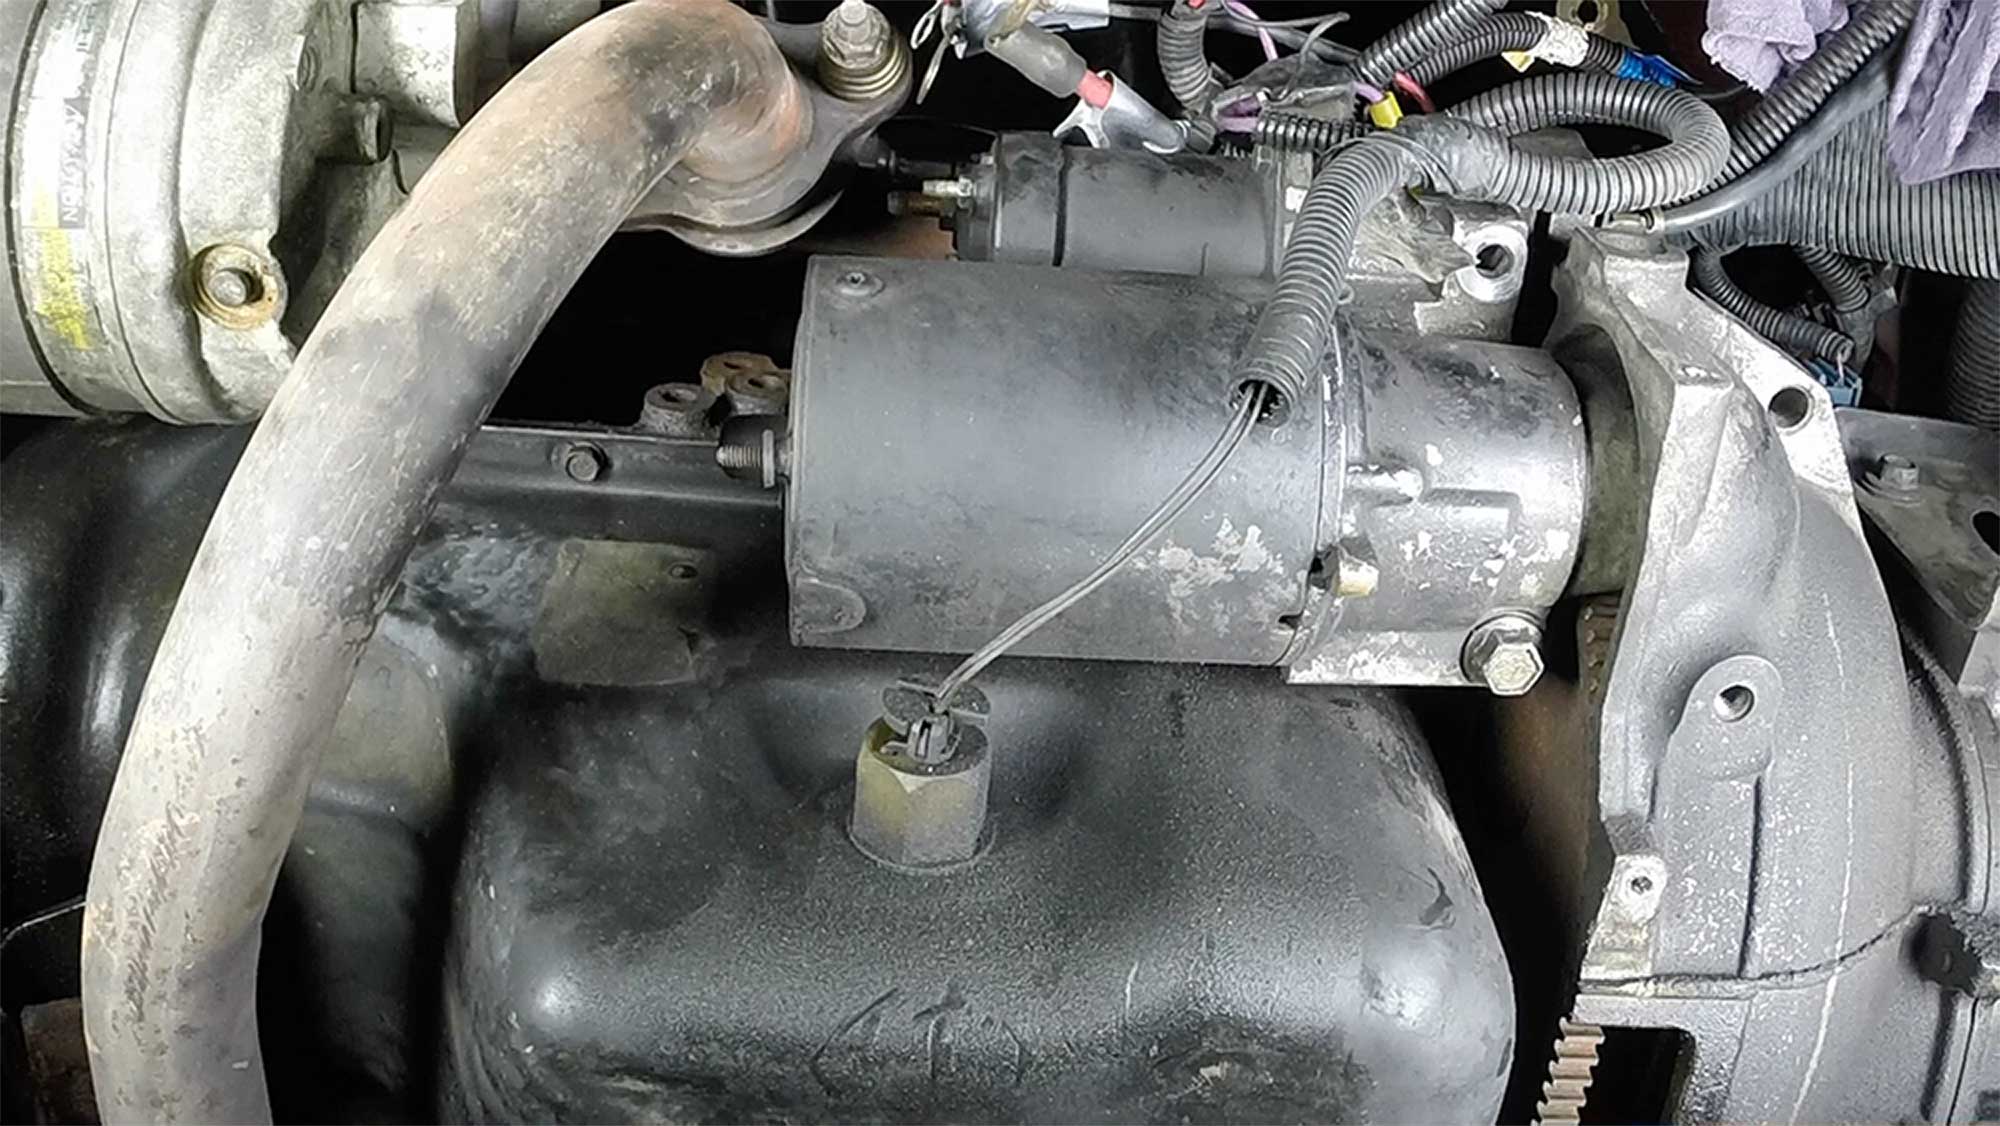
- Starter solenoid: Mounted on the starter motor. It physically engages the starter drive and switches the high current that actually spins the starter motor.
Why this matters: you can have a perfectly good starter and solenoid, but a bad relay (or a missing relay command) that prevents the solenoid from ever receiving the “go” signal.
Tools you will want
- 12V test light or digital multimeter (a multimeter is better)
- Needle-nose pliers or relay puller (optional, but helpful)
- A known-good identical relay in the fuse box (for swapping)
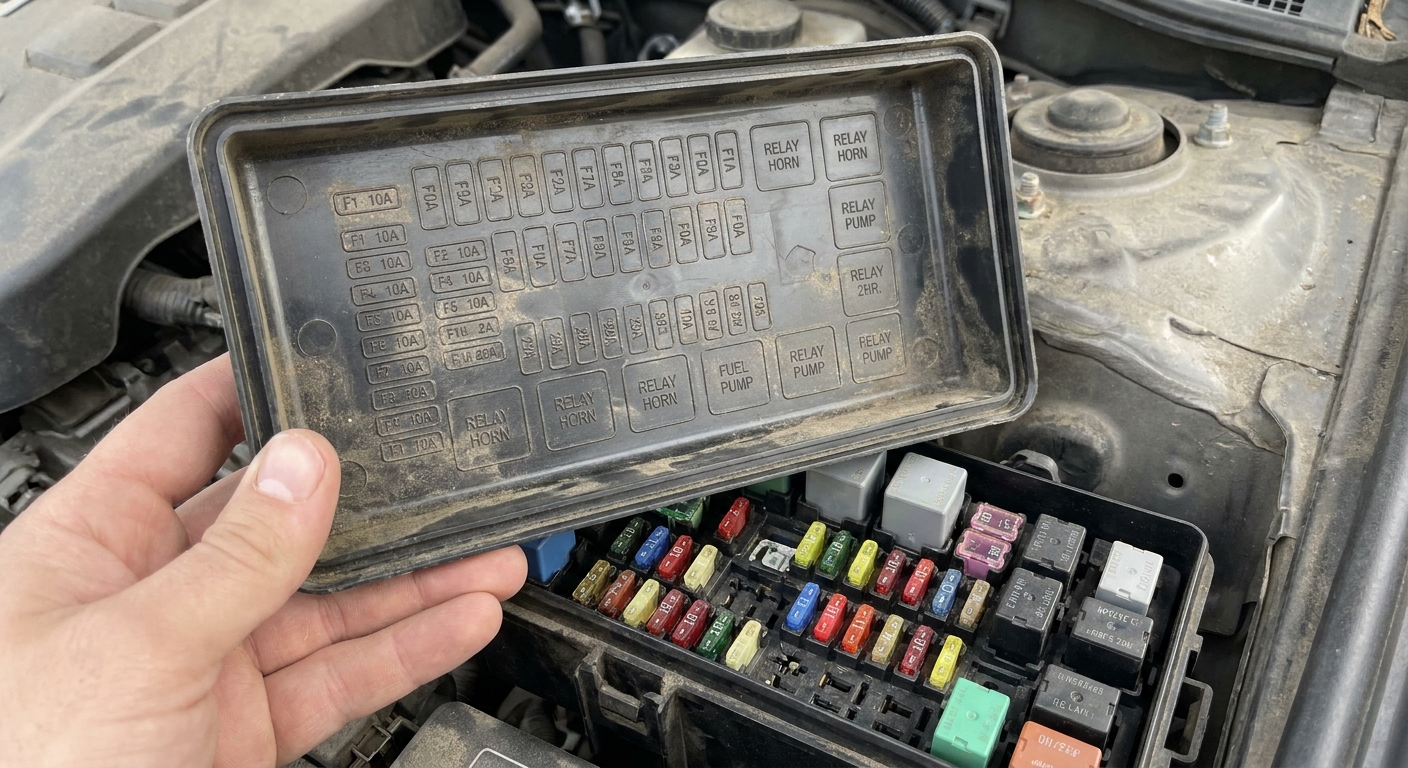
- Your vehicle’s fuse box diagram (lid label is often enough)
If you are using a multimeter, set it to DC volts (20V range is fine on most meters).
Step 1: Find the starter relay
Most vehicles place the starter relay in one of these locations:
- Under-hood fuse box: Most common
- Interior fuse panel: Some cars and many trucks
- Power distribution box: Often near the battery
Check the fuse box cover diagram for labels like START, ST, CRANK, or Starter.
Quick heads-up: some vehicles do not have a removable, serviceable starter relay. It can be built into a fuse box or module. If you do not see a starter relay listed anywhere on the cover or in the manual, that may be why.
Step 2: Listen and feel for the click
This is the fastest screening test.
- Have a helper sit in the driver’s seat.
- Place a finger on the starter relay.
- Have them turn the key to START (or press the start button while holding the brake, depending on the car).
What you are looking for: a distinct click you can feel or hear.
- Click present: The relay is at least being commanded. It can still be bad internally, but we move to electrical confirmation.
- No click: Either the relay is bad or it is never getting the control signal (neutral safety switch, clutch switch, ignition switch, immobilizer, wiring, BCM, blown fuse, weak battery, etc.).
Also note: a single click you hear down at the starter (not in the fuse box) often points more toward battery, cables, grounds, or the solenoid itself than the relay.
Step 3: Swap with an identical relay
If the fuse box has another relay with the same part number and pin layout, swapping is a great reality check.
- Turn the car fully off.
- Pull the starter relay straight up.
- Find a matching relay used for a non-critical circuit (often horn, fog lights, AC clutch, or blower, depending on the vehicle).
- Swap them.
- Try to start the vehicle.
Results:
- If it now cranks: you just confirmed a bad starter relay.
- If nothing changes: do not assume the relay is good yet. Move to voltage tests to see whether the relay is being powered and commanded.
Important: only swap with a truly identical relay. If the pin layout or part number differs, do not force it.
Step 4: Test the socket with a multimeter
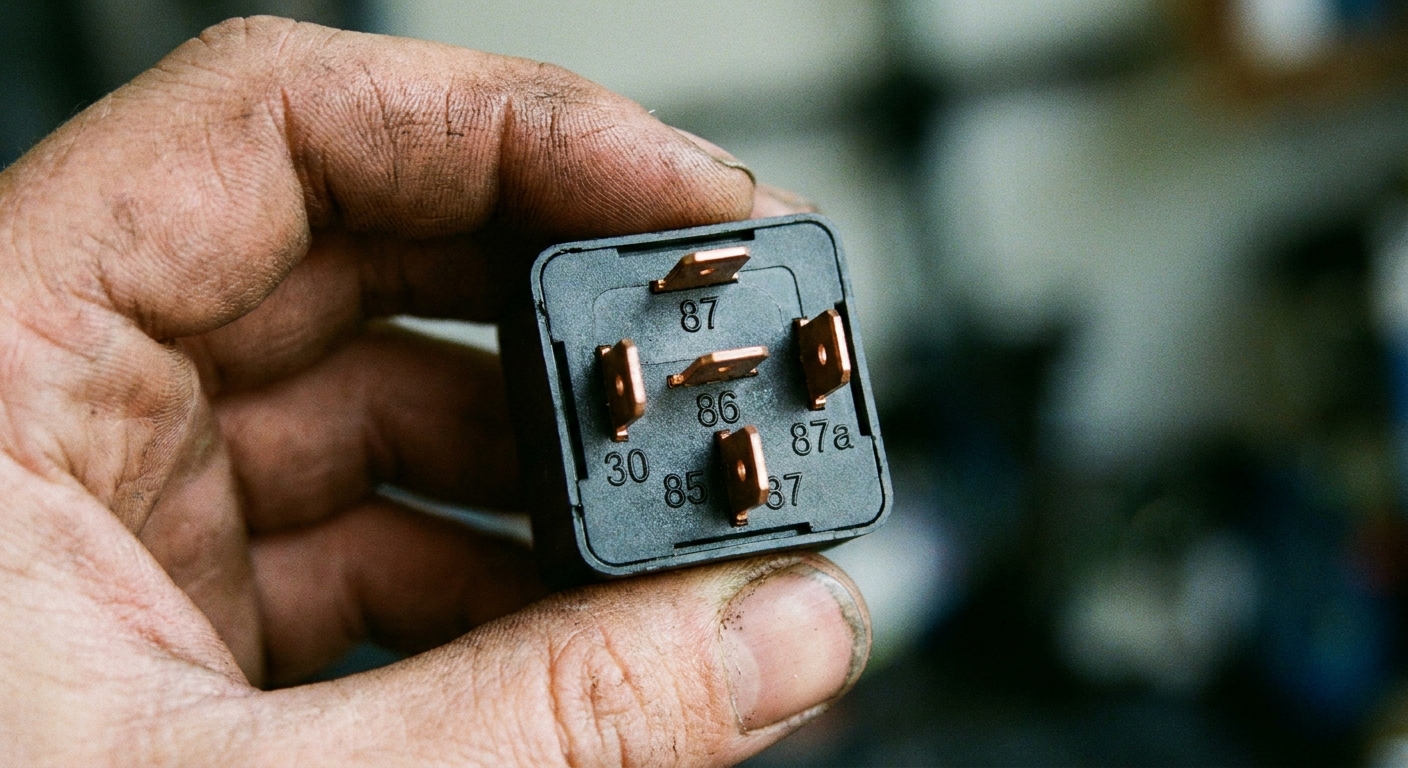
Most starter relays are a standard 4-pin or 5-pin relay. The most common terminal labels are:
- 85 and 86: the relay coil (control side)
- 30: battery feed (power in)
- 87: power out to the solenoid trigger circuit
- 87a (if present): normally-closed output on 5-pin relays
The underside of the relay often shows a tiny pin diagram. Some fuse box lids also show relay cavity numbers. If not, you can still test by function.
4A) Check for power at terminal 30
- Set the multimeter to DC volts.
- Connect the black lead to a clean metal ground.
- Probe the relay socket terminal that corresponds to 30.
Expected: about 12.6V on a fully charged battery (12.2V to 12.5V is common at rest). If you have no voltage at terminal 30, the issue is upstream: battery connection, fusible link, maxi-fuse, or wiring. This is also a good moment to check any related fuses labeled starter, IGN, ECM, or PCM.
4B) Check the control side in START
This is the test that answers, “Is the car even asking the relay to crank?”
Typical setup is one coil terminal gets 12V in START and the other side gets ground, but some vehicles are ground-switched by the PCM or BCM. Either way, the coil needs power and ground during a crank request.
- Keep the black meter lead on a good ground.
- Have your helper turn the key to START.
- Probe the two coil terminals (typically 85 and 86) one at a time.
What you usually see:
- One coil terminal shows 12V only while in START.
- The other coil terminal shows ground (near 0V), either constant or switched depending on the vehicle design.
If you never see the coil get power and ground in START, the relay may be fine. You are missing a command. Common causes include:
- Clutch switch (manual) not closing
- Park/neutral safety switch or range sensor (automatic) not seeing Park or Neutral
- Immobilizer or key recognition problem
- Ignition switch issue
- Blown ignition or starter control fuse
- BCM/PCM not permitting crank due to an interlock
4C) Check output at terminal 87 in START
Now we verify the relay is actually sending power out.
Fuse box relays are not always easy to back-probe. Use whichever of these options is safest and easiest on your vehicle:
- Option A (best when possible): back-probe the 87 circuit with the relay installed while your helper holds START.
- Option B (common and simple): remove the relay and probe the relay socket cavity for 87 while the key is held in START. On many cars, you will only see voltage there if the relay is installed and closing, but on some designs you can still learn a lot by verifying what 30 has and what the control side is doing at the same time.
- Option C (most direct): test for 12V at the starter solenoid “S” terminal during START (Step 5).
Expected (when the relay is functioning): battery voltage on the output only while the key is in START.
- Control looks good, but no output on 87: relay contacts are likely bad. Replace the relay.
- Output on 87 is good, but no crank: the problem is after the relay (wiring to the starter solenoid, solenoid itself, starter motor, engine ground, or high-current battery cables).
Step 5: Confirm at the solenoid trigger wire
If you can safely access the starter, this is a very direct test. The starter solenoid has a smaller trigger wire (often on an “S” terminal) that should receive 12V during a crank request.
- Set meter to DC volts.
- Black lead to engine ground.
- Probe the small solenoid trigger wire terminal.
- Have your helper turn the key to START.
Expected: 12V (or close to it) during crank request.
- 12V present but no crank: suspect the solenoid, starter motor, poor engine ground, or a weak battery that drops under load.
- No 12V at the solenoid trigger: suspect the starter relay, relay control circuit, wiring break, or an upstream interlock.
Safety note: keep hands, tools, and meter leads clear of moving parts. If the starter engages unexpectedly, you want nothing near the belt drive or fan.

If the relay tests good
If you have verified that:
- Terminal 30 has battery power
- The relay coil is being commanded in START
- Terminal 87 outputs power in START
and the engine still will not crank, the starter relay is not your problem. Here is where I go next:
- Battery condition under load: A battery can show 12.4V at rest and still fall on its face when you try to crank. Watch voltage during a start attempt. As a rule of thumb, many techs like to see cranking voltage stay above about 9.6V at moderate temperatures (colder weather changes the numbers).
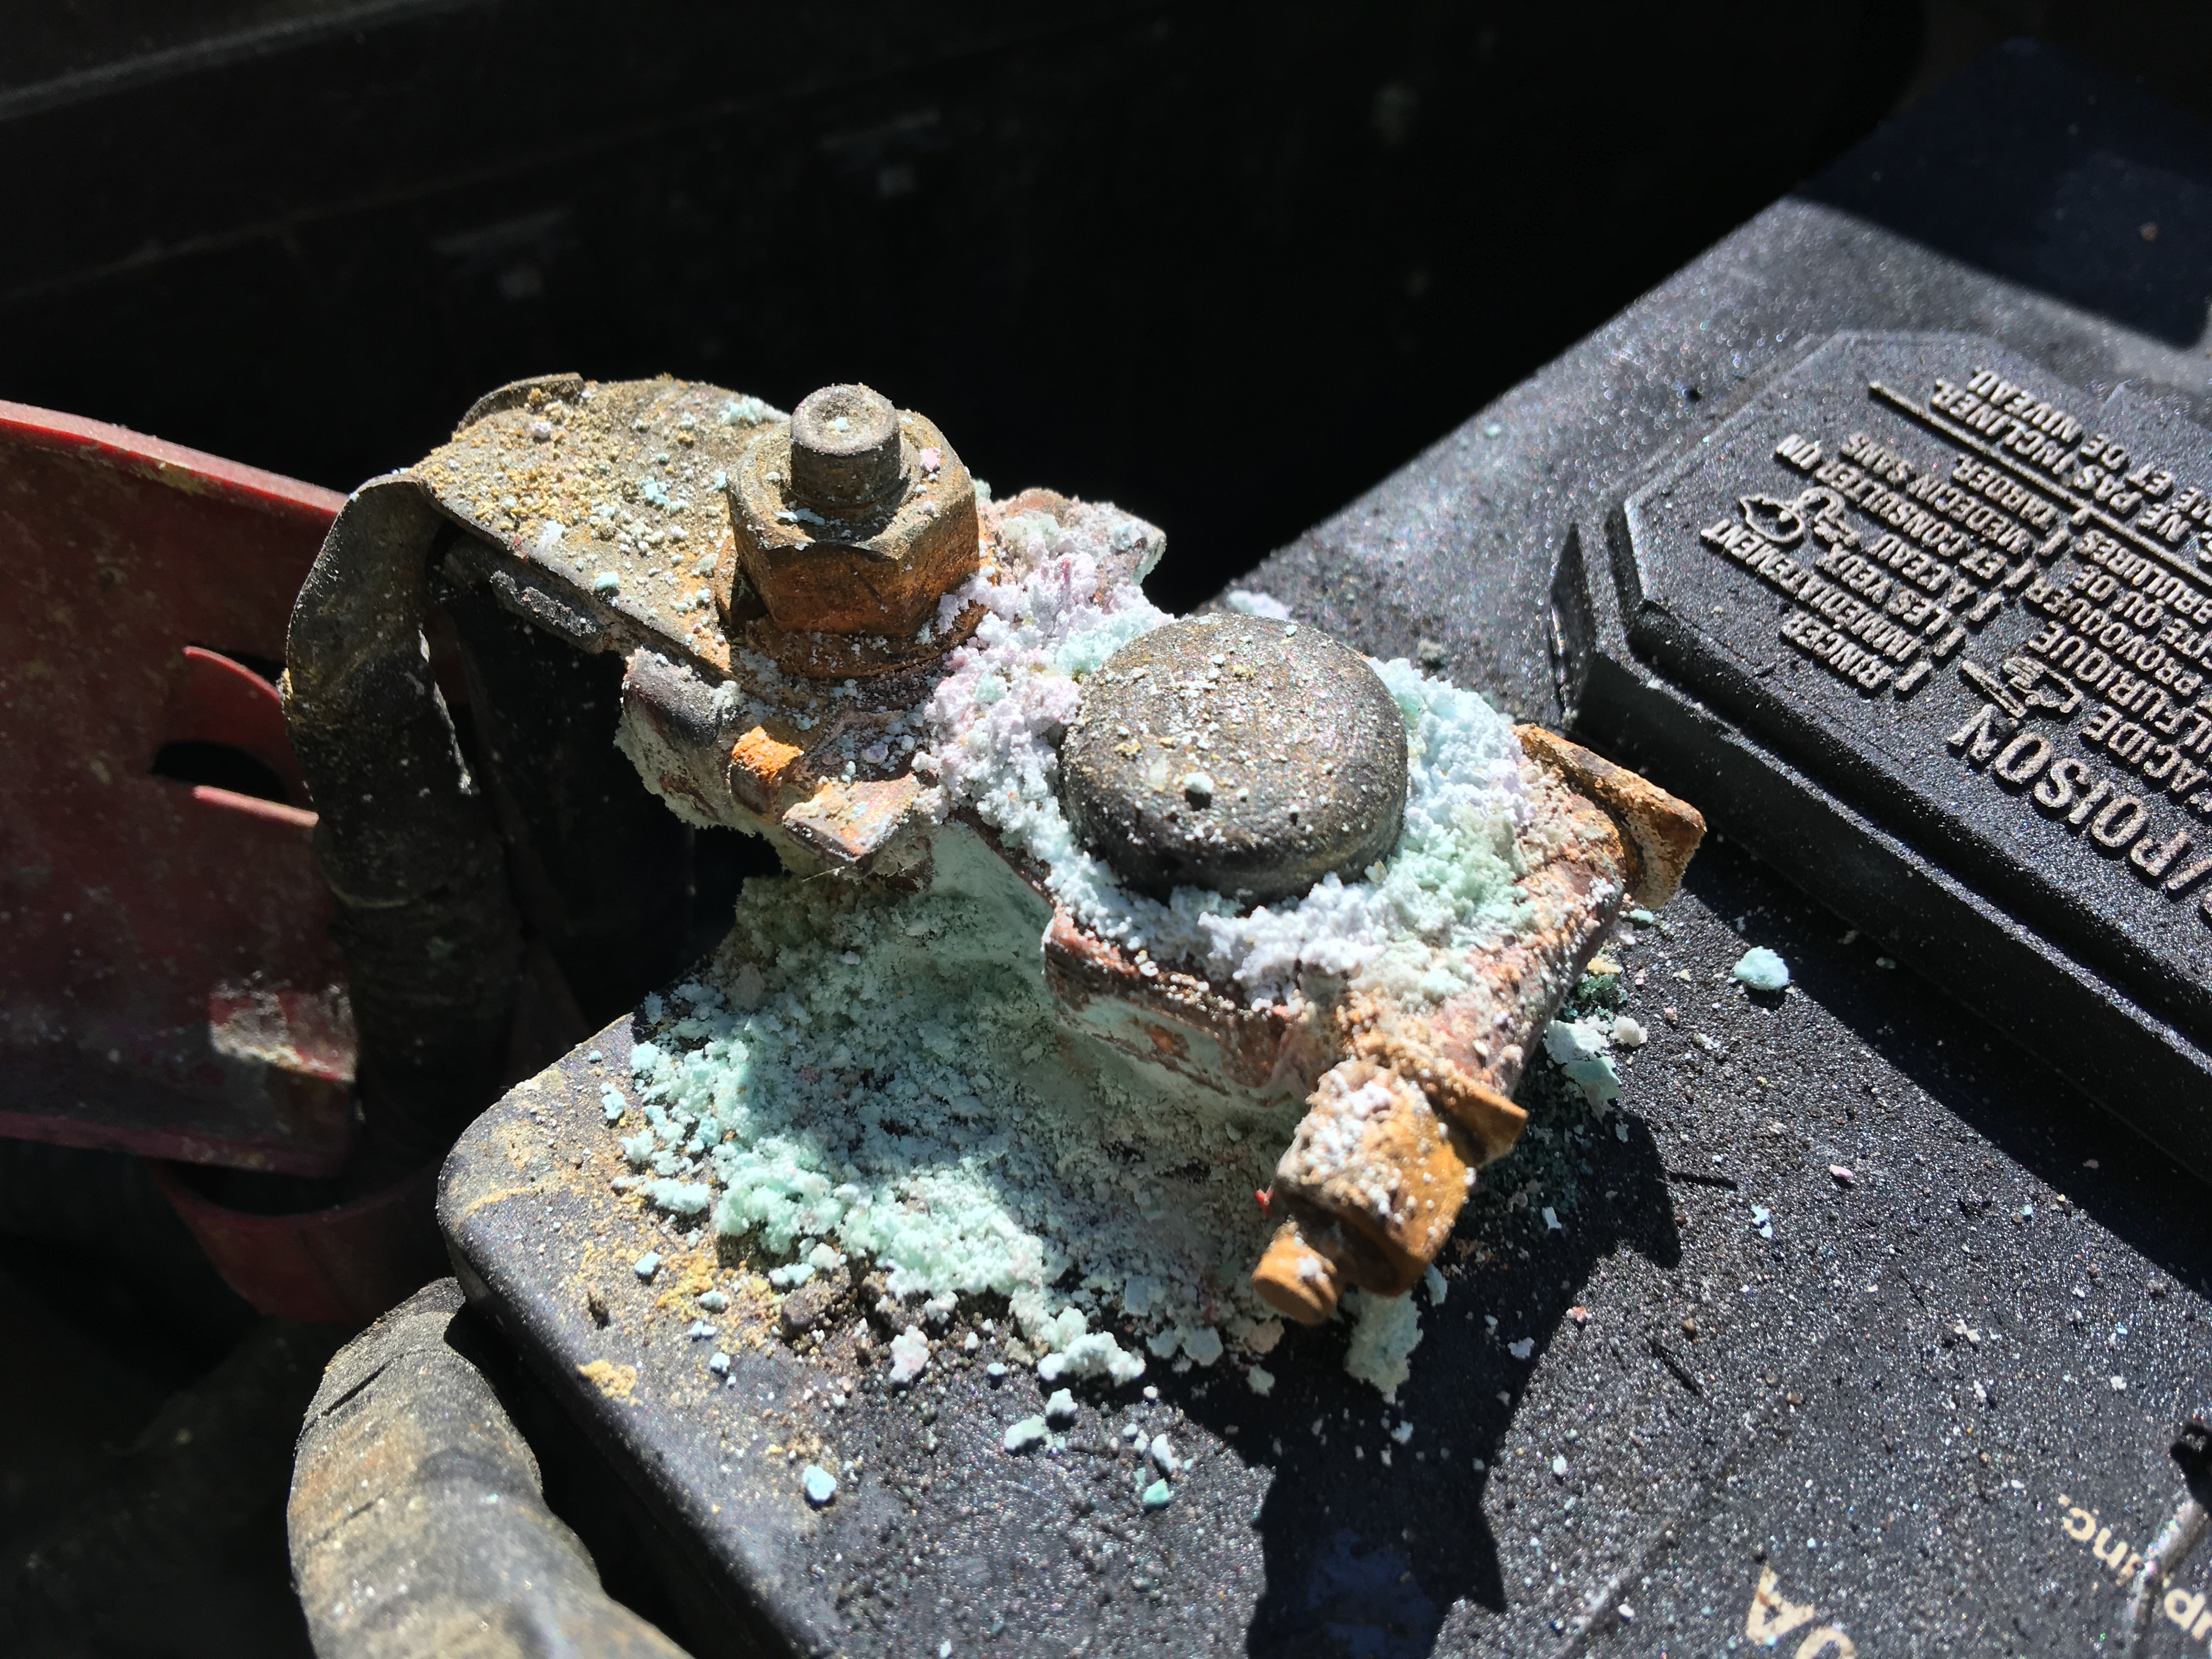
- Battery terminals and grounds: Loose or corroded battery terminals, a bad engine ground strap, or a corroded chassis ground can cause a no-crank with lights still working.
- High-current path to the starter: Check the large cable at the starter for tightness and corrosion.
- Starter solenoid and starter motor: If the solenoid is getting 12V on the trigger wire and the battery cables are solid, the starter assembly is a prime suspect.
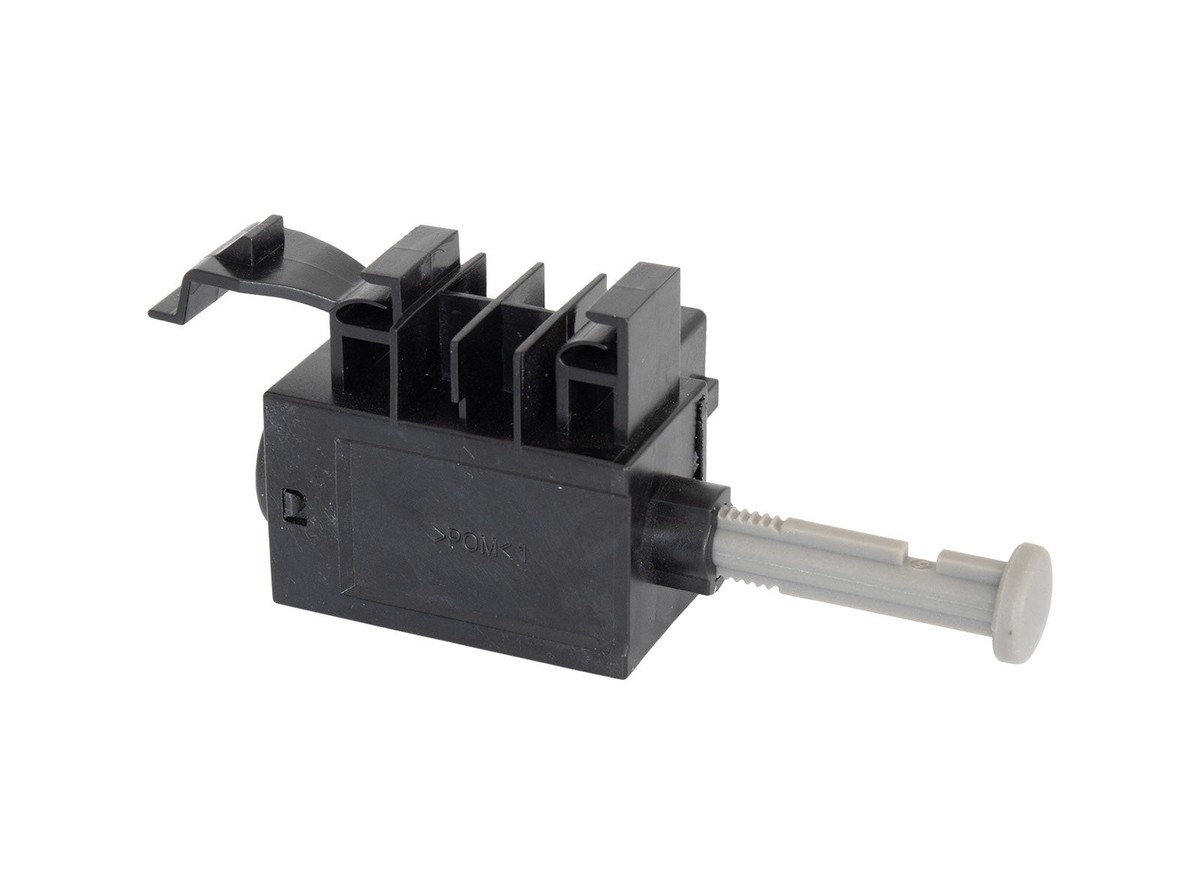
- Neutral safety switch or clutch switch: If the relay is not being commanded, these are common culprits. Try starting in Neutral instead of Park (automatic), or verify clutch pedal switch operation (manual).
- Security or immobilizer issues: Some vehicles will not allow crank if the key is not recognized. Watch for a security light behavior that indicates a fault.
Symptoms that point to the relay
- No crank, dash lights stay bright
- Intermittent no-crank that changes if you tap the fuse box or relay (this can be a bad relay, loose socket tension, corrosion, or an internal fuse box issue)
- Starts immediately after swapping relays
- You hear a click in the fuse box area, but nothing at the starter (not always relay, but a clue)
FAQ
Can a starter relay click and still be bad?
Yes. The coil can energize (click) even if the internal contacts are burnt or have too much resistance. That is why checking voltage on the output side (87) matters.
Is it safe to jump the starter relay?
It can be, but it is easy to do it wrong and cause sparks or damage. If you know the relay terminal layout, briefly jumping terminal 30 to 87 can bypass the relay and send power toward the solenoid trigger circuit.
If you do this, use a fused jumper wire if you have one, make sure the transmission is in Park or Neutral, set the parking brake, and keep clear of moving parts. If you are not 100 percent confident in identifying the correct terminals, stick to the multimeter tests or get help.
Where is the starter relay on push-button start cars?
Many still use a conventional starter relay in a fuse box, but the control side may be commanded by a module rather than a simple ignition switch. The testing approach is the same: verify battery feed, verify the command during a start request, then verify output.
Do I need a wiring diagram to test it?
It helps, but you can do a lot without one. The relay pin diagram on the relay itself plus basic voltage checks in START usually tells the story quickly.
My mechanic shortcut
If you want my quick order of operations: listen for the click, swap with an identical relay, then confirm control and output voltage with the key in START. That combination catches most starter relay issues without throwing parts at the car.
If you tell me your year, make, model, engine, and whether it is a key or push-button start, I can usually point you to the most likely fuse box location and what the relay is labeled on the cover.