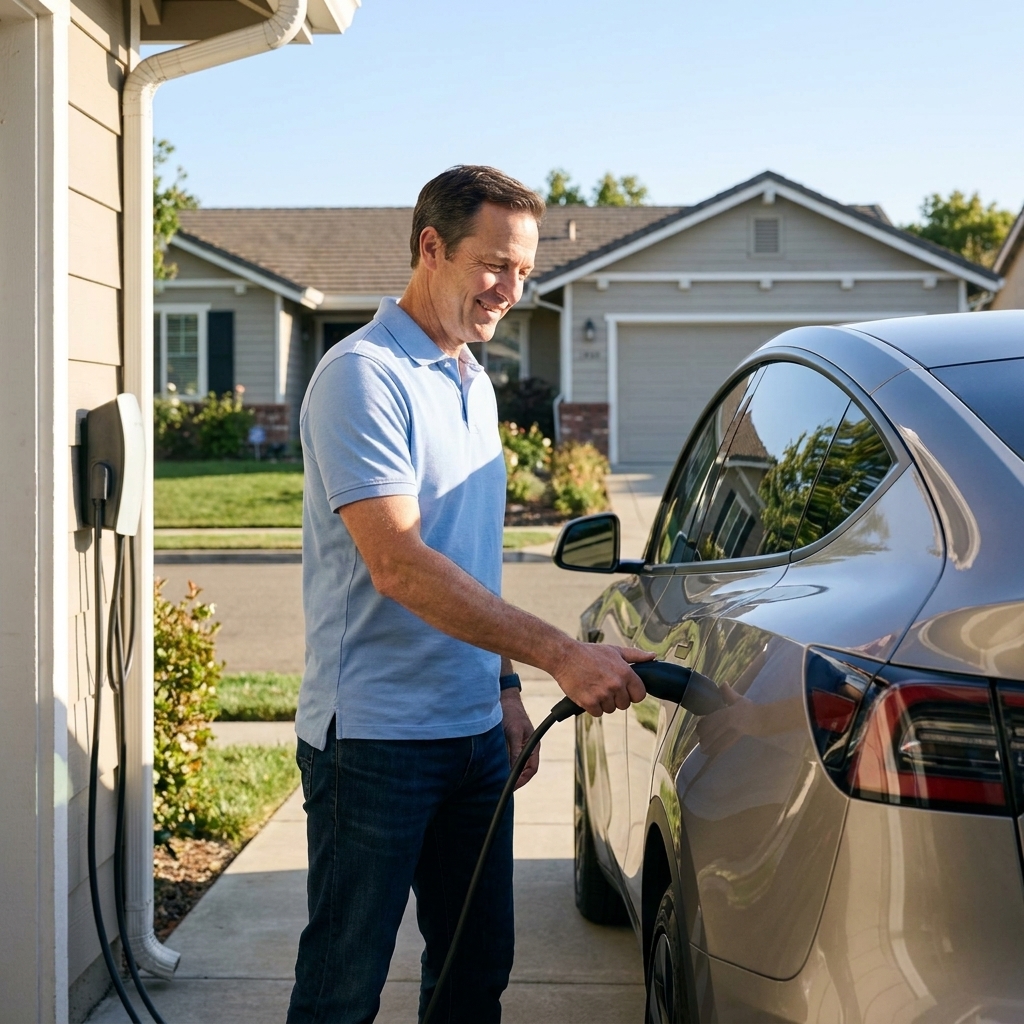
If you own an EV, a Level 2 charger at home is one of those upgrades that changes your whole routine. Instead of hunting for public stations, you plug in after dinner and wake up to a full battery. The trick is doing it the right way: correct circuit sizing, a clean installation, and permits where required. I spent years watching small electrical shortcuts turn into big headaches, and EV charging is not the place to gamble.
Below is what I recommend you understand before you buy a charger or hire an electrician, plus a step-by-step overview of how a proper installation typically goes.
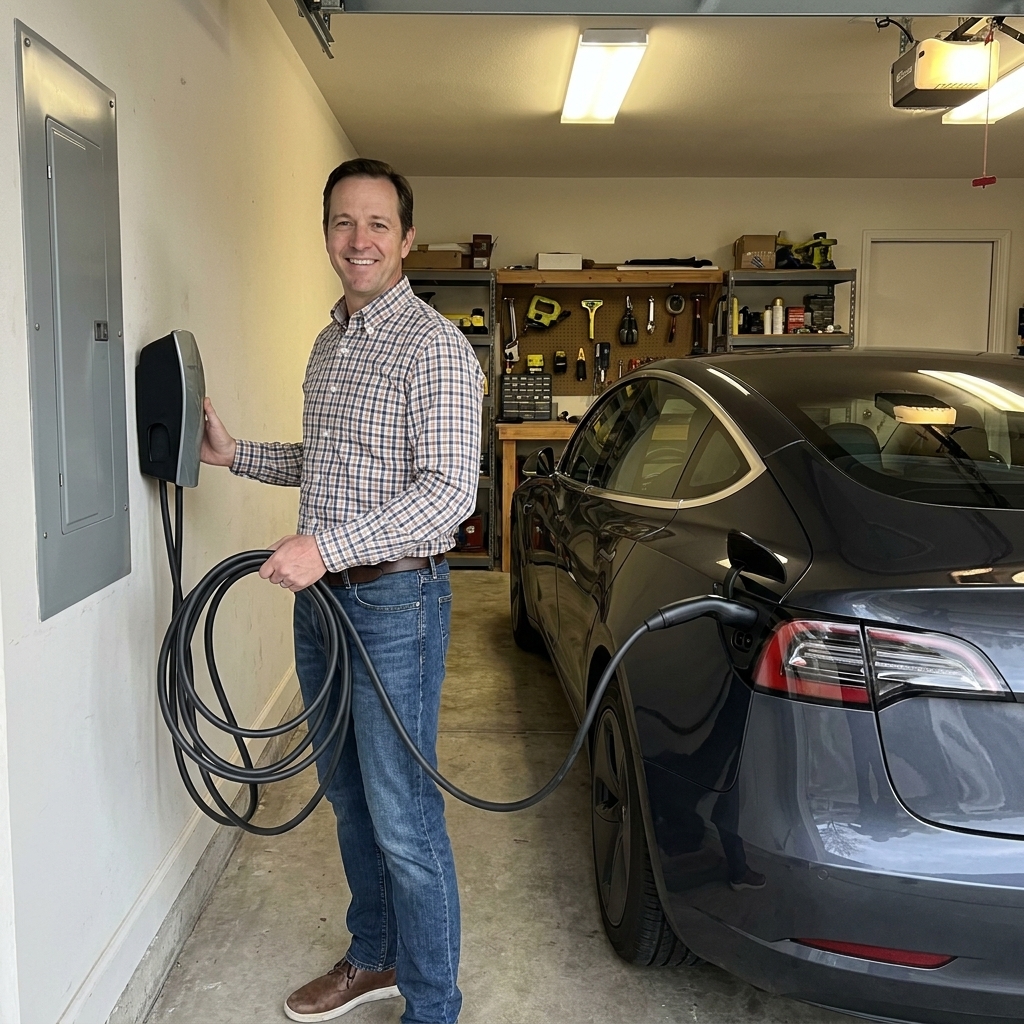
Level 1 vs Level 2
A Level 1 charger uses a standard 120V outlet. It is slow, but it is simple. A Level 2 charger runs on 240V and delivers much more power, which translates into far less charging time.
- Level 1 (120V): often adds only a few miles of range per hour. Fine for low mileage driving or plug-in hybrids.
- Level 2 (240V): commonly adds a few dozen miles of range per hour depending on the car and charger settings.
Most drivers move to Level 2 for one reason: it makes charging feel like fueling at home. You stop thinking about it.
What a safe setup needs
1) A dedicated 240V circuit
A Level 2 EVSE (the wall unit people call a “charger”) should be on a dedicated circuit. That means nothing else shares that breaker. No dryer taps, no “it should be fine” splitter, no daisy-chained outlets.
2) Enough panel capacity
Your electrician is going to look at two things: physical space in the panel for a new 2-pole breaker, and available capacity based on a load calculation. Even if you have empty breaker slots, your service might already be close to its limit, especially in all-electric homes.
- Common service sizes: 100A, 150A, and 200A.
- Real-world guidance: 200A service is often the smoothest path for Level 2 plus future additions like a heat pump or another EV, but it is not mandatory for every home.
3) Breaker and wire sizing
EV charging is a continuous load, meaning it can run for 3 hours or more. Because of that, electrical code generally requires sizing the circuit at 125% of the charger’s continuous current. In plain English: the EVSE’s configured continuous current needs to be no more than 80% of the breaker rating. That is the rule of thumb most homeowners can remember, but your electrician still has to size it correctly per your local code (and in the U.S., the NEC).
Common examples you will hear:
- 32A charging typically uses a 40A circuit.
- 40A charging typically uses a 50A circuit.
- 48A charging typically uses a 60A circuit and is commonly hardwired.
Wire size depends on amperage, conductor material (copper vs aluminum), insulation type, and run length. Longer runs may need thicker wire to control voltage drop. This is one reason a “buddy price” install can go sideways fast if the installer guesses.
4) GFCI and the plug-in question
Whether you should use a plug-in EVSE (NEMA 14-50 or similar) or a hardwired unit depends on your goals and your local code adoption.
- Plug-in: convenient if you might move or want the option to unplug. Outlet and cord connections must be high quality. Under newer code editions, GFCI protection is often required for receptacles in garages and outdoors, but requirements vary by jurisdiction and code year. In some setups, adding GFCI can also lead to nuisance trips with certain EVSEs.
- Hardwired: typically the most robust setup, fewer connection points, and a common choice for higher-current charging. Often preferred for outdoor installs too.
Your local inspector has the final say. A good electrician will know what passes in your area without playing guessing games.
Permits and inspections
In many towns, installing a new 240V circuit for EV charging requires an electrical permit and inspection. I know, nobody loves paperwork, but permits protect you in a few practical ways:
- Safety: someone verifies breaker sizing, conductor sizing, grounding, and workmanship.
- Insurance: unpermitted electrical work can complicate claims if something goes wrong.
- Resale: buyers and home inspectors like seeing permitted upgrades.
If a contractor insists permits are “never necessary,” that is usually your cue to slow down and ask more questions.
Costs
The honest answer is that Level 2 installs range from “pretty painless” to “we need to modernize half the service.” Here is where the money typically goes. These are typical U.S. ranges, and they can swing a lot by region, access, and local labor rates.
Equipment costs
- Level 2 EVSE: commonly $300 to $800 for reputable home units, with premium models higher.
- Smart features: Wi-Fi scheduling, power sharing, and energy monitoring can add cost but can be worth it if you want off-peak charging or multiple EVs.
Typical installation costs
- Standard install (panel has capacity, short wire run): often $500 to $1,500.
- Long wire runs, finished walls, exterior trenching: can push higher quickly due to labor and materials.
- Permit and inspection: varies widely by location, often $50 to $300+.
Possible add-ons
- Panel upgrade (for limited capacity or obsolete panels): often $2,000 to $5,000+, depending on scope and utility requirements.
- Load management device: sometimes a cheaper alternative to a full service upgrade by limiting EV charging when the house load is high.
- Surge protection: a whole-home surge protector is a common add-on to help protect sensitive electronics, including EVSEs. Not mandatory everywhere, but worth asking about.
Tip from the shop floor: If you are already paying to open walls, pull wire, and schedule inspections, it can be smart to future-proof with a circuit that supports your next EV, not just your current one. But do not oversize blindly. A good electrician will help you choose a realistic amperage.
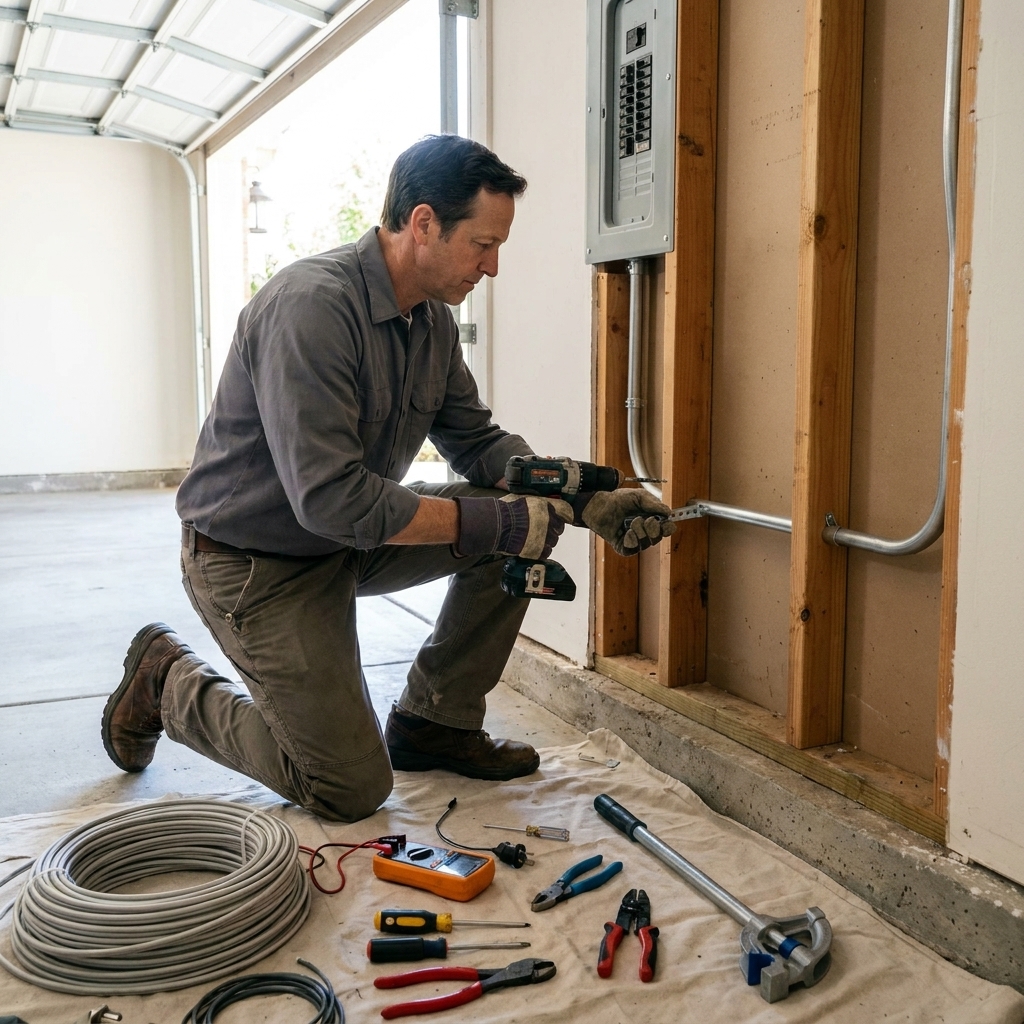
Install steps
Step 1: Pick a charging target
Start with your driving. If you average 30 to 50 miles a day, you may not need the biggest, fastest unit on the market. Many homes do great with 32A or 40A charging. Bigger is nice, but only if your electrical system supports it without expensive upgrades.
Step 2: Choose the right EVSE
- Connector: Many manufacturers in North America are transitioning to NACS, but plenty of current and near-term vehicles still use J1772. Adapters are common during the transition, and some homes choose a charger based on the car they own today, not the press release.
- Indoor vs outdoor rating: If mounting outside, buy a unit rated for weather exposure and use proper fittings and sealing.
- Cable length: Measure your parking spot and charge port location. Longer is convenient, but do not buy so long that it becomes a trip hazard.
Step 3: Get a site assessment
This is where you find out what your home can support without surprises. Expect them to check:
- Panel brand and condition
- Service size (100A, 200A, etc.)
- Breaker space
- Route for conduit or cable
- Distance from panel to charger
- Grounding and bonding condition
Step 4: Permitting
Often the contractor pulls the permit, schedules the inspection, and handles the back-and-forth with the city or county. Ask upfront if permitting is included in the quote.
Step 5: Installation day
The installer will typically:
- Shut down power as needed
- Install a 2-pole breaker sized for the circuit
- Run wire in conduit or approved cable
- Mount the EVSE at a safe, accessible height
- Terminate connections to manufacturer torque specs
- Label the circuit in the panel
Step 6: Setup and commissioning
Many smart chargers require app setup and may allow you to set the maximum current. This matters. The charger must be configured to match the circuit. If the EVSE can do 48A but you installed a 50A circuit, it must be set down to 40A charging.
Step 7: Inspection
The inspector is looking for proper wire sizing, breaker sizing, grounding, correct fittings, and manufacturer-compliant installation. Once it passes, you can charge with peace of mind.
Safety tips
- Do not use extension cords. Not heavy-duty ones, not “temporary,” not even once. EV charging is sustained load and heat is the enemy.
- Use high-quality receptacles if you go plug-in. Cheap 14-50 outlets can overheat. Ask for an industrial-grade receptacle and proper strain relief.
- Check for heat early on. During the first week, be alert for signs of overheating like a hot-to-the-touch plug, a melting smell, discoloration, buzzing, or repeated tripping. Do not do any brave “hand test” if something feels wrong. Stop charging and call an electrician.
- Keep the cable off the floor when possible. Less wear, fewer trip hazards, fewer chances of driving over it.
- Mount away from impact zones. If you park tight, consider a bollard or at least mount where a bumper will not tag it.
- Stay weather-smart outdoors. Use the correct rated equipment, proper drip loops, and sealed fittings. Water and electricity do not negotiate.
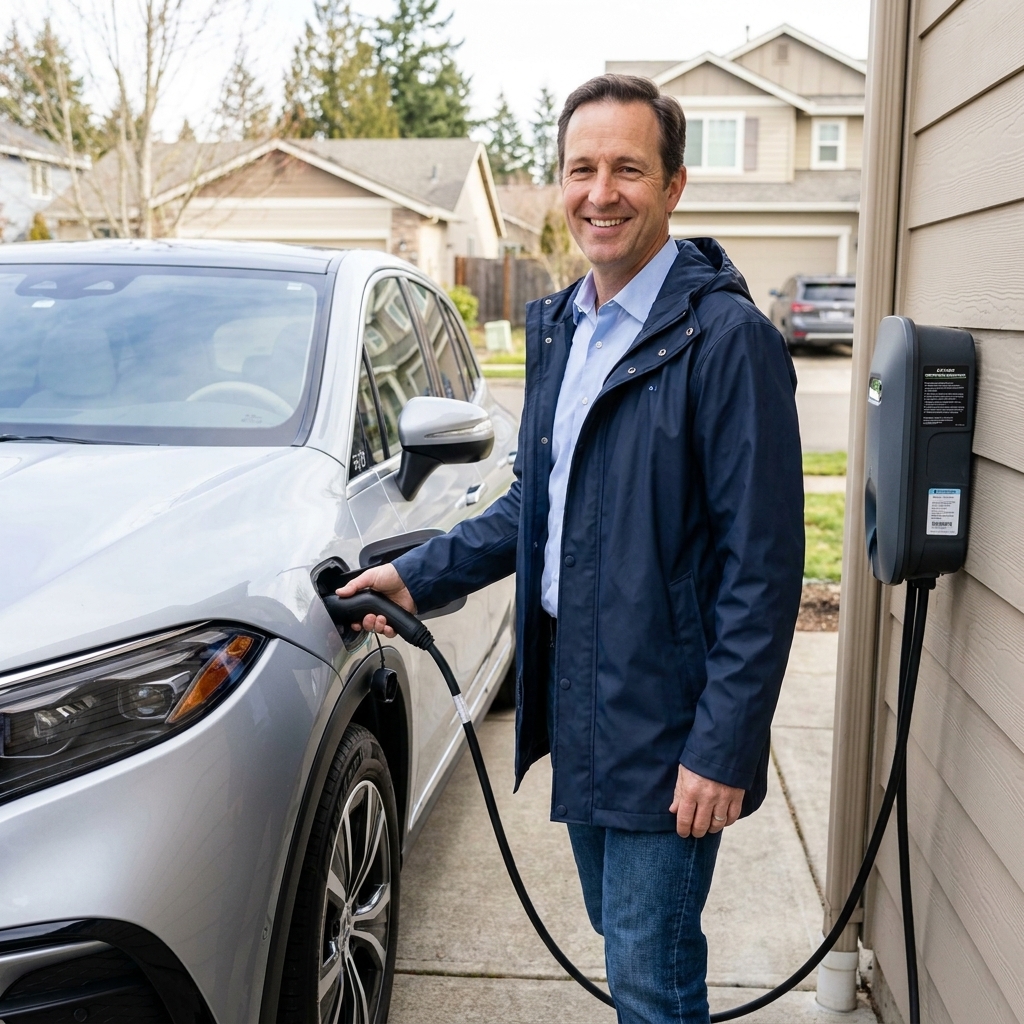
Picking an electrician
You want a licensed electrician who is comfortable with EVSE installs specifically. Here are questions I would ask before anyone touches my panel:
- Will you pull permits and schedule the inspection?
- Will you perform a load calculation and explain the result?
- Do you recommend hardwired or plug-in for my situation, and why?
- What amperage will the circuit be, and what will the EVSE be configured to?
- What brand and model of receptacle will you use if it is plug-in?
- Will you confirm terminations are torqued to spec?
If you get vague answers, shop around. The best tradespeople are happy to explain what they are doing because they are proud of doing it right.
Common mistakes
Buying the charger first
It is tempting to order the fanciest unit and figure it out later. But if your home can only support a 40A circuit without a major upgrade, you may be paying for capability you cannot use.
Treating a 14-50 like a dryer plug
Dryers cycle on and off. EV charging can sit at high current for hours. That changes the stakes for connection quality, torque, and heat management.
Forgetting the charge port
Front left, rear right, it matters. Measure cable reach with the car parked the way you normally park.
Skipping future planning
If you think a second EV is possible in the next few years, ask about:
- Running conduit big enough for a future circuit
- Smart chargers that can share power
- Load management options
FAQ
Do I need Level 2?
If you drive modest miles and can plug in for long stretches, Level 1 can work. If you want faster overnight recovery, have a longer commute, or simply want charging to disappear into the background of life, Level 2 is worth it.
Hardwire or plug-in?
Hardwired is often the most reliable long-term and is a common choice for higher-current charging. Plug-in can be great if you value portability, but it puts more importance on the receptacle quality and correct GFCI handling per local code.
Can my panel handle it?
Sometimes yes, sometimes no. The only real answer comes from a load calculation and a look at your panel capacity and condition. Homes with 200A service often have an easier path, but plenty of 100A homes can still support Level 2 with the right charging rate or load management.
How long does install take?
A straightforward garage install can be done in a few hours. If you need a long run, exterior conduit, drywall work, or a panel upgrade, it can stretch into multiple days and involve utility coordination.
What amperage should I choose?
Pick what comfortably covers your daily driving overnight and fits your home’s electrical capacity. Many drivers are perfectly happy at 32A or 40A. More is nice, but not if it forces a costly service upgrade you do not truly need.
Can off-peak rates save money?
Often, yes. If your utility has time-of-use pricing, charging overnight can be noticeably cheaper. Even a basic EVSE can usually be scheduled from the car, and smart chargers make it easier to stay consistent.
My bottom line
A Level 2 charger is one of the most satisfying “mods” you can do to your daily driver, and it pays you back every single week in convenience. Just treat it like the serious electrical upgrade it is: dedicated circuit, correct sizing for continuous load, permits when required, and an electrician who will do clean work you will never have to think about again.
If you want, tell me what EV you drive, your electrical service size (it is usually printed on the main breaker), and where you want the charger mounted. I can help you sanity-check what amperage and setup typically make the most sense.