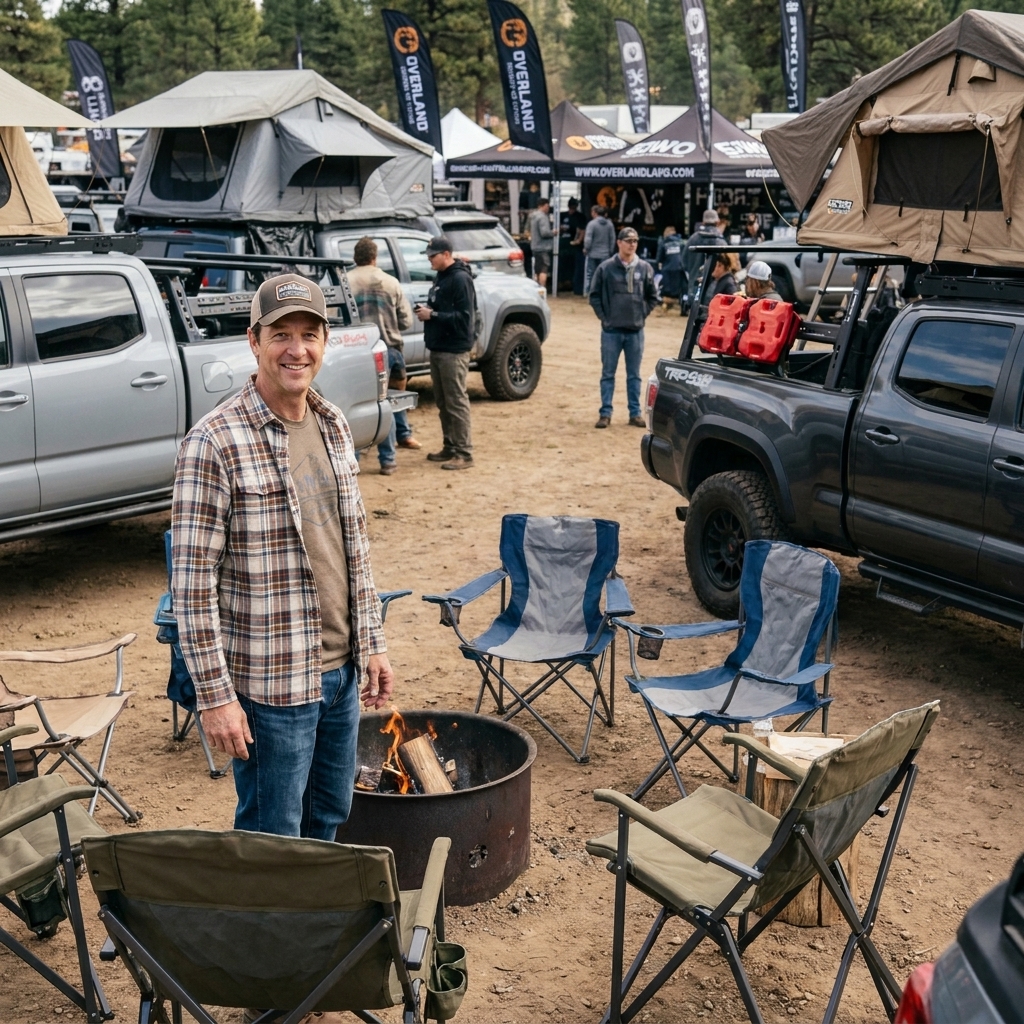
Your first overland and off-road expo is equal parts candy store and endurance test. You are going to see dream builds, sit through classes, crawl vendor aisles until your feet hate you, and then end up in a dusty campground swapping stories with total strangers who somehow feel like old friends.
The difference between a great weekend and a stressful one usually comes down to gear. Not the fanciest gear, either. The boring stuff that keeps you moving, keeps you safe, and keeps small problems from turning into big ones.
Below is my mechanic-tested checklist for surviving your first expo and actually enjoying it. Treat it like a menu, not a mandate. Start with the essentials, then build your kit as you learn what you really use.
Before you pack: 10-minute checks
I have watched more folks miss trail rides because of simple stuff than because of “major failures.” Do these the week of the event, not the morning you leave.
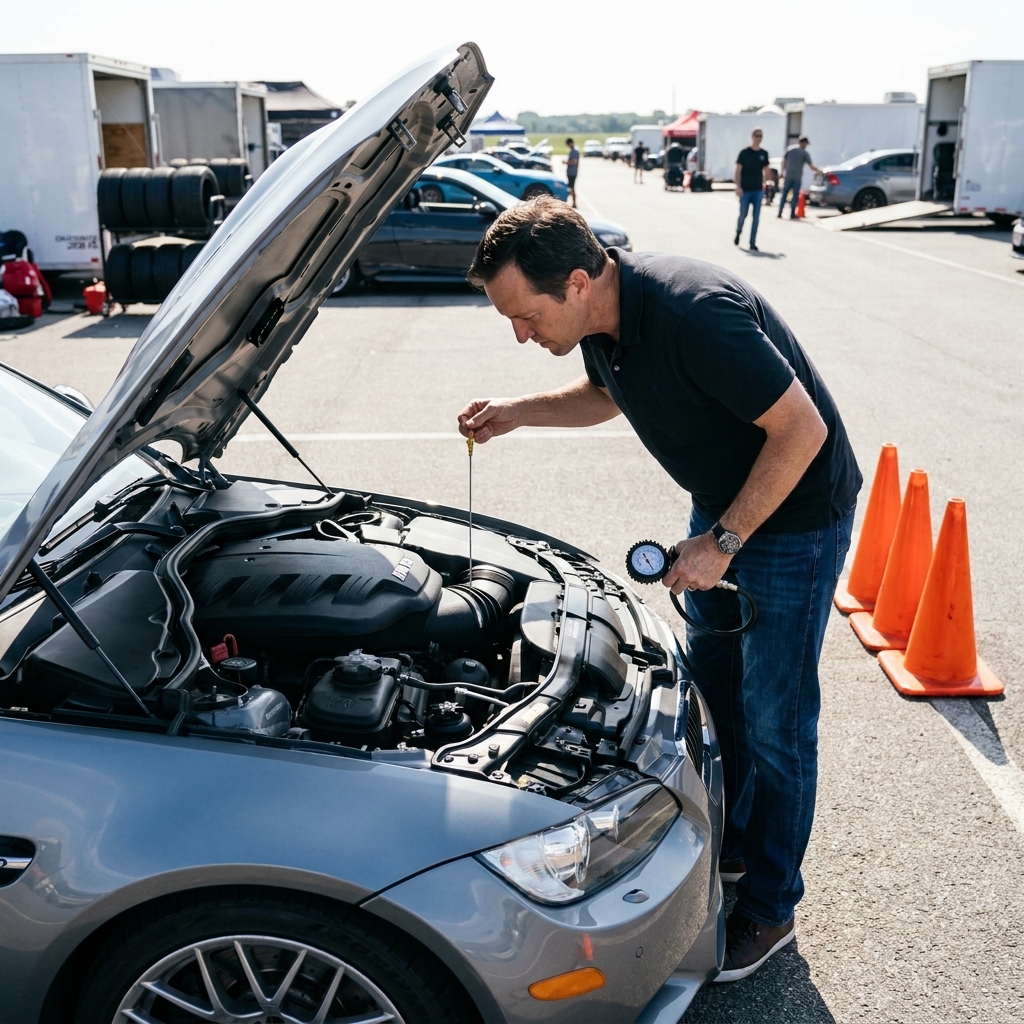
- Fluids: engine oil, coolant, brake fluid, power steering (if applicable), windshield washer.
- Tires: inspect tread and sidewalls for cuts and bubbles, verify your spare is aired up and accessible.
- Battery: clean terminals, confirm it is secure, test it if it is older than about 3 to 5 years, or if starting feels slow.
- Lights: headlights, brake lights, turn signals, reverse lights.
- Brakes: listen for grinding, check pad life if you can see it, confirm pedal feel is solid.
- Suspension and steering: quick look for leaks, loose bolts, torn CV boots.
- Recovery points: confirm you have real, rated points front and rear, and that bolts are tight.
- Paperwork: registration, insurance, and any permits required by the venue.
If you can only do one thing, air up your spare and make sure you can actually get it down. You would be amazed.
Event rules and logistics
This is the unsexy part that saves you headaches. Before you roll in, skim the event page and confirm:
- Check-in times: some expos get backed up and late arrivals can be a mess.
- Camping rules: quiet hours, generator hours, and whether assigned camping is a thing.
- Fire rules: fire bans happen. Also check if firewood is sold onsite and whether fire rings are provided or required.
- Water access: where potable water is, and whether you can refill near camp.
Recovery gear you need
At an expo, you might be on mild trails or you might be learning recovery techniques in a demo area. Either way, recovery gear is about controlled forces. Buy rated gear, keep it organized, and do not improvise with hardware-store hooks.
1) The basics
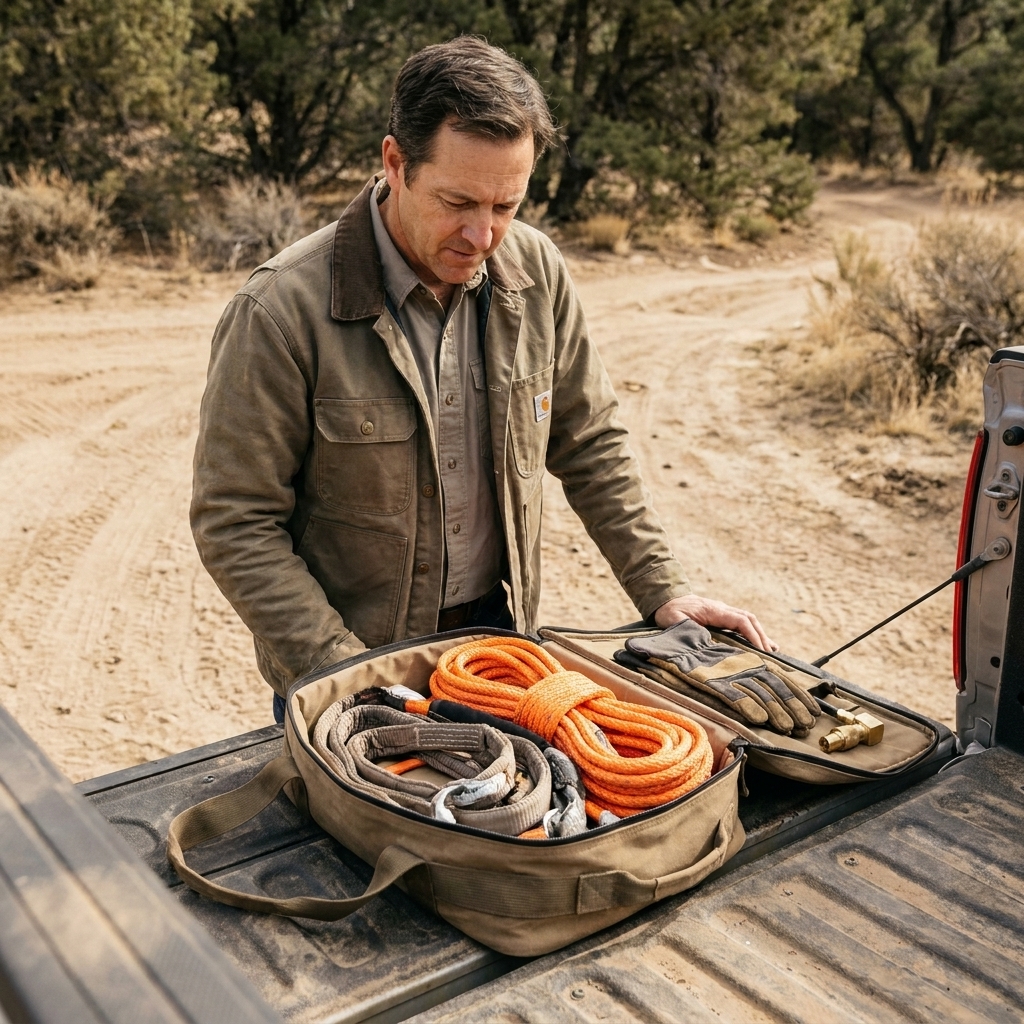
- Recovery gloves: leather or synthetic with good grip. Saves your hands and improves control.
- Soft shackles: lightweight, strong, and safer around bumpers than metal in many scenarios.
- Two rated bow shackles: still useful for certain hard-point connections. Get reputable, rated pieces.
- Tree saver strap: even if you do not winch yet, it is a good multipurpose strap and protects trees.
- Recovery strap or kinetic rope: pick one based on your group. Kinetic ropes are great for controlled, snatch-style recoveries when used correctly and with training.
- Traction boards: for sand, mud, snow, and for leveling at camp. They solve a lot of problems without yanking.
2) If you have a winch
- Winch line damper: cheap insurance. Synthetic line tends to store less energy than steel, but a damper is still recommended.
- Snatch block: adds options for line angles and mechanical advantage.
- Winch controller extension: helps you stand in a safer spot.
- Spare winch remote batteries or charging cable: ask me how many dead remotes I have seen.
3) Ratings and what to look for
Match gear to your vehicle’s weight, and then give yourself margin. Also, learn the difference between WLL (working load limit) and MBS (minimum breaking strength). Manufacturers rate straps and ropes differently depending on material and use case, so follow their guidance and get instruction before you do kinetic recoveries.
Recovery safety: do not skip this
- Never recover off a tow ball: it can shear and become a projectile.
- Use rated recovery points only: front and rear, bolted correctly.
- Keep bystanders way back: everyone out of the line of pull and away from straps, ropes, and winch line.
- Go slow and communicate: a calm, coordinated pull beats a dramatic one.
Tools and spares
This is the stuff that turns “we are stranded” into “give me 15 minutes.” You do not need a full shop. You need the tools that fit your vehicle and the consumables that always disappear at the worst time.
Must-have tool kit
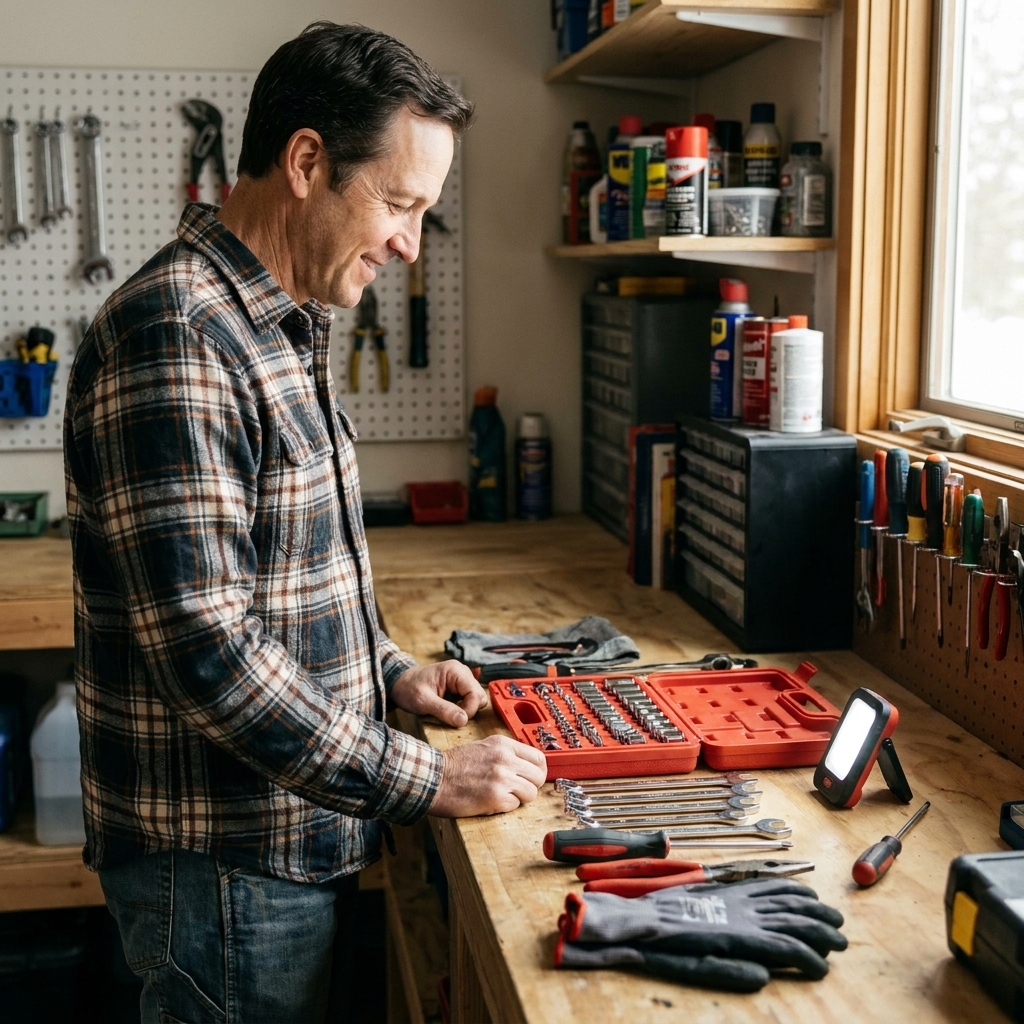
- Socket set (metric and SAE if needed): with 3/8-inch ratchet, extensions, and a breaker bar.
- Wrenches: combination set, plus the odd sizes your rig loves.
- Screwdrivers: Phillips and flat, plus a stubby for tight spots.
- Pliers: needle-nose, slip-joint, locking pliers.
- Torque wrench: especially if you swap wheels, suspension parts, or drivetrain components.
- Knife or multitool: for everything from packaging to zip ties.
- Headlamp: hands-free beats flashlight every time.
- Work light: a small rechargeable LED is perfect for night repairs.
Spare parts and consumables
- Tire repair kit: plug kit plus rubber cement, and a way to cut the plug.
- Valve cores and valve core tool: tiny, cheap, and a lifesaver when one leaks.
- Serpentine belt: if your vehicle uses one and access is reasonable.
- Fuses and relays: match your fuse box. Bring a fuse puller.
- Zip ties (various sizes): the unofficial fastener of the trail.
- Duct tape and electrical tape: temporary repairs and cable management.
- Hose repair tape or self-fusing silicone tape: can save a coolant line long enough to limp out.
- Spare lug nuts: especially if you run aftermarket wheels.
- Fluids: a quart of oil, a small bottle of coolant, and brake fluid if you are remote.
One mechanic tip I wish every first-timer knew
Pack the tools that fit your truck, not the ones you already own. If your skid plate is 12mm and 13mm, bring those. If your battery terminals are 10mm, bring that. Match the kit to the hardware.
Air, tires, traction
If you do any trail riding, tire pressure is your best friend. Airing down improves ride quality and traction. Airing back up gets you safely home.
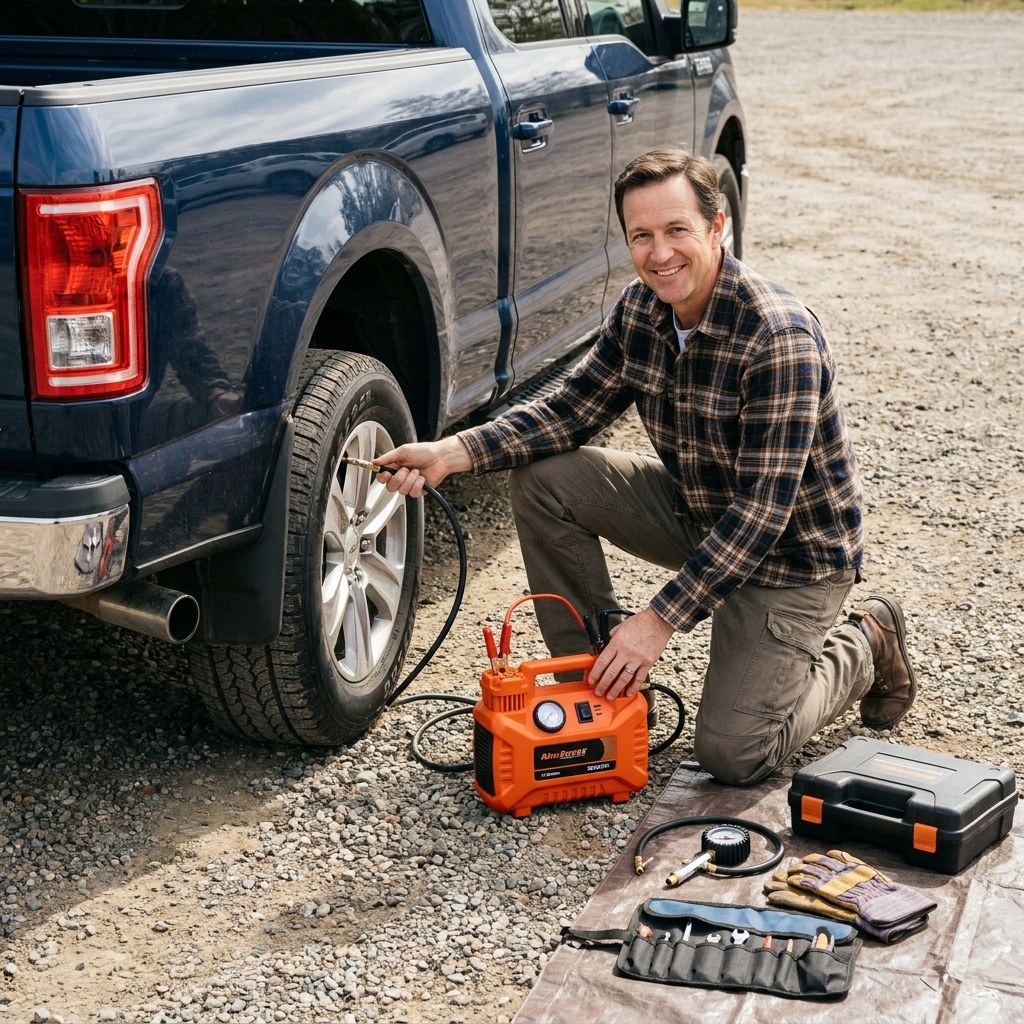
- Portable air compressor: choose one with enough duty cycle to air up all four tires without cooking itself.
- Tire deflators or a pressure gauge: a good gauge is non-negotiable.
- Spare tire valve caps: sounds silly until you lose one in sand.
- Traction boards: yes, they show up twice for a reason.
If you are new, ask what pressures people run for the trails you are doing. The “right” number depends on tire type, vehicle weight, and terrain. Start conservative.
Navigation and communication
Even at a well-run event, you can lose a group, miss a turn, or end up with no cell service right when you need it. A little redundancy is smart.
What to bring
- Phone mount and charging: hardwired or quality USB-C, plus a backup cable.
- Offline maps: download your area ahead of time (Gaia, OnX, Google offline maps, whatever you use).
- Handheld GMRS radio: many trail groups use GMRS. Bring extra batteries or a power bank. In the U.S., transmitting on GMRS requires an FCC license (no test, one license covers the family). Outside the U.S., rules vary, so check local regs.
- Paper map: optional, but nice if you like old-school navigation.
- Emergency contact card: allergies, meds, and a contact number in your glove box.
If you do get a radio, learn basic etiquette before you transmit, and keep it simple. Clear comms keep the group safe.
Camping gear that earns space
Overland expos are where a lot of people accidentally overpack. You do not need to recreate your living room. You need sleep, warmth, hydration, and a way to eat.
Sleep and shelter
- Tent, rooftop tent, or sleeping platform: whatever you already have is fine.
- Sleeping bag rated for the expected temps: bring a liner if nights swing cold.
- Sleeping pad: comfort matters if you want to enjoy day two.
- Pillow: packable camping pillow or a small one from home.
- Shade: awning or pop-up canopy if allowed. Expos can be hot and exposed.
Water and food
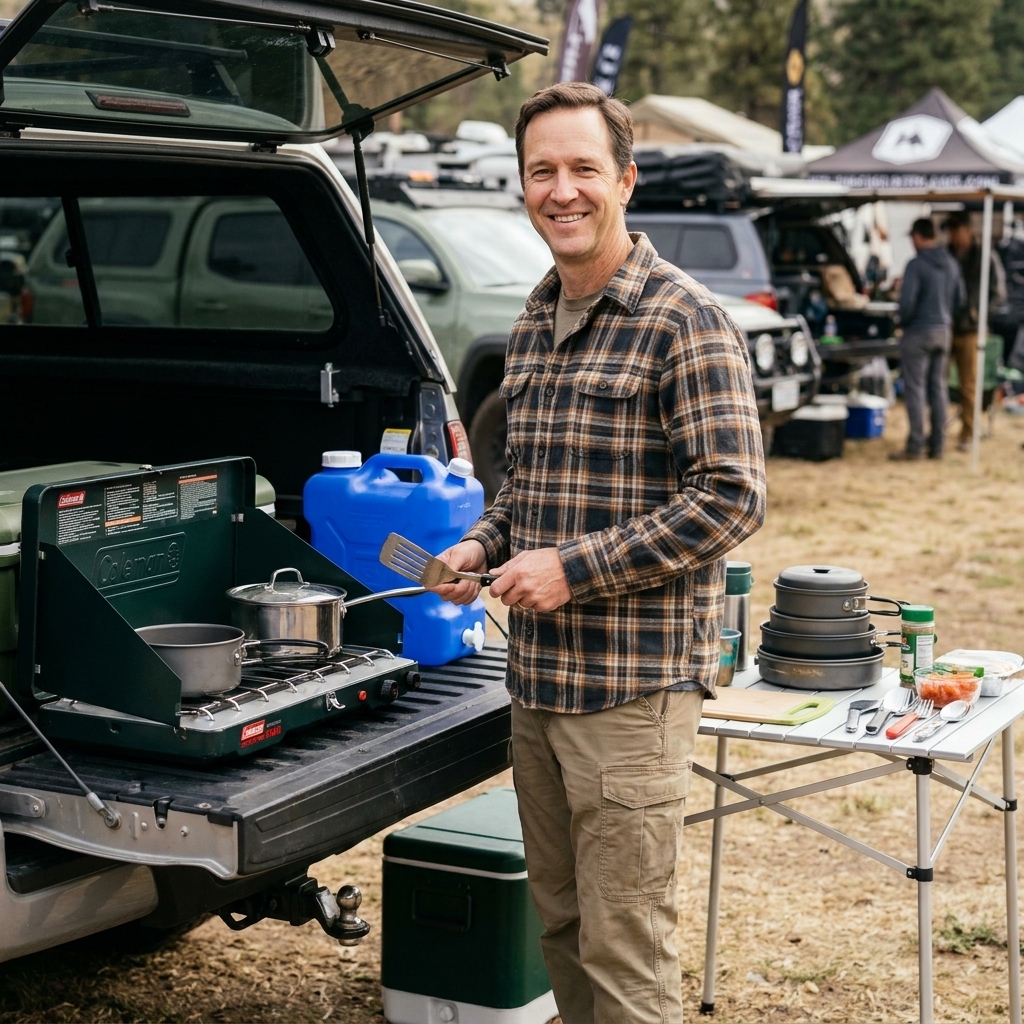
- Water storage: jugs or a tank, plus a spigot. A good baseline is 1 to 2 gallons per person per day, more if it is hot or you cook a lot.
- Water filter: helpful if you can refill from questionable sources.
- Cooler or 12V fridge: either works, just plan your ice or power.
- Stove and fuel: plus a lighter and backup fire starter.
- Simple cook kit: pan, pot, utensil, cutting board, knife.
- Trash bags: pack it in, pack it out.
Comfort items (small, high impact)
- Camp chair: your back will thank you.
- Earplugs: generators and late-night chatter happen.
- Baby wipes: the unofficial shower.
- Toilet kit: toilet paper, hand sanitizer, small trowel if you are truly dispersed (follow local rules).
Power and lighting
Between phones, radios, fridges, and cameras, power management is half the battle at events.
- Power bank: a high-capacity unit for phones and small devices.
- 12V accessory plan: fused wiring, quality plugs, and strain relief so things do not wiggle loose.
- Battery jump pack: choose one sized for your engine. It is cheaper than a tow.
- Area lighting: lantern or string lights for camp, headlamp for tasks.
If you are running a dual-battery setup or portable power station, label your cables and keep a small spare fuse kit. Most “electrical problems” at camp are a loose connection or a blown fuse.
Safety and first aid
In the shop, I always said this: the best tool is the one that prevents you from needing the next tool. Safety gear falls in that category.
Vehicle safety
- Fire extinguisher: ABC-rated, securely mounted, easy to reach.
- Basic roadside triangles or flares: if you will be on public roads near the venue.
- Wheel chocks: great for winching, camping on slopes, and changing tires.
Personal first aid
- First aid kit: real one, not just band-aids. Include blister care.
- Meds: pain relievers, antihistamines, any prescriptions.
- Sunscreen and lip balm: dusty wind burns you faster than you think.
- Bug spray: depending on season and location.
If you are traveling with a group, make sure at least one person knows where the kit is, not just that you packed it.
Clothes and dust prep
Expos can swing from blazing sun to surprise rain, and dust gets into everything. Pack like you are going to be outside all day.
- Layers and a rain shell: mornings and nights can be chilly even when afternoons are hot.
- Hat and sunglasses: sun and wind are relentless in open vendor areas.
- Bandana or dust mask: a simple face covering or an N95 is a nice upgrade if it gets really dusty.
- Small brush and microfiber towels: for camp and keeping gear usable.
- Sealed bin or bag for electronics: dust finds your camera gear fast.
What to pack for the expo
Expos are part education, part shopping, part social. A few small items make the day smoother.
- Comfortable shoes: you will walk miles.
- Refillable water bottle: stay ahead of dehydration.
- Notebook or notes app: write down part numbers, booth names, and torque specs you learn in classes.
- Small daypack: for brochures, snacks, and a light jacket.
- Cash or card backup: some vendors have spotty signal.
- Measuring tape: for checking fitment on drawers, fridges, and mounts.
- Gloves: handy for demos and crawling around rigs.
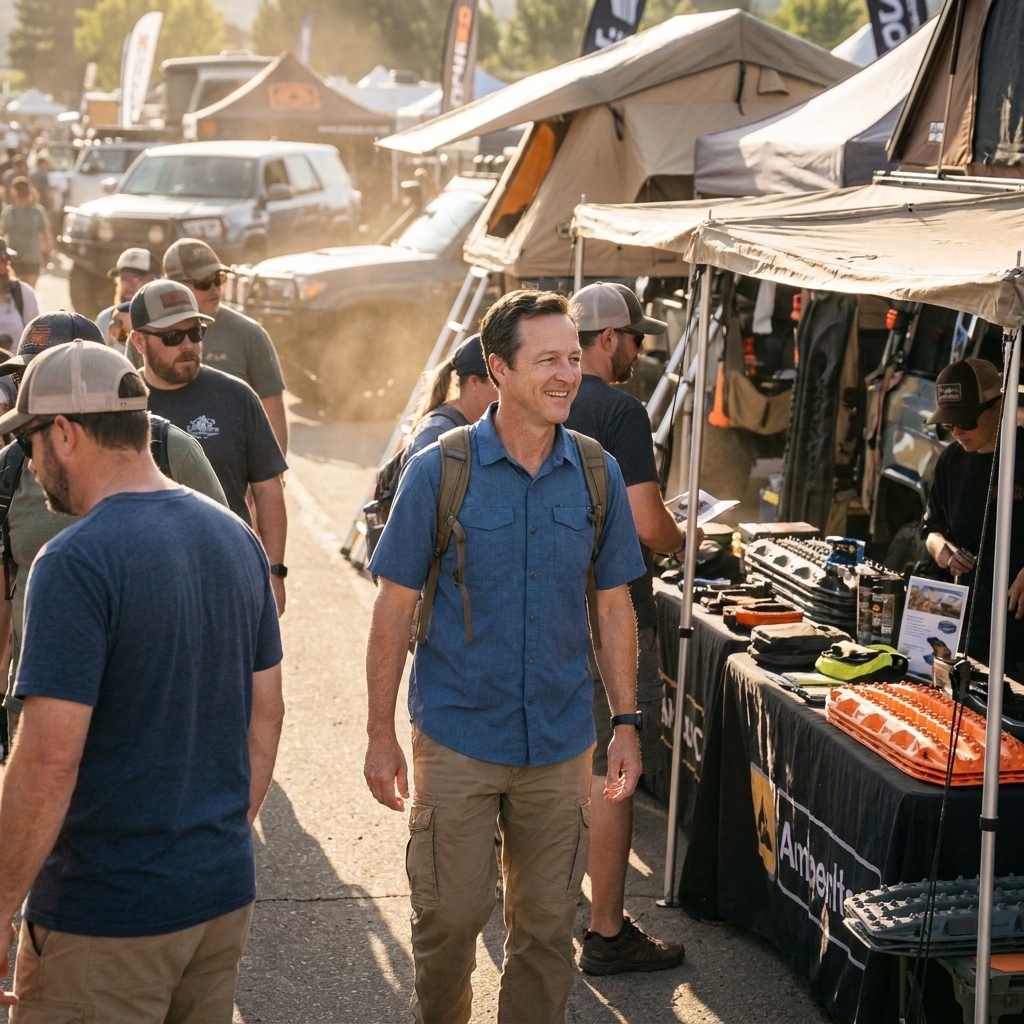
One more: take photos of anything you like with the product name visible on the packaging or tag. Your future self will thank you when you get home and cannot remember which bracket was which.
Nice-to-haves
Not required, but these are the items that feel “extra” until you use them once.
- Recovery kit organizer: keeps straps clean and easy to find.
- Spare air filter: dusty events can choke a filter fast.
- Spare serpentine belt tool or specialty socket: some engines need a specific profile.
- Spare U-joint straps or hardware: for certain driveline setups.
- Small folding shovel: for fire rings, traction, and campsite cleanup.
- Portable shower or rinse kit: especially if you are camping multiple nights.
Common first-expo mistakes
- Buying gear before you understand your needs: take notes, ask questions, then buy after the event when you can compare calmly.
- Overloading the rig: too much weight hurts handling, braking, and fuel economy. Pack what you will use.
- Skipping a tire plan: no compressor and no plug kit is a rough way to end a weekend.
- No plan for dust: bring a small brush, microfiber towels, and a sealed bin for electronics.
- Leaving recovery gear buried: the time you need it is not the time to unpack half your cargo.
Quick checklist
Recovery
- Gloves
- Soft shackles and rated shackles
- Tree saver
- Recovery strap or kinetic rope
- Traction boards
- Winch accessories (if equipped)
Tires and air
- Compressor
- Gauge and deflators
- Plug kit
- Valve cores and tool
Tools and spares
- Socket set, wrenches, pliers, screwdrivers
- Breaker bar, torque wrench
- Headlamp and work light
- Fuses, zip ties, tape
- Fluids
Camping
- Shelter, sleeping bag, sleeping pad
- Water storage and bottle
- Stove, fuel, lighter
- Cooler or 12V fridge plan
- Trash bags, wipes, toilet kit
Safety and comms
- Fire extinguisher
- First aid kit
- GMRS radio (optional but useful, check license rules)
- Offline maps downloaded
- Jump pack
My parting advice
Your first expo is not a test of who brought the most gear. It is a chance to learn, meet people, and get a feel for what kind of travel you actually want to do. Pack the essentials, keep your kit simple, and talk to folks. The overland community is one of the most welcoming corners of car culture I have ever been around.
And if you see a slightly scruffy guy taking notes on recovery straps and drooling over classic Japanese builds, come say hi. I will probably be thinking about my 280Z anyway.