I still remember doing my first full spark plug job as a teenager in my dad’s cramped garage, holding a flashlight and trying not to drop anything into an engine bay that felt like a bottomless pit. Fast forward a couple decades and I’ve done more plug swaps than I can count, from simple four-cylinder commuters to tightly packaged V6 engines that want to test your patience.
The good news is that replacing spark plugs is usually a straightforward DIY, as long as you slow down and do the small details right. Most of the expensive mistakes I’ve seen come from rushing, cross-threading, or over-tightening.

Before you start
Spark plugs thread into the cylinder head and seal the combustion chamber via their gasket or tapered seat, while delivering the spark that ignites the air-fuel mix (gas engines). Over time they wear, the gap can change, and deposits build up. Replacing them restores a strong spark, smoother idle, better drivability, and can improve fuel economy, especially if the old plugs were overdue or misfiring.
On most modern vehicles, each plug sits under an ignition coil (coil-on-plug). On older setups, spark plug wires run from a coil pack or distributor to each plug. The replacement steps are similar, but plug-wire engines add one big rule: do not mix up wire order.
Tools and supplies
- Correct replacement spark plugs (match the exact spec for your engine)
- Spark plug socket (typically 5/8 inch or 13/16 inch) with a rubber insert or magnet
- Ratchet and extensions (a wobble extension helps in tight spots)
- Torque wrench (best practice)
- Feeler gauge or spark plug gap tool (only if your plug type requires checking or setting gap)
- Compressed air or a shop vacuum plus a small brush
- Dielectric grease for coil boots (optional but useful)
- Penetrating oil (only if plugs seem stuck)
If access is tight, add a small inspection light and a magnetic pickup tool. I can’t tell you how many times a socket extension has slipped behind an intake tube at the worst possible moment.
Safety and prep
1) Let the engine cool
Work on a cold engine. Aluminum cylinder heads expand when hot, and removing plugs hot increases the chance of thread damage. In the real world, I like to give it several hours after driving, and overnight is even better if you can plan ahead. Don’t trust “it feels cool up top” as a test, because spark plug bores can stay warm longer than nearby plastic covers.
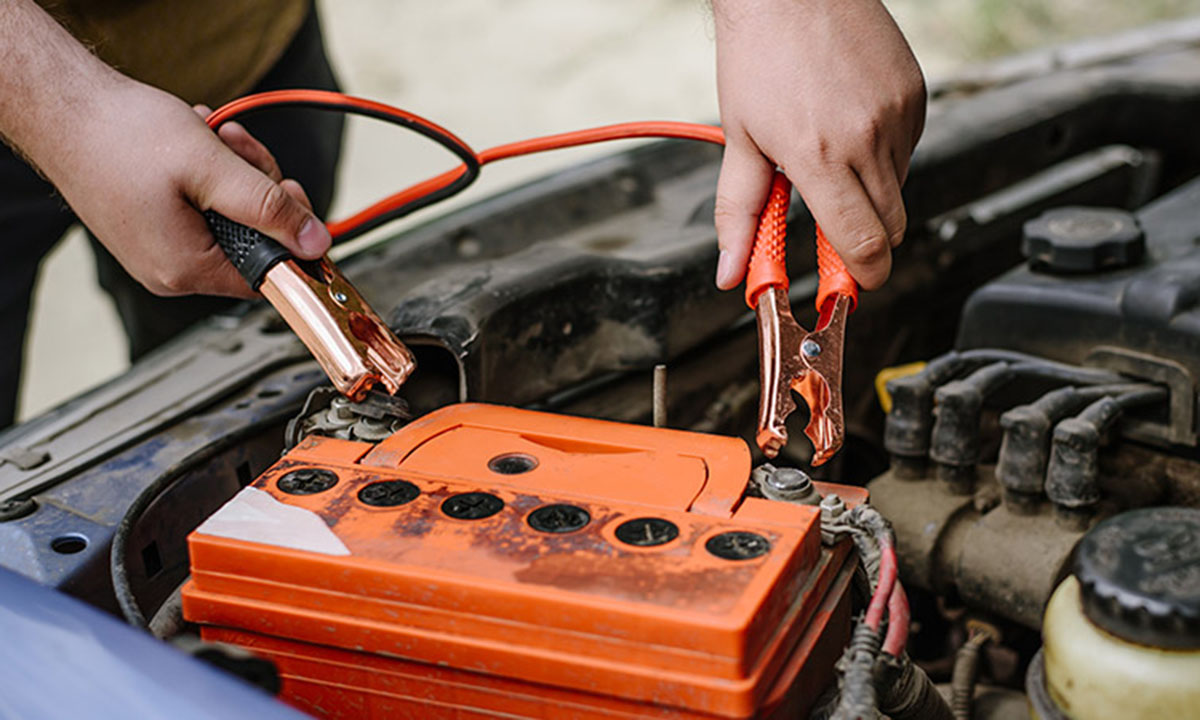
2) Disconnect the negative battery terminal
Not always required, but it’s a smart move, especially if you are unplugging multiple ignition coils and working near wiring.
3) Make room and document
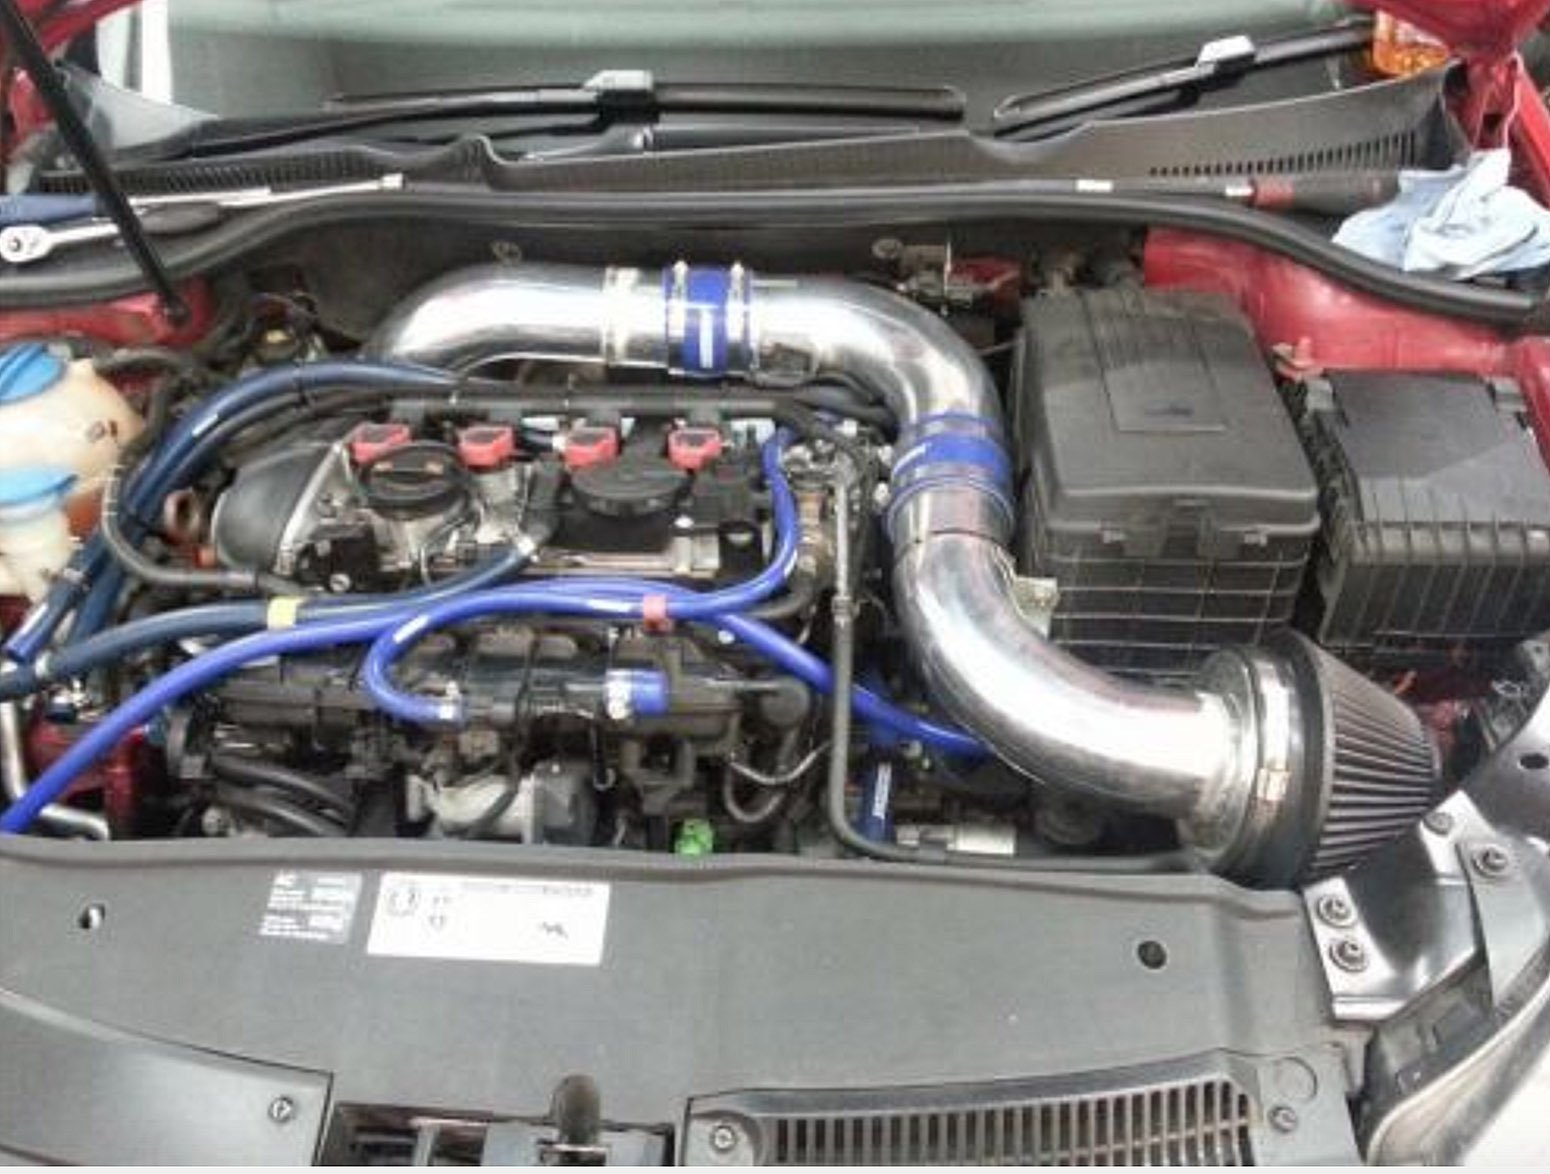
If you need to remove an engine cover, intake duct, or resonator to reach the coils, do it now. Before you unplug anything, take a couple quick photos of connector routing and hose positions. It’s a simple habit that saves time on reassembly.
4) Clear the area around each plug
Before you remove a plug, blow out dirt and grit around the coil or plug well. Anything that falls into the cylinder when the plug comes out can cause real damage.

Step-by-step
Step 1: Do one cylinder at a time
This keeps parts organized and prevents mix-ups. It also helps you spot problems cylinder-by-cylinder.
Step 2: Remove the ignition coil or plug wire
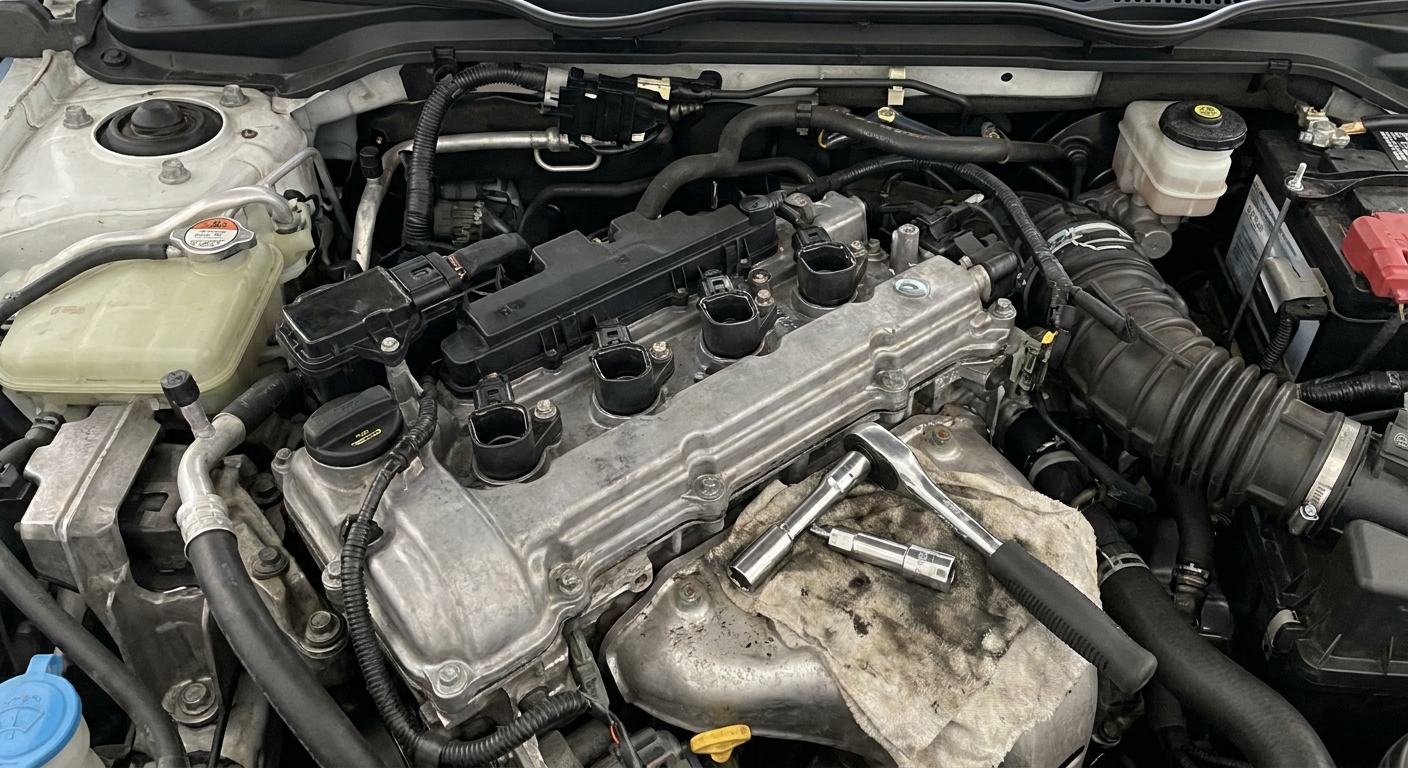
- Coil-on-plug: Unplug the electrical connector, remove the coil hold-down bolt (if equipped), then twist the coil slightly and pull it up. Some coils come straight up, others need to come out at a slight angle because of brackets, wiring, or a cowl edge. The goal is the same: steady, controlled removal without tearing the boot.
- Plug wires: Grab the boot, not the wire. Twist to break it free, then pull. If it fights you, a plug wire puller helps.
Important on plug-wire engines: Keep the firing order correct by swapping wires one at a time. If you remove multiple wires, label them immediately.
Step 3: Inspect the coil boot or wire boot
Take 10 seconds to check condition. You’re looking for:
- Cracks, tears, or oil saturation
- Burn marks or carbon tracking (thin lightning-like lines)
- A swollen or hardened boot that won’t seal well
If boots are damaged, replace them. A weak boot can cause a misfire even with brand new plugs.
If you find oil down in the plug well, don’t ignore it. That’s often a spark plug tube seal or valve cover gasket leak. New plugs won’t fix that, and oil can shorten coil and boot life.
Step 4: Remove the old spark plug
Use the spark plug socket, extension, and ratchet. Turn counterclockwise and keep the socket straight. If the plug feels unusually tight, stop and reassess. Forcing it can strip threads, especially in aluminum heads.
If it’s stuck, a small amount of penetrating oil can help, but don’t flood the plug well. Let it soak, then use a patient back-and-forth motion instead of brute force. Also be mindful in deep plug wells: some manufacturers are not fans of solvents sitting near coil boots, so use the minimum needed and keep the area clean.
Step 5: Compare the old plug to the new one
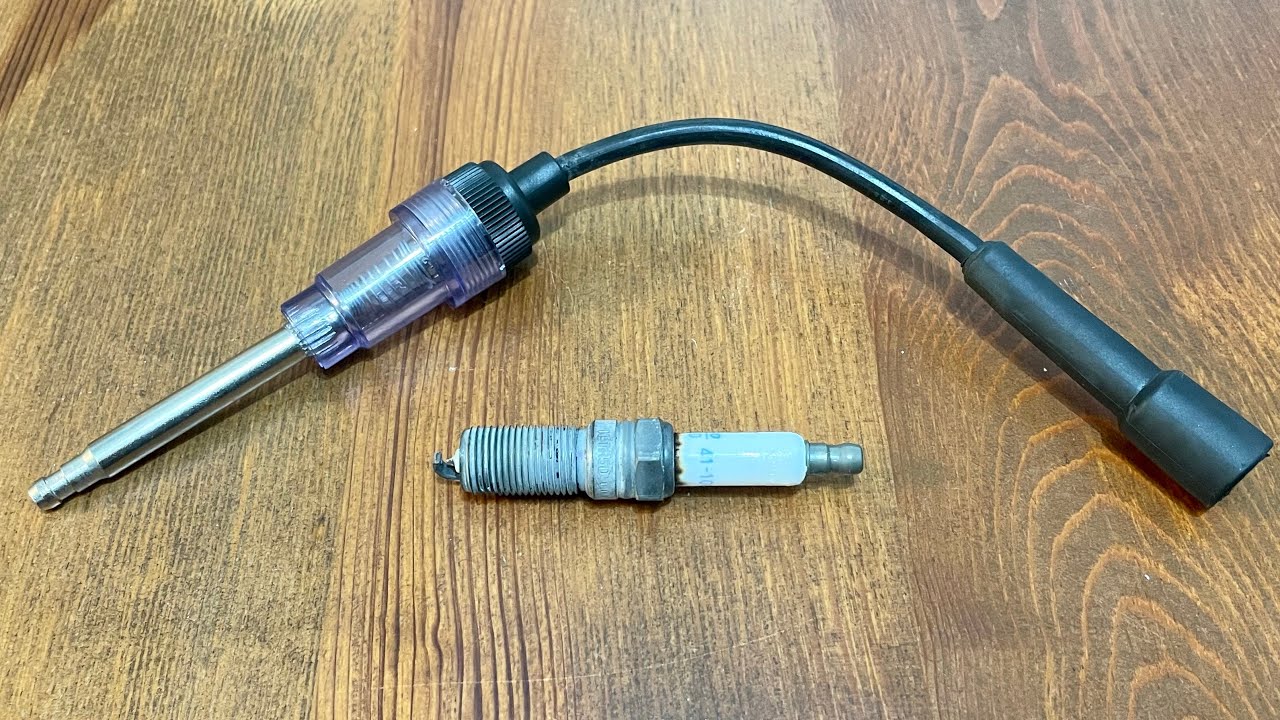
Make sure the new plug matches in reach, thread size, and seat type. This is a quick sanity check that can save you from installing the wrong part.
It’s also a great time to look at the old plug’s condition. Heavy oil, wet fuel, or unusual deposits can hint at bigger engine issues.
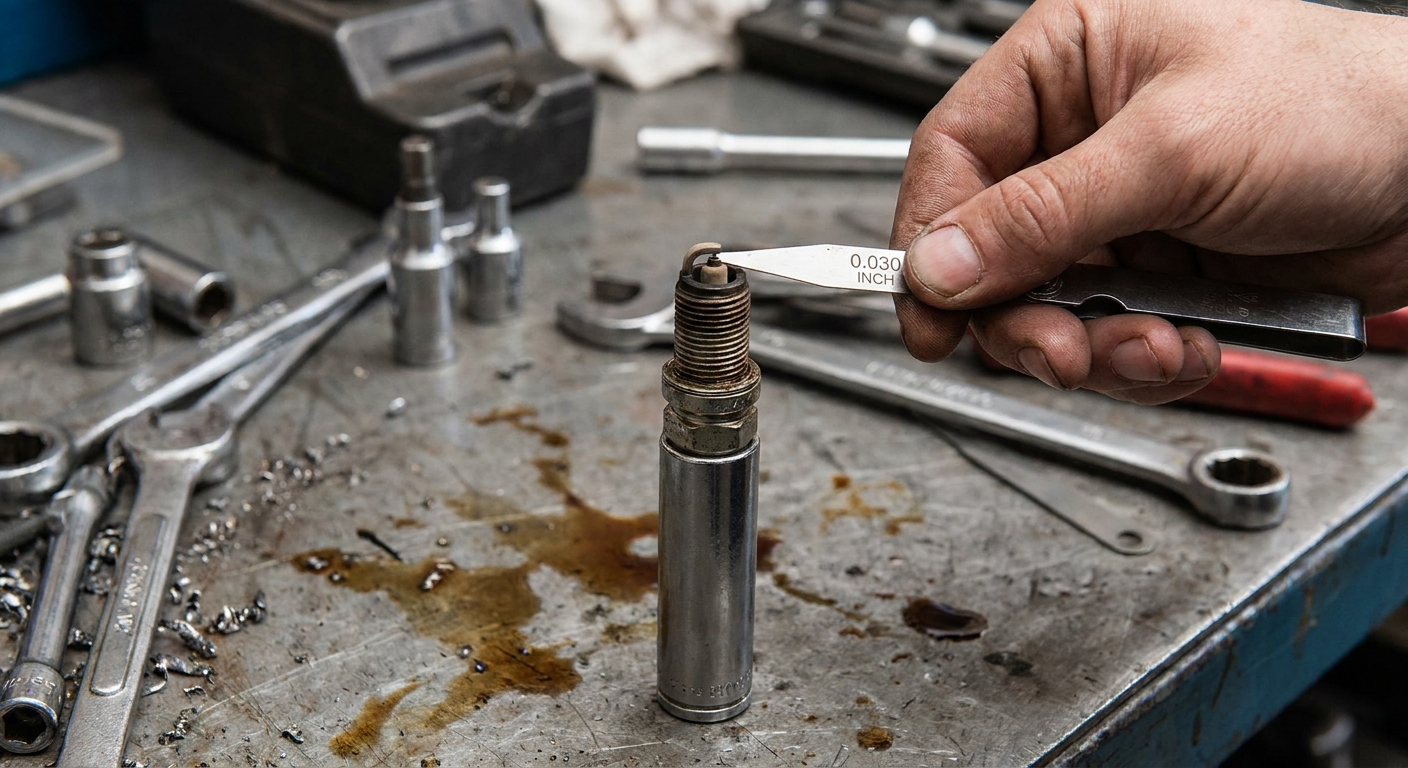
Step 6: Check or set the gap (only if applicable)
Some plugs come pre-gapped, and many modern plugs should not be re-gapped (especially certain fine-wire iridium designs) because you can damage the center electrode. Always follow the plug maker’s guidance and your vehicle spec.
If gapping is appropriate for your plug type, verify the gap with a feeler gauge and adjust carefully. The gap spec is typically found on an underhood label, the owner’s manual, or a service manual.
Installing new plugs
Rule 1: Start every plug by hand
This is the big one. Thread the plug in by hand using just the extension and socket, no ratchet, until it seats. If it does not thread smoothly, back it out and try again. Cross-threading an aluminum head can turn a simple tune-up into a major repair.
One extra trick that works great in tight engine bays: slip a short piece of rubber hose over the top of the plug and use the hose as a “handle” to start the threads. If the plug starts to cross-thread, the hose will usually slip before you can do real damage.
Rule 2: Tighten to spec
Once the plug is seated by hand, tighten it using a torque wrench to the manufacturer’s spec. Specs vary by engine and by plug design, so do not guess if you can avoid it. The best sources are your factory service information and the spark plug manufacturer’s instructions for that exact plug number.
If you do not have a torque wrench, use a careful turn-angle method as a backup and follow the guidance from the plug box or service manual for your exact application. The general idea is:
- New plug with crush washer: tighten until the washer seats, then an additional turn to compress it
- Used plug: smaller additional turn because the washer has already been crushed
I’m intentionally not giving a one-size-fits-all fraction-turn here because it can be wrong for your specific plug and cylinder head. If you can swing it, even an affordable torque wrench is a better plan than guessing.
Should you use anti-seize?
This is one of those topics that starts arguments in every shop. Many spark plug manufacturers advise not using anti-seize because plugs often have special plating on the threads, and anti-seize can change the effective torque and lead to over-tightening.
My rule: follow the spark plug manufacturer’s instructions first. If a service manual specifically calls for anti-seize (less common on modern applications), use it sparingly. If you do use it, follow the plug maker’s guidance on torque adjustment rather than assuming the dry torque spec still applies.
Reinstall coils or wires
Coil-on-plug engines
- Put a small dab of dielectric grease inside the coil boot if desired (think pea-size or less). Keep it off the plug electrode area.
- Press the coil down until you feel it seat on the plug.
- Reinstall the hold-down bolt snugly. Do not crank it down like a lug nut.
- Reconnect the electrical connector until it clicks.
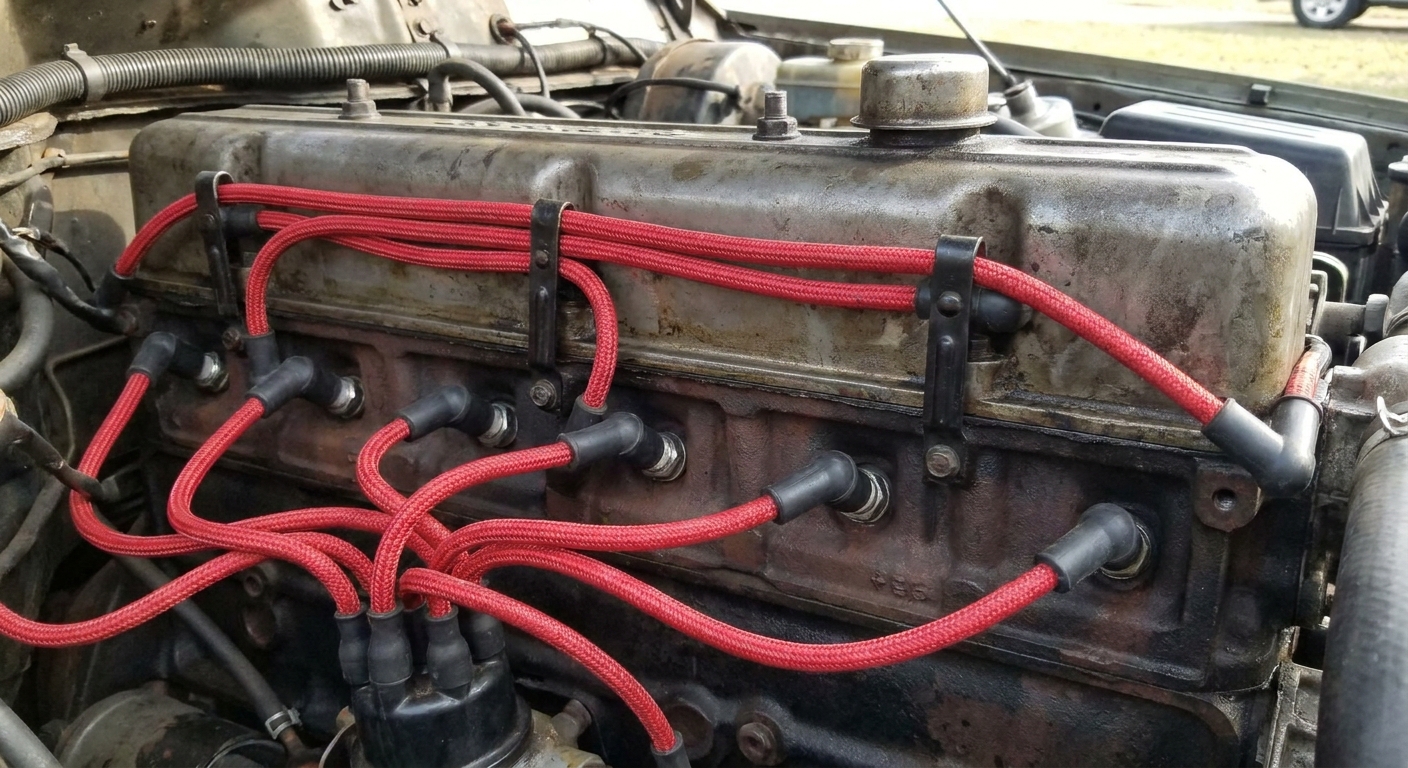
Plug-wire engines
- Confirm each wire goes to the correct cylinder. Replace one wire at a time if you are new to this.
- Push the boot on until it clicks or feels fully seated.
- Route wires away from hot exhaust parts and sharp edges, using the factory wire looms.
Final checks
- All plugs installed? Count them.
- All coils or wires reconnected? Do a visual sweep for unplugged connectors.
- No tools left behind? Check the cowl area and behind intake tubing.
- Engine cover reinstalled? If equipped.
- Battery reconnected? If you disconnected it.
Start the engine and listen. It should idle smoothly. A slight smell from disturbed dust or fingerprints burning off hot parts can be normal, but a strong fuel smell, flashing check engine light, or shaking idle is not.
If it won’t start
If your engine cranks but will not start after the job, something is usually unplugged, a coil connector is not fully seated, plug wires are out of order, or a coil boot did not seat on the plug. Rather than repeat a full no-start checklist here, head over to our dedicated guide: Why Your Car Cranks but Won’t Start.
Quick FAQ
How often should spark plugs be replaced?
It depends on plug type and engine. Copper plugs may need replacement far sooner than iridium or platinum designs. Your owner’s manual maintenance schedule is the best baseline.
What if I drop something into a spark plug well?
Do not remove the plug until the debris is out. Use compressed air, a vacuum with a small hose, or a pickup tool. If the plug is already out and something fell into the cylinder, stop and remove it before cranking the engine.
Can I replace just one spark plug?
You can, but I rarely recommend it unless it’s a temporary fix. If one plug is worn, the rest are usually close behind, and mismatched plugs can lead to uneven performance.
Do I need to replace ignition coils too?
Not automatically. If coils test good and the boots are in good shape, keep them. Replace coils when they fail, show clear damage, or you have a repeat misfire tied to a specific coil.
My shop-floor advice
If you only take two things away: let it cool, and start every plug by hand. Those two habits prevent most DIY spark plug disasters.
And if you run into a plug that feels wrong coming out or going in, pause. Patience is cheaper than thread repair, every time.