
Most hybrids have more than one cooling system to think about. There is the engine cooling system, and on many models there is also a dedicated inverter or power electronics coolant loop. Some vehicles add another thermal management setup for the battery (air-cooled on some, liquid-cooled on others), which is a separate topic and often a separate service procedure.
The inverter loop is the quiet one that gets ignored until a warning light pops up and the car starts limiting power. I have seen a simple neglected coolant service turn into an inverter overheat event that ends in a very expensive tow and an even more expensive parts quote.
Time and difficulty: Plan on 1 to 2 hours. Difficulty is moderate and very model-dependent, mostly because bleeding methods vary.
This guide walks you through a safe, DIY-friendly inverter coolant service: drain, flush if your vehicle supports it, refill, and bleed the air so the electric pump can do its job. I will call out the spots where popular hybrids differ, because this is one of those jobs where the details matter.
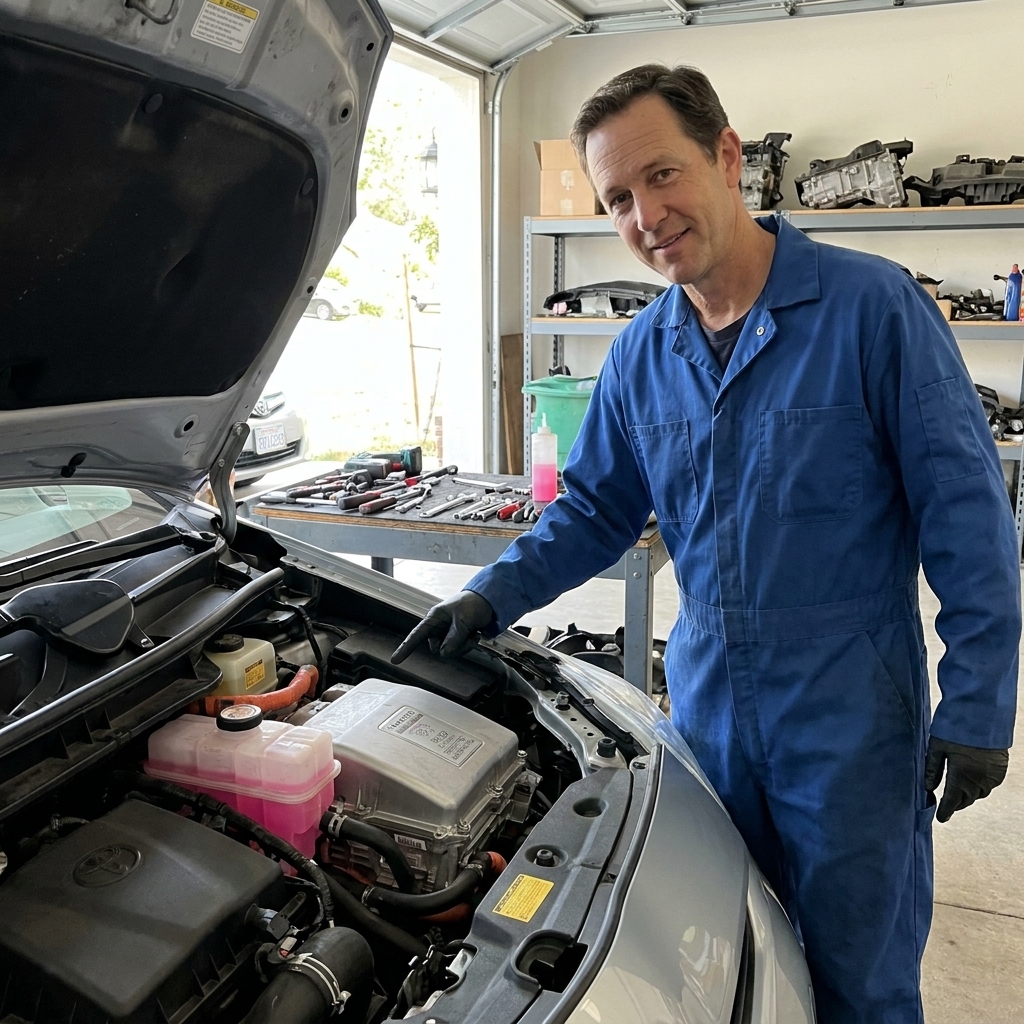
What the inverter cooling system does
The inverter converts high-voltage battery power into the right type of electricity for the electric motor(s), and it manages regenerative braking energy on the way back in. That power conversion generates heat. Many hybrids use a dedicated coolant loop with:
- Inverter and converter assembly (the heat source)
- Electric coolant pump (circulates coolant even when the gas engine is off)
- Radiator section or heat exchanger (sometimes separate, sometimes integrated)
- Reservoir with MIN/MAX markings
- Bleed points (varies by model)
When the coolant gets old, contaminated, or low, the pump can cavitate, air pockets can form, and cooling capacity drops. Many hybrids respond by reducing power, setting warning messages, or turning on multiple dash lights at once.
Before you start
High-voltage safety
You do not need to open any orange high-voltage connectors for an inverter coolant service on most models. Still, treat the area with respect:
- Work on a cold vehicle. Let it sit at least a couple hours.
- Keep hands and tools away from orange cables and HV connectors.
- Never remove inverter covers or access panels.
- Use only the specified coolant. Wrong coolant can attack seals or reduce corrosion protection.
Make sure it is the inverter loop
Many hybrids have two reservoirs with similar-looking coolant. The inverter reservoir is often smaller and located closer to the inverter assembly, but layouts vary. Your owner manual usually labels it clearly. If you are unsure, stop and verify, because draining the wrong system changes this job completely.
Do not mix this up with battery cooling
Battery cooling is commonly air-based on older hybrids and can be liquid-based on some newer hybrids and plug-ins. This article is about the inverter or power control unit coolant loop, not battery thermal management. If you are not sure which system you are looking at, verify in service information before you drain anything.
Tools and supplies
- Correct inverter coolant (see model notes below)
- Drain pan (clean, so you can inspect coolant)
- Funnel, plus a small spill-proof funnel if you have one
- Basic hand tools (10 mm and 12 mm are common)
- Hose pinch-off pliers (optional but helpful)
- Clear vinyl hose (for bleed nipples, if equipped)
- Jack and stands or ramps if access is tight (follow safe lifting practices)
- Nitrile gloves and shop towels
- Distilled water (only if your procedure calls for flushing with water)
Pro tip from the shop: If your hybrid uses pre-mixed coolant, do not dilute it. If it uses concentrate, mix only with distilled water, not hose water.
Also: Keep coolant off belts and painted surfaces. If you spill it, rinse with water right away and wipe it up. Coolant is slippery and it does not play nice with drive belts.
Coolant notes
Always confirm the factory spec for your exact year and model. Do not rely on color alone.
- Toyota and Lexus hybrids (many models): Toyota Super Long Life Coolant (pink), typically pre-mixed. On many Toyota and Lexus layouts, you can confirm pump operation by looking for coolant movement in the inverter reservoir, but not all reservoirs show obvious turbulence and pump command conditions vary by model.
- Honda hybrids: Honda Type 2 coolant (blue), pre-mixed. Bleeding methods vary a lot by platform.
- Ford hybrids: Ford has used multiple coolant chemistries across years. Identify the correct coolant by the owner’s manual or the exact Ford spec (often listed as a WSS-M97Bxx style specification), not by “yellow” or “orange.” Ford systems can be sensitive to mixing chemistries, so do not guess.
If you cannot confidently identify the correct coolant chemistry, pause and look it up. Mixing coolant types is one of the fastest ways to create sludge, corrosion, and pump issues.
Step-by-step
1) Set up and access
- Park on level ground, set the parking brake, and chock a rear wheel.
- Let the vehicle cool fully.
- Open the hood and locate the inverter coolant reservoir.
- If you need access from underneath, raise the front and support it on stands or ramps.
Take a photo of hose routing and reservoir level before you touch anything. It is simple insurance when you are putting it back together.
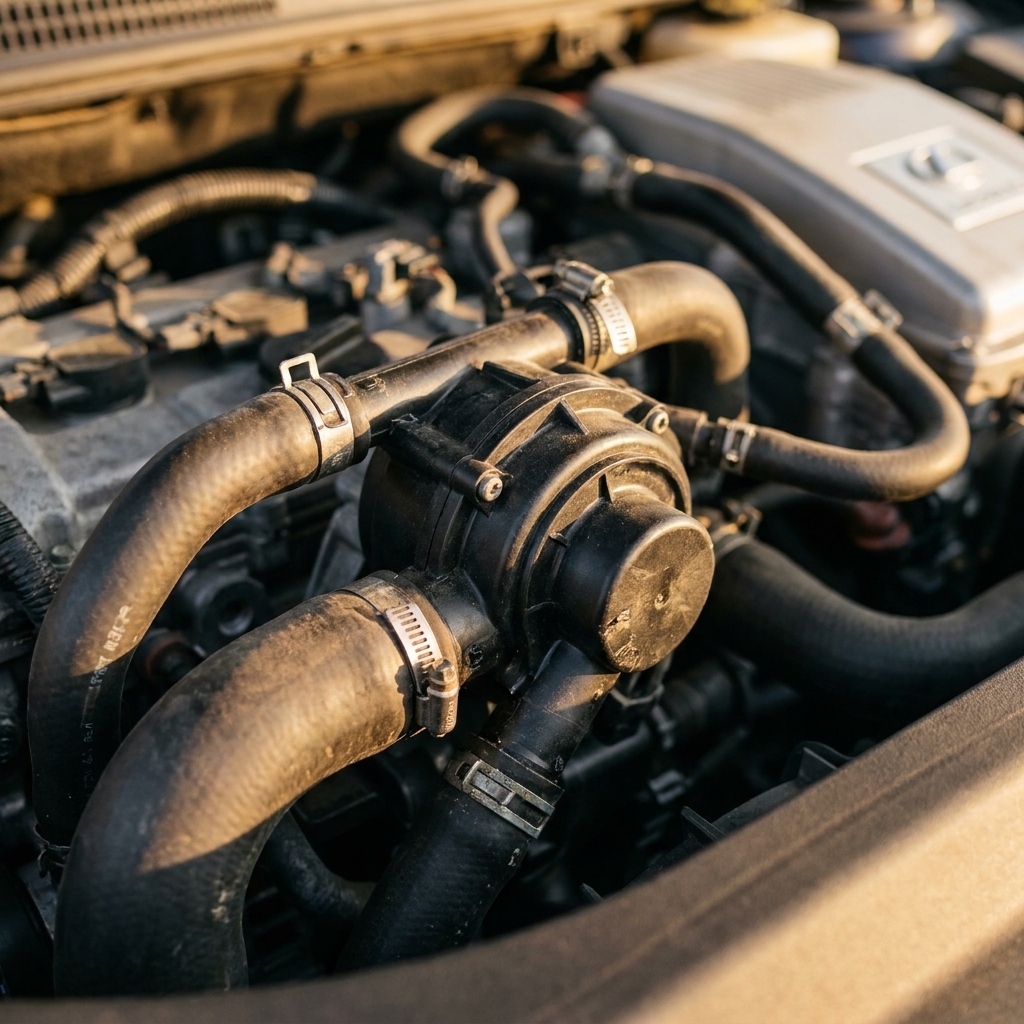
2) Crack the cap and prep for draining
- Slowly crack the inverter reservoir cap in case there is any residual pressure.
- Position a drain pan under the drain point.
Drain points vary. Some vehicles have a dedicated inverter loop drain cock. Others require you to remove a lower hose at the inverter cooler, pump, or heat exchanger.
3) Drain the old coolant
- Open the drain cock or carefully remove the chosen lower hose.
- Let coolant drain completely.
- Inspect the coolant in the pan. You are looking for oil sheen, heavy discoloration, or debris.
What normal looks like: clean, uniformly colored coolant with no floating particles. If it looks muddy, rusty, or has gel-like clumps, plan on extra flushing and consider a professional inspection.
4) Flush if your procedure allows it
There are two common approaches. The right one depends on the manufacturer procedure.
Method A: Drain and refill (gentlest, most common)
If your coolant is simply old and you are doing routine maintenance, many manufacturers effectively treat this as a drain-and-fill. You refill with fresh coolant, bleed, drive, then recheck level over a few heat cycles. This avoids introducing tap water or extra air in a system that can be picky.
Method B: Distilled water flush (only when called for)
- Close the drain and refill the reservoir with distilled water.
- Run the inverter pump per your model’s bleed procedure (see next step) to circulate.
- Drain again and repeat until the water comes out clear.
- Finish with the correct coolant and bleed thoroughly.
Important: Do not use chemical flush products in the inverter loop unless the manufacturer explicitly allows it. Power electronics cooling systems are not the place to experiment.
Mix warning: If your system normally uses pre-mixed coolant and you flush with distilled water, residual water will remain trapped in the loop. That can weaken freeze and boil protection if you simply top off with pre-mix. The clean way to handle this is to follow the factory procedure, or use the correct concentrate and math to land at the intended final mixture.
5) Refill with the correct coolant
- Close the drain cock or reinstall the hose and clamp securely.
- Fill the inverter reservoir to the MAX line (or the specified level).
- Leave the cap off for now if your bleed procedure requires it.
Go slowly. Fast filling can trap air, and air is the enemy in this loop.
6) Bleed the air
Bleeding is where DIY jobs go sideways. An air pocket can stop circulation, and the inverter can overheat quickly under load. Your exact procedure depends on the vehicle, but the goal is always the same: prove coolant is circulating and purge trapped air.
Common bleed approaches
- Reservoir movement check: On many Toyota and Lexus hybrids, you can command the pump by putting the car in READY mode or using a service function. If your reservoir design allows it, you watch for steady movement that indicates flow. Confirm the correct pump command conditions in service information for your model.
- Bleed screw or nipple: Some systems have a small bleed point. Attach clear hose, open slightly, and let air burp out until a solid stream of coolant flows, then close.
- Scan tool bleed routine: Some hybrids require an electronic bleeding procedure using a scan tool to cycle pumps and valves. If the service manual says so, do not skip it.
My practical rule: I do not consider the job done until I can confirm steady coolant movement or verified pump operation, and a stable reservoir level after multiple pump cycles.
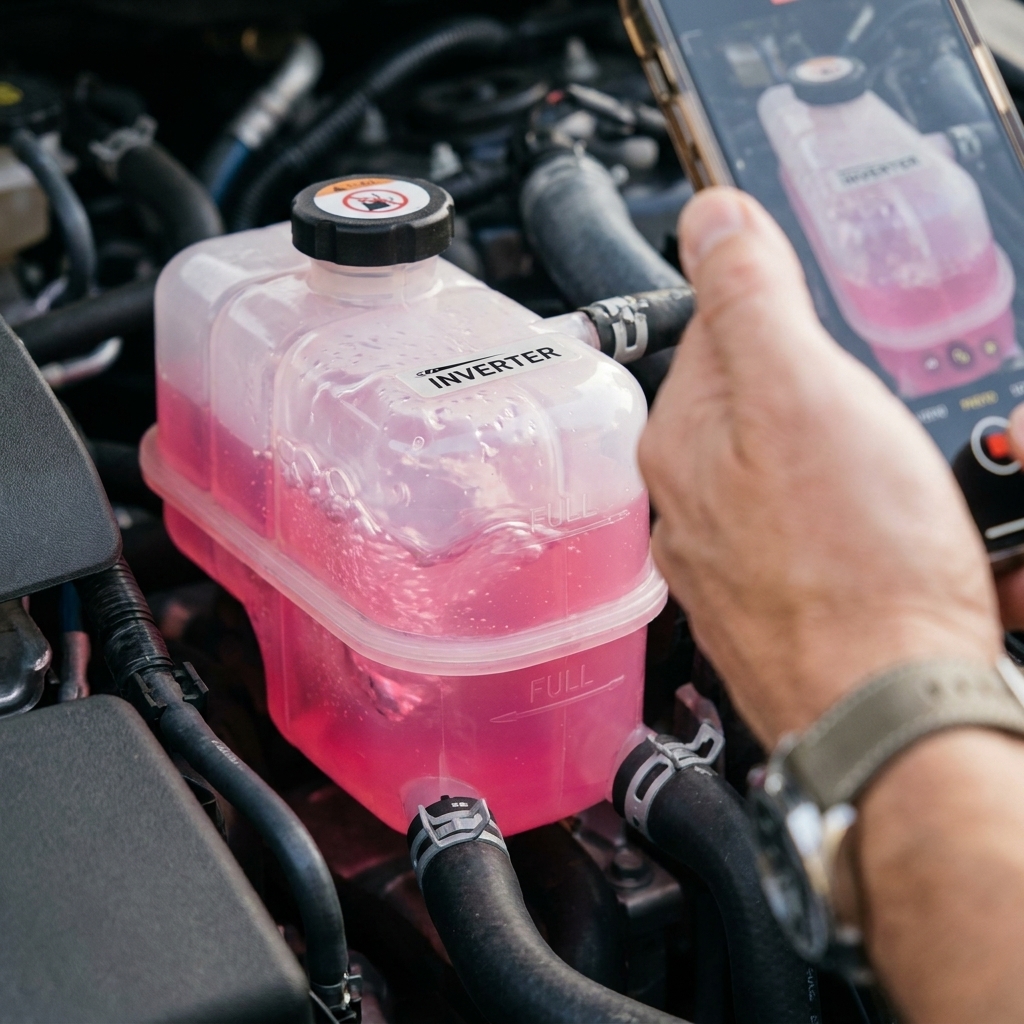
7) Final level and leak check
- Once bled, top off to the specified level and install the reservoir cap.
- With the vehicle running in the appropriate mode, inspect all disturbed hose connections for seepage.
- Reinstall undertrays or covers.
- After your first drive, recheck the inverter coolant level when the car is cold.
It is normal for the level to drop slightly after the first heat cycle as micro-bubbles work their way out. A repeated drop means you still have air trapped or you have a leak.
Symptoms that point to inverter coolant issues
People rarely service this loop because it sounds fun. Common reasons you end up here:
- Low inverter coolant reservoir level or recurring level drop
- Hybrid warnings or reduced power under load that go away after cooling down
- Gurgling in the reservoir area after recent work, which can indicate trapped air
- Evidence of seepage around the inverter pump, hoses, or heat exchanger
If you are seeing warnings, do not keep driving it hard. Overheating power electronics can get expensive fast.
Confirm the inverter pump works
Inverter pumps fail, and sometimes you find out right after a coolant service because you are finally paying attention to flow. Signs of a healthy system include:
- Verified pump operation by your model’s approved check method (reservoir movement on many models, scan tool data on others)
- No inverter temperature warnings during a longer drive with hills or highway speeds
- Stable coolant level over several cold checks
Signs of trouble include:
- No verified circulation when the pump should be running
- Gurgling sounds that do not go away after proper bleeding
- Rapid temperature warnings or reduced power
If you suspect a dead pump, stop driving and diagnose. Overheating power electronics can get expensive fast.
Common DIY mistakes
- Using the wrong coolant or mixing coolant chemistries
- Skipping the bleed procedure and assuming it will burp itself
- Overtightening plastic drain cocks or reservoir caps
- Ignoring undertrays that must be removed for proper access and leak checks
- Not verifying flow before going for a test drive
If your hybrid has both engine and inverter coolant reservoirs, label the caps with painter’s tape before you begin. It sounds silly, but it prevents a surprisingly common mix-up.
Service intervals
Intervals vary by manufacturer and model year. Some hybrids go a long time on factory fill, others call for earlier service, especially under severe driving conditions. The safest plan is:
- Follow your owner’s manual maintenance schedule for the inverter or power control unit cooling system.
- If you bought the vehicle used and history is unknown, consider servicing it for baseline maintenance, especially if coolant looks aged.
Disposal notes
Used coolant is toxic to people, pets, and wildlife. Store it in a sealed container and take it to a local recycling center or hazardous waste facility. Some auto parts stores accept used coolant, some do not, so call ahead. Clean up spills immediately, especially if you have animals around.
Success checklist
- Correct coolant type verified by spec, not color
- All hoses and clamps secure, no seepage
- Pump operation confirmed by an approved method
- Reservoir level stable after 2 to 3 cold checks
- No warnings or power limiting on a normal drive
FAQ
Is inverter coolant the same as engine coolant?
Sometimes it is the same chemistry, but not always. Even when it is the same type, it is a separate loop with its own pump and bleeding needs. Always verify by vehicle spec.
Can low inverter coolant cause hybrid warnings?
Yes. Low coolant or air in the inverter loop can reduce cooling and trigger warnings, limp mode, or reduced power. Do not ignore those messages.
Do I need a scan tool to bleed the inverter cooling system?
Some vehicles bleed fine with a manual procedure, others require a scan tool routine to cycle the pump and valves. If your service info calls for it, borrowing or renting a compatible scan tool can be cheaper than guessing.
What if I cannot get the air out?
Stop and reassess. Recheck hose routing, clamp tightness, and whether the pump is actually running when commanded. Persistent air can also indicate a leak on the suction side of the pump.
Closing thoughts
Hybrid inverter coolant service is not hard, but it is unforgiving. Take your time, use the correct coolant, and treat bleeding as the main event. When you get it right, you are buying real insurance against overheating and the kind of repair bill that ruins a perfectly good weekend.
For the last bit of accuracy that matters, use factory service information for your exact year and model to confirm drain locations, pump command conditions, and the correct bleed procedure.