I’ve lost count of how many tow-ins I’ve seen that start with, “I just replaced the fuel pump and now it won’t start.” The good news is that a crank-no-start right after a pump job is usually something simple: a connector not fully seated, a fuse popped during installation, a line pinched, or a lock ring not seated correctly. The bad news is you can burn a lot of time guessing.
Below is the same order I’d troubleshoot it in the bay, starting with the fastest checks and moving toward the stuff that takes more effort. Do these steps in sequence and you will usually find the issue before you drop the tank again.
First: confirm what kind of “no start” you have
After a fuel pump replacement, the most common scenario is cranks normally but won’t fire. But make sure you are not mixing problems:
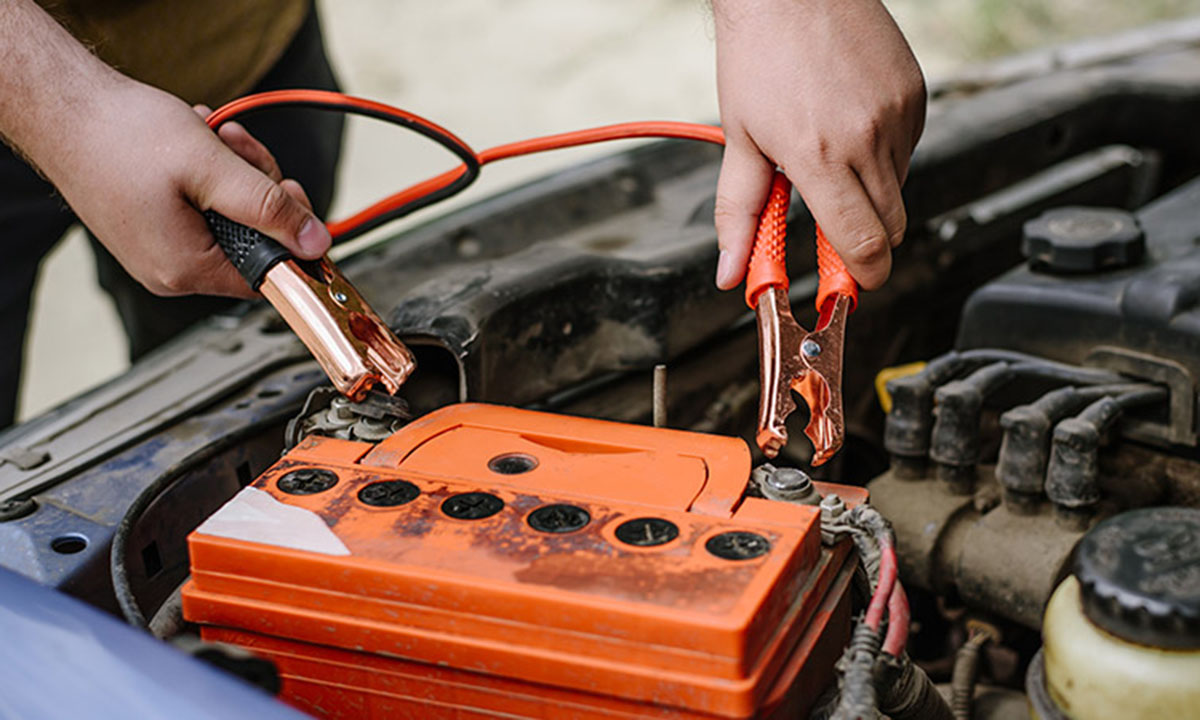
- No crank (starter does not spin): this is not a fuel pump problem. Check battery, terminals, starter circuit.
- Cranks fast like it has no compression: that is a separate mechanical issue.
- Cranks normally, no start: stay here. This is where fuel, spark, or injector pulse is missing.
A quick hint, not a diagnosis: on older systems you might smell fuel at the tailpipe after cranking. On many modern sealed EVAP and returnless systems, not smelling fuel does not prove you have no fuel. Don’t let the “smell test” send you down the wrong rabbit hole.
Safety notes before you dive in
- Work in a ventilated area and keep ignition sources away from fuel vapors.
- Relieve fuel pressure before disconnecting lines if your vehicle has a service procedure for it.
- Use jack stands if you are going under the car. Never trust a jack alone.
- If you are going back into wiring or dropping a tank again, disconnect the battery and follow the service procedure for your vehicle.
Step 1: listen for the pump prime (key ON, engine OFF)
Many vehicles will run the pump briefly when you turn the key to ON. It might be a 1 to 3 second prime, it might be shorter or longer, and on some vehicles you may not hear it at all. A few systems also behave differently if there is a fault, low battery voltage, or a control-module strategy that limits priming.
- If you hear the prime: the pump is at least being commanded on and spinning. It still does not guarantee correct fuel pressure, correct flow, or that the in-tank hose or regulator is intact. Move on to pressure and installation checks.
- If you do not hear the prime: focus on electrical power, ground, relay, fuse, inertia switch, driver module (if equipped), and the connector at the pump module.
Tip: have a helper cycle the key while you kneel near the fuel tank area. It is easier than trying to do both.
Step 2: check the obvious electrical misses at the pump
If a crank-no-start begins immediately after the job, assume something was left unplugged or not fully latched.
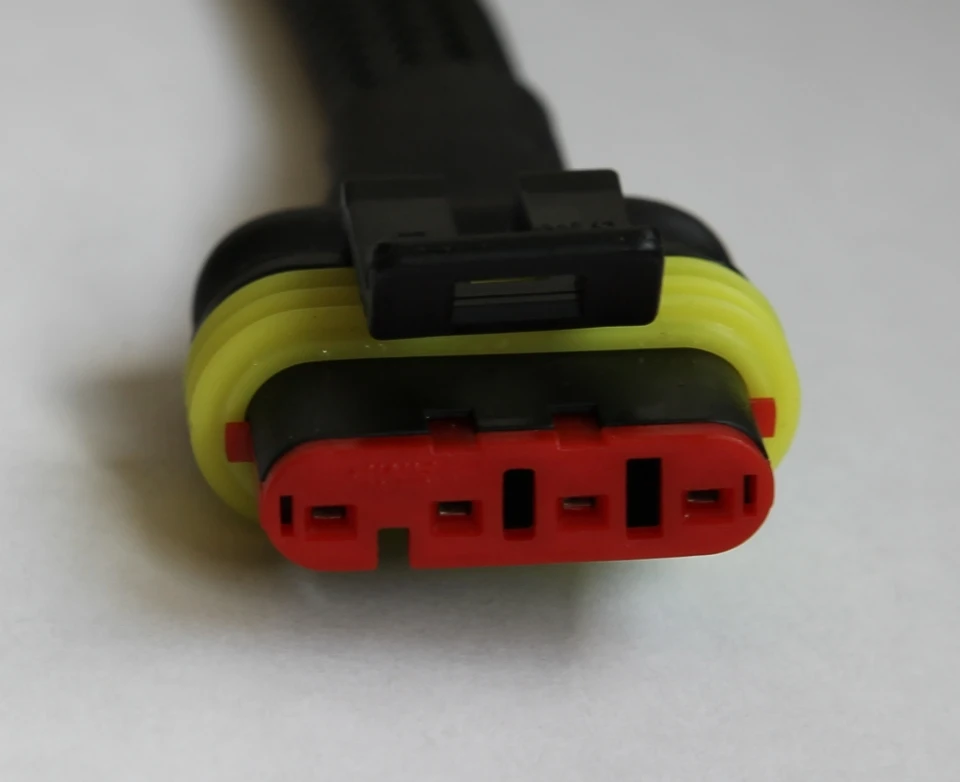
Pump connector not seated or pins pushed back
Even when a connector “feels” plugged in, the lock tab might not have clicked. On some vehicles, it is also possible to push a terminal pin backward in the connector during installation.
- Unplug the connector and inspect for bent pins, corrosion, or terminals sitting deeper than the others.
- Reconnect until you feel and hear the latch click.
- Give it a gentle tug test. If it slides off, it is not locked.
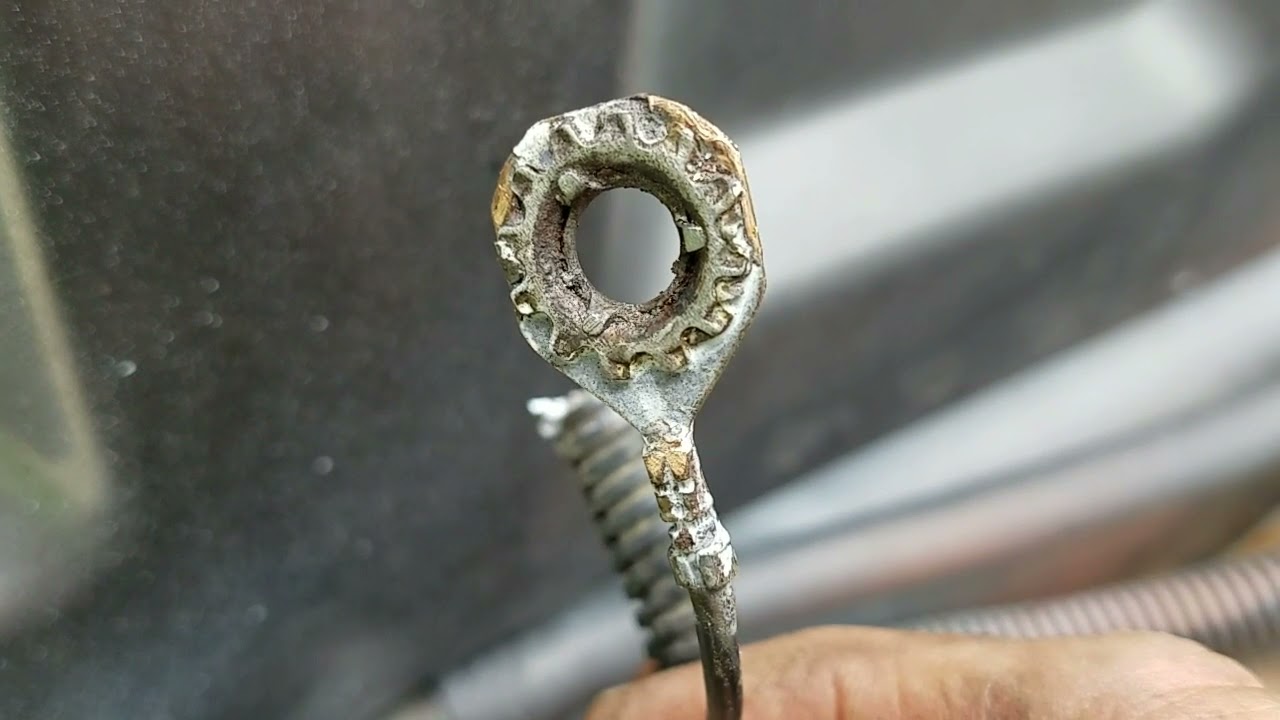
Ground wire loose or rusty ground point
The pump can have power and still not run if the ground is poor.
- Find the pump ground point (often on the body near the tank) and make sure it is tight and clean.
- If you had the tank out, confirm no ground strap was forgotten.
Step 3: check the fuse, relay, and safety cutoffs
It is surprisingly common to pop a fuse during installation, especially if the key was turned on while connectors were being handled.
Fuel pump fuse
- Check the fuel pump fuse in the under-hood or interior fuse box.
- Do not just look at it. If you have a test light or multimeter, verify it has power on both sides.
Fuel pump relay
If the relay is weak or the contacts are burnt, it may choose today to fail. You can often swap it with a matching relay in the fuse box (like the horn relay) as a quick test.
Inertia switch or fuel cut switch (if equipped)
Some vehicles have an inertia switch that cuts power to the fuel pump after an impact. It can also get tripped accidentally during work, or it may have been bumped.
- Look up the inertia switch location for your model. Common spots include the trunk side panel, passenger kick panel, or behind interior trim.
- Press the reset button. If it clicks, it was tripped.
Step 4: confirm pump command with a quick power test
If you do not hear the pump, the fastest way to stop guessing is to verify power and ground at the pump connector during the prime window.
- Backprobe the pump power and ground wires at the connector using proper backprobe pins. Avoid jamming test leads into the connector and spreading terminals.
- Have a helper cycle the key to ON while you watch for voltage during the brief prime window.
What to expect: on many vehicles you will only see voltage for a second or two at key ON. If you miss it, cycle the key again.
What the results mean:
- Battery voltage present, good ground present, pump silent: suspect a bad new pump, wrong pump, or an internal module connector not seated.
- No voltage at prime: go upstream. Relay control, fuse, inertia switch, fuel pump driver module (if equipped), wiring issue, or no pump command.
- Low voltage: high resistance connection, weak ground, or a wiring issue.
One more modern-vehicle reality check: a lot of systems will not keep the pump running unless the ECU sees an RPM signal while cranking. That means a crank sensor or ECU power issue can look like a fuel pump problem. You will see this show up again in Step 10.
If you are not comfortable backprobing, this is a good point to bring in a shop. A short in that area is not something you want to learn the hard way.
Step 5: fuel pressure check (this solves a lot of mysteries)
Hearing the pump run does not guarantee you have enough pressure at the rail. The engine needs the correct pressure, and it needs it quickly.
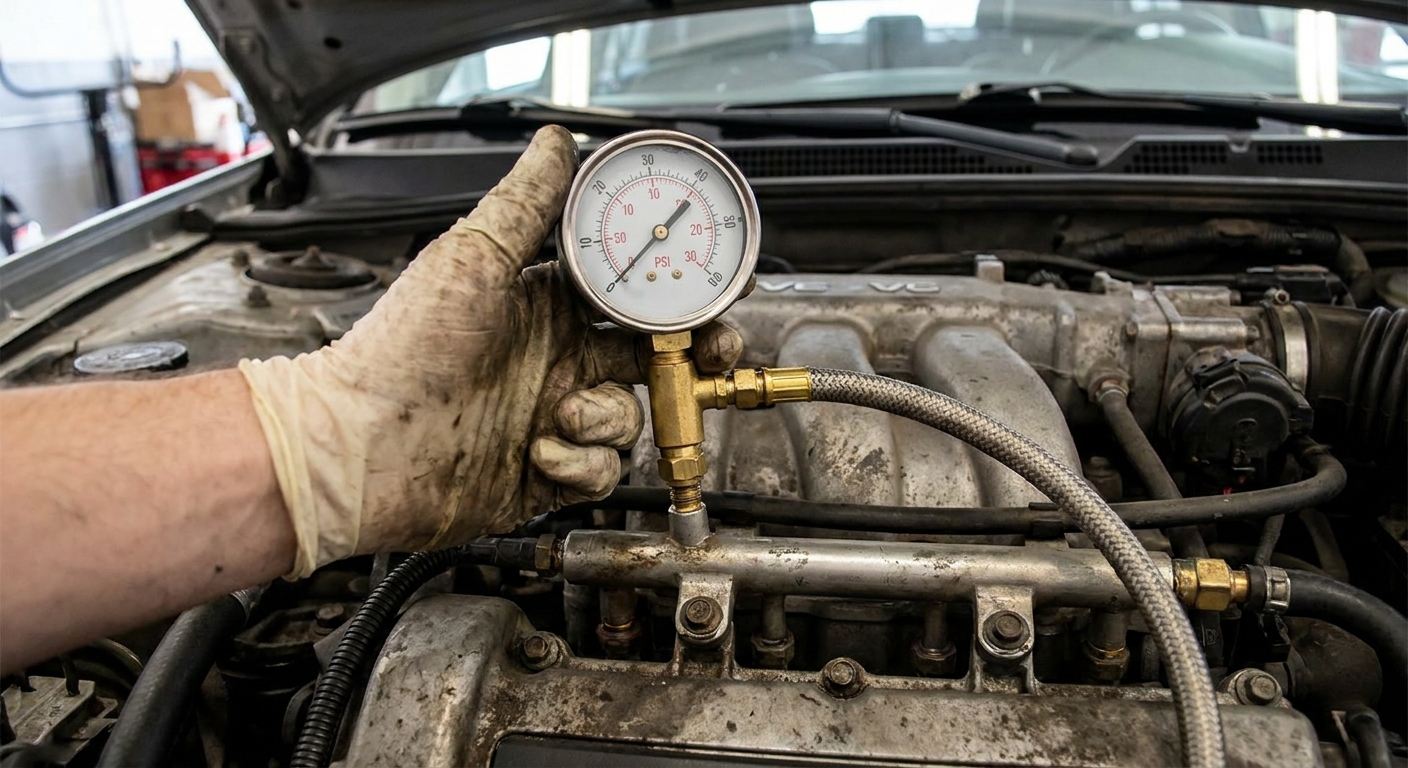
Use a fuel pressure gauge if you can
Many engines have a Schrader valve on the fuel rail. If yours does, screw a gauge on and cycle the key a few times.
What to expect: cycle the key ON, then OFF, a few times before you judge pressure. You are trying to build pressure without cooking the starter.
- Low or zero pressure: fuel is not reaching the rail, the pump is not delivering, or pressure is bleeding off immediately.
- Pressure present but still no start: now you are looking at injector pulse, spark, immobilizer, or a different issue that just happened to show up after the pump job.
Don’t chase an exact PSI number from a generic internet list. The correct spec varies a lot by system. If you can, look up the factory spec for your exact engine.
Step 6: common installation problems after an in-tank pump job
These are the “I did everything right” mistakes I see most often, especially on first-time pump replacements.
Lock ring not seated, seal pinched, or module not fully down
If the module is not fully seated, the pickup can sit wrong or the seal can bind, and you can get a no-start plus a fuel smell.
- Inspect for wetness around the lock ring area.
- Make sure the O-ring seal is not twisted and the lock ring is fully engaged in its stops.
- If you reused an old seal, consider replacing it. A flattened O-ring can cause leaks and seating problems.
Strainer (sock) folded, missing, or incorrect
The pump inlet strainer should sit freely. If it is folded over or jammed against the tank floor, the pump can starve.
- If the tank had to be forced in place, double-check that the strainer did not get bent or rolled.
- Make sure the strainer matches the pump and module design.
In-tank hose or regulator issue (pump runs, low or no pressure)
This one is more common than people think. Many returnless systems regulate pressure in the tank as part of the module. If an in-tank hose is split, a clamp is loose, or the wrong module/regulator is installed, the pump can run and still not build rail pressure.
- If you have pump noise but low pressure, suspect an internal leak in the module before you assume the new pump is junk.
- Double-check any short in-tank hose connections you disturbed during the job.
Fuel line quick-connect not fully clicked
A quick-connect that is 95 percent seated can still leak. It can also pop off under pressure.
- Remove and reinstall the connector until it clearly clicks.
- Pull back gently to confirm it is locked.
If you are dealing with an external pump setup or a suction-side hose ahead of the pump, an imperfect connection can also pull air and cause hard starts. Most underbody quick-connects on modern cars are on the pressure side, so the usual giveaway is a seep or spray, not “air in the line.”
Lines crossed (feed vs return) on some setups
Some vehicles make it possible to mix up lines during reassembly, especially if both fittings look similar.
- Check the service manual routing or the markings on the lines.
- If your system is returnless, this is less likely, but still verify what you disconnected.
Sensor or module connector left unplugged
Some pump assemblies share wiring with a fuel level sender, a fuel tank pressure sensor, a fuel pressure sensor, or a pump control module. Leaving something unplugged can set codes and, on some systems, can prevent the ECU from commanding the pump the way it should.
Step 7: common installation problems after an inline pump or external filter change
Flow direction wrong
Inline pumps and filters usually have an arrow showing flow direction. Backwards installation can cause low pressure or no delivery.
- Find the arrow on the pump or filter body and confirm it points toward the engine.
Pinched hose or kinked line
Hoses can kink when tightened down or routed around brackets.
- Inspect the full run for sharp bends.
- Check that clamps are tight and not cutting into the hose.
Step 8: did you install the correct pump?
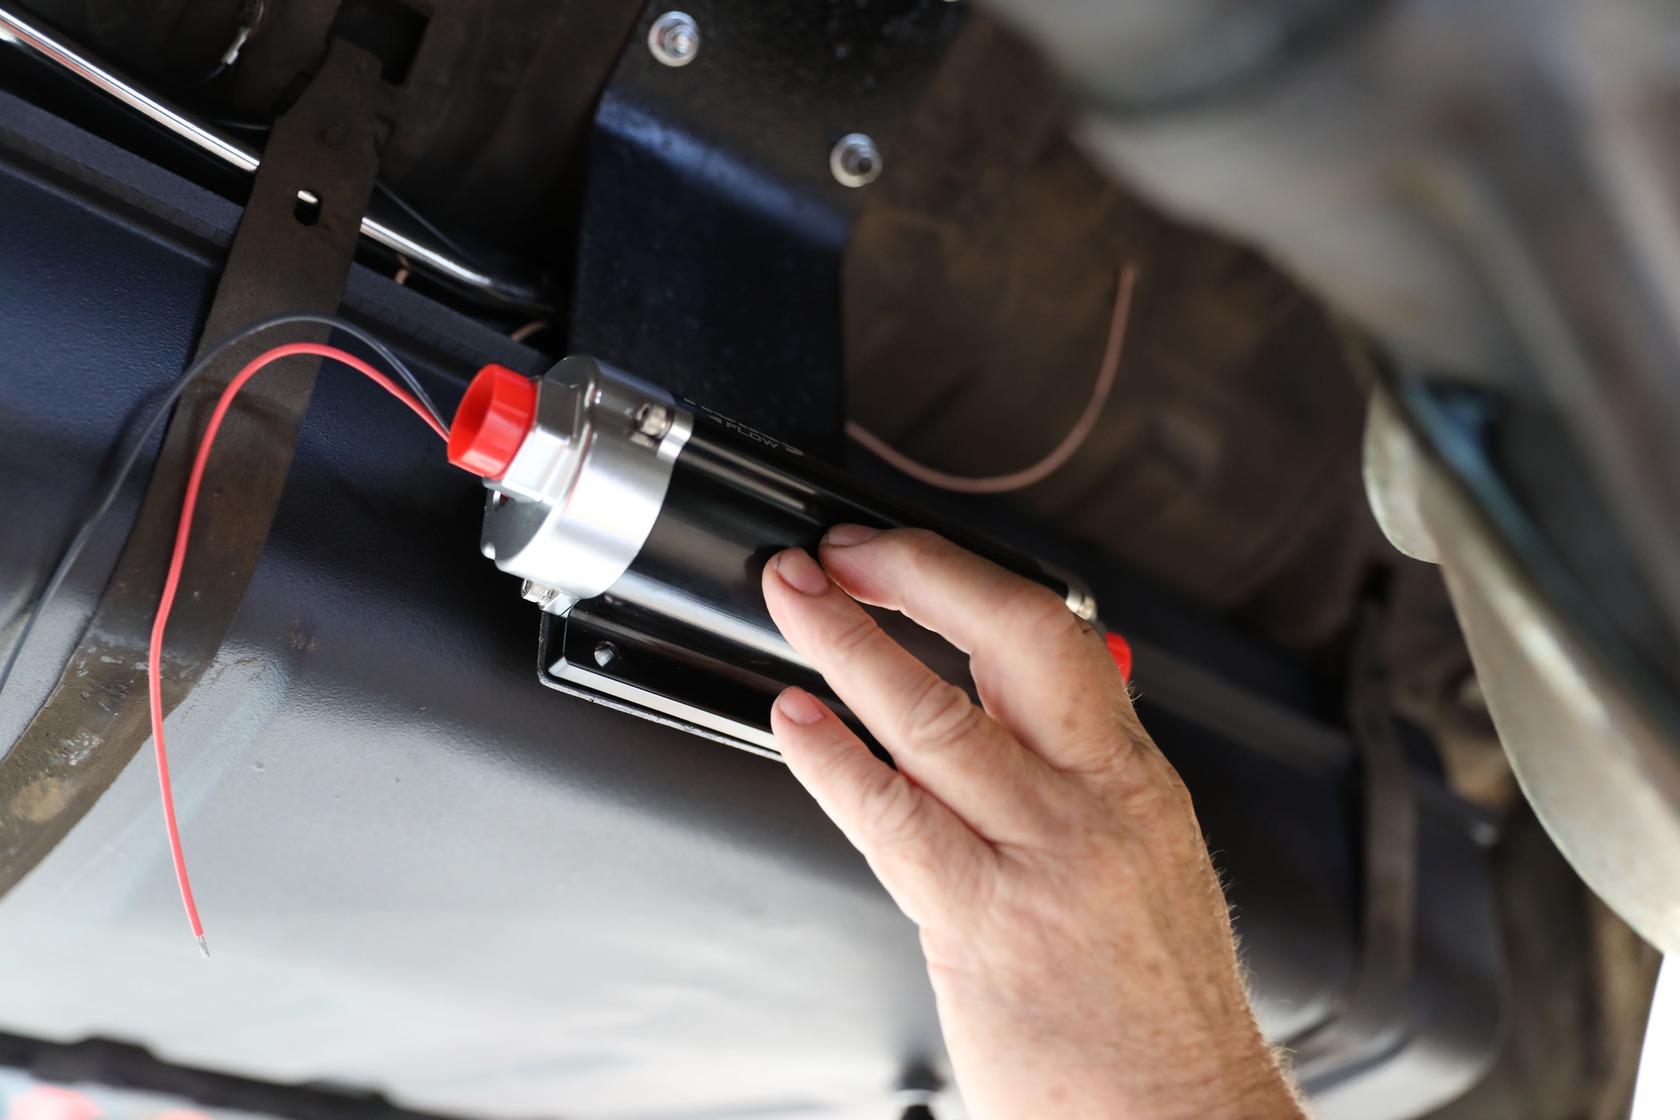
“New” does not always mean “correct.” I’ve seen plenty of pumps and modules that bolt in but are wrong for the system, especially on returnless setups.
- Confirm the part number matches your VIN or exact engine and model year range.
- Compare the electrical connector and pinout, inlet size, outlet style, and overall length to the old pump.
- If you changed the whole module, verify it matches your emissions package and fuel system type (return or returnless), including any in-tank regulator design.
- On some swaps and retrofits, mispinned connectors or reversed polarity can make a pump run poorly or not at all. Match wiring by diagram, not by wire color guesses.
Step 9: priming mistakes that look like a dead pump
After the system has been opened, it may take a little longer to build pressure. You do not want to crank for 30 seconds straight and cook the starter.
Try a proper key-cycle prime
- Turn key to ON for 5 seconds.
- Turn key OFF for 10 seconds.
- Repeat 3 to 5 times.
- Then crank for 5 to 7 seconds.
If it starts and dies, you may still have a pressure issue, a major leak, or a line connection problem letting pressure bleed off.
Step 10: things that are easy to blame on the pump, but aren’t
Sometimes the timing is just cruel. A different failure can show up right when you finish the pump job.
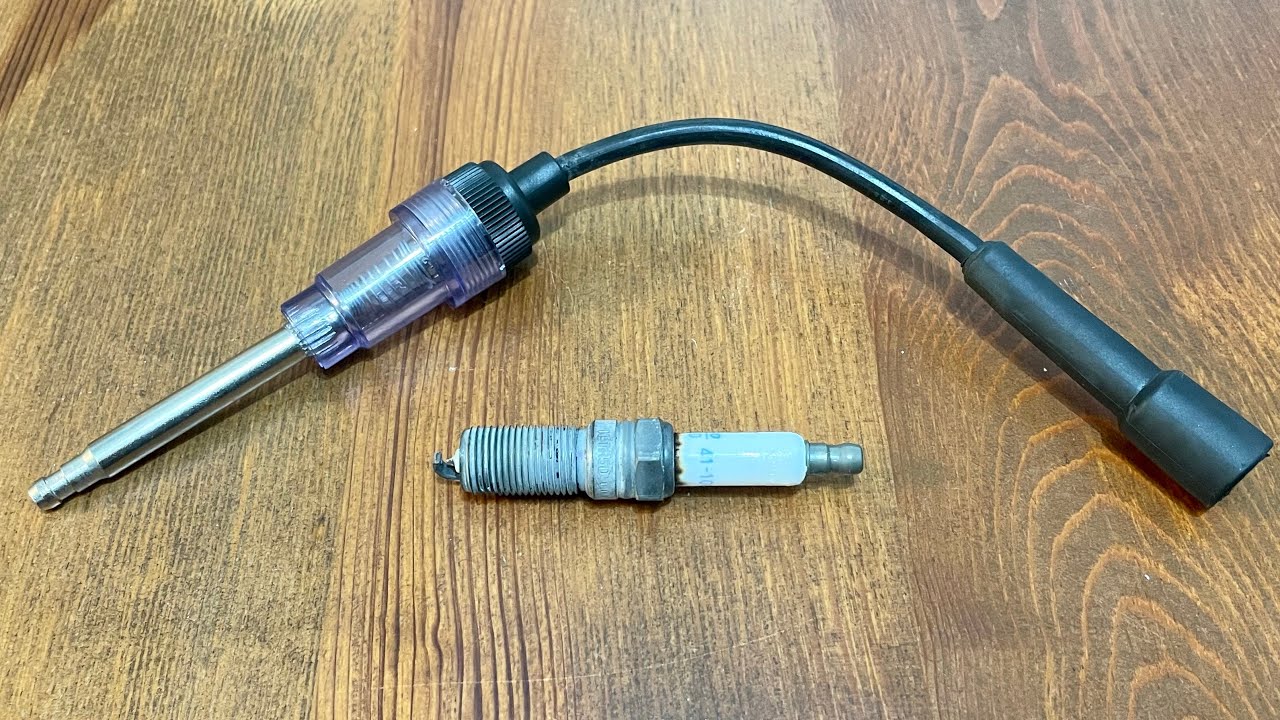
- No spark: crankshaft position sensor, ignition module, coils, blown ignition fuse.
- No injector pulse: security system issue, crank sensor signal missing, ECU power issue.
- Pump will not stay on while cranking: on many cars, the ECU shuts the pump off if it does not see RPM. A dead crank sensor can mimic a dead pump.
- Bad gas or contamination: if the tank had debris, a new pump strainer can clog fast.
A quick scan for trouble codes can save hours. Even a basic code reader can point you toward crank sensor codes, theft deterrent issues, fuel pressure sensor codes, or power supply problems.
When to stop and get help
If you smell fuel strongly, see wetness near the tank seal, or you are unsure about electrical testing, it is time to pause. Fuel leaks plus repeated cranking are a risky combo.
Also, if you have verified power and ground at the pump and you still have no pressure, that is when I start considering a defective new pump, a wrong pump or module, or an internal module problem like a split in-tank hose or regulator mismatch.
Quick checklist: the top causes right after a fuel pump replacement
- Pump connector not fully latched or pins pushed back
- Fuel pump fuse blown during the job
- Relay not functioning or swapped incorrectly
- Inertia switch tripped and not reset
- Poor ground at the tank or forgotten ground strap
- Lock ring not seated, O-ring pinched, module not fully installed
- Strainer folded or wrong strainer installed
- In-tank hose loose or split, module regulator mismatch (pump runs, low pressure)
- Quick-connect fuel line not clicked in place
- Inline pump or filter installed backwards
- Wrong pump or wrong module for the vehicle, including connector pinout issues
FAQ
Should I add fuel after replacing the pump?
If the tank is very low, yes. In-tank pumps use fuel for cooling, and a nearly empty tank can make priming harder and raise the risk of overheating the pump during repeated crank attempts.
Can a brand-new fuel pump be bad out of the box?
It happens. It is not the first thing I assume, but if you have verified good power and ground at the pump connector during prime and the pump will not run or cannot build pressure, a defective pump becomes a real possibility.
Why does it crank and almost start, then die?
That often points to fuel pressure that spikes briefly then drops. Common causes are a loose line connection, a sealing issue at the module, a restricted pickup strainer, an internal module leak, or a major external leak bleeding pressure off quickly.
Do I need to bleed air out of the fuel system?
Most gasoline systems self-bleed with key cycling. Do the key ON and OFF prime routine a few times before extended cranking.