I keep a lithium jump pack in just about every vehicle I own, including my old 1978 Datsun 280Z. Not because I plan on killing batteries for fun, but because modern jump packs are one of the few tools that can turn a dead morning into a normal one in under 10 minutes. The trick is using the right sequence. With a jump pack, the order matters more than people think.
Below is the exact process I use in the shop mindset: jump pack off, clamps on correctly, pick a smart ground point, then enable the pack and crank with a time limit. I will also walk you through the cases a pack cannot fix, and when a battery charger is the better call.
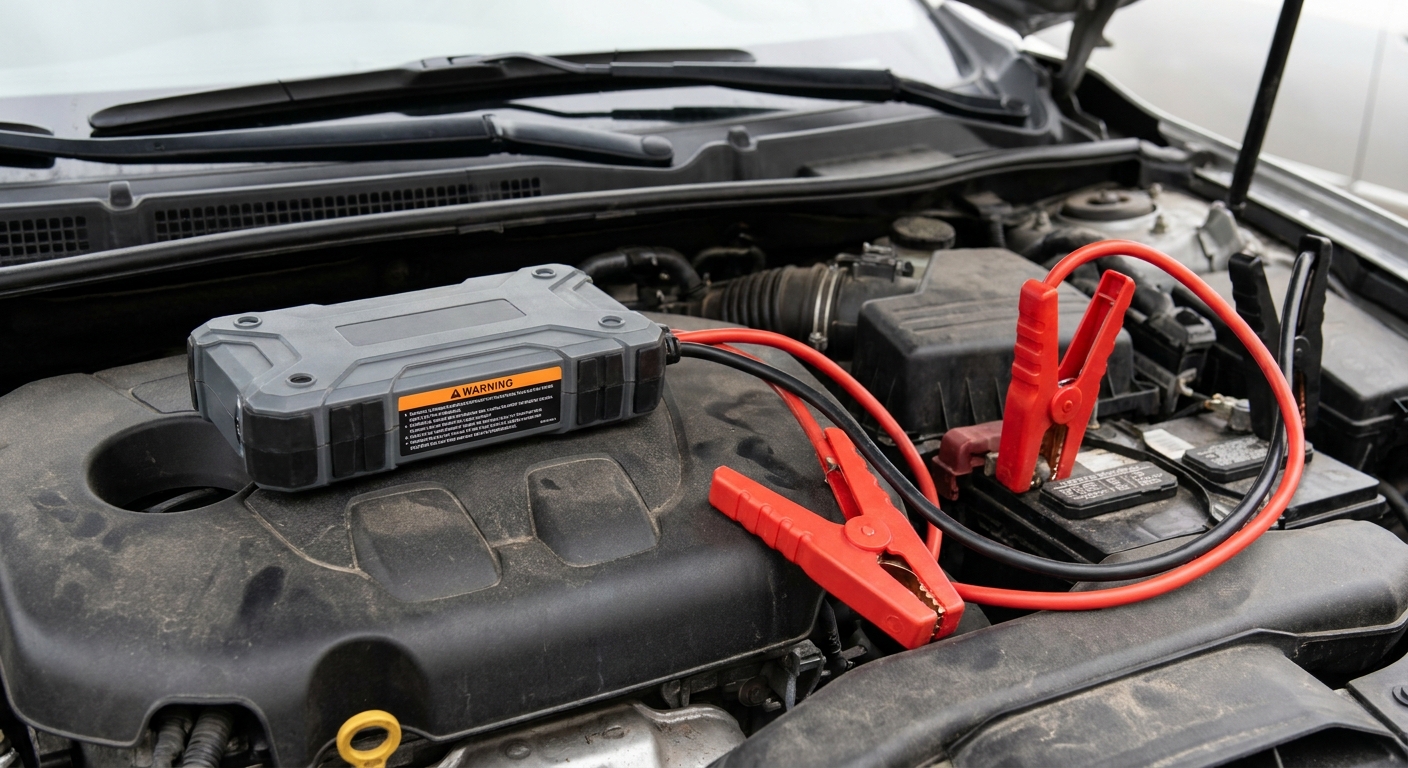
Before you start: quick safety checks
A jump pack can deliver a lot of current fast. That is what makes it useful, and also what makes it dangerous if the battery or cables are damaged.
Do not jump it if you see this
- Battery is frozen: If it is below freezing and the battery may be discharged, the electrolyte can freeze. Jumping a frozen battery can crack the case or worse. Bring the vehicle into a warmer space and let the battery thaw, then charge it slowly.
- Battery case is swollen, cracked, or leaking: Stop. Replace the battery.
- Strong sulfur or rotten egg smell: That can mean the battery is gassing heavily. Do not create sparks near it. Stop and ventilate.
- Loose or melted battery terminals: Fix the connection first. A jump pack will not overcome a bad terminal, and you can overheat the connection.
Set the car up
- Shift to Park (or Neutral for a manual) and set the parking brake.
- Turn everything off: headlights, HVAC blower, heated seats, wipers, radio, phone chargers.
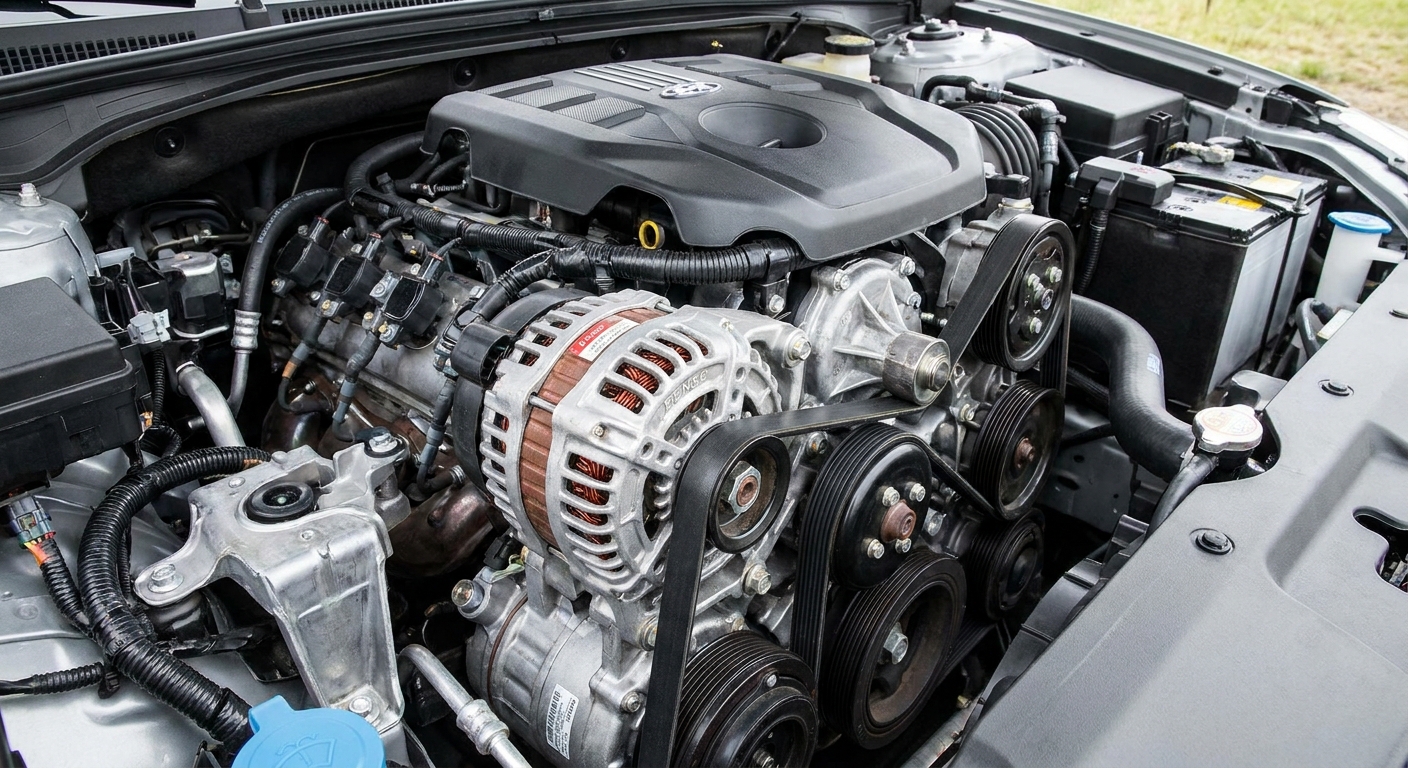
- Pop the hood and locate the 12-volt battery. If your battery is in the trunk or under a seat, look for under-hood jump posts. Many vehicles provide a dedicated positive post and a ground stud. Use the manufacturer-designated jump posts when they are provided.
Quick scope note: This guide is for the 12-volt system. Hybrids and EVs still have a 12-volt battery, but the jump points and procedure can be model-specific. Follow your owner’s manual if anything looks different under the hood.
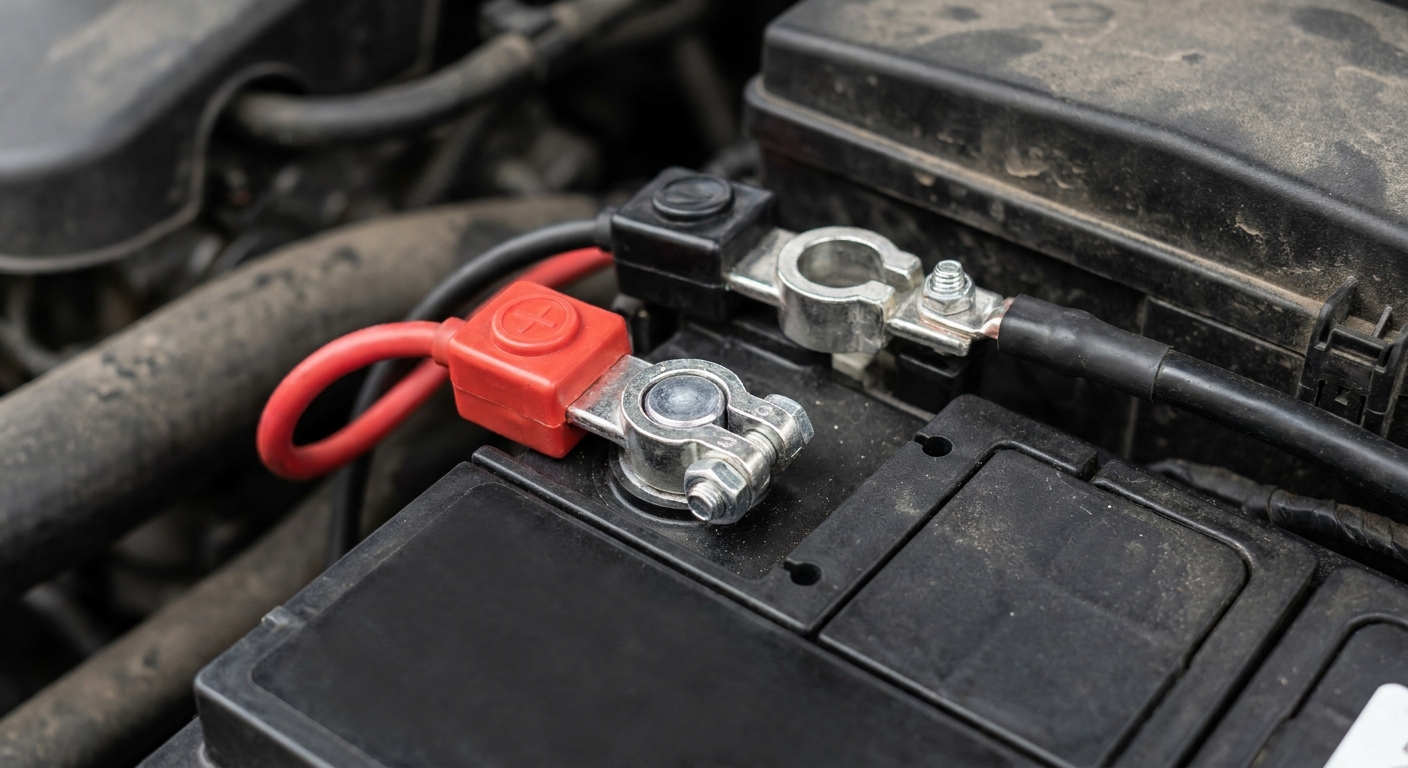
The correct jump-pack sequence (the way I teach it)
My safest default is: connect clamps first, then enable output. Many packs are designed around that routine, but not all packs behave the same. Some auto-arm when they sense voltage, and some are effectively live once the clamps are attached. So use this sequence, and also follow your jump pack manual.
Step 1: Make sure the jump pack is off (if it has a switch)
If your pack has a power button, a boost button, or a manual override mode, leave it off for now. You want to connect clamps first so you are not handling live leads.
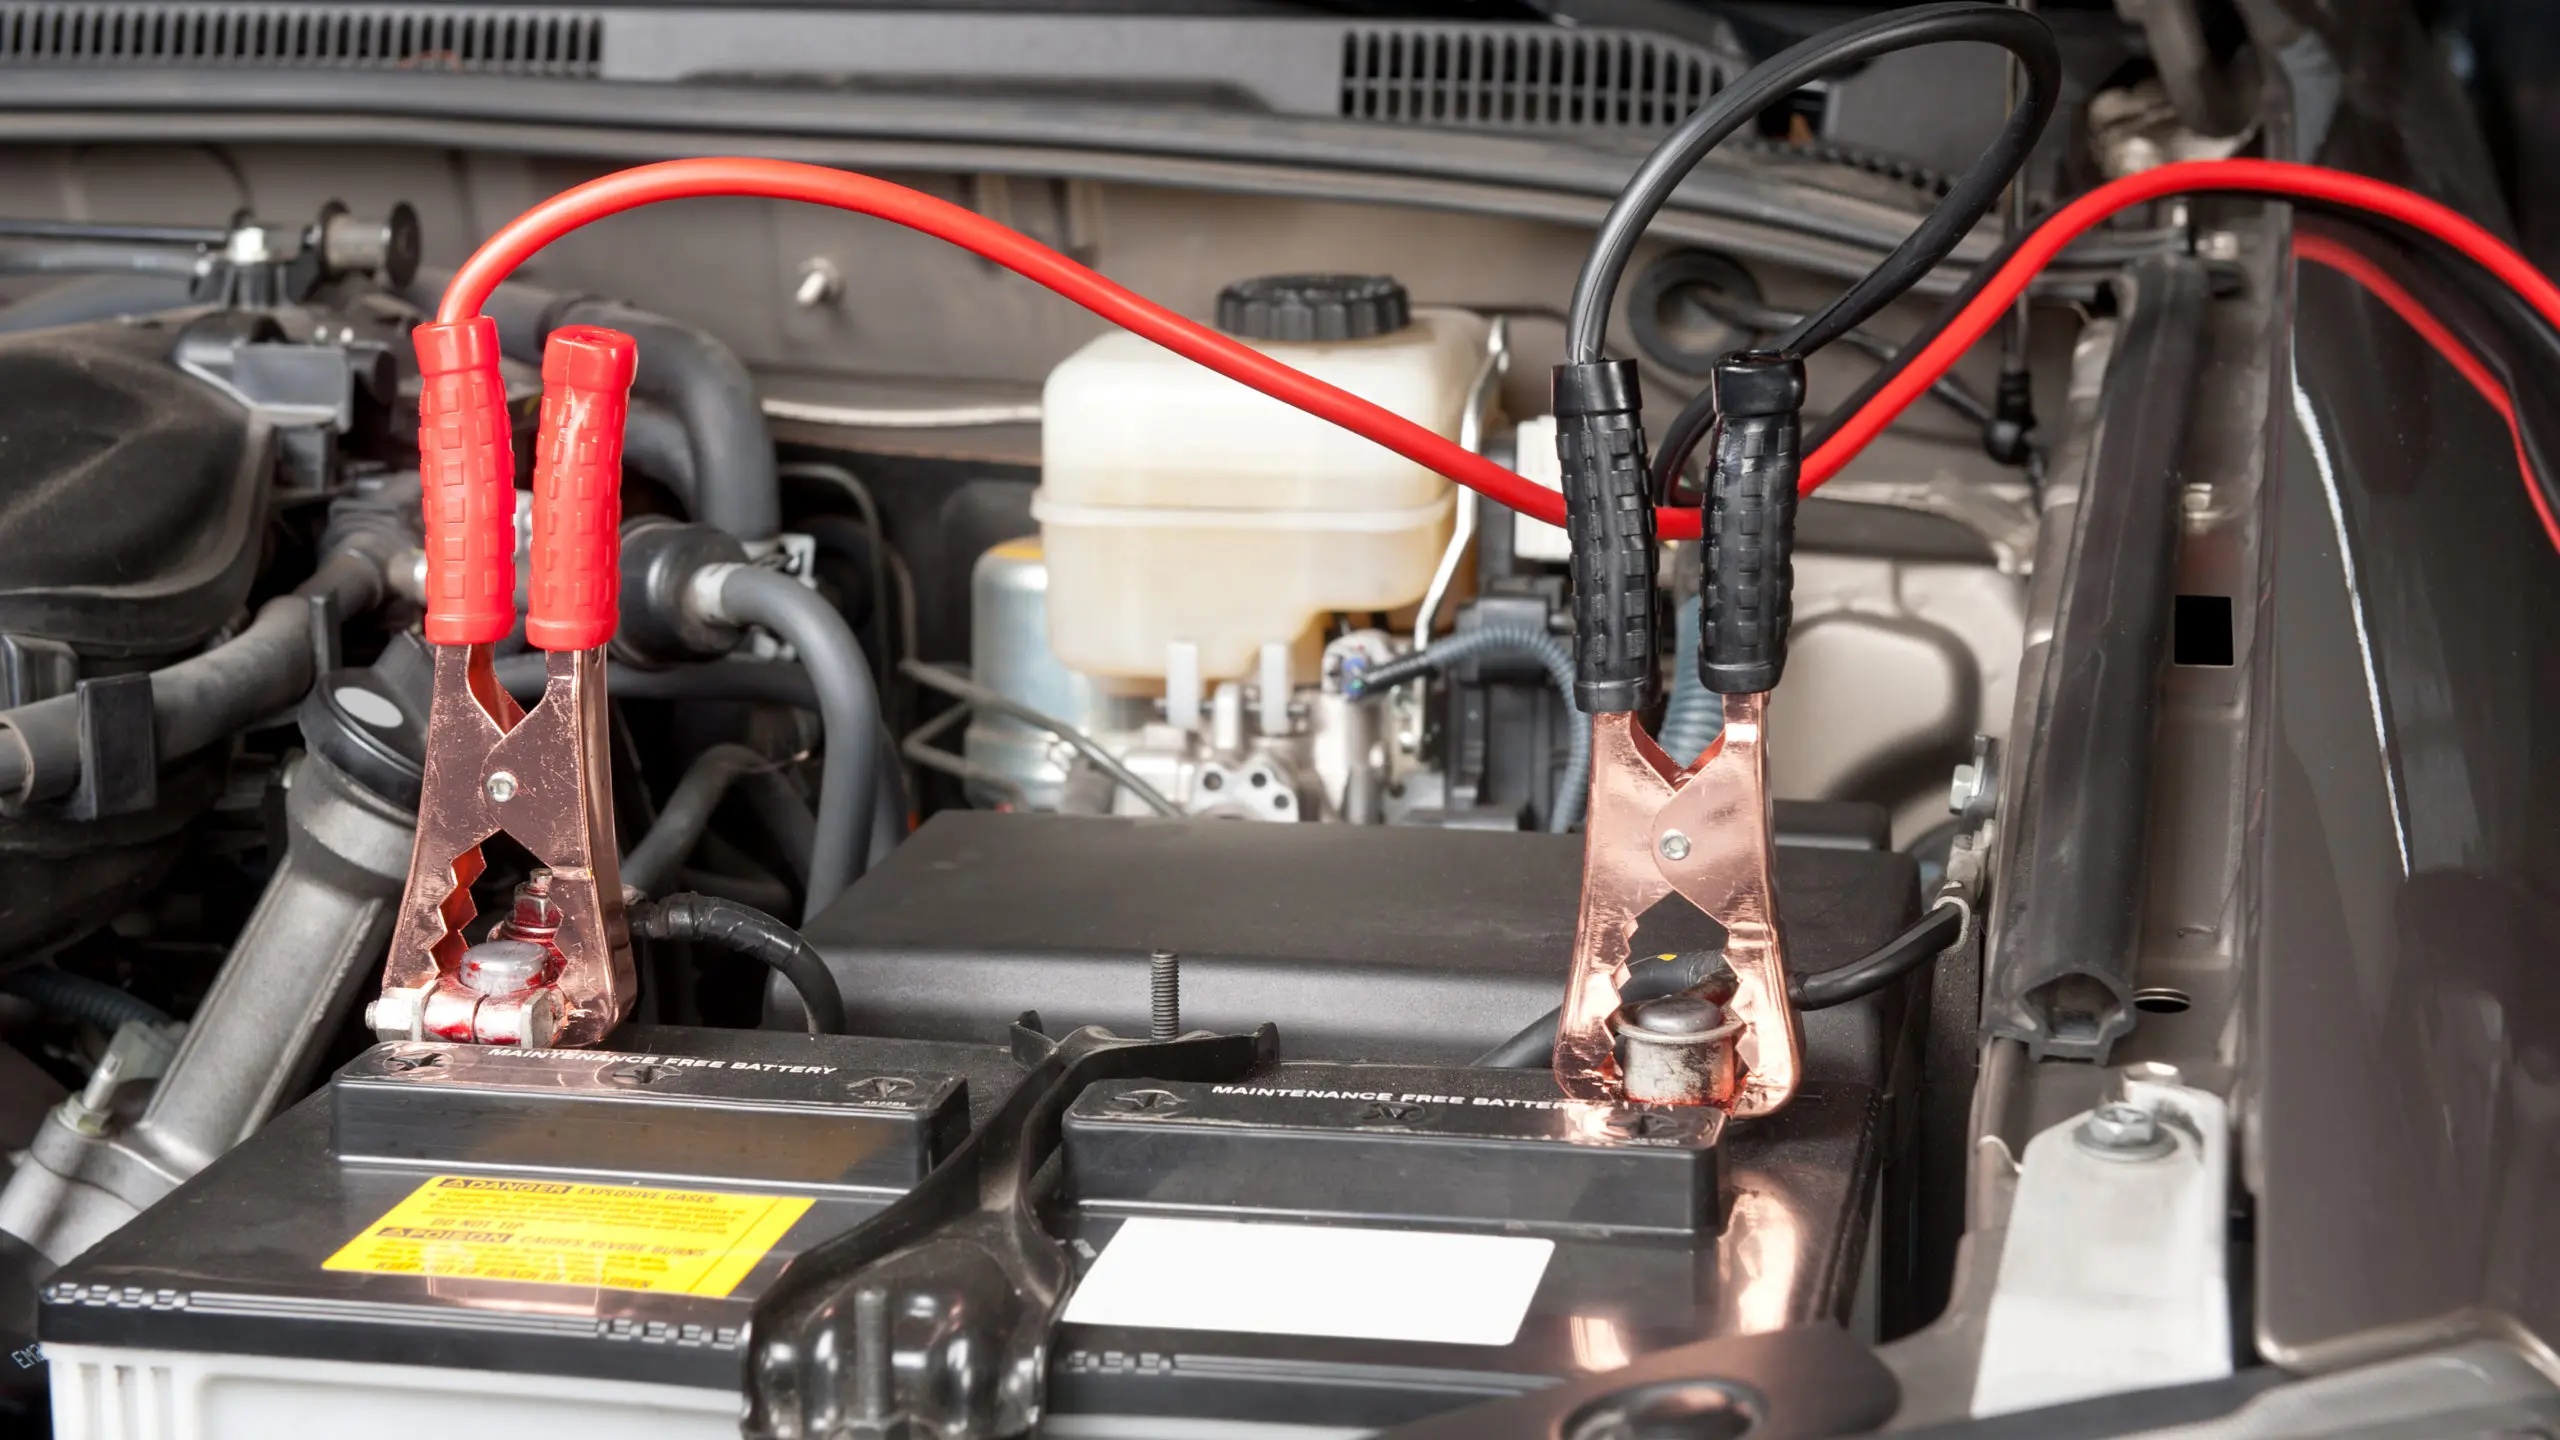
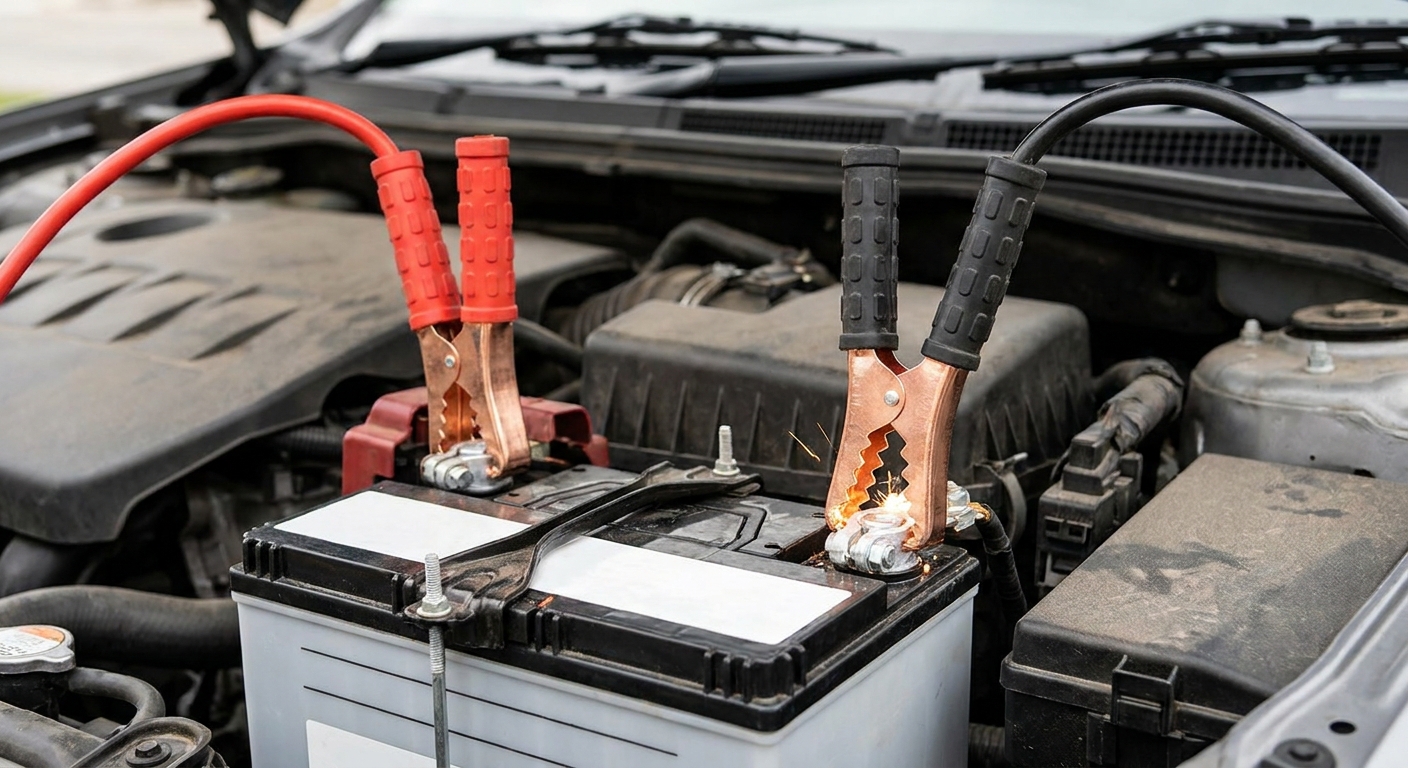
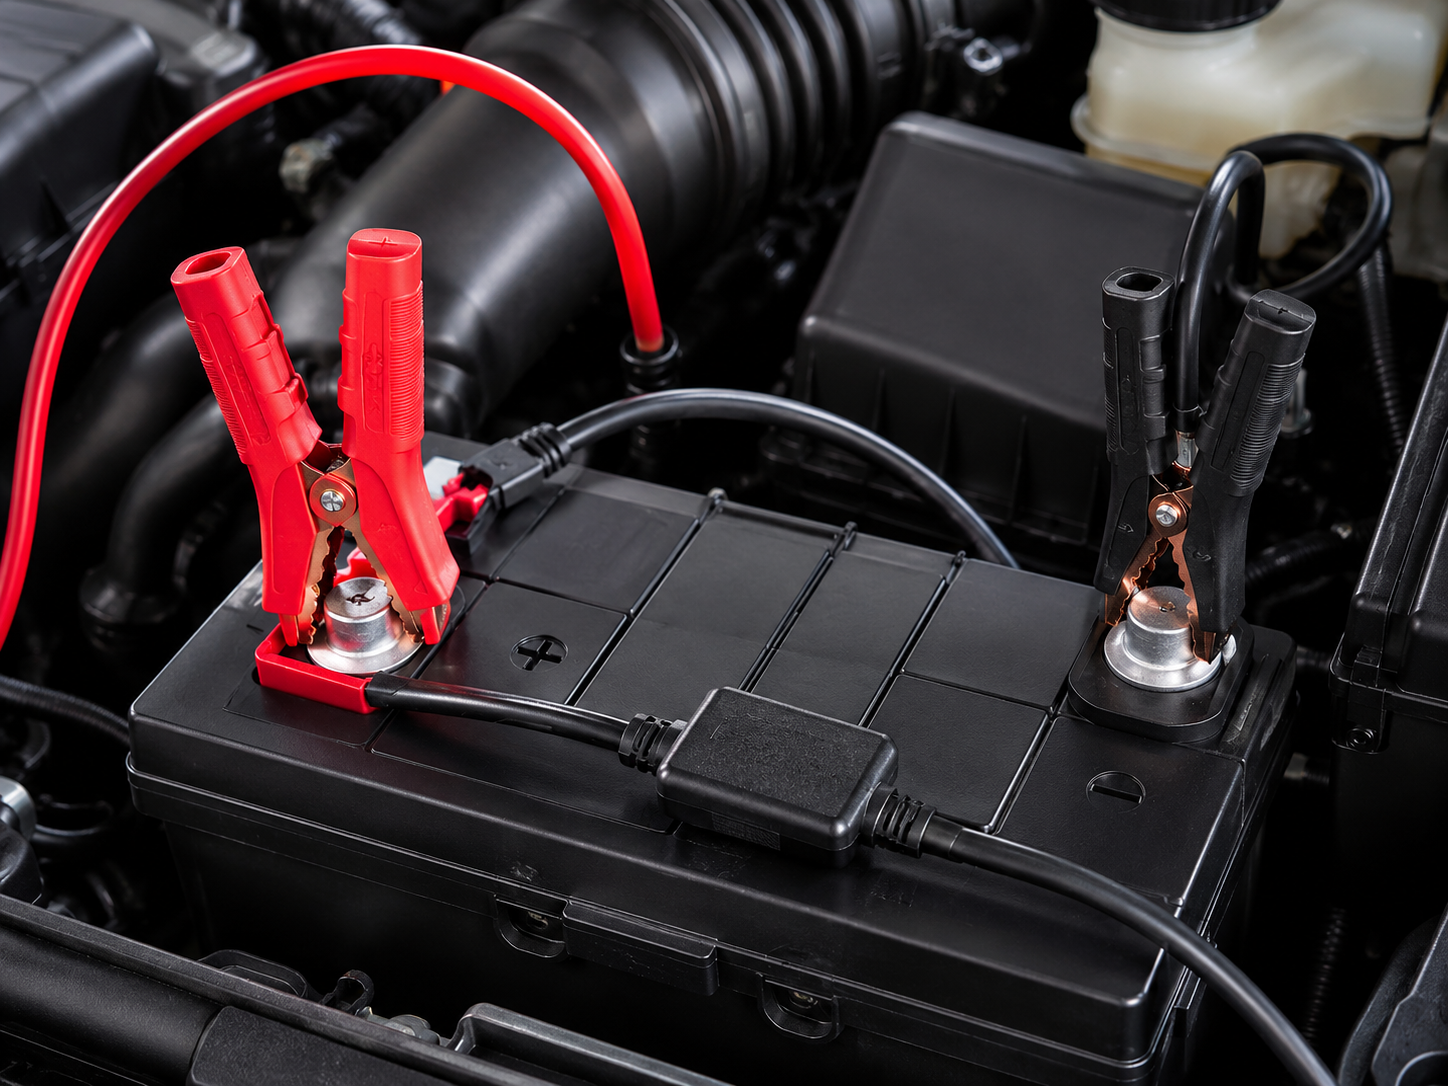
Step 2: Connect the red clamp to the battery positive
Positive is usually marked with a + and often has a red cover. Make sure the clamp has a solid bite on metal, not on a plastic cap or a loose accessory terminal.
Step 3: Connect the black clamp to a good ground point
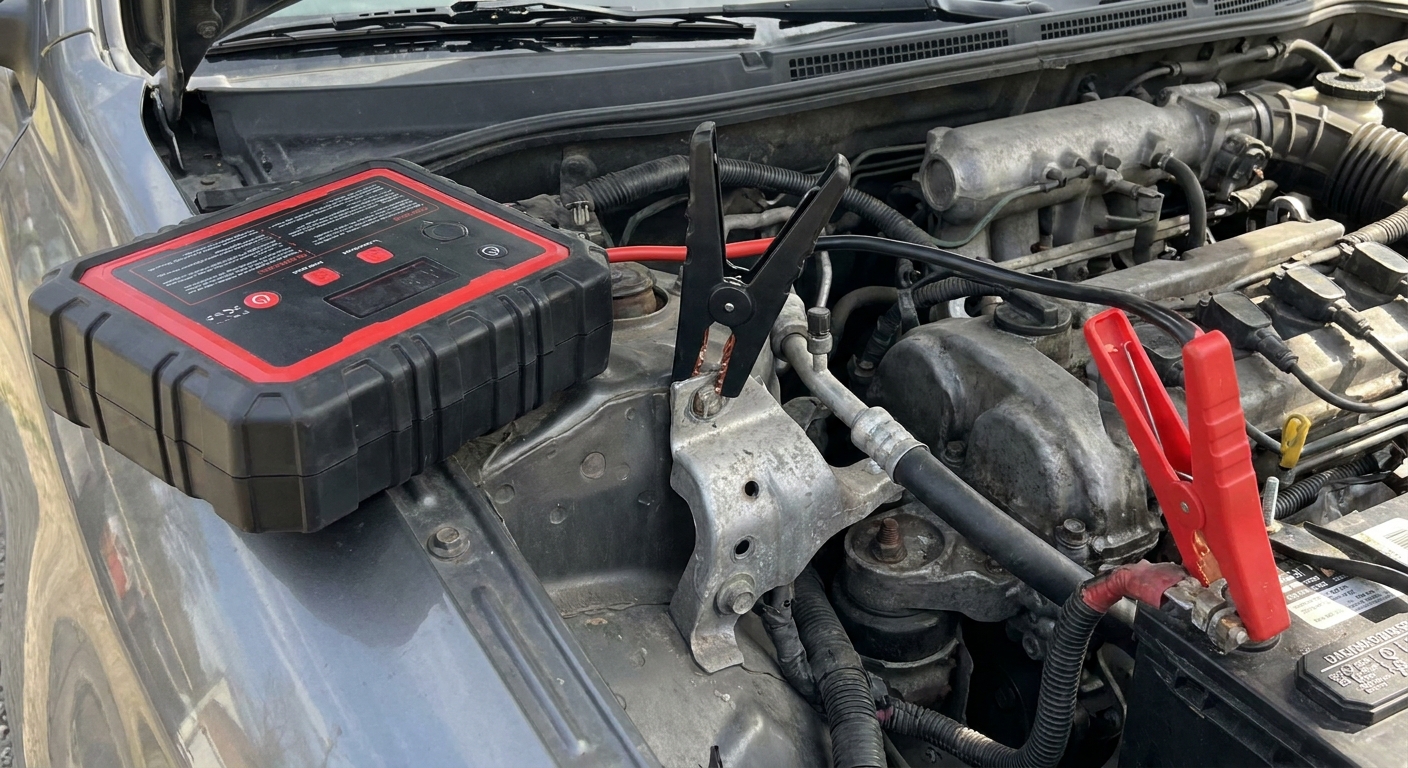
This is the step most people rush. Instead of clamping black directly to the battery negative, use a clean, unpainted metal point on the engine or chassis away from the battery itself. Good choices:
- A sturdy bracket on the engine
- A lifting hook
- A bare bolt head on the engine block
- A factory ground stud if your vehicle has one
This reduces the chance of a spark right at the battery where gas can collect, and it often gives you a better connection than a crusty negative terminal. If your vehicle has dedicated jump posts, use those.
Step 4: Enable the jump pack (use boost only if needed)
Now power up the pack or enable its start mode. Many jump packs will show a green light or a ready indicator once they sense correct polarity and acceptable battery voltage.
About boost mode: Some packs include a manual boost or override that forces output even if the battery voltage is extremely low. Use it only if the normal mode will not arm, and only when you are confident your clamp polarity is correct. Override modes bypass some safety checks.
Step 5: Start right away, or wait briefly if the battery is really low
Some packs are intended for an immediate start attempt. If the engine cranks normally, go for it.
If the battery is very low, it is very cold, or the first crank is sluggish, waiting 30 to 120 seconds can help by putting a little surface charge into the battery so the initial crank is easier.
Step 6: Crank the engine, but keep cranking time short
Crank for no more than 5 to 10 seconds at a time. If it does not start, stop and wait 30 to 60 seconds before trying again. This protects your starter and keeps the jump pack from overheating.
As a rule, I recommend no more than 3 attempts. If it will not fire after that, something else is going on or the battery is too far gone for a jump pack.
Step 7: Once it starts, remove clamps in reverse order
- Turn the jump pack off (if it has a switch).
- Remove the black clamp from the ground point.
- Remove the red clamp from the positive terminal.
Keep the clamps from touching each other or any metal as you pull them out.
What to do if it will not start
If you hit your three attempts and it is still dead, stop cranking and use the symptoms to decide what to check next.
- Rapid clicking: Often low voltage or a weak connection. Re-seat clamps, pick a better ground, and try again.
- Single click: Can be a starter, relay, or cable issue. A jump pack might not change anything.
- No dash lights at all: You may have a disconnected terminal, blown main fuse, or a completely failed battery. Check terminal tightness and corrosion.
- Cranks strong but will not start: Not a battery problem. Think fuel, spark, immobilizer, or sensor issue.
- Push-button start acts weird: A dead key fob battery or security issue can mimic a no-start. Try holding the fob close to the start button (many cars have a backup reader) and check your manual.
How long should you let the car run after a jump?
If the engine started and is idling normally, let it run or drive for at least 20 to 30 minutes. That is usually enough to reduce the risk of an immediate stall or another no-start if you shut it off right away.
Two reality checks from the shop:
- Idling is slower charging than driving on many modern cars. If it is safe, a steady drive is better than sitting in the driveway.
- An alternator will charge the battery, but it is not an ideal deep-discharge charger. If the battery was deeply discharged, plan to recharge it fully with a proper charger and consider getting the battery tested.
When a jump pack will not help (or should not be used)
Jump packs are great, but they are not magic. Here are the situations where you should switch tactics.
The battery is shorted or internally failed
If the battery has an internal short, a jump pack may go into protection mode or the voltage will collapse as soon as you try to crank. Signs include:
- Pack shows error, reverse, or bad battery even with correct clamp placement
- Lights come on briefly, then everything dies again
- Repeated attempts do nothing and the pack gets warm quickly
At that point, you are usually looking at a battery replacement, not more jumping.
The battery is frozen
Do not jump a frozen battery. Thaw it safely and charge it slowly, or replace it if the case is bulged or cracked.
You have a parasitic drain that is still present
If something is actively draining the battery (a stuck relay, a module that will not sleep, a glovebox light, aftermarket accessories), the car may start and then be dead again shortly after. A jump pack gets you moving, but it will not solve the underlying draw.
It is not a battery problem
If your engine cranks strong but will not start, you likely have a fuel, spark, or sensor issue. A jump pack is aimed at a weak 12-volt battery, not a no-fuel or no-ignition condition.
If it does not crank at all but your lights and radio work, you could be dealing with a bad starter, a bad starter relay, a neutral safety switch issue, or a poor battery cable connection. A jump pack sometimes helps with marginal voltage, but it cannot fix a failed starter.
When a charger is the better choice
If you are at home, a battery charger (or a smart maintainer with a charge mode) is often the better long-term solution than repeated jump starts.
Choose a charger when:
- The battery is deeply discharged (car sat for weeks or months)
- You want the battery to recover gently instead of taking a high-current hit
- You are trying to save an older battery that is borderline
- You live in a place with cold winters and want maximum battery life
A slow charge also gives you useful information. If the charger will not complete a charge cycle or flags the battery as bad, that is your answer.
Common jump pack mistakes I see
Clamping to the wrong polarity
Most packs have reverse polarity protection, but do not rely on it. Always confirm the + marking at the battery or jump post. If you are unsure, stop and verify before connecting.
Using a painted or flimsy ground
A painted strut tower bolt or a thin bracket can give you a weak connection. Pick a solid, bare metal point. A bad ground is one of the biggest reasons people think their jump pack does not work.
Cranking too long
If the engine does not start quickly, long cranking overheats starters and can trip the jump pack. Short attempts with cool-down breaks work better.
Leaving the jump pack on the engine
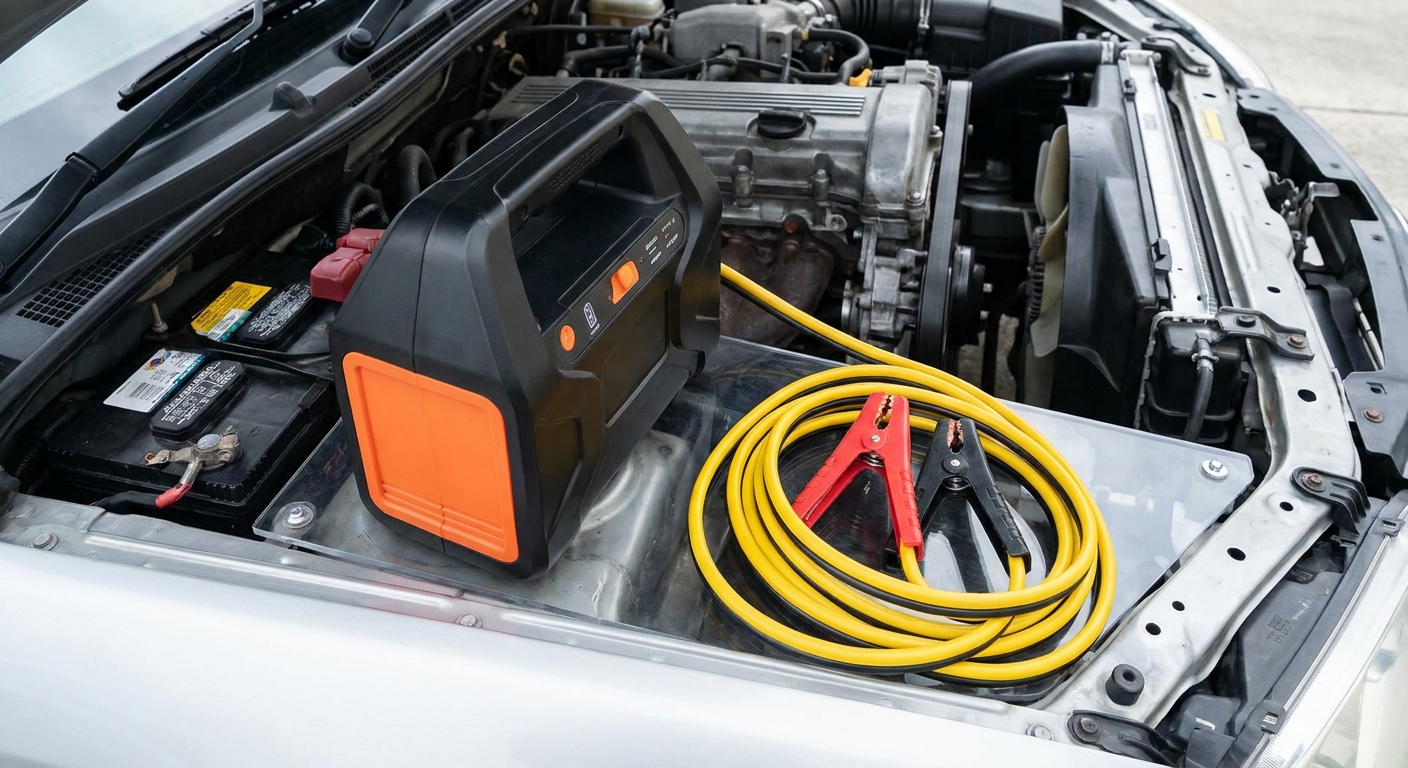
Keep the pack away from belts, fans, and hot exhaust parts. I like setting it on a flat spot near the battery, not down in the accessory drive area.
Forgetting to recharge the jump pack
After a successful jump, top the pack back up as soon as you can. Lithium packs also hate extreme heat and deep cold, so store it within the temperature range recommended by the manufacturer.
FAQ
Should the jump pack be on or off when I connect the clamps?
Usually off, if your pack has a switch. Connect clamps first, then enable the pack. That reduces the chance of accidental sparking while you are positioning the leads. Some packs auto-arm, so follow your manual if your model behaves differently.
Can I clamp black to the battery negative terminal instead of a ground point?
You can, and many people do, but I prefer using a solid ground point on the engine or chassis when possible. It is often safer and can give a better connection. If your vehicle has dedicated jump posts, use them.
How many times can I try before I stop?
Three reasonable attempts is my limit: 5 to 10 seconds of cranking, then a 30 to 60 second rest between tries. If it will not go, switch to diagnosis or a charger.
My jump pack says boost. Do I always use that?
No. Start with normal mode. Use boost or override only if the pack will not arm because the battery voltage is extremely low, and only after you have double-checked polarity and solid clamp contact.
After it starts, can I disconnect immediately?
Yes. Once it is running smoothly, turn the pack off (if it has a switch) and remove clamps in reverse order. Then drive or idle long enough to stabilize, and plan on fully charging the battery later if it was deeply discharged.
My quick checklist
- Pack off (if it has a switch)
- Red clamp to +
- Black clamp to clean engine or chassis ground (or designated ground post)
- Enable pack, boost only if needed
- Crank right away, or wait 30 to 120 seconds if the battery is very low or cold
- Crank 5 to 10 seconds max, up to 3 tries
- Pack off, remove black then red
- Drive 20 to 30 minutes, then plan to charge the battery fully
If you jump it successfully more than once in a short period, do yourself a favor and get the battery tested. In my experience, repeated dead-battery mornings are almost always a battery that is aging out, a charging issue, or an electrical draw that needs to be tracked down.