I have replaced a lot of alternators in driveways and shop parking lots, and the job usually comes down to three things: kill power first, keep the belt routing straight, and make sure the new unit is actually charging when you are done. If you can turn a wrench and take your time, this is one of those repairs that can save you real money.
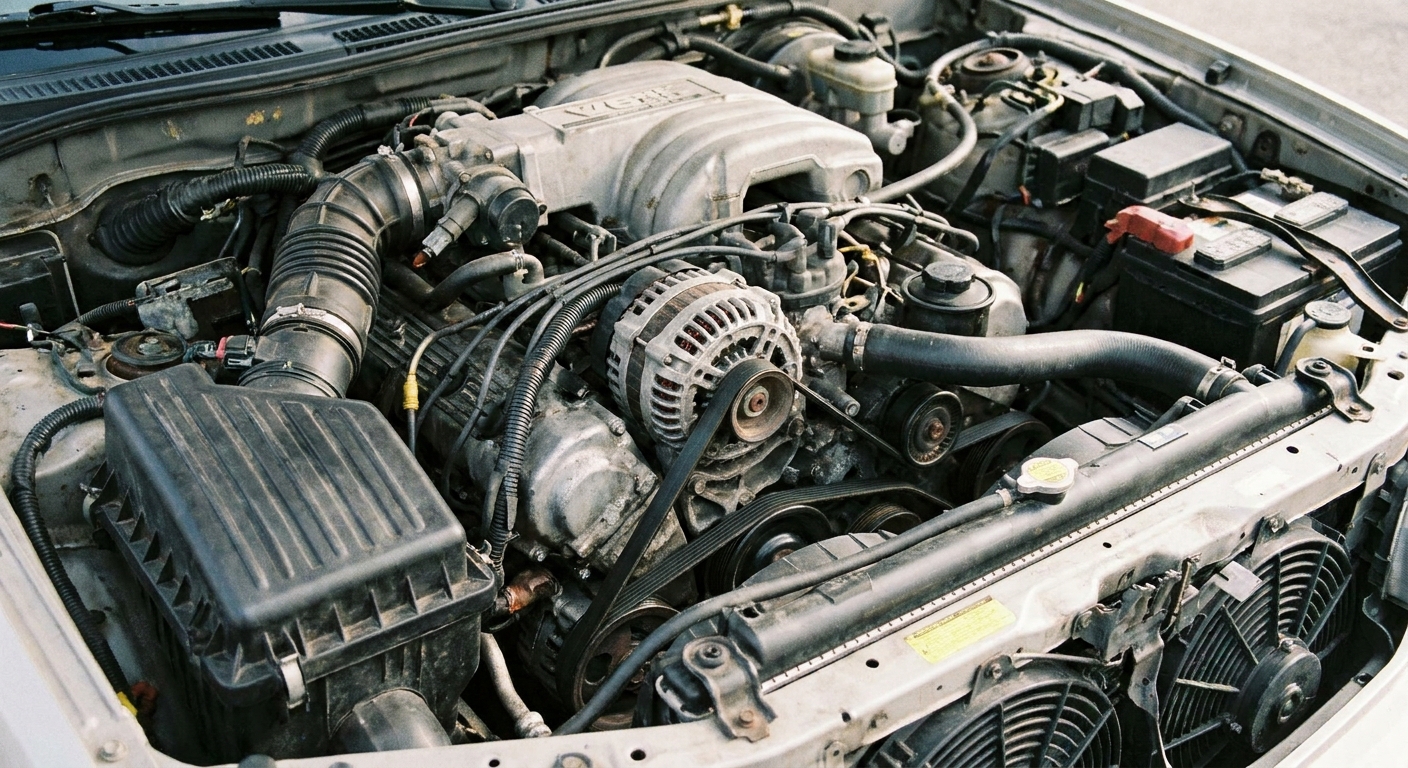
Before you start: confirm it is the alternator
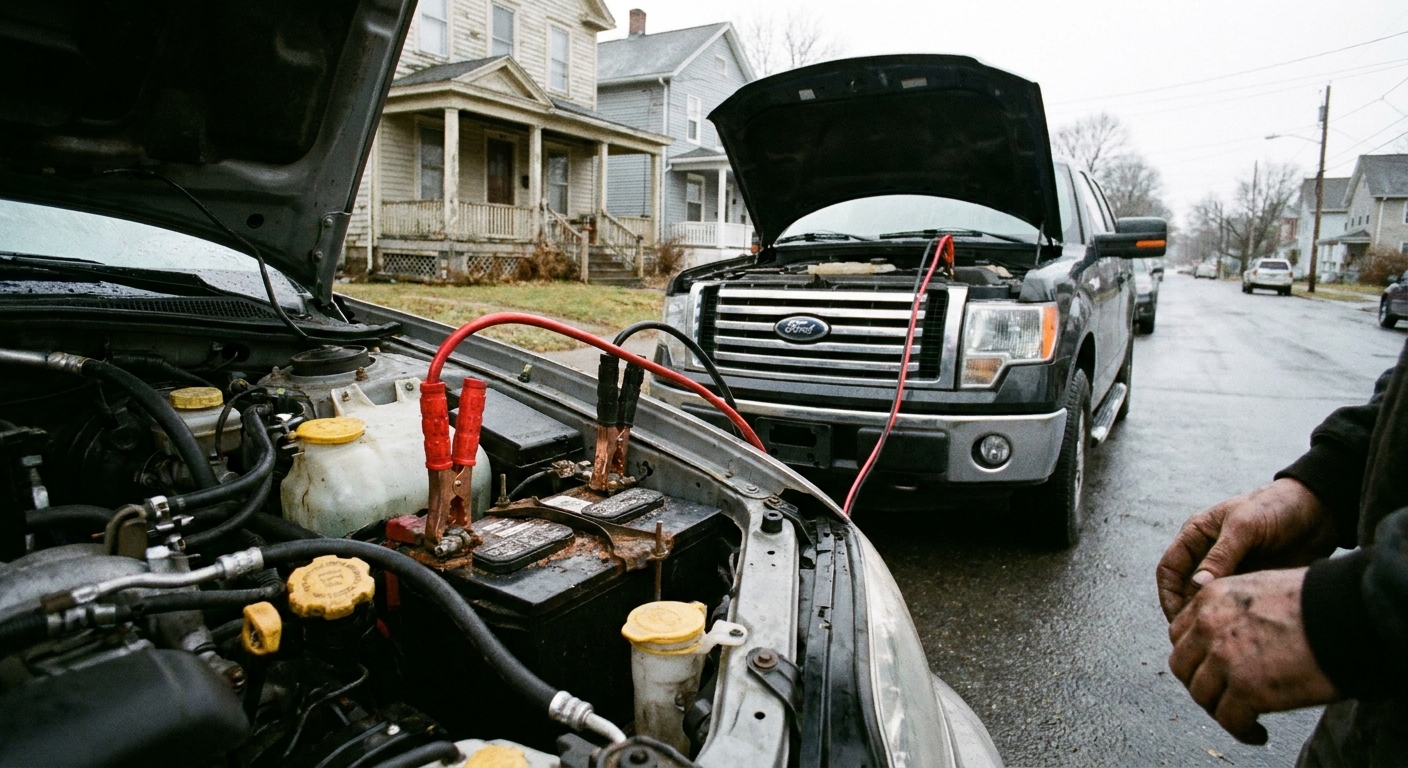
If the battery light is on, headlights dim at idle, or the car keeps needing jumps, the alternator is a prime suspect. But a bad battery, loose belt, corroded battery terminals, or a blown alternator fuse can mimic the same symptoms.
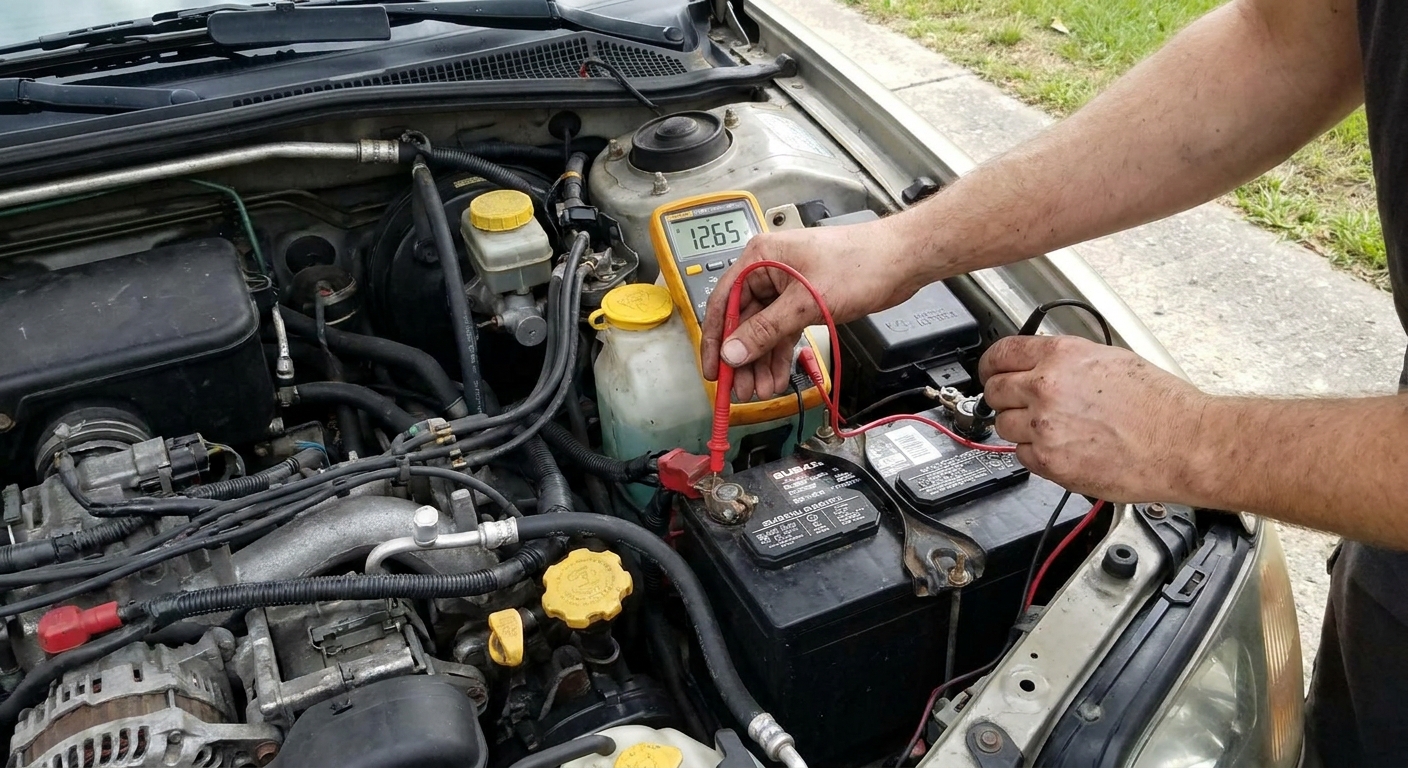
- Quick voltage check (engine off, battery rested): a healthy, fully charged lead-acid battery is typically around 12.6V to 12.7V. Around 12.4V is more like a partially charged battery, not “full.”
- Charging check (engine running): many vehicles will show roughly 13.8V to 14.6V at the battery. Some smart charging systems intentionally run lower or higher depending on temperature, battery state of charge, and electrical load, so do not diagnose off one number alone.
If you already know the alternator is bad, or it has failed a charging test, move on to the swap.
Tools and supplies you will want
- Socket set and ratchet (often 10mm to 15mm sizes, but it varies)
- Wrenches for tight areas
- Serpentine belt tool or a long breaker bar (for belt tension)
- Torque wrench if you have one (recommended)
- Small flathead screwdriver or pick (for electrical connector locks)
- Multimeter (to verify charging afterward)
- Gloves and eye protection
- Pen and paper or your phone camera (belt routing and connector photos)
Pro tip: If your alternator is buried, you may need to remove an intake snorkel, engine cover, splash shield, or even the passenger wheel and inner fender liner for access. If a wheel comes off, support the vehicle on jack stands on solid ground. Do not trust a jack by itself.
Step-by-step: how to replace an alternator
1) Park safely and disconnect the battery negative
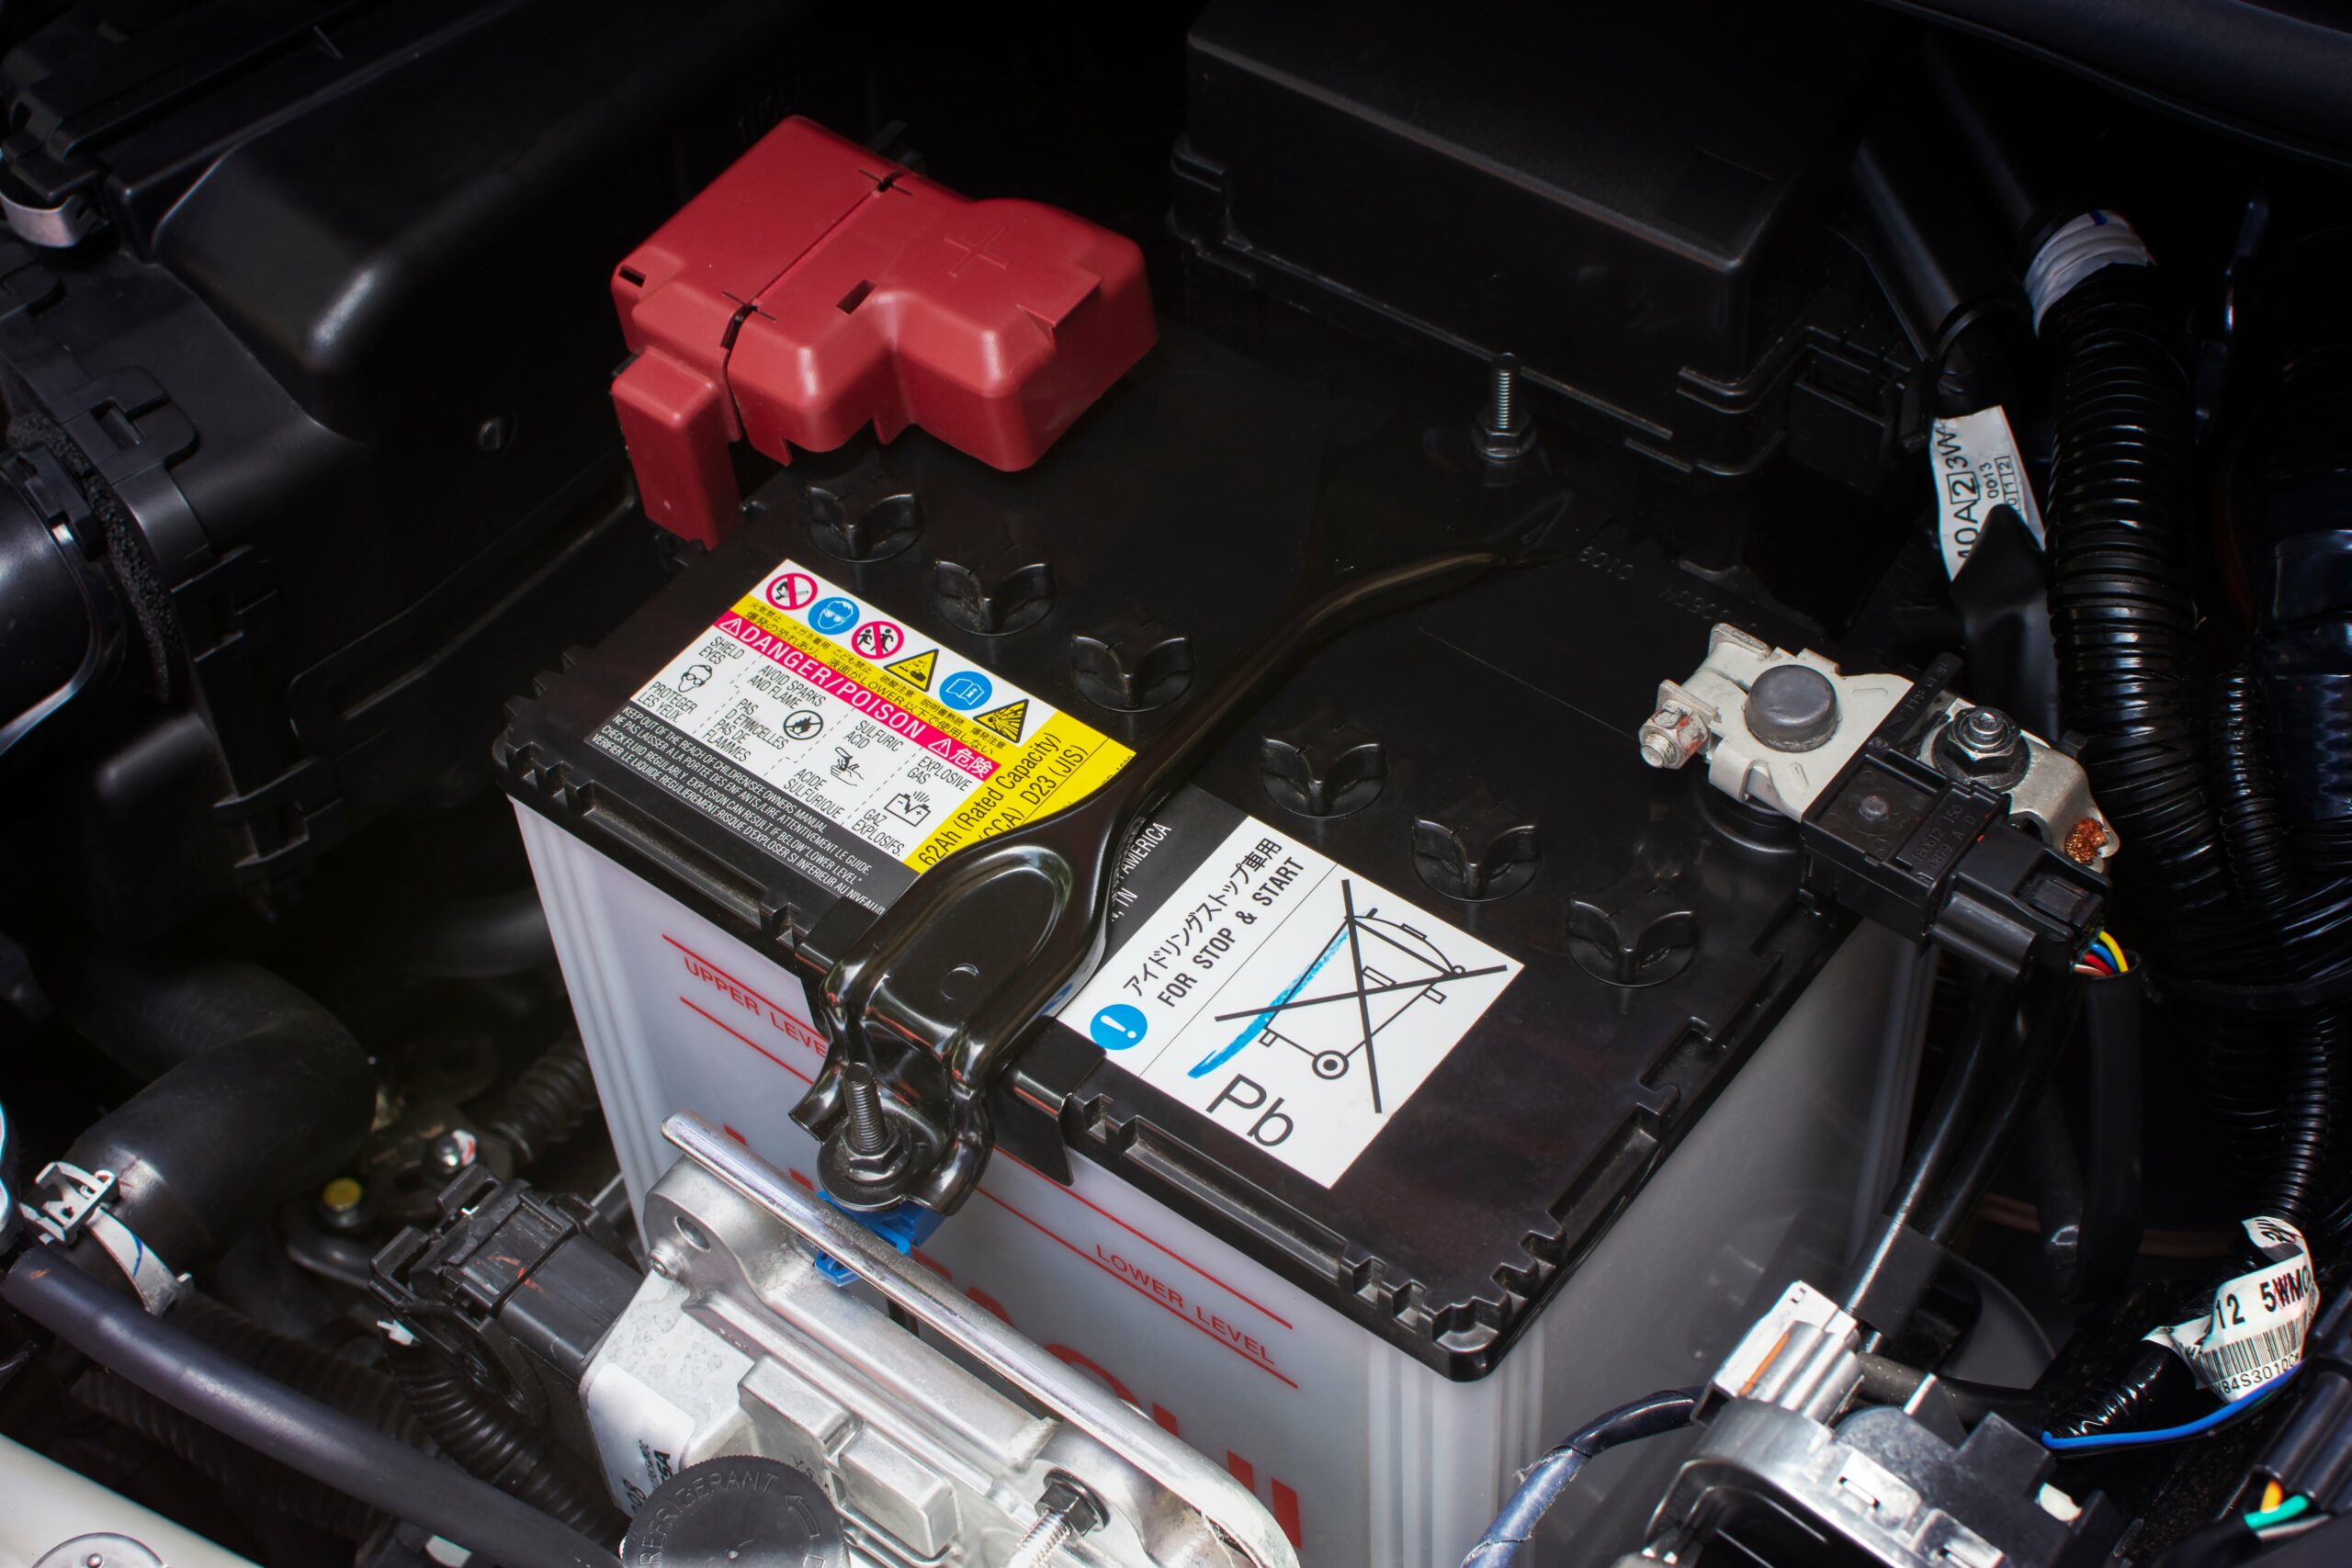
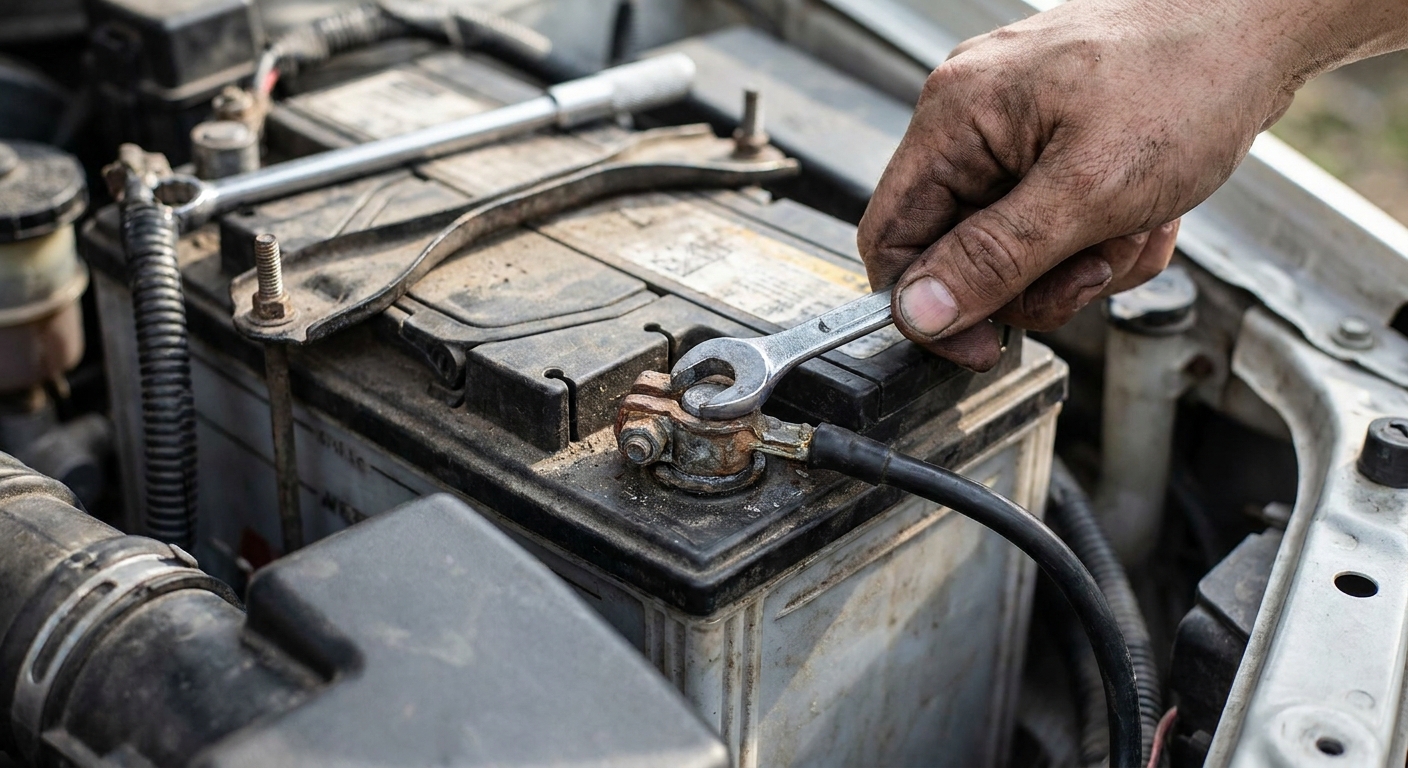
Set the parking brake and let the engine cool. Then disconnect the negative battery cable first. This is not optional. The alternator B+ terminal is direct battery power, and one accidental short to ground can ruin your day (and sometimes your wiring).
Once the negative cable is off, move it aside and isolate it so it cannot spring back onto the battery post while you are working.
2) Note belt routing before you touch anything
Look for a belt routing diagram under the hood. If you do not see one, take a clear photo of the belt path before removal.
3) Release belt tension and slip the belt off the alternator
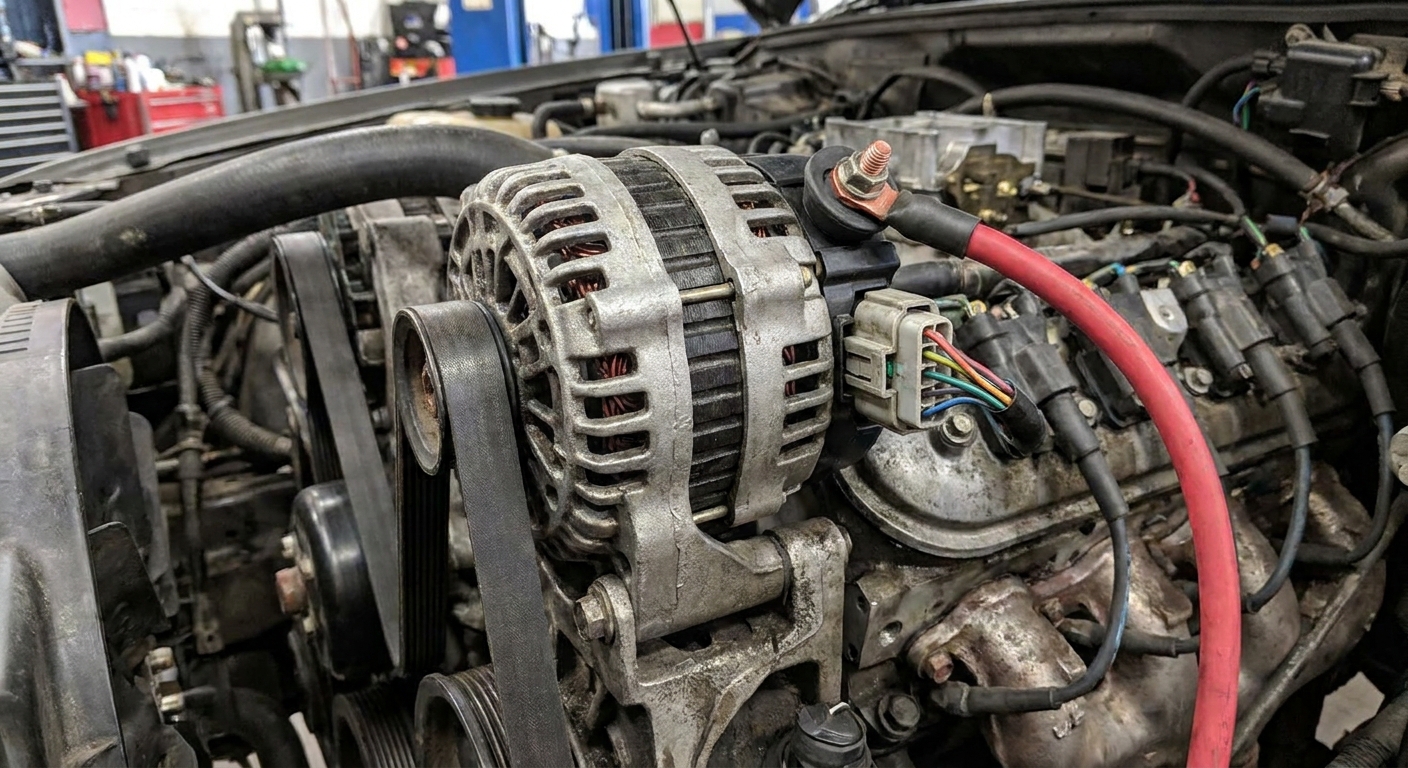
Most modern vehicles use an automatic tensioner. Put your tool on the tensioner, rotate to relieve tension, then slide the belt off the alternator pulley. You usually do not need to remove the entire belt, just move it out of the way.
If you have two belts, an older V-belt setup, or a manual adjuster, you will loosen the adjuster lock bolt and back off the tension bolt. On those setups, correct belt tension matters a lot. Too loose slips and squeals, too tight eats bearings.
4) Remove the alternator electrical connections
There are usually two connections:
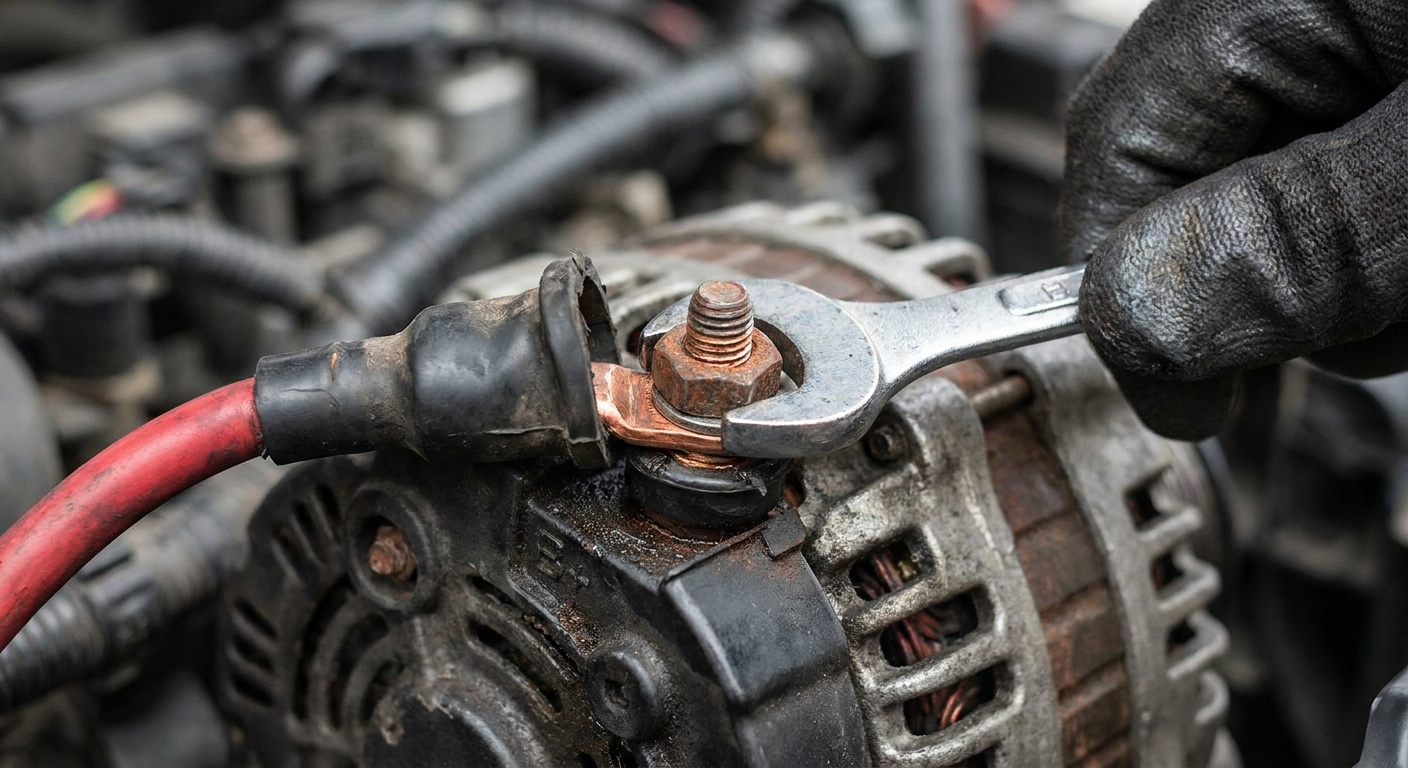
- Main charge cable (B+): a heavy gauge wire with a nut and protective boot.
- Regulator plug: a smaller multi-pin connector with a locking tab.
Pull back the rubber boot, remove the B+ nut, and set the cable aside where it cannot touch metal. Then unplug the regulator connector by releasing its lock.
5) Remove the alternator mounting bolts
Most alternators are held by two to four bolts. Some use a long pivot bolt and a shorter brace bolt. Support the alternator as you remove the last bolt because it can be heavier than it looks.
If the alternator is stuck in its bracket, gentle wiggling usually does it. A little penetrating oil can help if there is corrosion. Avoid prying on delicate aluminum housings unless you have no other choice.
6) Compare the new alternator to the old one
Before installation, confirm:
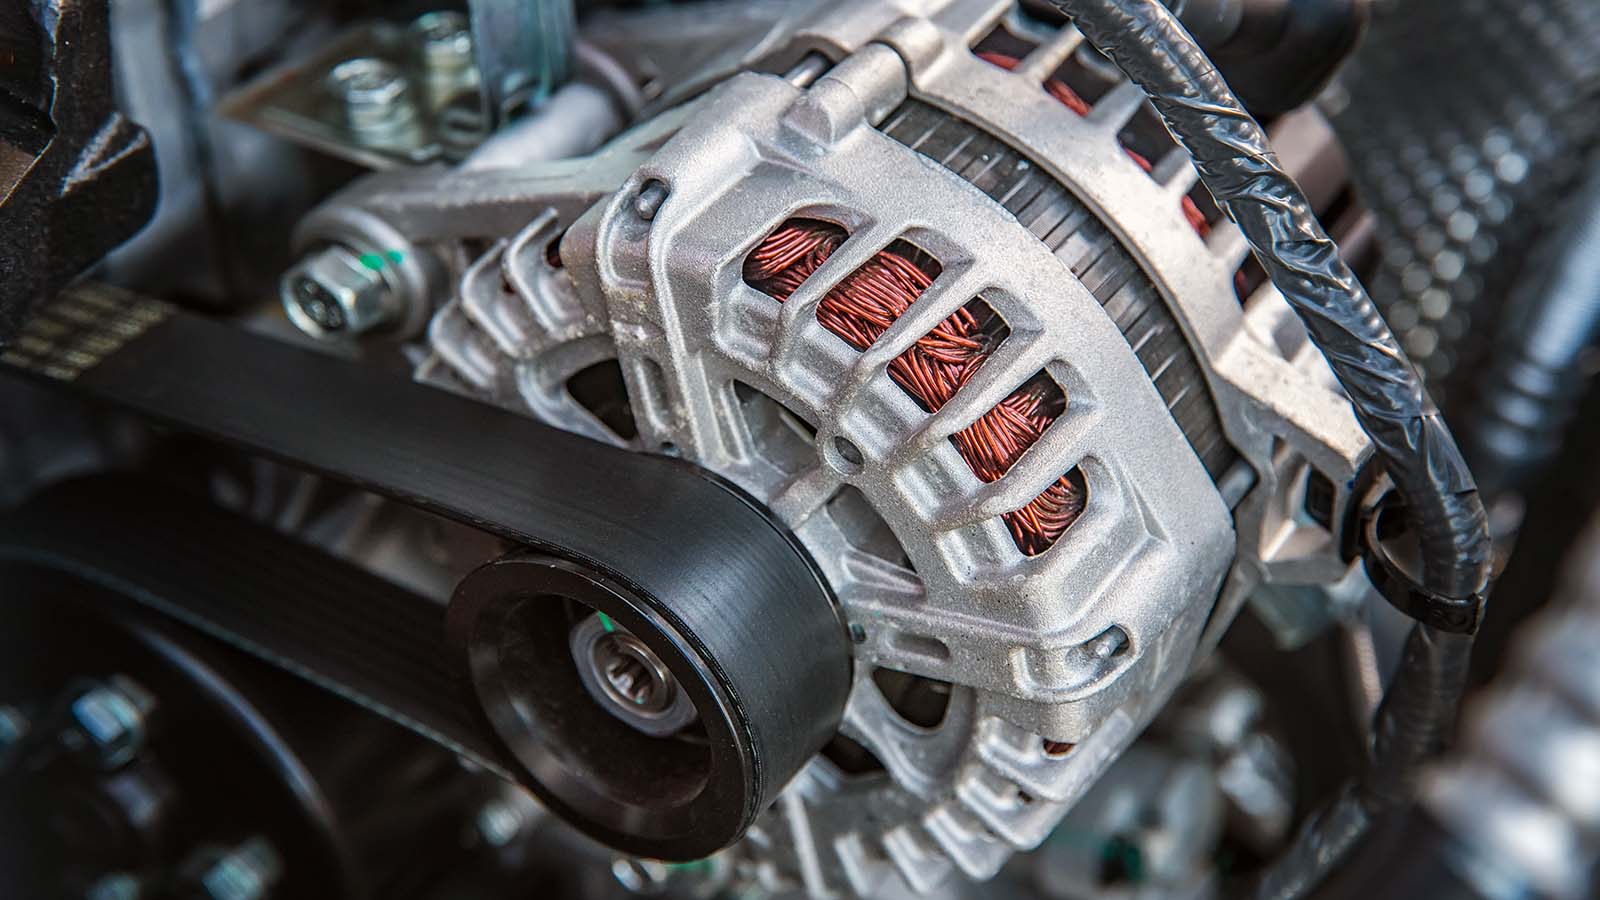
- Pulley type and diameter match
- Mounting ears line up
- Electrical plug matches
- B+ stud location and thread size match
Also watch for alternators that use an overrunning clutch or decoupler pulley. If your old unit has one and the new one does not (or vice versa), you can end up with belt chirps, tensioner bounce, or charging issues.
If anything looks off, stop and verify part numbers. This is one of those moments that saves hours.
7) Install the new alternator and snug the bolts
Set the alternator into the bracket and start all bolts by hand to avoid cross-threading. Snug them evenly. If you have torque specs, use them. If you do not, tighten them firmly, but do not go gorilla-tight on aluminum brackets.
8) Reconnect the wiring and protect the B+ stud
With the battery still disconnected, reconnect the regulator plug until it clicks, then install the main charge cable on the B+ stud and tighten the nut. That sequence is not magic, it is just how I like to do it so the smaller connector is not fighting me while I am handling the heavy cable.
Reinstall the protective boot and make sure it fully covers the stud so it cannot short against a bracket later.
9) Reinstall the belt and double-check routing
Route the belt exactly as your photo or underhood diagram shows. Relieve tension at the tensioner, slip the belt back onto the alternator pulley, and slowly release the tensioner.
Quick check: look at every pulley and confirm the belt ribs are seated in the grooves. A belt half-on will squeal, shred, or walk off.
10) Reconnect the battery negative
Reconnect the negative terminal and make sure it is tight. Loose battery terminals are a very common cause of weird post-repair no-start issues.
First start: start with a charged battery
This catches people off guard: an alternator can recharge a battery, but it is not designed to recover a deeply discharged battery the way a proper charger can. If you run a new alternator hard trying to bring a near-dead battery back, you can overwork it and overheat it.
If your battery was drained from driving with a bad alternator, put it on a proper charger first. Starting and idling on a nearly dead battery can cause low voltage behavior, stalling, or repeated no-starts that make you think the alternator install went wrong.
How to confirm it is charging (multimeter test)
Voltage test at the battery
- Engine off (battery rested): 12.6V to 12.7V is typically fully charged. Around 12.4V is partially charged.
- Engine running at idle: often 13.8V to 14.6V, but smart charging can vary.
- Turn on headlights and blower: voltage often stays above roughly 13.5V on many vehicles, but some systems will intentionally drop closer to battery voltage at times. Look for stability and a clear rise above engine-off voltage.
If the engine is running and you still see around 12V, the alternator may not be charging, the belt may be slipping, a fuse or fusible link may be blown, or there is a wiring issue.
Watch for belt noise and warning lights
A squeal right after startup can mean the belt is not seated or the tensioner is weak. A battery warning light that stays on is your cue to stop and recheck the basics before you drive far.
If charging voltage looks normal but the battery light stays on, do not ignore it. Some vehicles use a smart regulator with a control wire (LIN or similar), a sense wire, or a dedicated alternator fuse link. A problem in that circuit can trigger the light even when the alternator is putting out voltage.
Common alternator swap mistakes I see
- Battery not disconnected: easy way to blow a fuse, melt a tool, or damage wiring.
- Negative cable not isolated: it springs back to the post, you get an accidental short, and now you are chasing a new problem.
- Belt routed wrong: the engine may run, but the alternator might not spin correctly or the belt may jump off.
- Loose B+ nut: causes intermittent no-charge and heat damage at the terminal.
- Connector not fully seated: modern alternators need that regulator plug connection to wake up.
- Weak or dead battery: creates hard starting and low voltage symptoms that mimic alternator problems.
- Bad ground or corroded terminals: charging voltage may exist, but it cannot get where it needs to go.
If your car will not start after the alternator replacement
If the alternator is installed but the car will not start, do not assume the new alternator is defective. Start with the simple stuff: battery charge level, terminal tightness, main fuse links, and belt routing.
I put together a dedicated walkthrough for the next steps here: Why Your Car Won’t Start After an Alternator Replacement.
And if your symptom is no crank but the dash lights and radio still work, this guide helps you sort it out: Car Won’t Start But Lights and Radio Work? Here’s What to Check.
FAQ
How long does it take to replace an alternator?
On an easy layout, 30 to 90 minutes is realistic. On cramped transverse engines where access is tight, it can take a few hours, especially if you need to remove a wheel, splash shield, or an engine mount brace.
Do I need to reset anything after replacing an alternator?
Usually no. Some vehicles may lose radio presets or clock settings after battery disconnect. A few models with battery monitoring systems may need a battery registration procedure, but that is more commonly tied to battery replacement than alternator replacement.
Can I drive with a failing alternator?
Sometimes you can limp home, but it is a gamble. Once the battery is depleted, the car can stall and will not restart. If the belt is slipping or the alternator is overheating, you can also damage the belt or tensioner.
Should I replace the belt when I replace the alternator?
If the belt is cracked, glazed, oil-soaked, or near its service interval, yes. A fresh alternator will not help much if the belt cannot drive it properly.